Make It Mine Monday: Hey Birthday Chick!

Hey Birthday Chick card

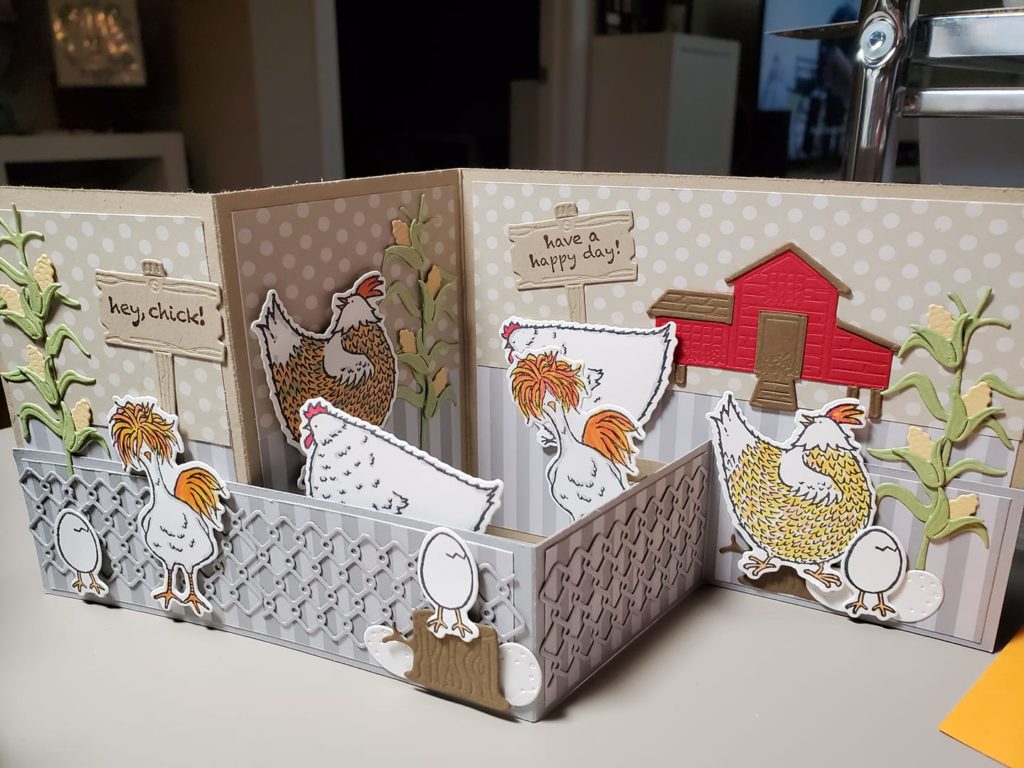
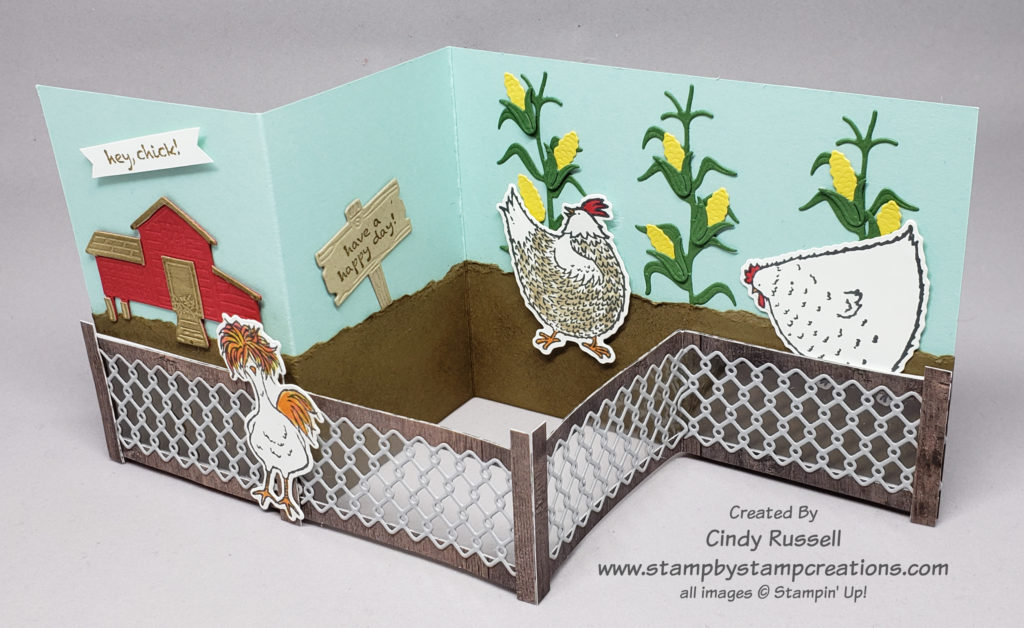
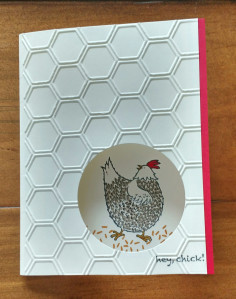
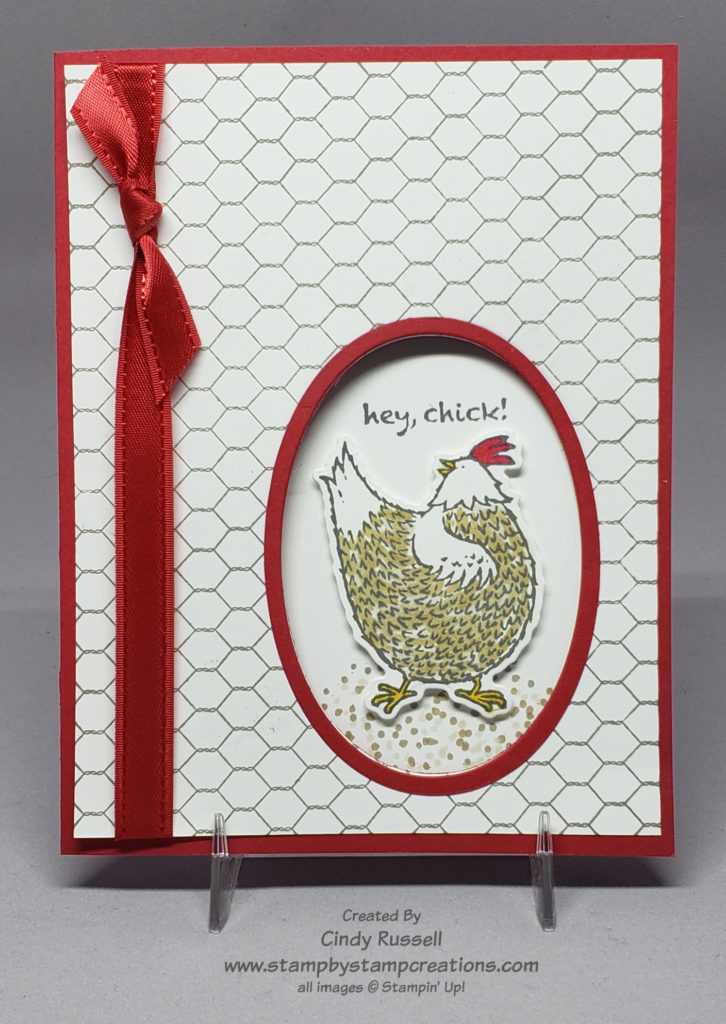
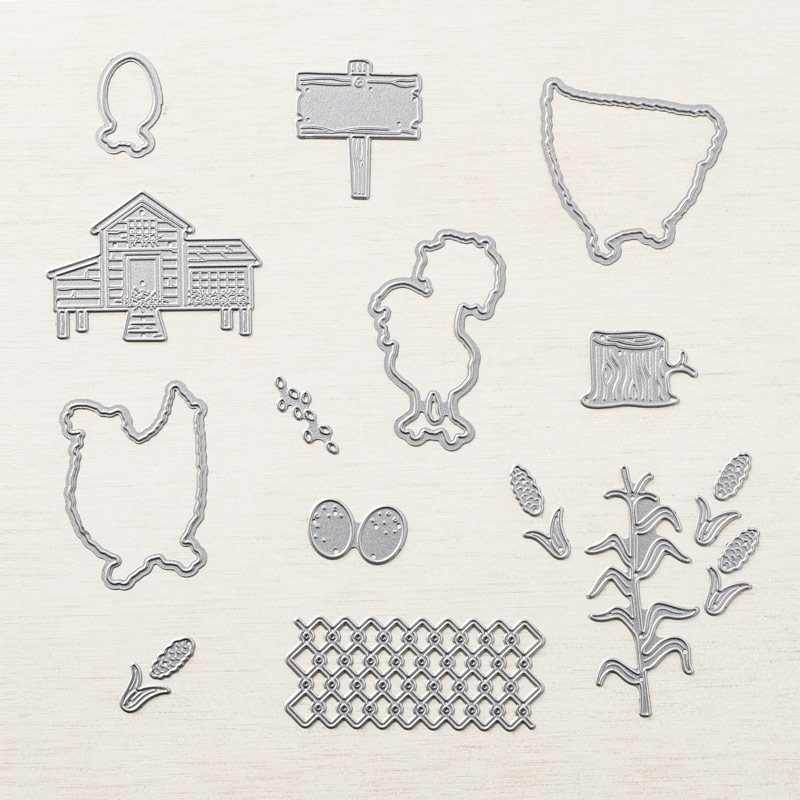
I can’t say it enough….I love the Hey Chick and the Hey Birthday Chick stamp sets (and of course the coordinating dies!)! TSC…Too Stinkin’ Cute!

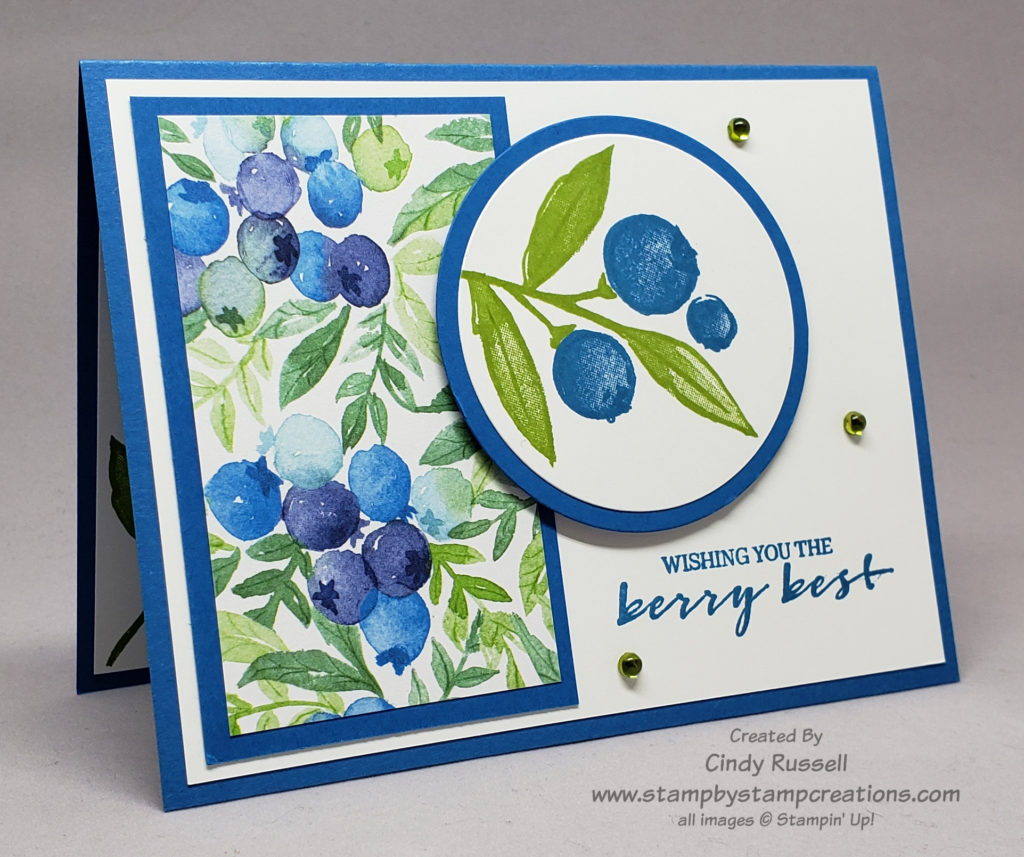
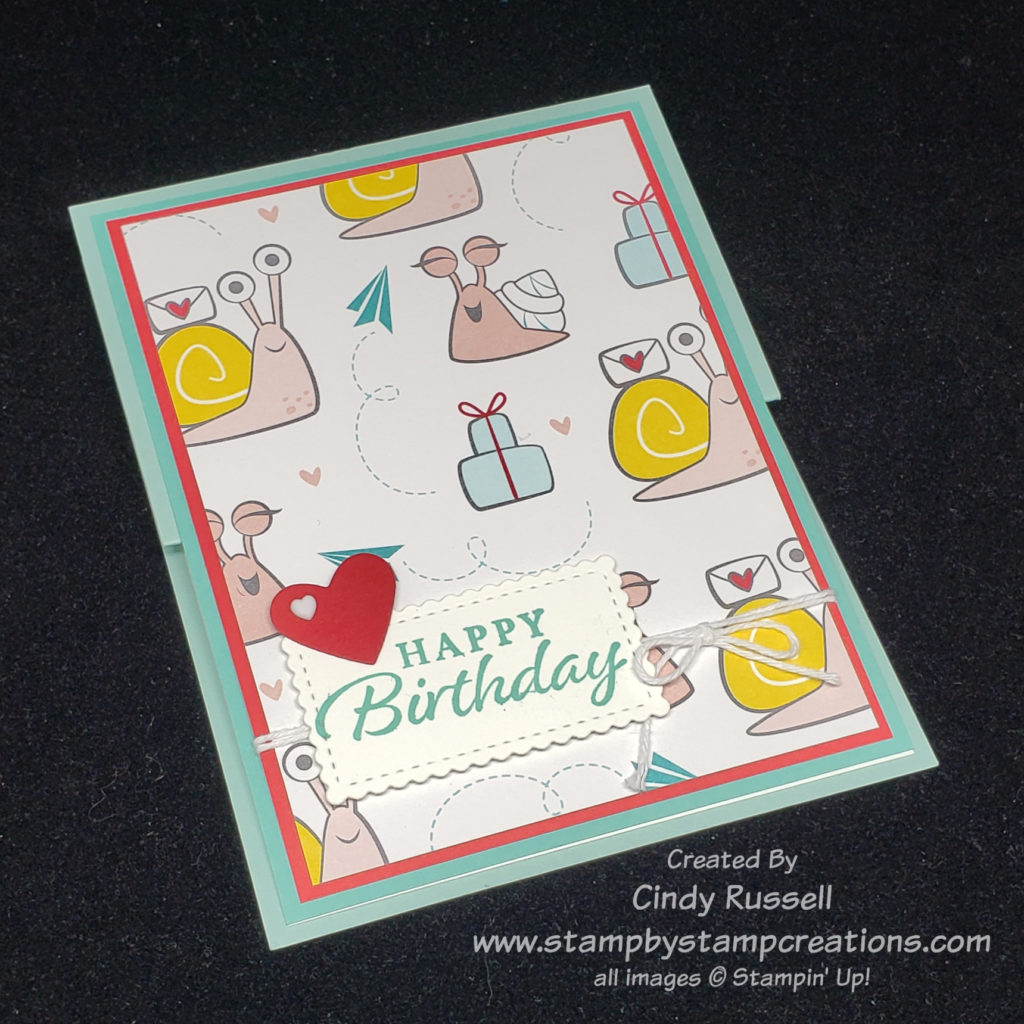
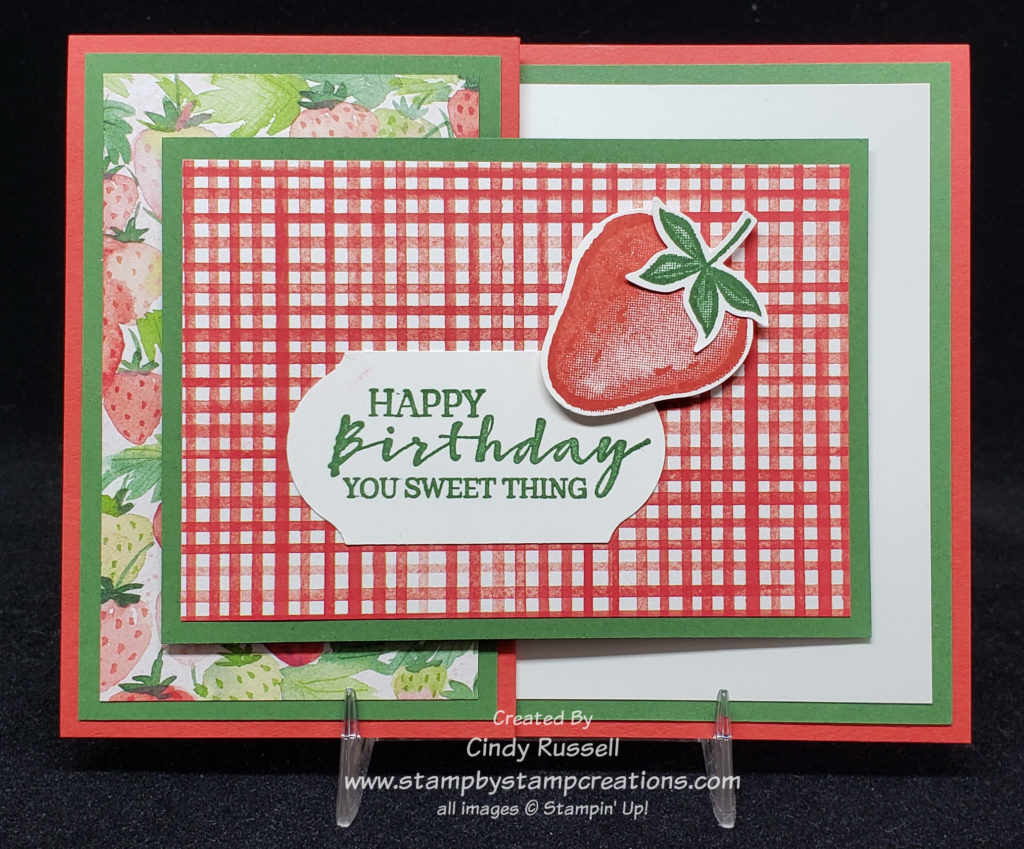
Now pair those adorable chickens with red plaid and chicken wire and you have the perfect combination! Right?!

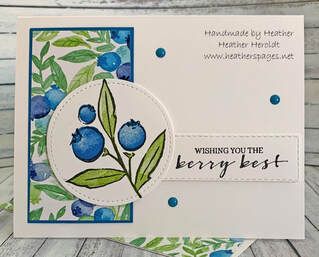
I got the inspiration for my card from a card by Karen Day that I saw posted online. (You can see her card below.) It was definitely the red Buffalo Check background that caught my eye. I knew I wanted to use the All Wired Up background stamp too. I mean why wouldn’t you use a chicken wire background if your’e stamping chickens! Ha!

card by Karen Day

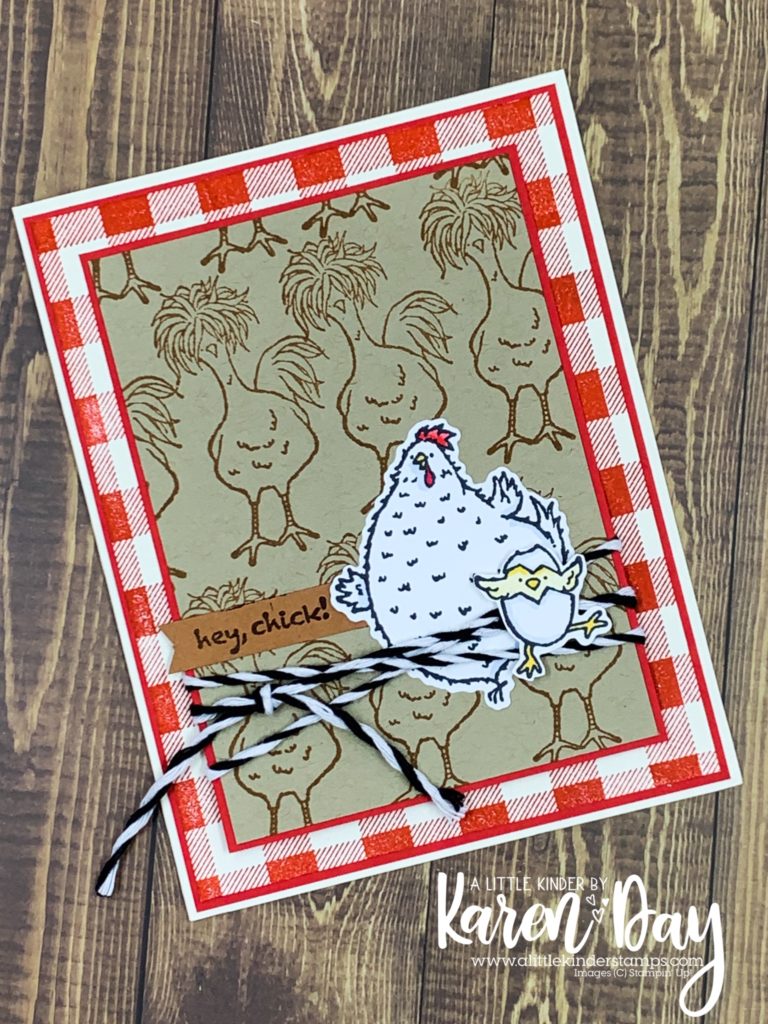
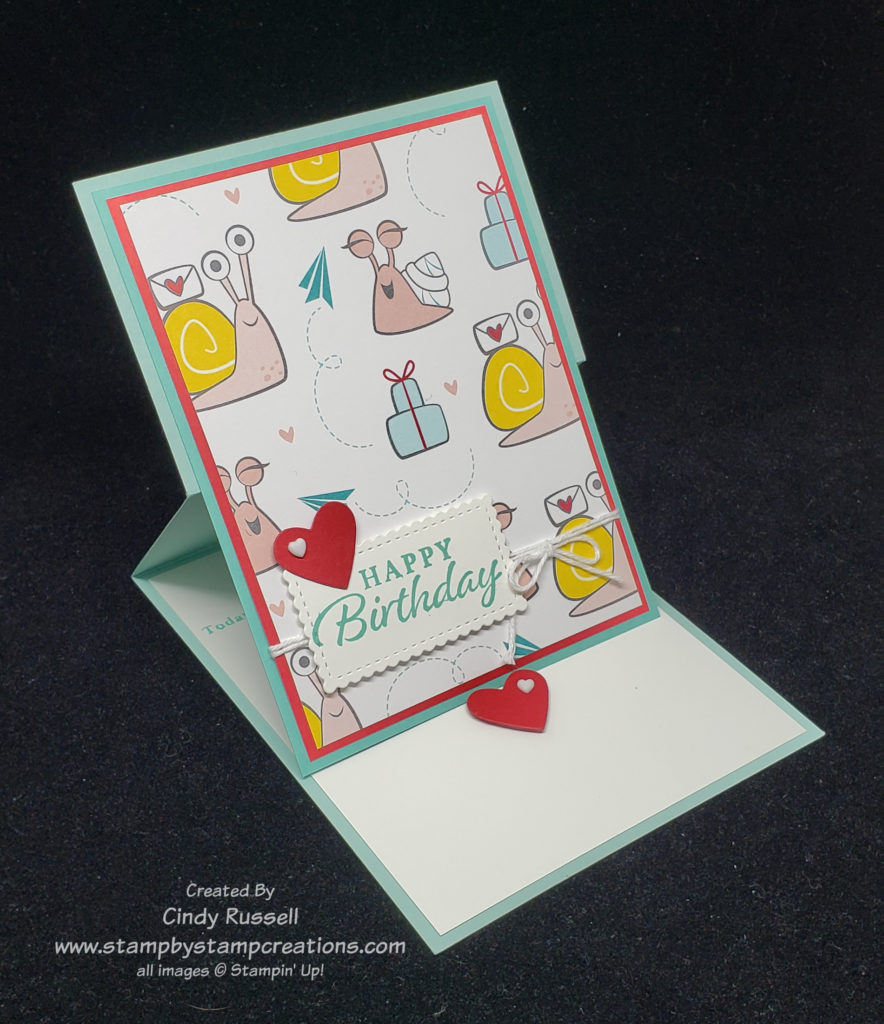
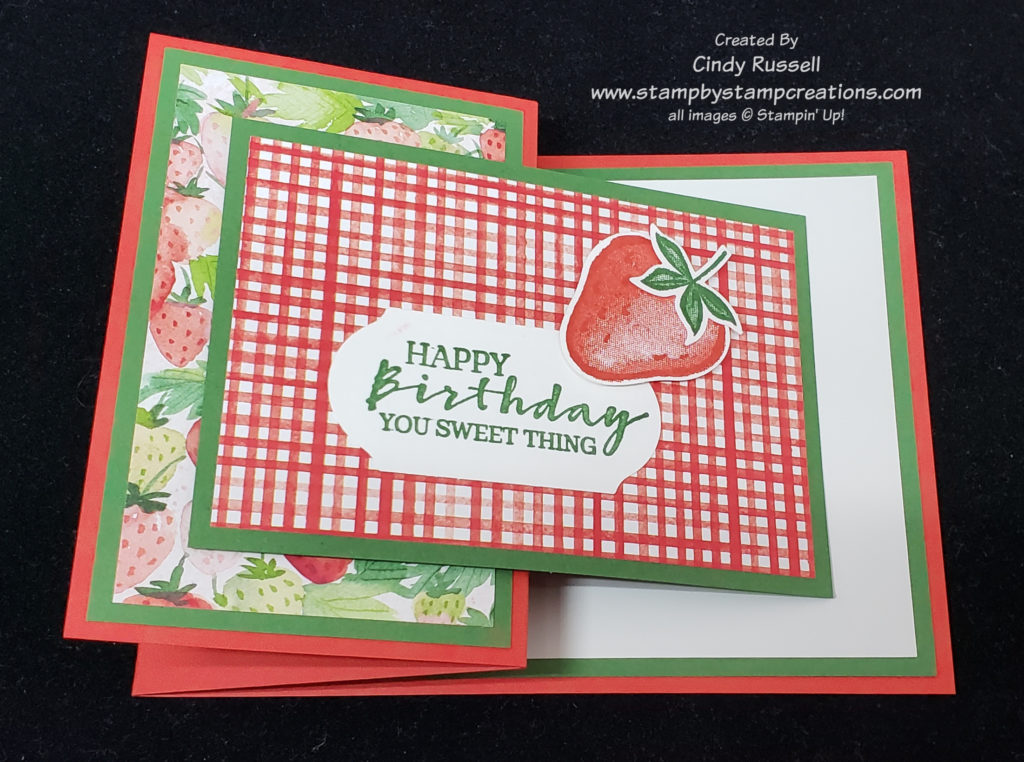
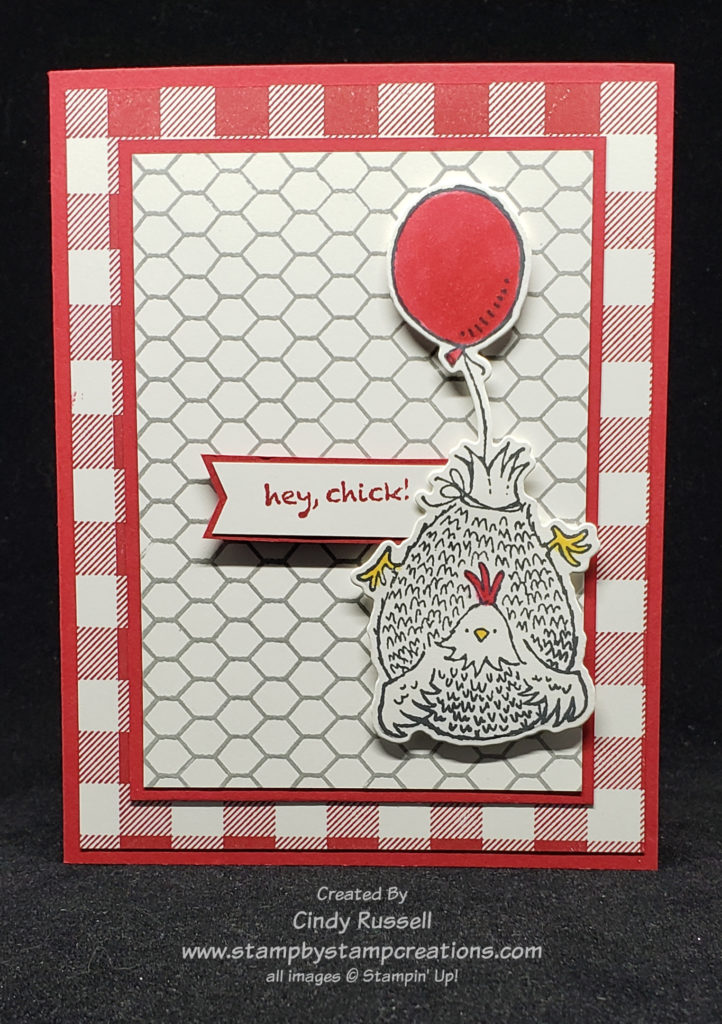
I started with the chubby dancing chicken on my card but it just didn’t seem to fit with the banner I had made. Then I grabbed the chicken floating with the balloon and tada! my card was complete!

Sometimes you just have to keep playing around. You may have a vague vision in your head of what you want but you just need to keep shuffling things around until it comes together.

Even when you’re copying someone’s card exactly this may happen. You’re cutting and gluing things together and all of the sudden….”OOO, what if I change this or add this…”. Be open to change.

I love browsing Pinterest and the Facebook page just for Stampin’ Up! Demonstrators that have SO many ideas! I may see a card that I want to copy exactly but in the end I usually end up changing up a little something.

Happy Birthday Chick card – inside

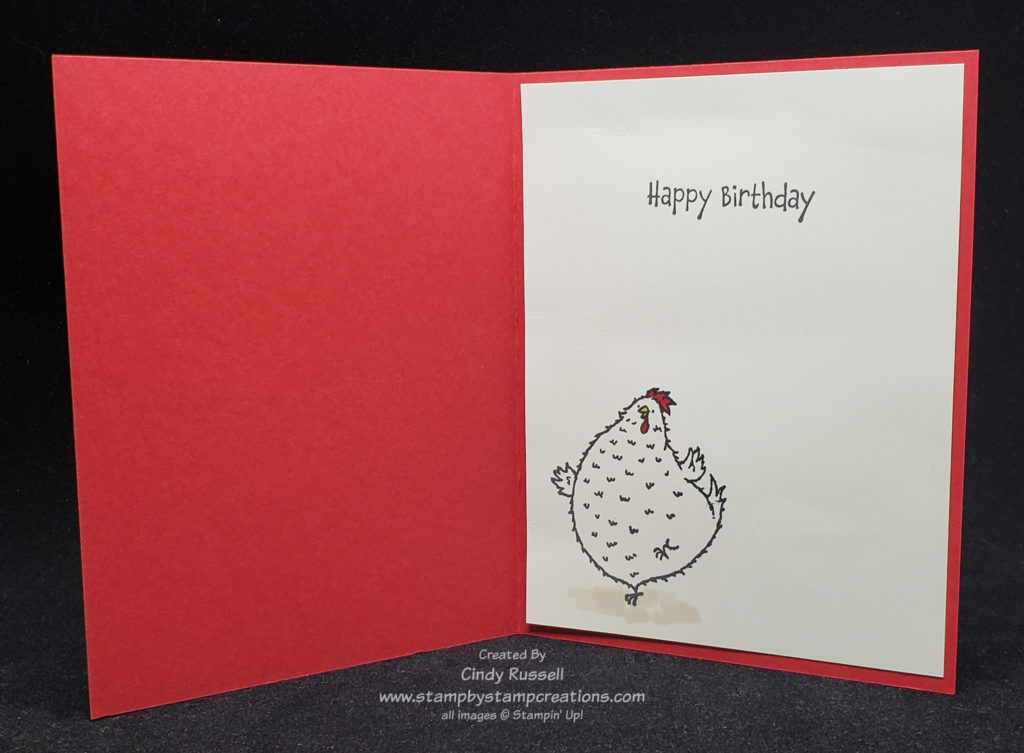
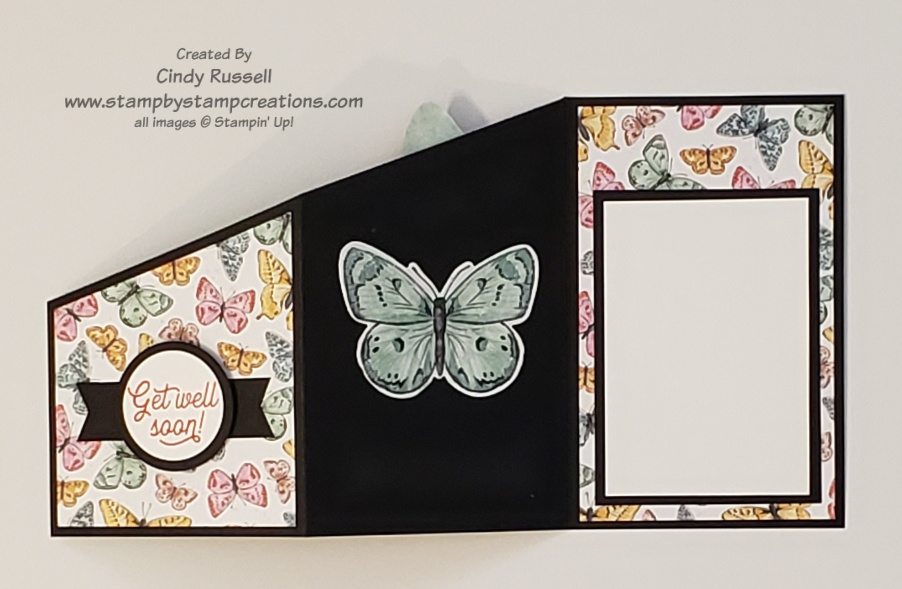
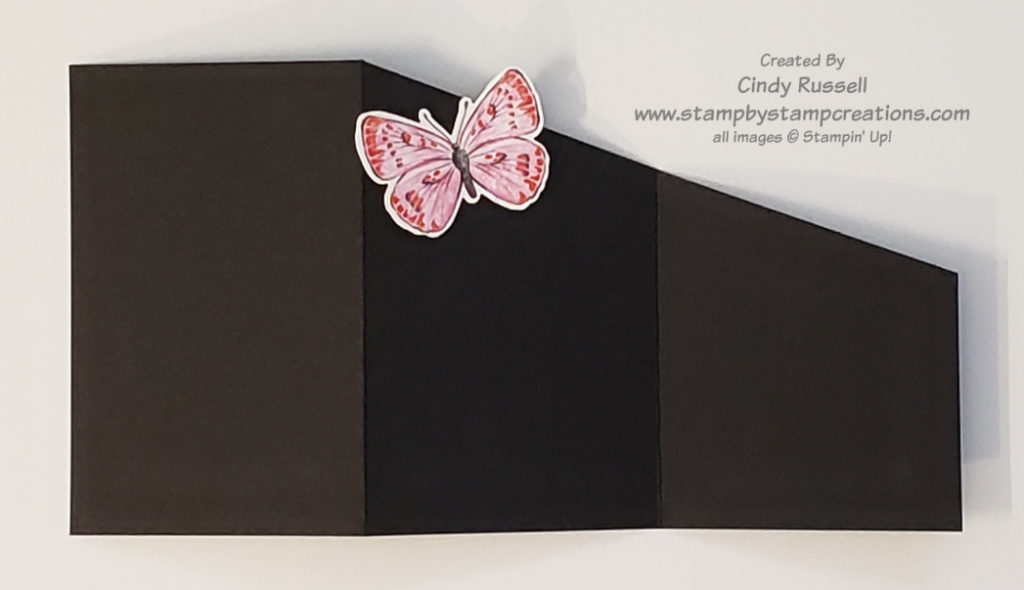
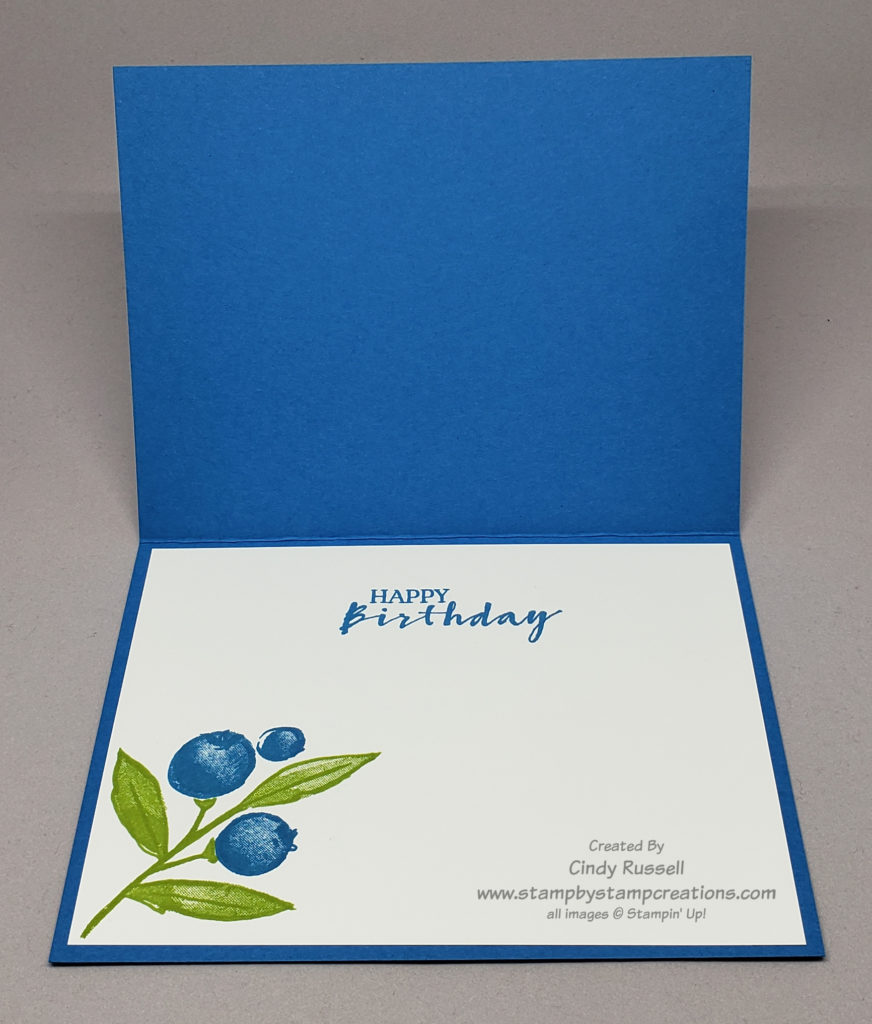
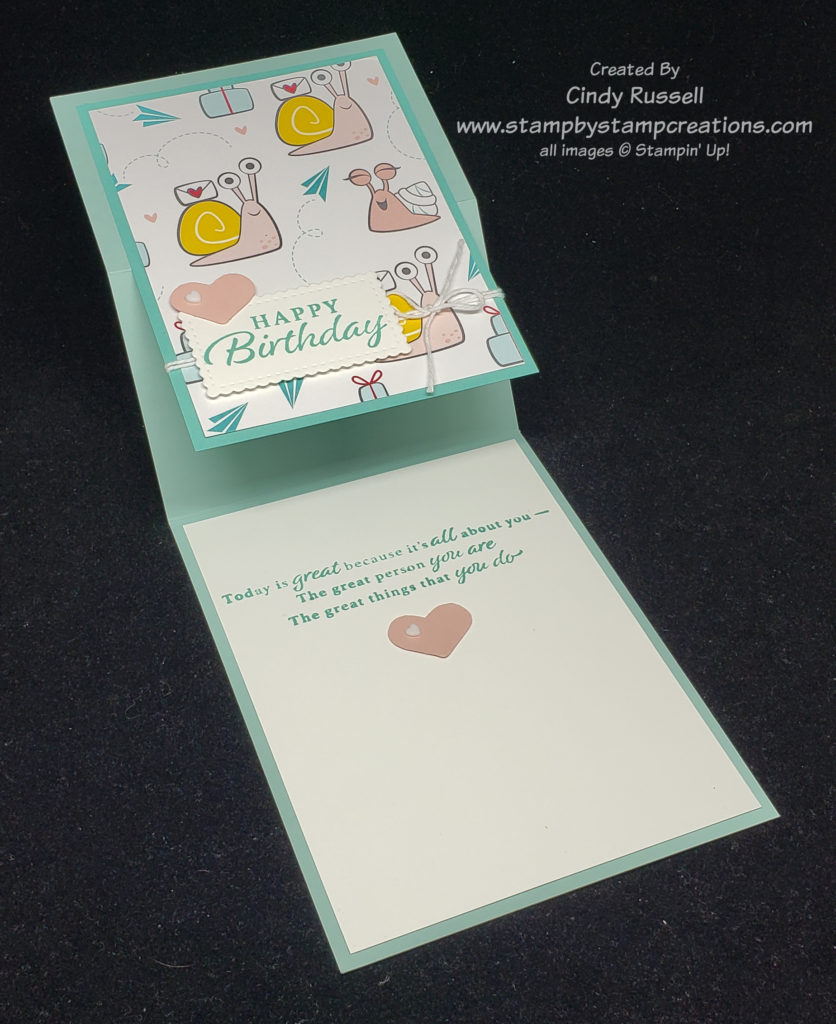
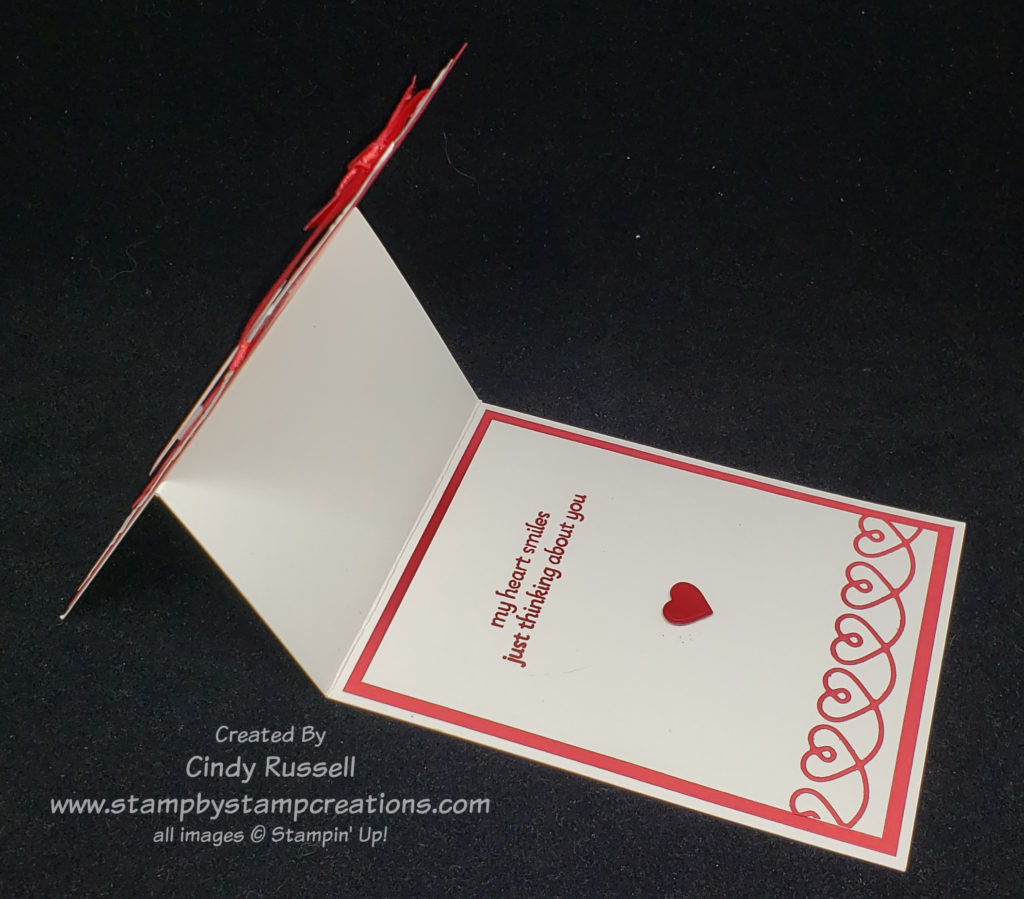
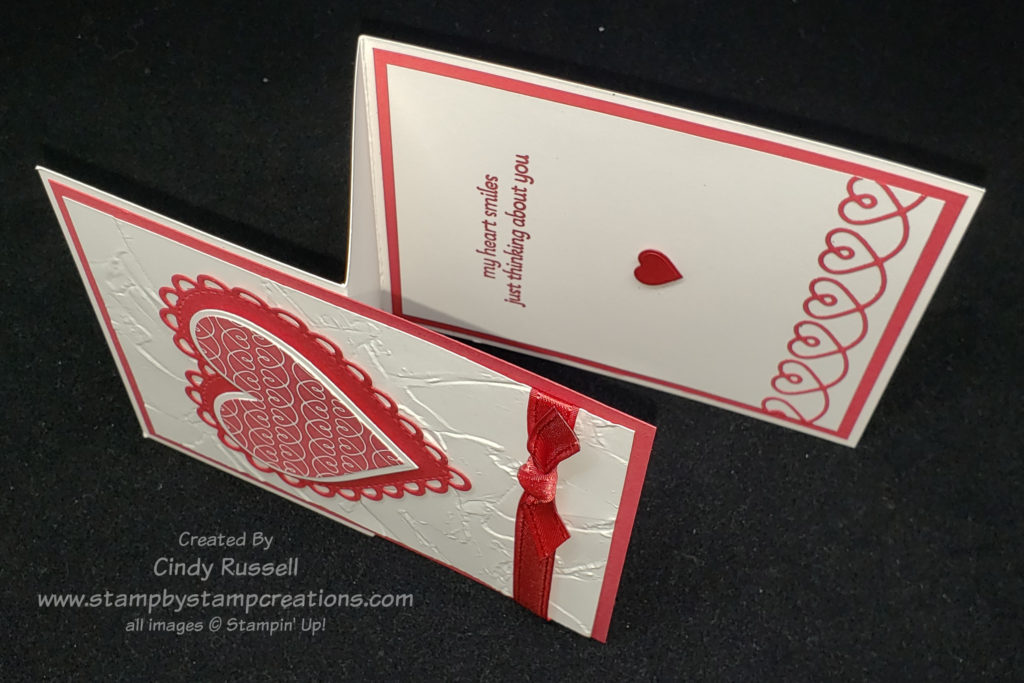
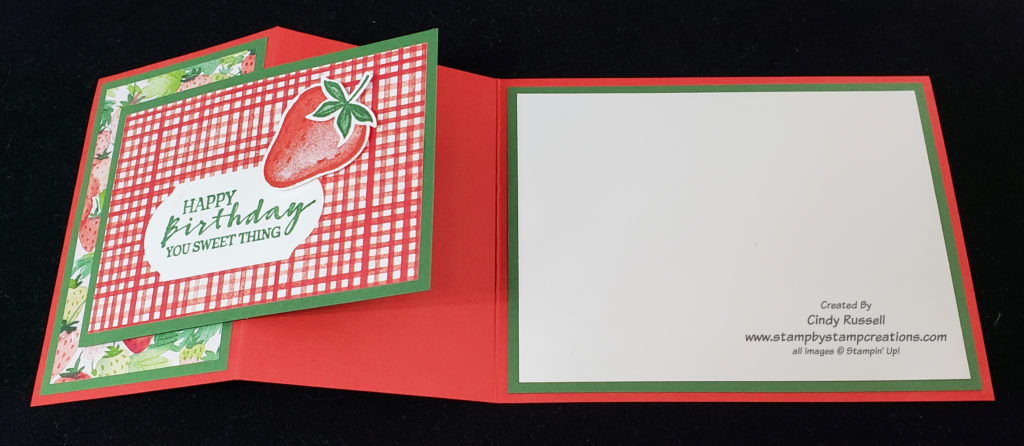
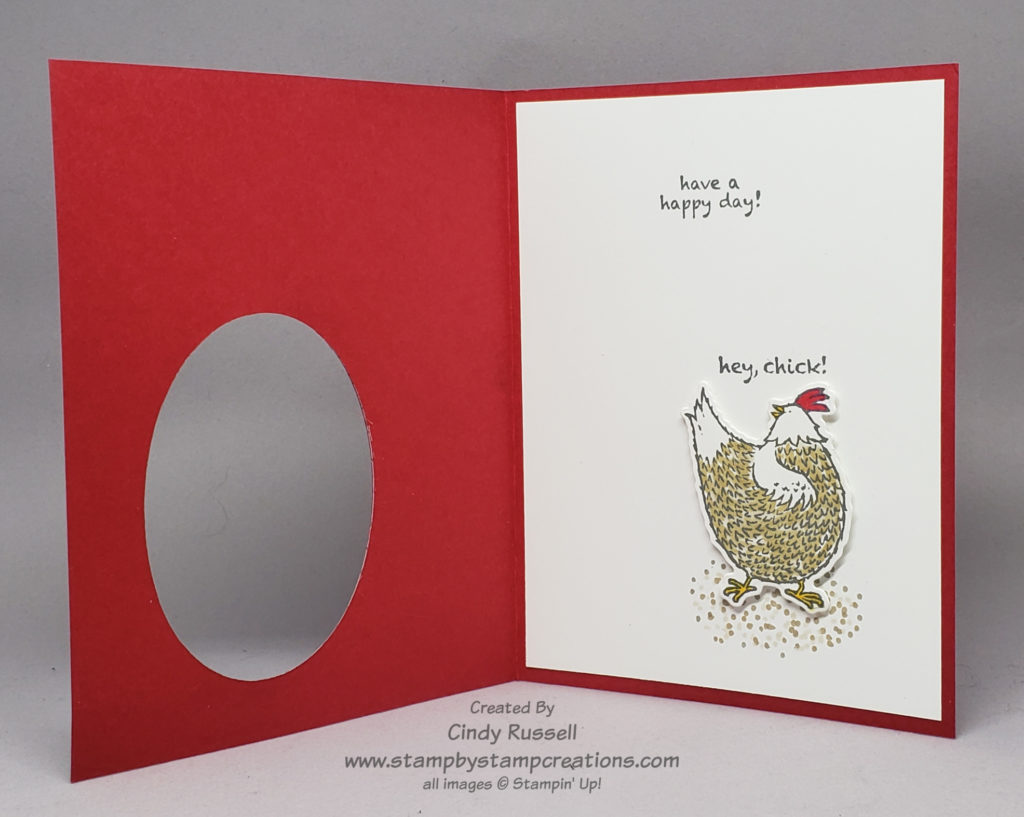
Don’t forget that if you’re going to all the trouble to make the outside of your card adorable you should add a little bit of that to the inside of the card (and envelope) too! I may not have used the chubby dancing chicken on the outside of my card but she definitely made it on the inside. I’m pretty sure she’ll be on the envelope too!

Have a great day! Take care and Happy Stamping!

Fun Folds: Box Base Card

Box Base Fun Fold Card

I have no idea what this type of card is actually called but I’m calling it a Box Base Card.  The base is a box and the card is attached to it.  Sometimes you just need to go with those descriptive words.  😊

A week or so ago a friend of mine texted me wondering if I had any dinosaur cards for her grandson’s upcoming birthday.  Naturally I didn’t but figured it was a good time to get out my Dino Days stamp set and the coordinating Dino Dies.  I then did what every good crafter does when they can’t figure out where to start and I hopped on Pinterest. 

Box Base Fun Fold Card Template

I’ll be honest, I pretty much copied the card I found on Pinterest.  I fell in love with this fun fold because it’s so EASY!  You start with a piece of cardstock that’s 8 ¼” x 5 ½”.  This is a quarter inch shorter than a regular card base.  You then score it along on the long edge at 4 ¼, 5 ¼”, 6 ¼” and 7 ¼”.  Crease all score marks well.  Once you’ve creased the score lines you can see how the card will be put together.

On my card I needed to make sure that I decorated legs of the yellow dinosaur and the bottoms of the trees are covered by the “box” portion of my card.  Even if part of the design isn’t going to be covered by the “box” it will probably be easier to decorate the card front before adhering the “box”.

To form the “box” you want to lay the card base in front of you with the card design facing up.  Fold over the bottom section of the “box”.  This is where you will place your adhesive.  Now fold up the other sections.  The edge of the bottom section will meet up with top score line and adhere to the bottom portion of the card design area.

When you’ve got the card put together you just need to finish decorating it by possibly adding decoration to the “box” portion of the card.  You can also add a piece of cardstock to the back of the card so you have a place to write your message.

This Box Base Fun Fold card was fun and easy to make.  Give it a try!  Have a great day!  Take care and Happy Stamping!

Make It Mine Monday: Long & Skinny Card

Today I thought I’d try something a little out of my comfort zone.  I decided to try a new size card.  Have you seen these long, skinny cards?  The card is 4” x 9 ¼” and fits perfectly in a letter-size envelope (9 ½” x 4 1/8”).

Butterfly Bouquet Long & Skinny Card

This is the card I saw that I wanted to make my own.  Isn’t it pretty?  I love the background and all of the different colored butterflies.  I copied the basic design of the original card, along with the butterflies, but that’s about it.

My Butterfly Bouquet Long & Skinny Card

I decided to keep my colors simple and used Blushing Bride, Basic White and Smoky Slate.  I needed the Blushing Bride butterflies to pop a little more so I used my new Blending Brushes and lightly colored Velum Cardstock with the Smoky Slate ink.  It was just enough to make the Blushing Bride butterflies and the little velum butterflies pop against the Basic White background.  One other thing I did to help make the butterflies pop against the background was to use a Sponge Dauber and add a little color around the edges of the butterflies.  It really made a difference on the card.

Another little secret is how I was able to emboss the Basic White background without a seam since the cardstock is longer than the embossing folder.  I put the cardstock in the embossing folder about halfway.  Then  I ran it PARTIALLY through my Stampin’ Cut & Emboss Machine.  I made sure the end of the embossing folder didn’t go all of the through the roller of the machine.  I had to roll it back towards me to get the folder out and then turned the cardstock around and repeated the process.  It worked like a charm!  If you try this, you definitely don’t want to try it with a folder that has a distinct design.  I used the Subtle Embossing Folder that didn’t need anything to line up. 

On all of my butterflies I only adhered the bodies down to let the wings flutter.  I used the Elegant Faceted Gems to add a little sparkle the butterflies too.   

This was a fun card size to make.  I’m not sure how often I’ll make this card size since it’s such a large area to fill.  I’d have to be working with just the right products (like butterflies!) to make it work.

Have a great day! Take care and Happy Stamping!

Fun Folds: Angled Z-Fold Card

Lately we’ve been talking about many different types of Z-Fold cards and today is no different.  Today I want to introduce you to the Angled Z-Fold cord or Angled Tri-Fold card.  I think most people call it Angled Tri-Fold but you fold the three panels into a Z so to me it’s an Angled Z-fold!

Butterfly Bouquet Angled Z-Fold Card
Butterfly Bouquet Angled Z-Fold Card open

When you look at the card in it’s closed position you can see that there is going to be some type of special fold to it.  You see the front panel with the designer paper and you can see a little bit of the designer paper on the “inside” or back panel.  As you open the card it’s easy to see the angled top edge.

I used the exciting new Butterfly Bouquet products on my card.  Gotta love those butterflies!  The large pink butterfly is die-cut from the designer paper!  You can view all of the products in this collection here. The stamp set and the dies from this collection are actually sneak previews from Stampin’ Up!’s upcoming 2021-2022 Annual Catalog. How fun is that?!

Template for Angled Z-Fold Card

My card is made from 5 ½” x 10 ½” piece of cardstock and will fit in a standard Stampin’ Up! envelope.  When closed, the card measures 3 ½” x 5 ½”.   Score the 5 1/2″ x 10 1/2″ piece of cardstock along the long side at 3 ½” and 7” to form your panels.  To get the angled edge you will then measure 3” up from the bottom on the left short side.  Make a light pencil mark.  Then draw a light line from the pencil mark to the top of the 7” score mark and then cut along this line.  The base of the card is now done and you just need to decorate!

The angled piece of designer paper on my card is 3 ¼” across.  The short side measures 2 ¾” and the long side measures 3 7/8”.   The larger piece of designer paper on the back panel measures 5 1/4″ x 3 1/4″.

You can make an Angled Z-fold card in many different sizes. The key is to make sure that you can evenly divide the long edge of your cardstock by 3 so that your panels are all the same size. The starting point for you angled edge can be anywhere on the left edge and you can either end your angle at the second score mark like I did or you can take the angle all the way to the upper right corner of the cardstock.

I hope you like this fun and easy Fun Fold! Have a great day! Take care and Happy Stamping!

Get Ready for Spring With Butterfly Bouquet!

Stampin’ Up!’s Butterfly Bouquet

It’s time to thing Spring with Stampin’ Up!’s new Butterfly Bouquet products! Butterfly stamp, buttefly dies and buttefly paper! All sorts of butteflies!

I didn’t really think I was a butterfly person but as I’ve been playing with these products over the last week they’ve just made me smile….and I haven’t even inked up the stamp yet!

The stamp and dies are an early release from Stampin’ Up!’s upcoming new 2021-2022 Annual Catalog. The designer paper in the Butterfly Bouquet collection however will only be available until May 3rd.

You may be wondering why I am saying “stamp” versus “stamp set”. Take a look at the photo above. The butterflies are all connected. It’s one large stamp! Ink up this stamp and you will stamp 6 butterflies at once! And guess what? There is a die that will die cut all six of them at the same time! One of the sheets of designer paper has these butterflies printed on it so you’ll be able to die cut them also with the single die.

There are both solid butterfly dies as well as intricate dies in the die set. This card was made using the designer paper and the intricate dies. So fun!

You can view these Butterfly Bouquet products here in my online store. Get a head start on those Spring projects with the Butterfly Bouquet collection!

Have a great day! Take care, happy stamping and Think Spring!

Make It Mine Monday: Hey Chick Double Z-Fold

Hey Chick Double Z-Fold by Patti Bagin

Check out this fun Hey Chick Double Z-Fold card by my fellow demonstrator Patti Bagin! There’s so much happening and so many chickens! When I first saw this card I knew that I wanted to give it a try. But to make it my own I had to figure out where to start.

I couldn’t just copy Patti’s card because to start with I didn’t have the designer paper that she used. I did love how Patti made a fence and used that as the second Z of her Double Z-Fold. If you’re not sure what I’m talking about when I say “Double Z-Fold” check out my blog post from Friday. It’s all about the Double Z-Fold.

My Hey Chick Double Z-Fold Card

My card began with the fence. I knew I wanted to use the chicken wire on my fence but since I didn’t have the gray designer paper I had to come up with another option. I decided to a strip of clear Window Sheet and adhere by chicken wire to that. I then needed to add fence posts! The fence turned out just how I wanted it to. The only probably with it is that the Window Sheet doesn’t fold very easily. If I ever mail this card I’m going to have to probably put it in a larger envelope and pay extra postage.

I didn’t want to adhere my fence directly to the card so I used the foam adhesive strips that you’d use when making a shaker card. They worked perfectly! To get the two-tone chicken coop I die cut one from Real Red cardstock and one from Crumb Cake cardstock. I then cut out the tiny pieces from the Crumb Cake chicken coop and adhered them to the red one.

My tip when die cutting the corn stalks and the ears of corn is to to use Adhesive sheets. These pieces are so thin and so small it would be difficult to get adhesive on the back of them.

I didn’t include quite as many chickens on my version of this card as Patti did but I’m pleased with the results. Too fun!

Have a great day! Take care and Happy Stamping!

Fun Folds: Double Z-Fold Card

Sweet Ice Cream – Horizontal Double Z-Fold

Today I have another variation of the basic Z-Fold card for you….the Double Z-Fold!

The Double Z-Fold card is just what the name suggests. It’s two Z’s put together. My sample is made with the fun Ice Cream Corner Suite.

Included in this fun suite of products are the Sweet Ice Cream stamp stamp that can be bundled with the Ice Cream Cone Builder Punch, Blackberry Bliss Striped Ribbon, Ice Cream Corner Sprinkles, and the Ice Cream Corner Designer Series Paper. Of course they all coordinate perfectly together!

Sweet Ice Cream – Horizontal Double Z-Fold opened.

But back to the fun fold! In this picture you can see the 2 Z’s that for the the Double Z Fun Fold. The larger one is the card base and the smaller one is where the sentiments and the images are.

On both the large and the small pieces that form Z’s you will first score/fold your cardstock in half and then one of the sections will be scored/folded again just as you do on a regular Z-Fold card. Opposites attract. If you can remember this, you can figure out how to make the Double Z-Fold. The large section of the small piece of cardstock gets attached to the small section of the large piece of cardstock and the small section of the small piece of cardstock gets attached to the large section of the large piece of cardstock. Large to small and small to large.

Sweet Ice Cream – Vertical Double Z-Fold open

The card above is in a horizontal orientation but it can easily be made into a vertical orientation. The only thing you’re going to change when making the vertical orientation is the direction that your images and sentiments are placed.

You will make your vertical card the same way: large to small and small to large. As I mentioned before, this is the key.

To make sure that everything gets lined up perfectly when I adhere the small Z to the large Z I first close up the small Z so that the small section is folded up behind the large Z.

Back of small Z-fold

Place your adhesive on both of these sections. To correctly place this section on the large Z card base make sure the card base is closed . Then you will butt the center folds of the large piece and the small piece together and adhere.

You can see this in the side view picture below. When the card is all closed up the small sections butt up to each other.

Double Z-Fold Side View
Sweet Ice Cream – Vertical Double Z-Fold

One final thing to note about the Double Z-Fold Fun Fold card is that it won’t open to lay flat. You can kind of see this in both of the pictures of the open cards.

To left is a photo of the Vertical Double Z-Fold card in the closed position.

These cards are fun to make! Enjoy!

Have a great day. Take care and Happy Stamping!

Make It Mine Monday: Berry Blessings

Wow! Winter 2021 Sale-a-bration is almost over! Can you believe it? There’s only a few days left so I thought my card today should use one of the Sale-a-bration items.

I haven’t used the sweet Berry Blessings stamp set yet so I chose that along with the coordinating Berry Delightful Designer Series Paper. So cute! Did you know that this designer paper also coordinates with the Sweet Strawberry stamp set/bundle from the January – June Mini Catalog? So much coordination! I love it!

Berry Blessing Stamp Set

Thank you to Heather Heroldt for the inspiration. As you can see, the biggest changes were just adding layers to Heather’s card. More layers seems to be what I do best. Ha!

I also decided to stamp the sentiment on the background piece of the card instead of a label and I also used green embellishments instead of blue. I used the Frosted and Clear Epoxy Droplets from Stampin’ Up!’s Annual Catalog and colored them with my Granny Apple Green Stampin’ Blends Markers.

Here’s a picture of the inside of my card. Heaven forbid that I didn’t decorate the inside as well as the outside! 🙂

I love getting my inspiration from fellow crafters. We all have to start somewhere, right?

The sentiment on the front of the card is from the Berry Blessings stamp set but the inside sentiment is from the Sweet Strawberry stamp set, which as I mentioned before, also coordinates with the Berry Delightful designer paper.

The Berry Blessings and Berry Delightful Designer Paper are grouped together as a Level 2 Sale-a-bration choice which means you need to spend $100 on Stampin’ Up! products in order to choose it. Don’t forget that February 28th is the last day of Sale-a-bration so get that order together and head on over to my online store or contact me with your order. I’d hate for you to miss out!

Have a great day! Take care and Happy Stamping!

Fun Fold: Window Z-Fold Card

Whale Done Window Z-Fold Card

I’m so excited that I’ve finally used my Whale of a Time Suite products! These products were some of the first on my radar when the Annual Catalog came out last June but I held off buying them. I finally took the plunge and purchased them but then they sat on my shelf. Well, the time finally came with the fun fold card I have for you today.

Isn’t this Whale of a Time Designer Paper gorgeous? You’re just seeing one of the sheets. This paper pack is 6″ x 6″ with all sorts of sea life images.

I did copy this card from Pinterest (thank you Lisa Ann Bernard!). The only thing I switched out was the designer paper. Lisa used a more neutral paper on her card but I wanted to use one of the fun sea life patterns.

Whale Done Window Z-Fold Card – Inside

You can’t really tell from the outside of the card that it’s a fun fold but once you open the card you can see where the name comes from.

Lisa, the original designer, called this a Peek-a-boo Swing Card but to me Window Z-fold describes it a bit better. From the picture above you can see the window opening in the front of the card and you can also see the Z-fold of the white piece.

I was going to give you details on how to make this fun fold here on my blog post but it seemed a lot easier to simply write up the instructions and save it as a pdf for you. So here you go….step by step instructions with all of the supplies used and the measurements!

Of course as I finished writing up the instructions and looked at the photo of the inside of the card I decided that maybe I should have stamped some seaweed on that section too. Hmmm….next time! Yes, there will be a next time because I really like this card! 🙂

Leave a comment and let me know what you think of this fun fold. Have a great day!

Make-It-Mine Monday: Snailed It!

Snailed It Fun Fold

Oh, my gosh! These snails are so stinkin’ cute! I only have the designer paper right now but I am ordering the stamp set and dies on my next order. I can’t wait!

I usually don’t go for the cutesy stamp sets and dies. I stick with the more traditional ones. However….the more I see of these little snails the more excited I am to have them in my stamp room!

Recently I took a training from another demonstrator which included cards we could make. The adorable card here is one of the cards we were able to make with our kit. I love new ideas!

Hopefully you can see in the photos this is a Z-fold card like the strawberry card I shared with you in this post. The only difference is that the strawberry card had a horizontal layout and this card is vertical.

This card turned out very cute but as I was making it I thought about how I could make it into an Easel Z-fold card like the one I shared with you here.

Of course, simply turning it into an Easel Z-Fold wasn’t the only change to be made by me. Hello….can you say “more layers please”? Ha! Actually, believe it or not, adding one layer and changing the color of the hearts were the only changes I made.

Snailed It Easel Z-Fold Card

I think adding the red layer and changing the heart to red make things pop a little more on the card. The little resin hearts (that are on both cards) are really fun to add to cards. They come in red and in white. I do have to admit that I didn’t have the Kiss Punch which is where the pink heart came from on the first card. I had to dig through my retired stash of dies to find a heart that was about the right size for my version. This is why I hardly ever get rid of things! Ha!

Have a great day! Take care and Happy Stamping!

Tools of the Trade: Clear Blocks

Today I want to talk about Clear Blocks.  Wait!  Don’t stop reading!  I think you’ll want to continue reading to the end of this post.  You just may learn something or be reminded of what exactly you can do with your blocks besides mount your stamps on them.

Clear Blocks seem an obvious Tool of the Trade because with Cling and/or Photopolymer stamps we need the Clear Blocks in order to use our stamps. It gets a little messy if we’re trying to pick up a stamp with our fingers, ink it up and then try to stamp the image on our cardstock.  Yep, we definitely need Clear Blocks!

Stampin’ Up!’s Clear Block Set

Stampin’ Up! carries Clear Blocks in all different sizes.  Nine different sizes in fact.  I love this because there’s nothing worse than using a teeny-tiny stamp on a huge block.  Yes, it can be done but if you’re not careful you’ll get too much ink on the stamp or you’ll rock the block and get ink on it that can transfer to your cardstock.  I like to use blocks as close to the size of the stamp as possible.

Stampin’ Up! Clear Blocks are nice because they’re thick and all of the edges are rounded for an easy grip.  The sizes range from 1-3/16” x 1-1/4” for the tiniest images to 4-7/8” x 6” for a background stamp. Stampin’ Up!’s Clear Blocks can be purchased individually or in a set like you see here in the photo. They even sell a case in which you can store the blocks. Nice!

Multiple stamps on Clear Block

Clear Blocks aren’t just for single images though.  You can make your own background by placing multiple stamps on a block and stamping them all at the same time.  This makes stamping a background so much faster than stamping each image separately multiple times. Personally, I have trouble stamping “randomly” for a background. With this technique I don’t have to “think too hard”! You can use this “background” image as the background for your card or even the focal point.

Multiple stamp images on one block
Using a Clear Block as a stamp.

What else can you use Clear Blocks for?  Well, you can actually use them as stamps!  Check out the card I made here.  I inked up Stampin’ Up!’s “I” block and then stamped it on the white cardstock.  I then stamped my image over it.  Striking, isn’t it?  It’s the perfect technique to us when you want just a little pop of color on your card.

Clear Block Stamp
Use a Clear Block as an ink palette while water coloring

Clear Blocks make the perfect palette when you are water coloring with either your Water Painters or Blender pens.  Just place a few drops of the ink colors you are using on the block and then pick up with color from the block.  When you’re done with your project just wipe off the ink.

As you can see, Clear (or acrylic) Blocks are a definite must for any craft room. If you know of any other uses for Clear Blocks please let me know! Have a great day! Take care and Happy Stamping!

Make-It-Mine (Thursday): Lots of Heart

If you read my blog post on Monday you are aware that I am changing things up a bit this week. Monday was a fabulous Easel Fun Fold. Today will be Make-It-Mine and tomorrow will be a Tools of the Trade post. I hope I don’t throw anyone off too much! Ha!

Lots of Heart in pink

I love the Lots of Heart bundle.  Not only are the stamps in the bundle fabulous but the dies are great too!  Check out this card I found on the internet.  Isn’t the floral heart lovely?  And the large pink scalloped heart is the perfect background.  Even though the checked heart (my favorite from the stamp set) isn’t used on this card I couldn’t resist trying to copy it and Make-It-Mine.

Naturally I got carried away.  The only things I really copied were the card design itself and the basic colors. I’m sure this doesn’t surprise you. If I’m going to make a card my own I like to go for it. 🙂

When I was getting started on my version my eye caught the Love You Always Foil Sheets in my craft room and I knew I had to give them a try.  Not only did I use the Rococo Rose Foil Sheets for my floral heart but I decided to give them a try on the background.  But I couldn’t just use the foil sheet plain, I wanted to see how it looked embossed with my new favorite embossing folder – The Painted Texture Embossing Folder!

I love it!  My version turned out perfectly!  The card I copied is soft and sweet but I think my version is shiny and bright.  Fun!  Don’t be afraid to experiment a little when making someone else’s card your own.

I need to tell you that it’s really difficult to photograph a card with with so much foil sheet on it. It’s so shiny! It not only reflects the light but a lot of time you get your own reflection in it. I hope you get at least an idea of how pretty this card really is.

Have a great day! Take care and Happy Stamping!

Fun Folds: Easel Z-Fold Card

I’m changing things up a little this week! I know it’s Monday and I usually do a Make-It-Mine Monday post but I couldn’t wait to share today’s card with you so you’re getting another Fun Fold card. Valentine’s Day is less than a week away so this week will be all about Valentine cards.

I love the Lots of Heart Bundle from Stampin’ Up!’s January – June Mini Catalog. So many hearts to choose from!

In December, I participated in a swap where I had to make about 20 of the same card, send them in and then get 20 different cards back. Swaps are fun to do because you get so many new ideas.

I tend to get carried away when I participate in swaps. I usually try to do a fairly fancy card and this swap was no exception. I knew I wanted to use the fabulous stamp set. There is a checked heart in the stamp set that I started my design with but when you look through the other photos in this post you’ll see why I changed things up.

Last Friday, I shared with you the Basic Z-Fold card. I told you that after you make your card base into a Z you usually add a smaller panel to the front piece as your focal point. With this Easel Z-Fold card, instead of adding a smaller panel I added a large panel that was almost the size of the regular card. This larger piece actually forms the “easel” portion of my card. To help the easel stand up I popped up a small heart on the inside of the card. This little popped up heart then holds the easel open.

Can you see why I didn’t use the checked heart on my card and used the swirly heart stamp? I just had to use the swirly heart dies at the bottom of my card and there just happened to be a swirly heart stamp that worked perfectly on the front! Can you say “coordination”?

The key to this design was the large pieces of Real Red cardstock. I first adhered the inside piece to the inside of the card base. I then closed the card and lined up the front piece of Real Red cardstock directly over the inside piece of red cardstock. This way you can’t see the inside portion of the card until you open it.

I didn’t get a great picture of the inside of the card but the sentiment says “my heart smiles just thinking about you”. I love that it’s not your typical Valentine sentiment which makes this stamp set perfect for any occasion.

Have a great day! Take care and Happy Stamping!

Fun Folds: Basic Z-Fold Card

The basic Z-Fold card is fun and pretty easy to make. It’s called Z-fold because….it looks like a Z when folded!

When making a Z-fold card you can start with a 4 1/4″ x 11″ piece of cardstock like I did in the adjacent picture or you can start with a 5 1/2″ x 8 1/2″ piece of cardstock. Whichever size of cardstock you start with you’re going to make your Z-fold card the same.

First of all you want to score and fold your card base in half. In the photo above I scored my 4 1/4″ x 11″ piece of cardstock at 5 1/2″. To make the Z I then scored the front of the card in half again at 2 3/4″ and folded it towards the fold. Easy Peasy.

In the photo to the left I started with a 5 1/2″ x 8 1/2″ piece of cardstock. I first scored it in half at 4 1/4″ then the second score mark and fold were at 2 1/8″.

Once you have the Z-fold card base formed you need to decorate and embellish your card. You will usually adhere a panel to the smaller, folded over front panel that will overlap the back base of the card.

Strawberry Z-Fold Card – Front

Back on January 18th I shared a card with you that looked a lot like the card you see on the left. It was a regular card made with The Sweet Strawberry stamp set. Once I had completed that card I realized how cute it would be as a Z-Fold card which brings us to today’s project.

In the photo you can see how the “front of the card” in Real Red is only have the size of the Real Red base. This is because I folded over half of the front to form my Z-fold. The checked designer paper with the strawberry on it is the decorative panel that completes the card.

Strawberry Z-Fold Card – view 2

In this second picture you can see the “Z” and how the card is actually put together. I used Stampin’ Dimensionals on the left, back side of the piece with the checked background and strawberry. It’s important to remember to only put Stampin’ Dimensionals on the portion of the paper that will actually get attached to that front side or you won’t be able to open your card. Oops! (Not that I’ve ever done that. Ha!)

Strawberry Z-Fold Card – open

You can see how the card looks when it’s open in the photo above. Z-Fold cards are fun to make. They’re pretty much my go-to fun fold when I want to add a little more pizzazz to card.

Give the Z-fold Fun Fold card a try. I’d love to see your samples! Have a great day! Take care and Happy Stamping!

Make-It-Mine Monday: Hey Chick!

Hey Chick!  I love this stamp set!  The images are SO adorable!  Tomorrow is the big day when you can order this stamp set and the coordinating dies for it!  If you didn’t get this stamp set a few years back when it was a Sale-a-bration item you’re going to want to get now!

I knew I wanted to make a card using this adorable stamp set for today so I had to search for a card to copy.  I found this fun card on Pinterest.  Unfortunately there wasn’t a watermark on the photo so I don’t know who to thank for the inspiration.  This card was made when the stamp set was first available in 2017 and also used the chicken wire embossing folder that was available at that time. I’m going to have to check my stash to see if I had this embossing folder and saved it. I did save my Hey Chick stamp set from back then so you never know.

Hey Chick!

I wasn’t able to use the chicken wire embossing folder but I was lucky enough to be reminded that there is a chicken wire background stamp in Stampin’ Up!’s current Annual Catalog called All Wired Up.  It was perfect for the front of my card.

On my card I was able to die cut the stamped chicken since there are now coordinating dies.  You know how much I love coordination!  I made the red frame on the front of the card by using two different sizes of the Layering Ovals dies.  I die cut the smaller one first and then fit the larger oval around the opening. I found that it was easier to do it this way than die cutting the larger one first and fitting the smaller one inside.

Hey Chick card – inside

I had a lot of fun making this card and I can’t wait to play with these new products again. Don’t forget that you too can purchase these fun products starting tomorrow. The Chick Dies not only cut out the images from the stamp set but they also cut out some other fun images that you can see in the image below.

  • Hey Chick Bundle (#158627 $44)
  • Hey Chick Cling Stamp Set (#158190 $17)
  • Chick Dies (#158199 $32)
Chick Dies

These fun, coordinating products will be available until June 30th. You have plenty of time to order them but why wait? 🙂

Have a great day! Take care and Happy Stamping!