Fun Folds: Box Base Card

Box Base Fun Fold Card

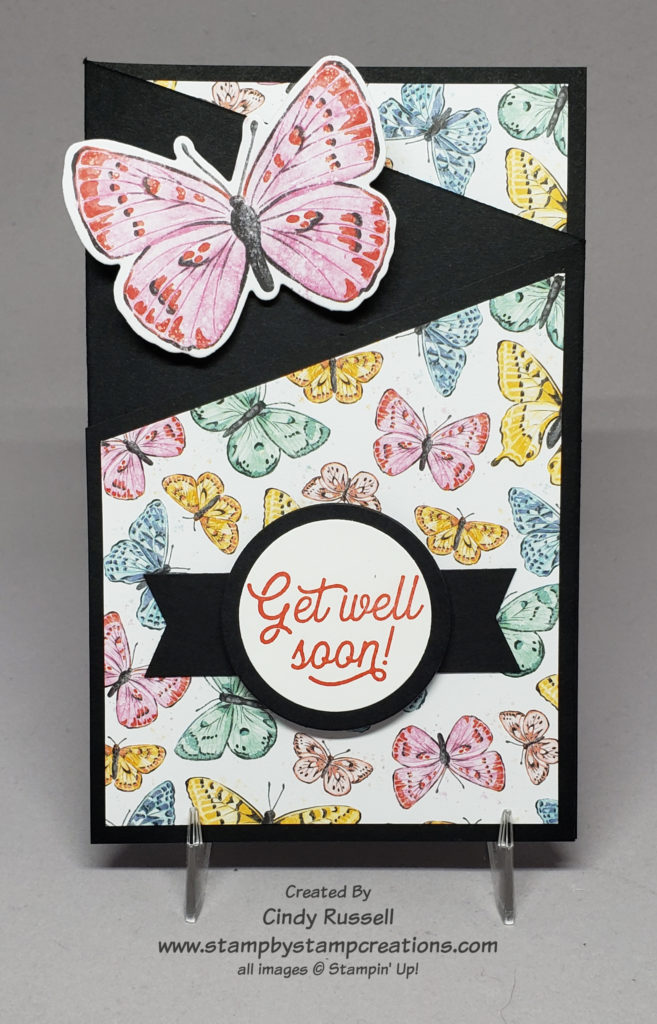
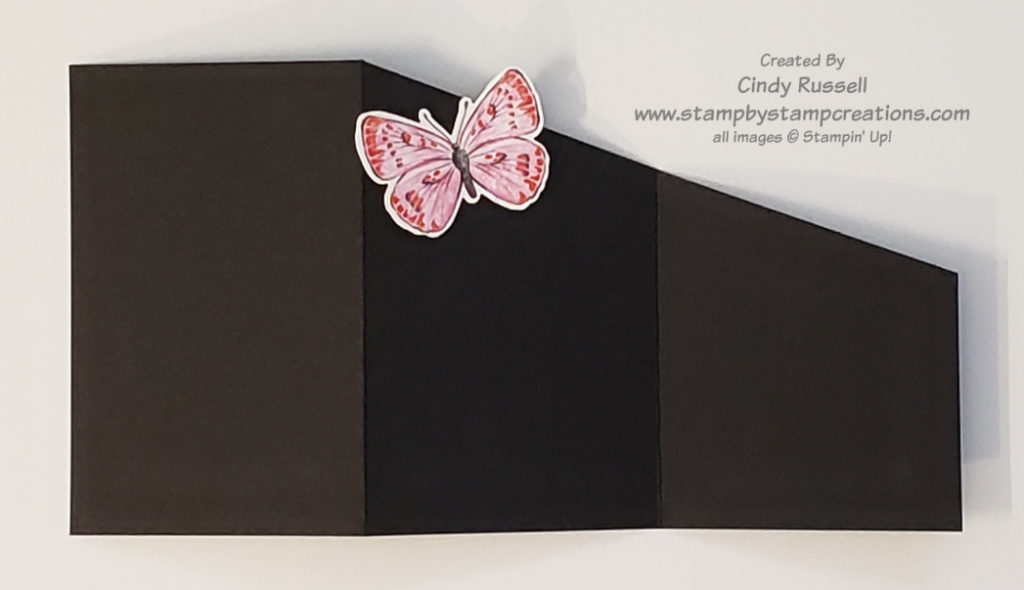
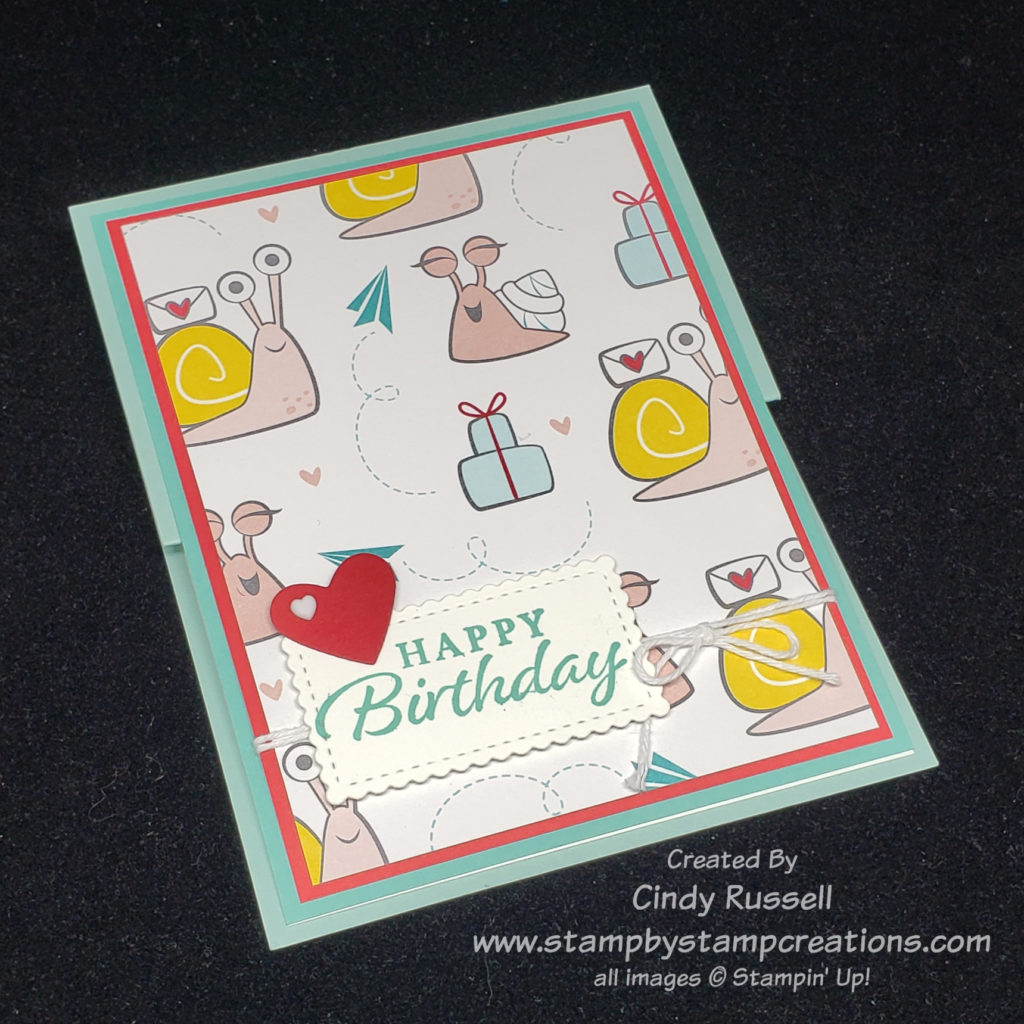
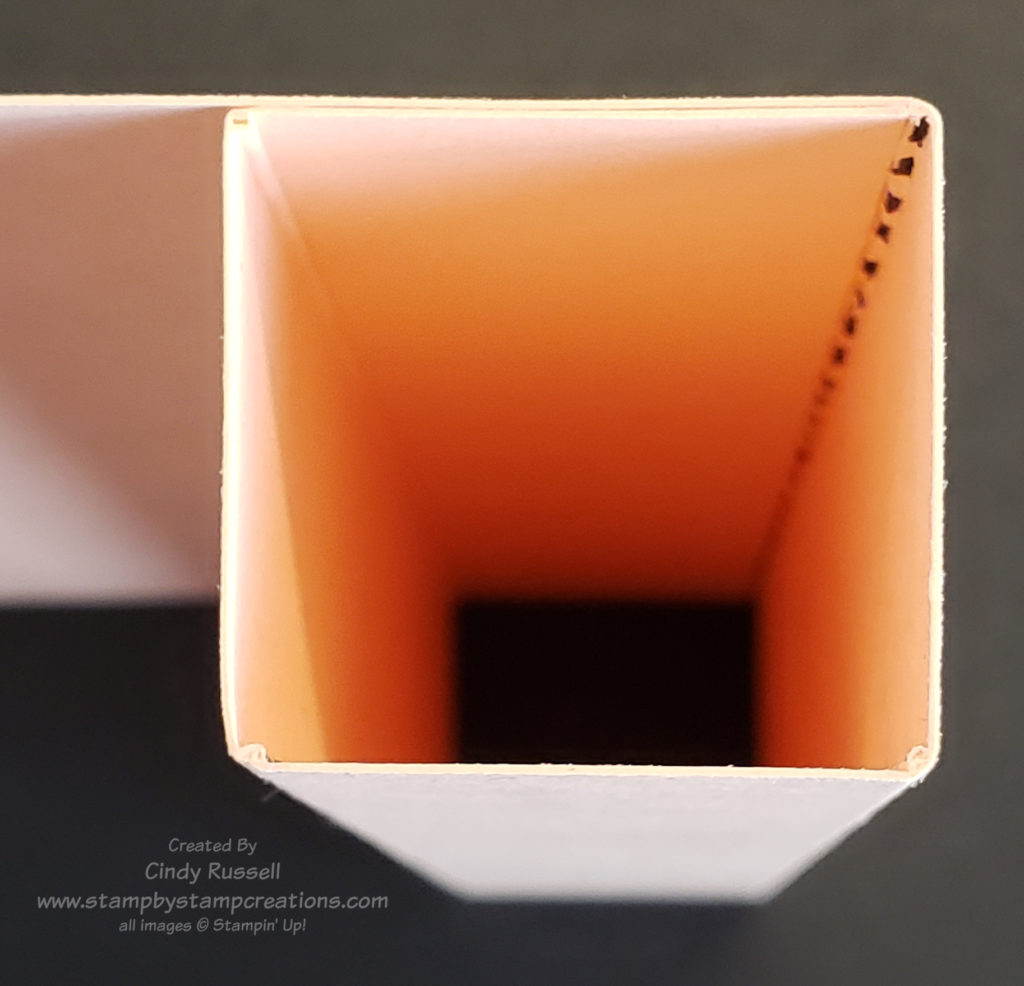
I have no idea what this type of card is actually called but I’m calling it a Box Base Card.  The base is a box and the card is attached to it.  Sometimes you just need to go with those descriptive words.  😊

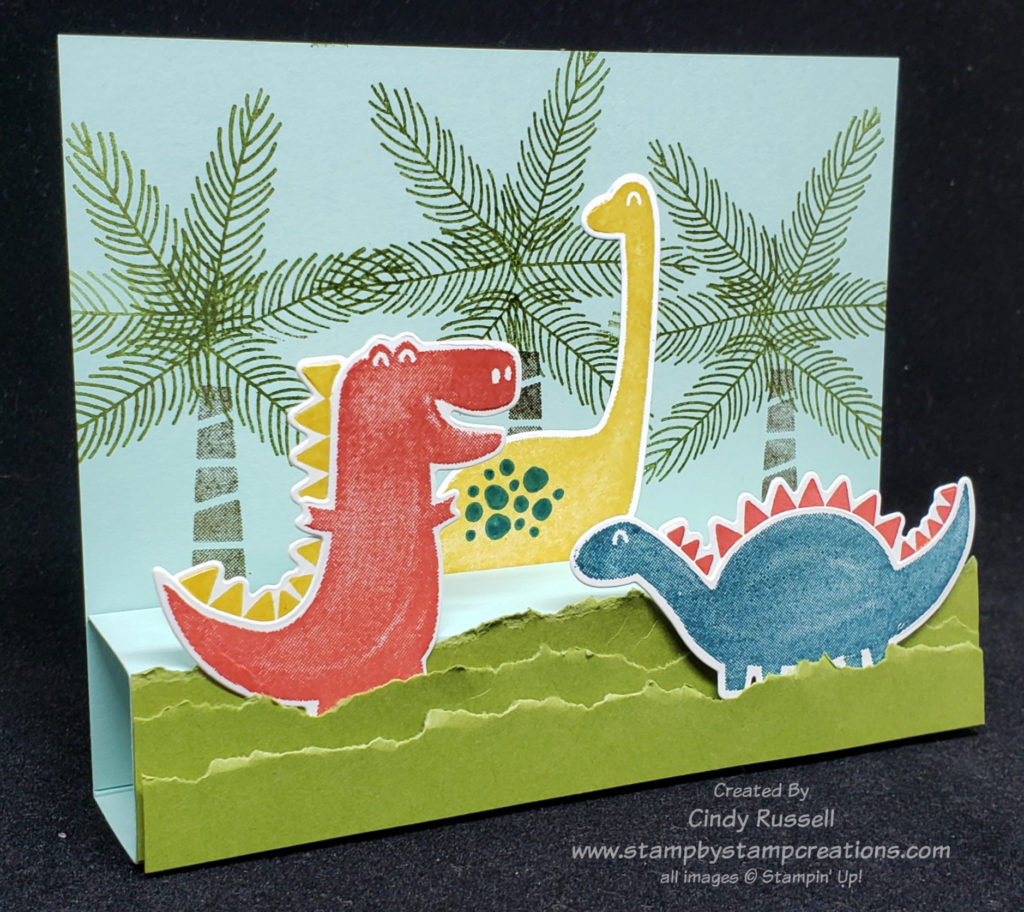
A week or so ago a friend of mine texted me wondering if I had any dinosaur cards for her grandson’s upcoming birthday.  Naturally I didn’t but figured it was a good time to get out my Dino Days stamp set and the coordinating Dino Dies.  I then did what every good crafter does when they can’t figure out where to start and I hopped on Pinterest. 

Box Base Fun Fold Card Template

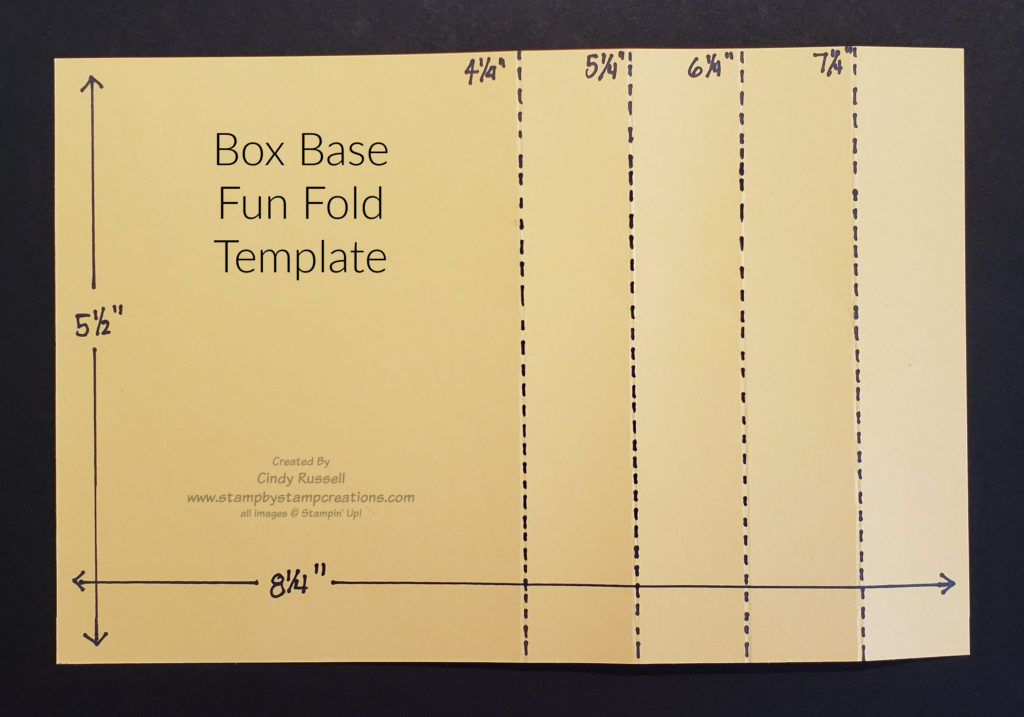
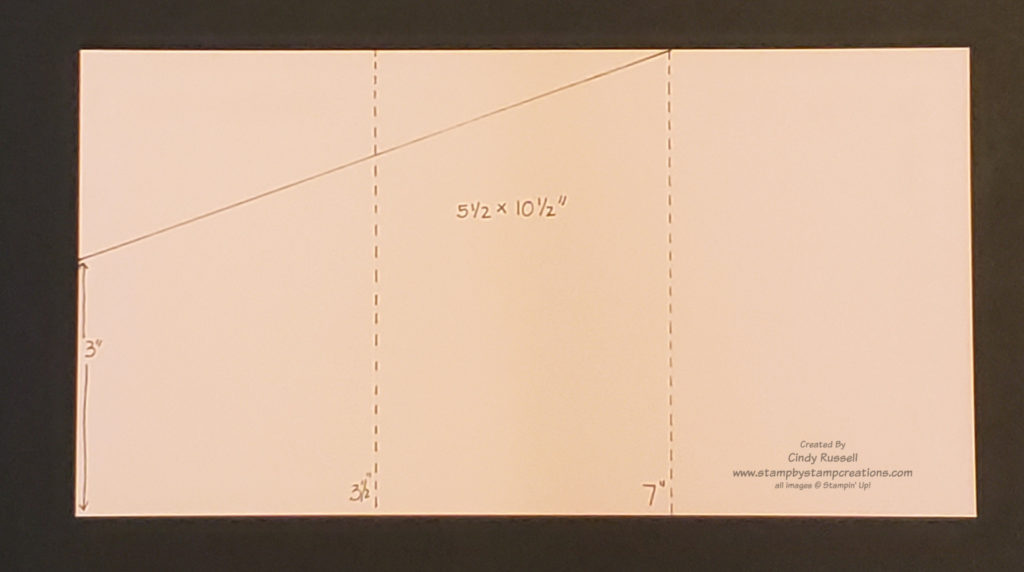
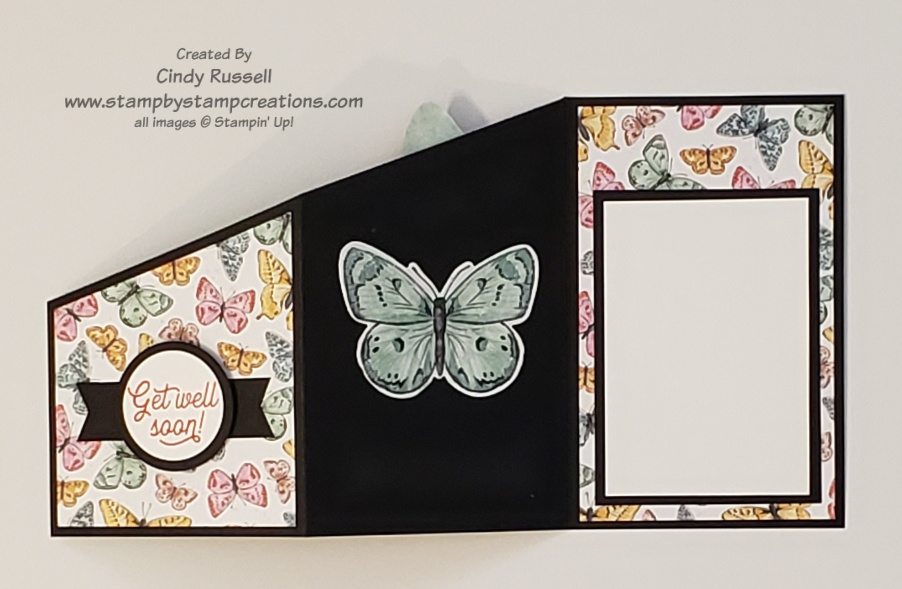
I’ll be honest, I pretty much copied the card I found on Pinterest.  I fell in love with this fun fold because it’s so EASY!  You start with a piece of cardstock that’s 8 ¼” x 5 ½”.  This is a quarter inch shorter than a regular card base.  You then score it along on the long edge at 4 ¼, 5 ¼”, 6 ¼” and 7 ¼”.  Crease all score marks well.  Once you’ve creased the score lines you can see how the card will be put together.

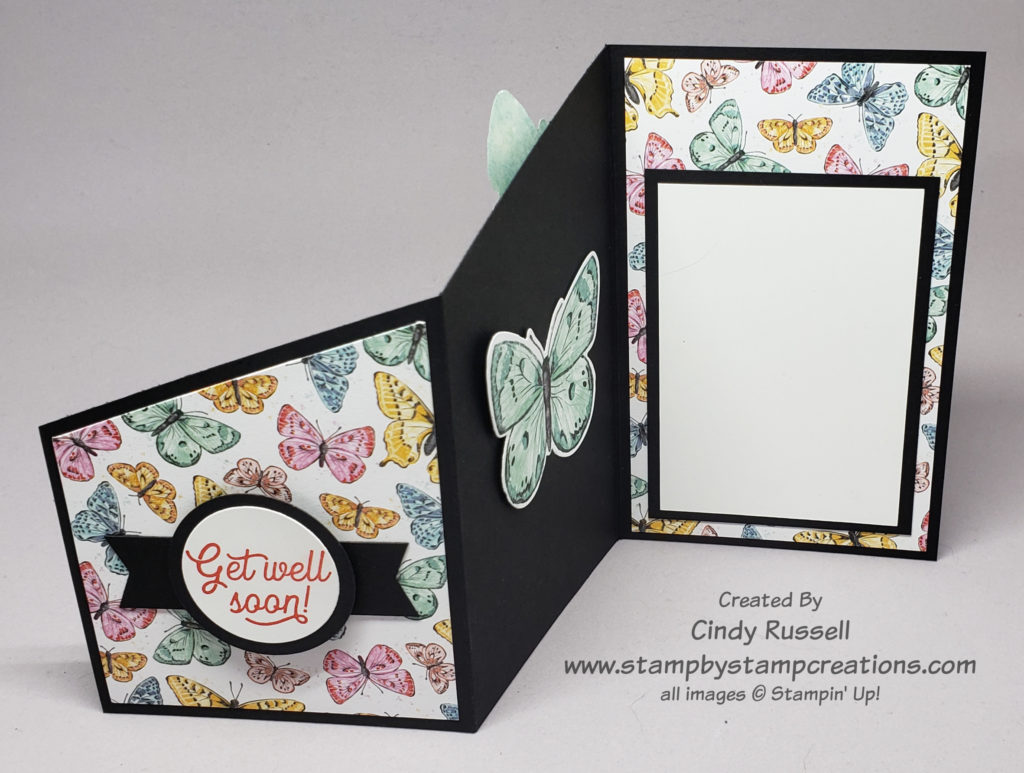
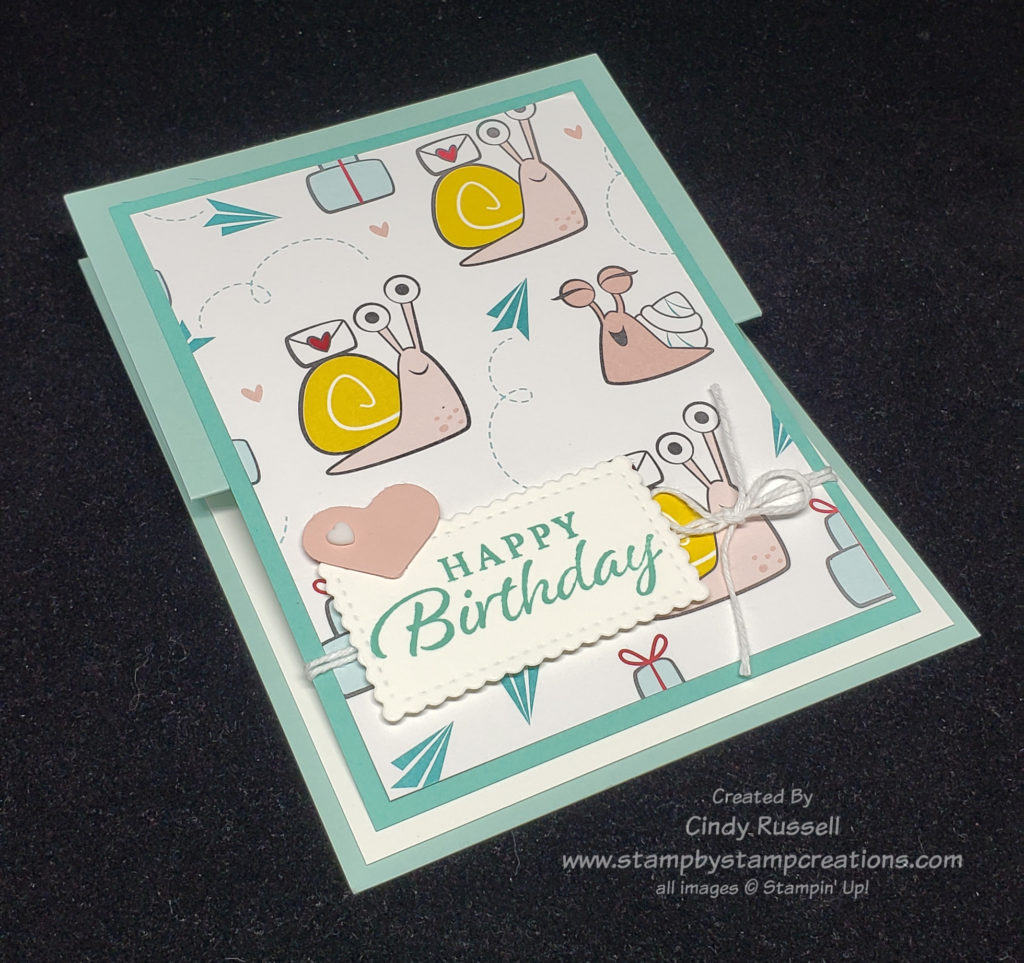
On my card I needed to make sure that I decorated legs of the yellow dinosaur and the bottoms of the trees are covered by the “box” portion of my card.  Even if part of the design isn’t going to be covered by the “box” it will probably be easier to decorate the card front before adhering the “box”.

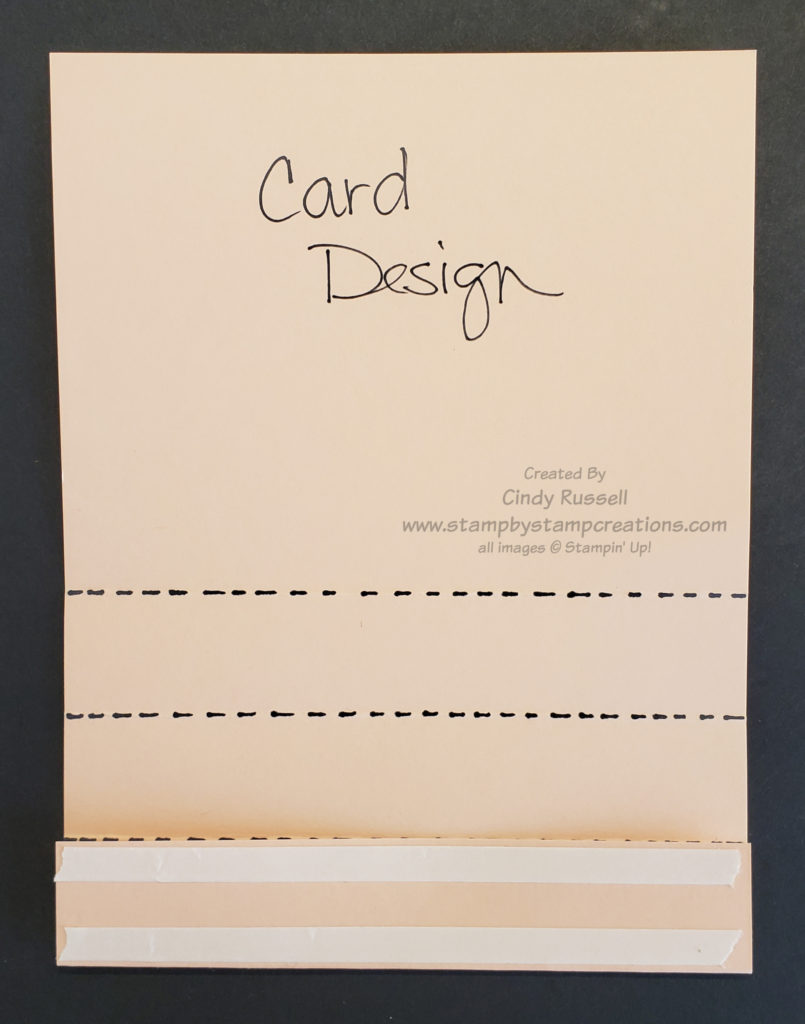
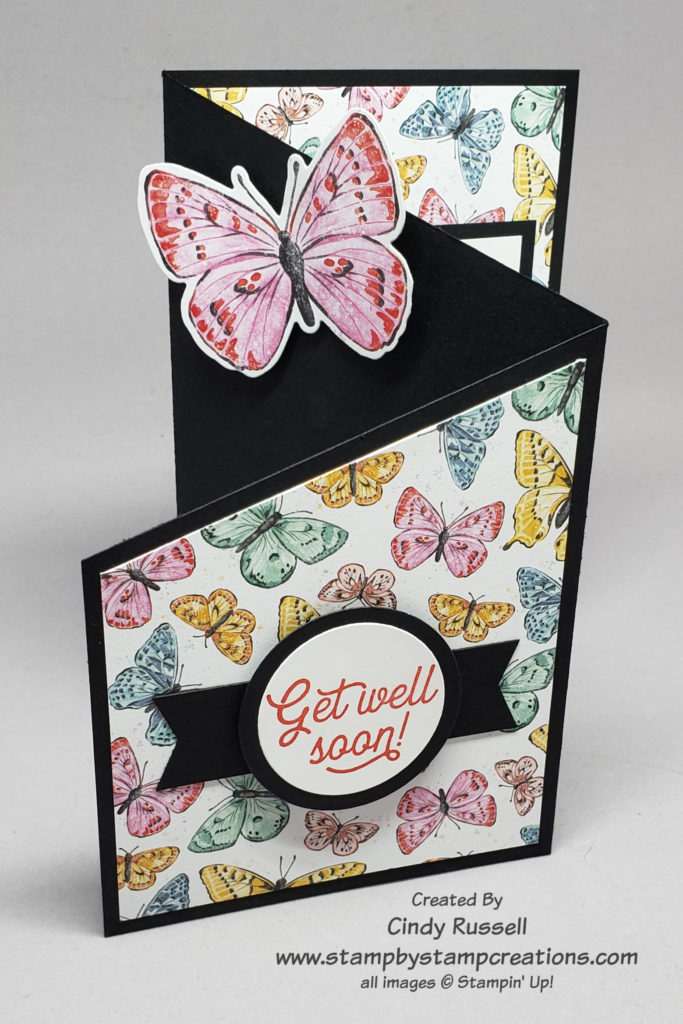
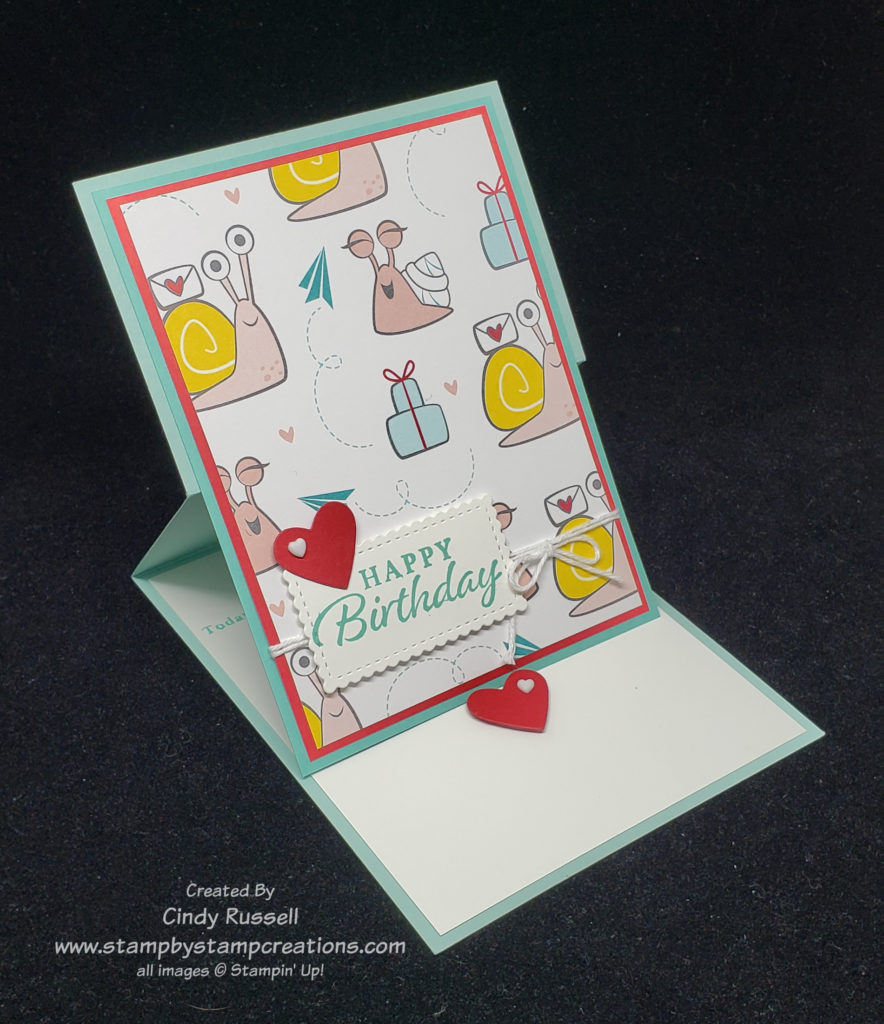
To form the “box” you want to lay the card base in front of you with the card design facing up.  Fold over the bottom section of the “box”.  This is where you will place your adhesive.  Now fold up the other sections.  The edge of the bottom section will meet up with top score line and adhere to the bottom portion of the card design area.

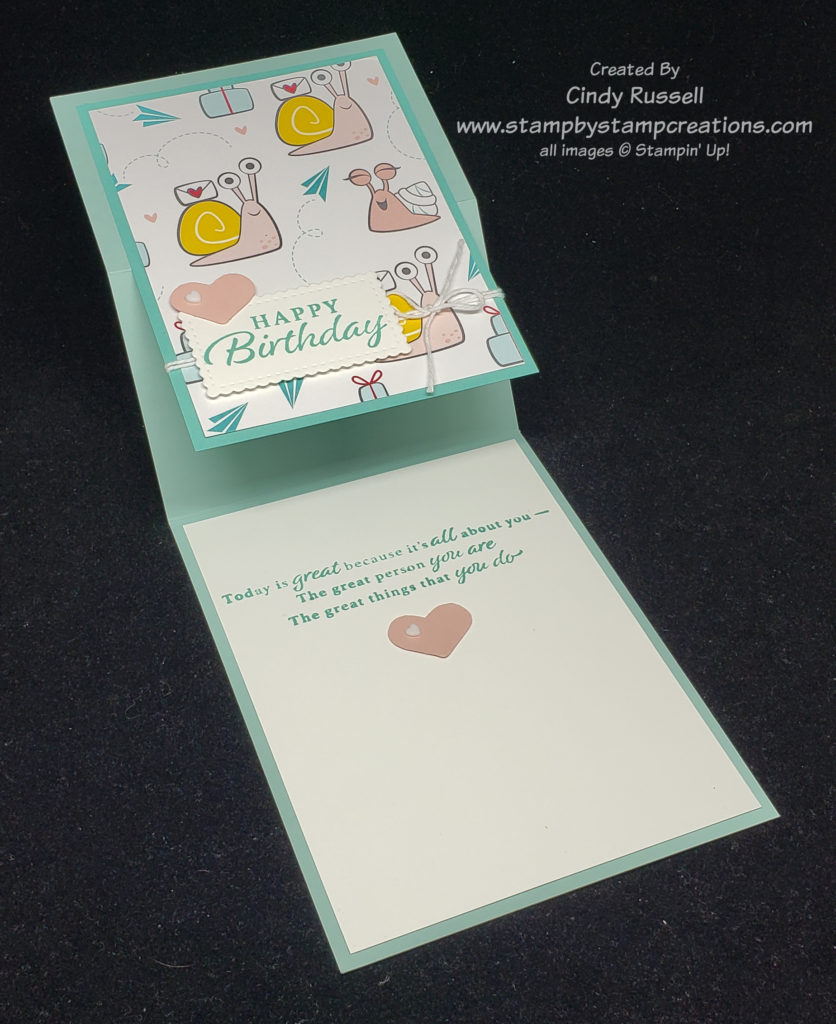
When you’ve got the card put together you just need to finish decorating it by possibly adding decoration to the “box” portion of the card.  You can also add a piece of cardstock to the back of the card so you have a place to write your message.

This Box Base Fun Fold card was fun and easy to make.  Give it a try!  Have a great day!  Take care and Happy Stamping!

Fun Folds: Angled Z-Fold Card

Lately we’ve been talking about many different types of Z-Fold cards and today is no different.  Today I want to introduce you to the Angled Z-Fold cord or Angled Tri-Fold card.  I think most people call it Angled Tri-Fold but you fold the three panels into a Z so to me it’s an Angled Z-fold!

Butterfly Bouquet Angled Z-Fold Card
Butterfly Bouquet Angled Z-Fold Card open

When you look at the card in it’s closed position you can see that there is going to be some type of special fold to it.  You see the front panel with the designer paper and you can see a little bit of the designer paper on the “inside” or back panel.  As you open the card it’s easy to see the angled top edge.

I used the exciting new Butterfly Bouquet products on my card.  Gotta love those butterflies!  The large pink butterfly is die-cut from the designer paper!  You can view all of the products in this collection here. The stamp set and the dies from this collection are actually sneak previews from Stampin’ Up!’s upcoming 2021-2022 Annual Catalog. How fun is that?!

Template for Angled Z-Fold Card

My card is made from 5 ½” x 10 ½” piece of cardstock and will fit in a standard Stampin’ Up! envelope.  When closed, the card measures 3 ½” x 5 ½”.   Score the 5 1/2″ x 10 1/2″ piece of cardstock along the long side at 3 ½” and 7” to form your panels.  To get the angled edge you will then measure 3” up from the bottom on the left short side.  Make a light pencil mark.  Then draw a light line from the pencil mark to the top of the 7” score mark and then cut along this line.  The base of the card is now done and you just need to decorate!

The angled piece of designer paper on my card is 3 ¼” across.  The short side measures 2 ¾” and the long side measures 3 7/8”.   The larger piece of designer paper on the back panel measures 5 1/4″ x 3 1/4″.

You can make an Angled Z-fold card in many different sizes. The key is to make sure that you can evenly divide the long edge of your cardstock by 3 so that your panels are all the same size. The starting point for you angled edge can be anywhere on the left edge and you can either end your angle at the second score mark like I did or you can take the angle all the way to the upper right corner of the cardstock.

I hope you like this fun and easy Fun Fold! Have a great day! Take care and Happy Stamping!

Make-It-Mine Monday: Snailed It!

Snailed It Fun Fold

Oh, my gosh! These snails are so stinkin’ cute! I only have the designer paper right now but I am ordering the stamp set and dies on my next order. I can’t wait!

I usually don’t go for the cutesy stamp sets and dies. I stick with the more traditional ones. However….the more I see of these little snails the more excited I am to have them in my stamp room!

Recently I took a training from another demonstrator which included cards we could make. The adorable card here is one of the cards we were able to make with our kit. I love new ideas!

Hopefully you can see in the photos this is a Z-fold card like the strawberry card I shared with you in this post. The only difference is that the strawberry card had a horizontal layout and this card is vertical.

This card turned out very cute but as I was making it I thought about how I could make it into an Easel Z-fold card like the one I shared with you here.

Of course, simply turning it into an Easel Z-Fold wasn’t the only change to be made by me. Hello….can you say “more layers please”? Ha! Actually, believe it or not, adding one layer and changing the color of the hearts were the only changes I made.

Snailed It Easel Z-Fold Card

I think adding the red layer and changing the heart to red make things pop a little more on the card. The little resin hearts (that are on both cards) are really fun to add to cards. They come in red and in white. I do have to admit that I didn’t have the Kiss Punch which is where the pink heart came from on the first card. I had to dig through my retired stash of dies to find a heart that was about the right size for my version. This is why I hardly ever get rid of things! Ha!

Have a great day! Take care and Happy Stamping!