Make It Mine Monday: Long & Skinny Card

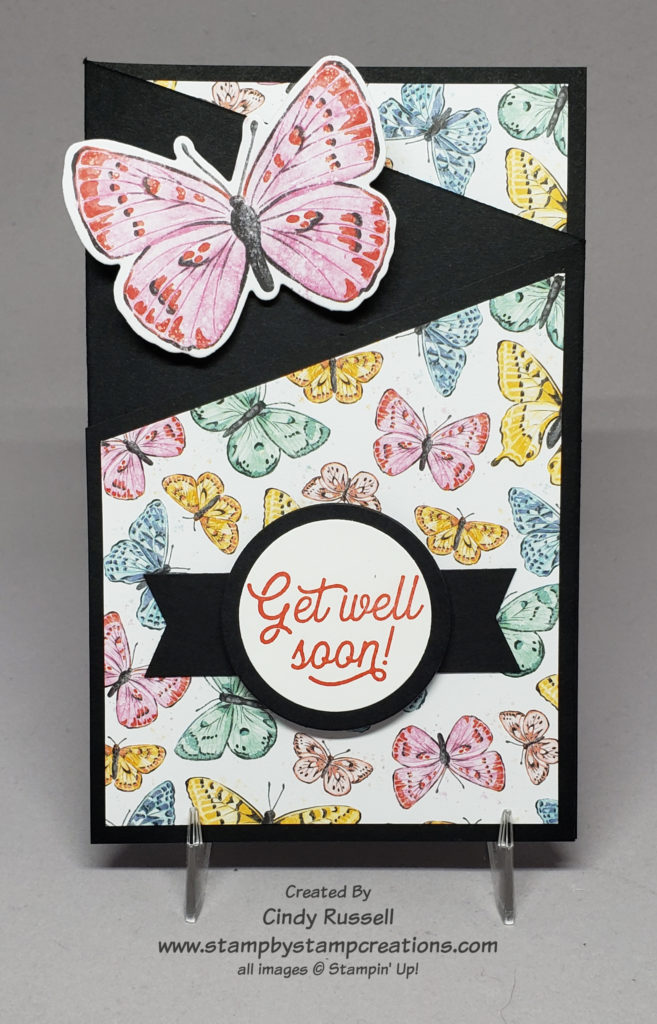
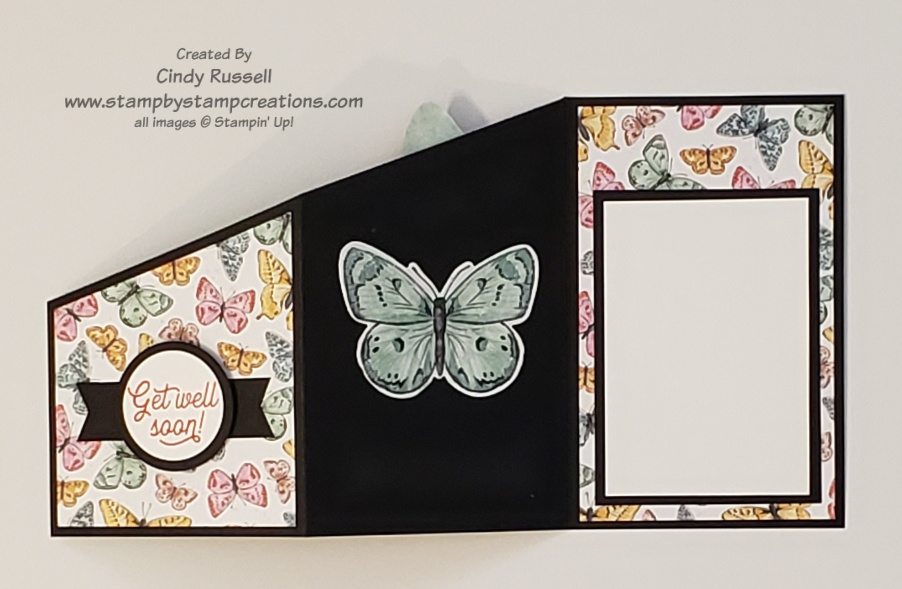
Today I thought I’d try something a little out of my comfort zone.  I decided to try a new size card.  Have you seen these long, skinny cards?  The card is 4” x 9 ¼” and fits perfectly in a letter-size envelope (9 ½” x 4 1/8”).

Butterfly Bouquet Long & Skinny Card

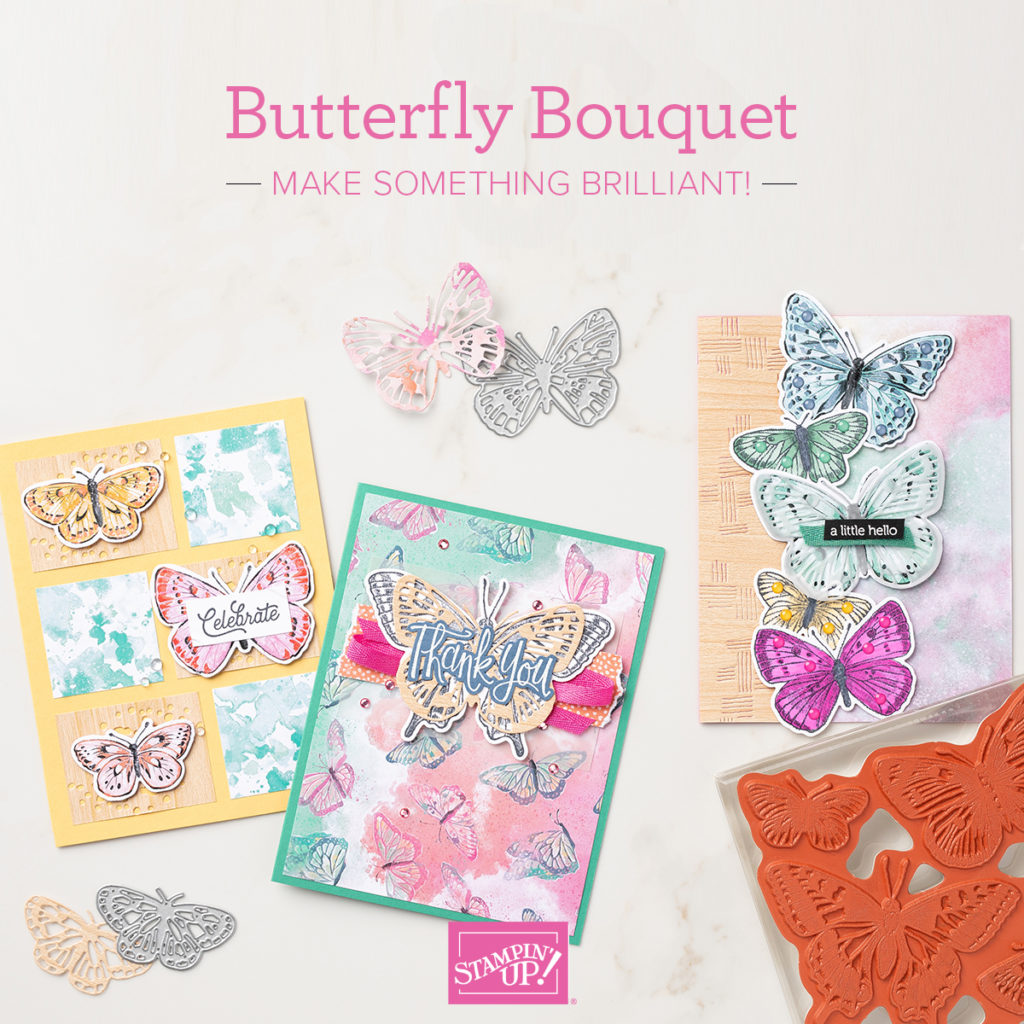
This is the card I saw that I wanted to make my own.  Isn’t it pretty?  I love the background and all of the different colored butterflies.  I copied the basic design of the original card, along with the butterflies, but that’s about it.

My Butterfly Bouquet Long & Skinny Card

I decided to keep my colors simple and used Blushing Bride, Basic White and Smoky Slate.  I needed the Blushing Bride butterflies to pop a little more so I used my new Blending Brushes and lightly colored Velum Cardstock with the Smoky Slate ink.  It was just enough to make the Blushing Bride butterflies and the little velum butterflies pop against the Basic White background.  One other thing I did to help make the butterflies pop against the background was to use a Sponge Dauber and add a little color around the edges of the butterflies.  It really made a difference on the card.

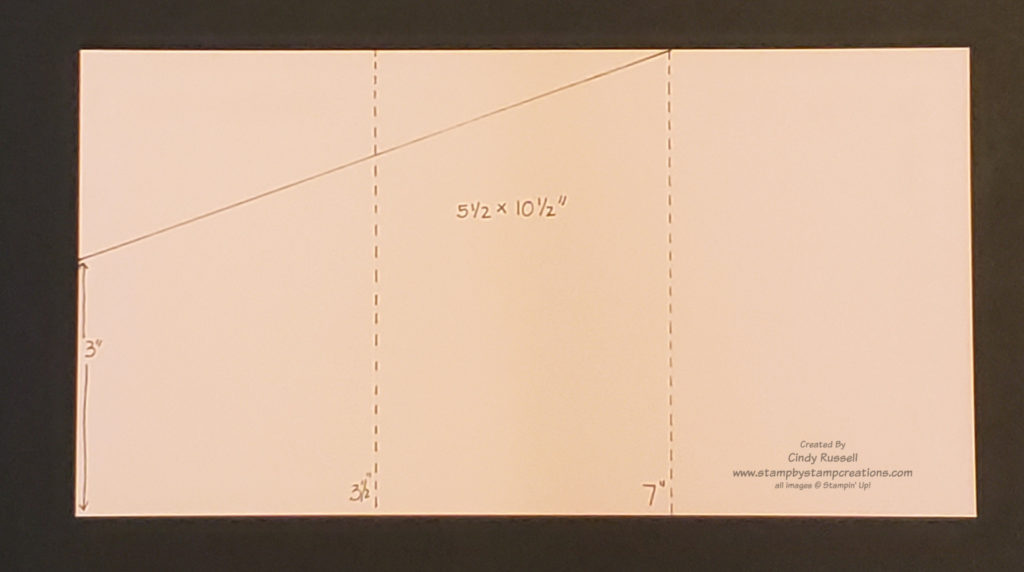
Another little secret is how I was able to emboss the Basic White background without a seam since the cardstock is longer than the embossing folder.  I put the cardstock in the embossing folder about halfway.  Then  I ran it PARTIALLY through my Stampin’ Cut & Emboss Machine.  I made sure the end of the embossing folder didn’t go all of the through the roller of the machine.  I had to roll it back towards me to get the folder out and then turned the cardstock around and repeated the process.  It worked like a charm!  If you try this, you definitely don’t want to try it with a folder that has a distinct design.  I used the Subtle Embossing Folder that didn’t need anything to line up. 

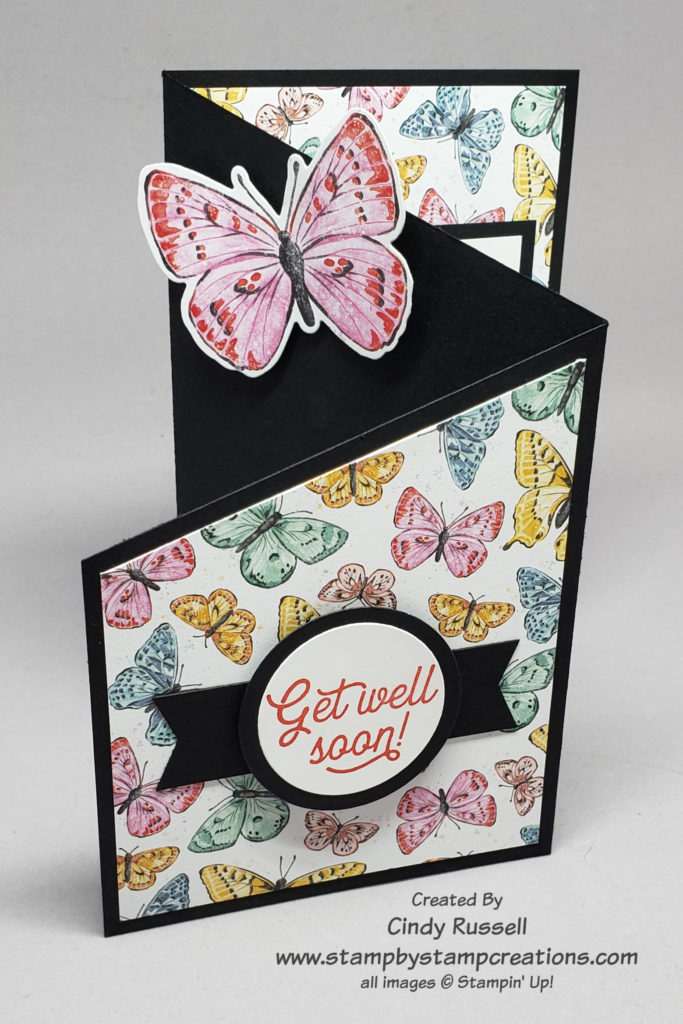
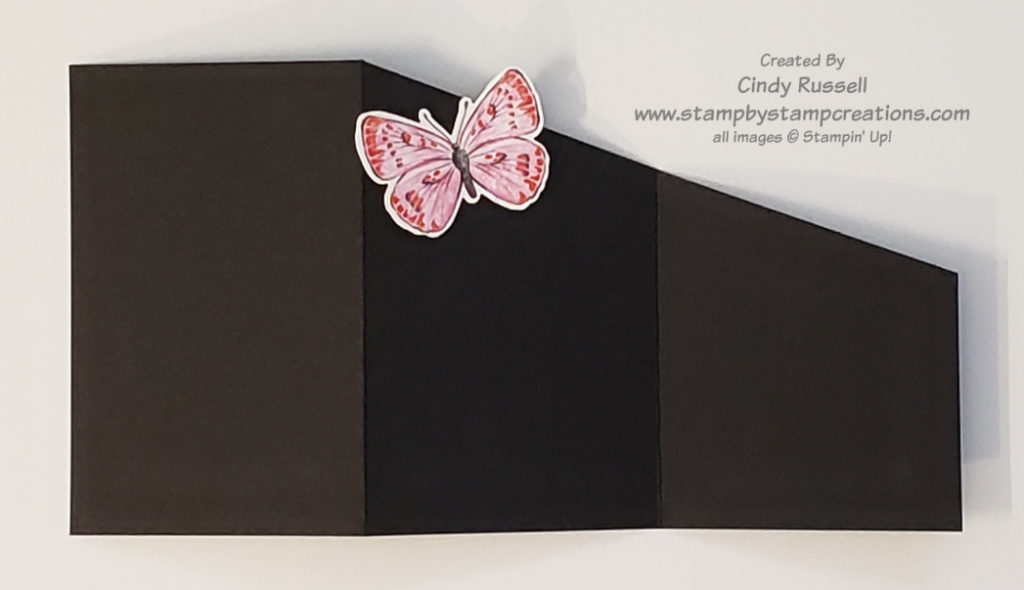
On all of my butterflies I only adhered the bodies down to let the wings flutter.  I used the Elegant Faceted Gems to add a little sparkle the butterflies too.   

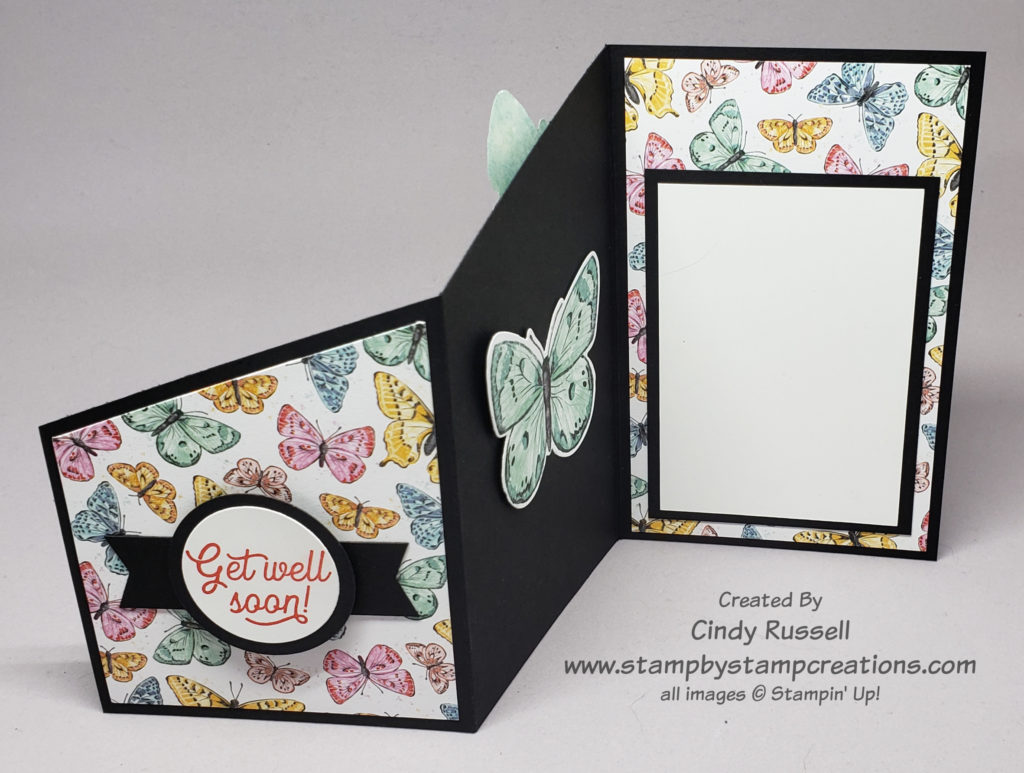
This was a fun card size to make.  I’m not sure how often I’ll make this card size since it’s such a large area to fill.  I’d have to be working with just the right products (like butterflies!) to make it work.

Have a great day! Take care and Happy Stamping!

Fun Folds: Angled Z-Fold Card

Lately we’ve been talking about many different types of Z-Fold cards and today is no different.  Today I want to introduce you to the Angled Z-Fold cord or Angled Tri-Fold card.  I think most people call it Angled Tri-Fold but you fold the three panels into a Z so to me it’s an Angled Z-fold!

Butterfly Bouquet Angled Z-Fold Card
Butterfly Bouquet Angled Z-Fold Card open

When you look at the card in it’s closed position you can see that there is going to be some type of special fold to it.  You see the front panel with the designer paper and you can see a little bit of the designer paper on the “inside” or back panel.  As you open the card it’s easy to see the angled top edge.

I used the exciting new Butterfly Bouquet products on my card.  Gotta love those butterflies!  The large pink butterfly is die-cut from the designer paper!  You can view all of the products in this collection here. The stamp set and the dies from this collection are actually sneak previews from Stampin’ Up!’s upcoming 2021-2022 Annual Catalog. How fun is that?!

Template for Angled Z-Fold Card

My card is made from 5 ½” x 10 ½” piece of cardstock and will fit in a standard Stampin’ Up! envelope.  When closed, the card measures 3 ½” x 5 ½”.   Score the 5 1/2″ x 10 1/2″ piece of cardstock along the long side at 3 ½” and 7” to form your panels.  To get the angled edge you will then measure 3” up from the bottom on the left short side.  Make a light pencil mark.  Then draw a light line from the pencil mark to the top of the 7” score mark and then cut along this line.  The base of the card is now done and you just need to decorate!

The angled piece of designer paper on my card is 3 ¼” across.  The short side measures 2 ¾” and the long side measures 3 7/8”.   The larger piece of designer paper on the back panel measures 5 1/4″ x 3 1/4″.

You can make an Angled Z-fold card in many different sizes. The key is to make sure that you can evenly divide the long edge of your cardstock by 3 so that your panels are all the same size. The starting point for you angled edge can be anywhere on the left edge and you can either end your angle at the second score mark like I did or you can take the angle all the way to the upper right corner of the cardstock.

I hope you like this fun and easy Fun Fold! Have a great day! Take care and Happy Stamping!

Get Ready for Spring With Butterfly Bouquet!

Stampin’ Up!’s Butterfly Bouquet

It’s time to thing Spring with Stampin’ Up!’s new Butterfly Bouquet products! Butterfly stamp, buttefly dies and buttefly paper! All sorts of butteflies!

I didn’t really think I was a butterfly person but as I’ve been playing with these products over the last week they’ve just made me smile….and I haven’t even inked up the stamp yet!

The stamp and dies are an early release from Stampin’ Up!’s upcoming new 2021-2022 Annual Catalog. The designer paper in the Butterfly Bouquet collection however will only be available until May 3rd.

You may be wondering why I am saying “stamp” versus “stamp set”. Take a look at the photo above. The butterflies are all connected. It’s one large stamp! Ink up this stamp and you will stamp 6 butterflies at once! And guess what? There is a die that will die cut all six of them at the same time! One of the sheets of designer paper has these butterflies printed on it so you’ll be able to die cut them also with the single die.

There are both solid butterfly dies as well as intricate dies in the die set. This card was made using the designer paper and the intricate dies. So fun!

You can view these Butterfly Bouquet products here in my online store. Get a head start on those Spring projects with the Butterfly Bouquet collection!

Have a great day! Take care, happy stamping and Think Spring!