Today I have another variation of the basic Z-Fold card for you….the Double Z-Fold!
The Double Z-Fold card is just what the name suggests. It’s two Z’s put together. My sample is made with the fun Ice Cream Corner Suite.
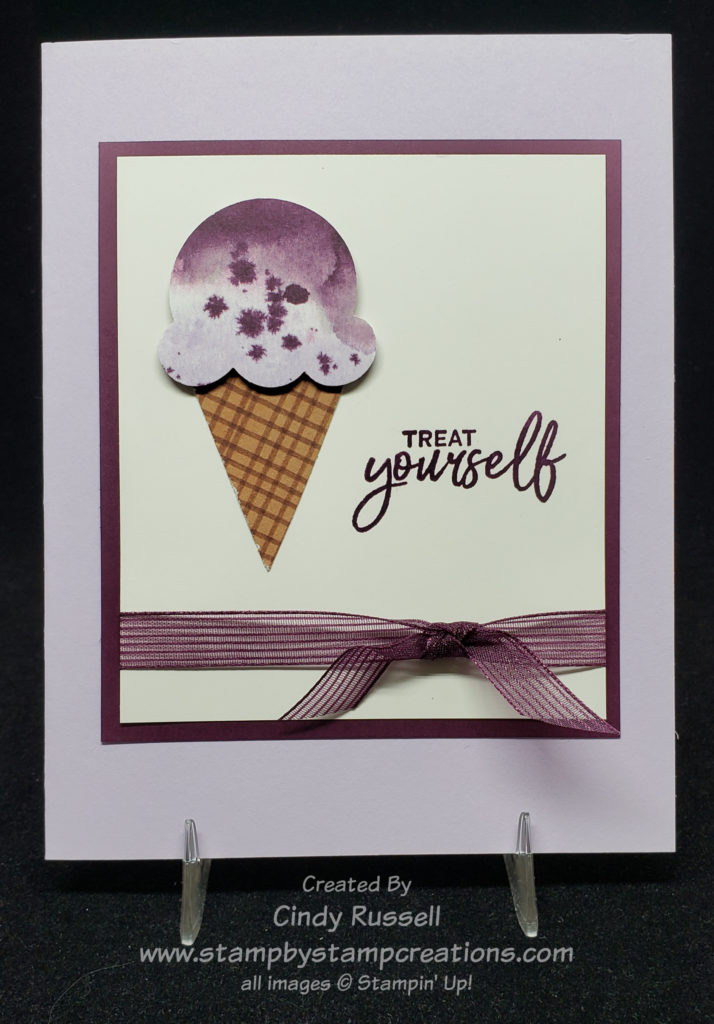
Included in this fun suite of products are the Sweet Ice Cream stamp stamp that can be bundled with the Ice Cream Cone Builder Punch, Blackberry Bliss Striped Ribbon, Ice Cream Corner Sprinkles, and the Ice Cream Corner Designer Series Paper. Of course they all coordinate perfectly together!
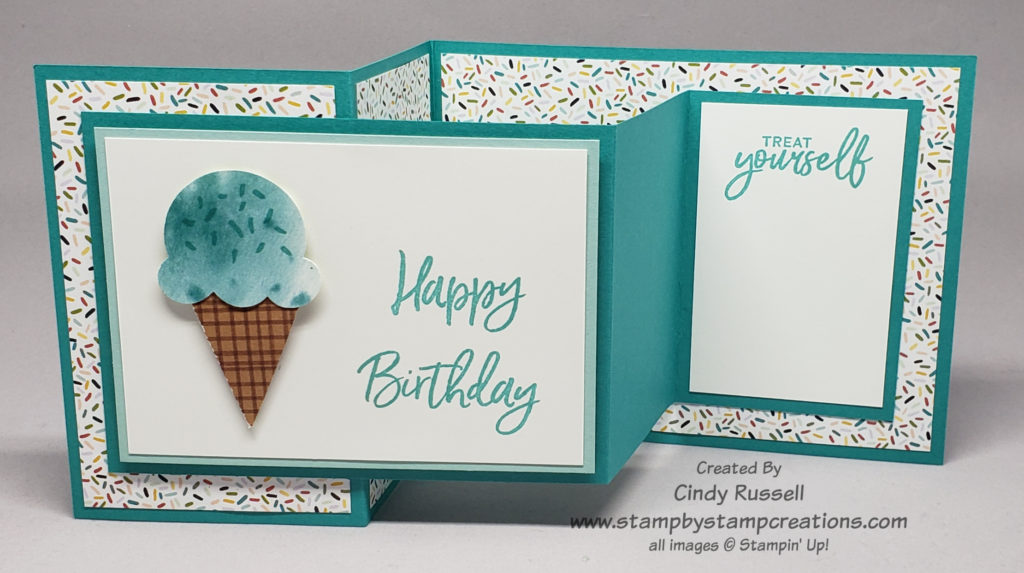
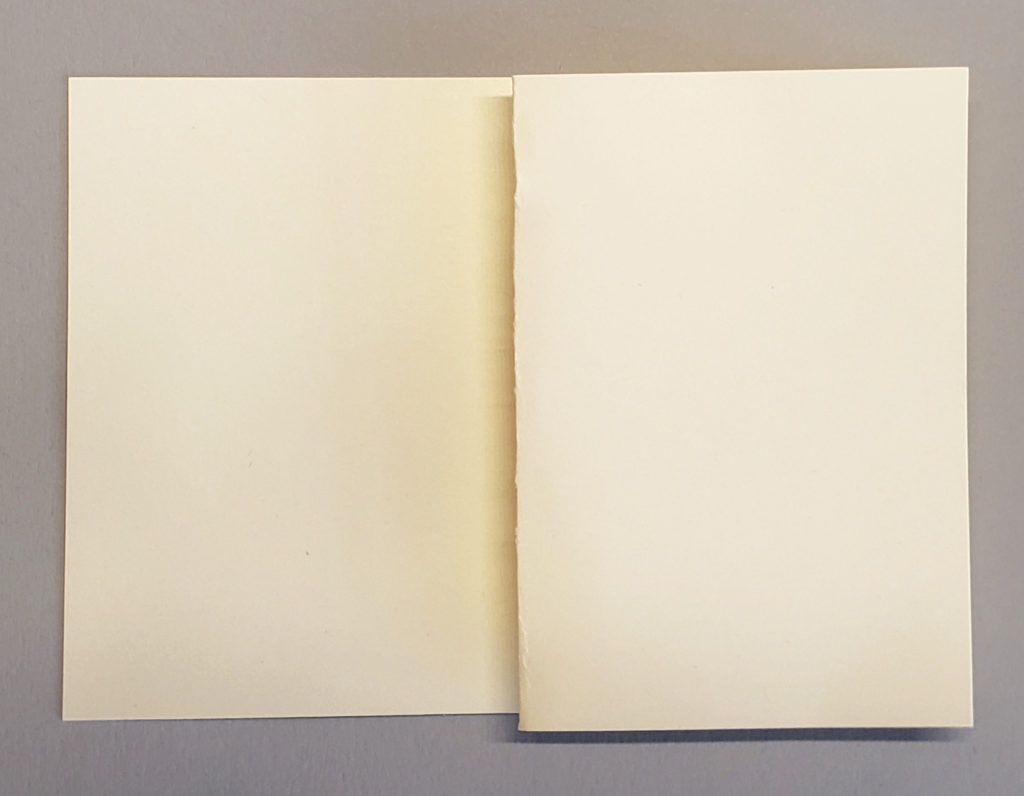
But back to the fun fold! In this picture you can see the 2 Z’s that for the the Double Z Fun Fold. The larger one is the card base and the smaller one is where the sentiments and the images are.
On both the large and the small pieces that form Z’s you will first score/fold your cardstock in half and then one of the sections will be scored/folded again just as you do on a regular Z-Fold card. Opposites attract. If you can remember this, you can figure out how to make the Double Z-Fold. The large section of the small piece of cardstock gets attached to the small section of the large piece of cardstock and the small section of the small piece of cardstock gets attached to the large section of the large piece of cardstock. Large to small and small to large.
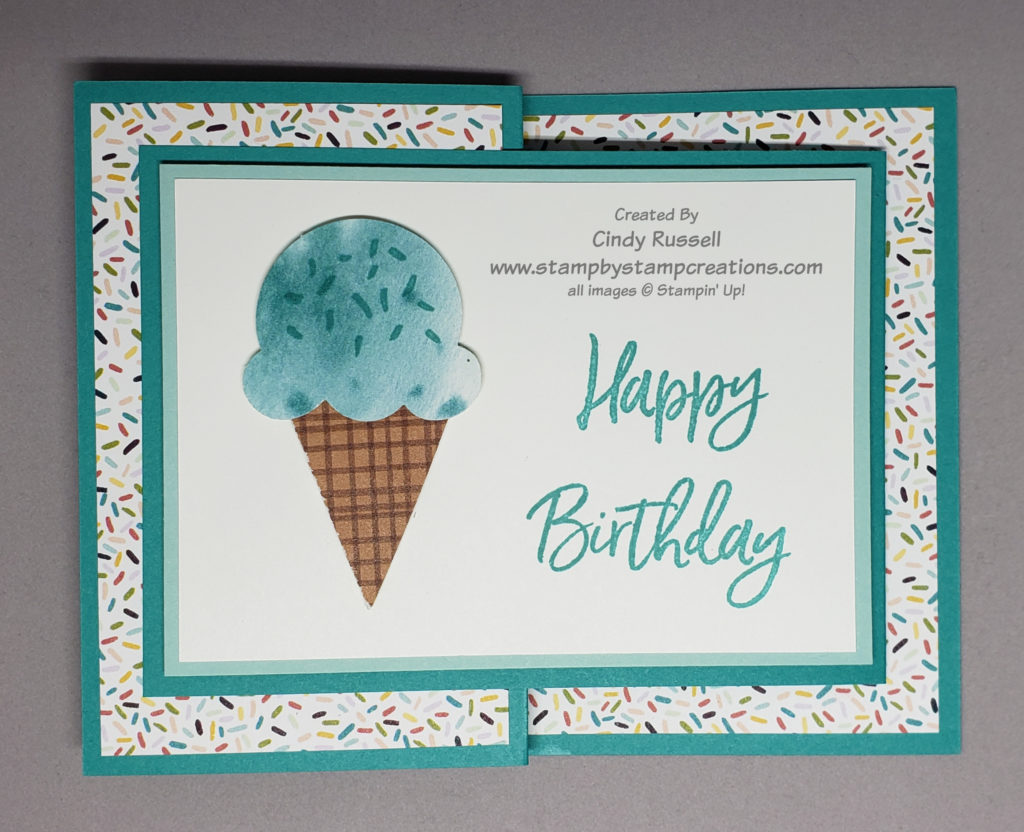
The card above is in a horizontal orientation but it can easily be made into a vertical orientation. The only thing you’re going to change when making the vertical orientation is the direction that your images and sentiments are placed.
You will make your vertical card the same way: large to small and small to large. As I mentioned before, this is the key.
To make sure that everything gets lined up perfectly when I adhere the small Z to the large Z I first close up the small Z so that the small section is folded up behind the large Z.
Place your adhesive on both of these sections. To correctly place this section on the large Z card base make sure the card base is closed . Then you will butt the center folds of the large piece and the small piece together and adhere.
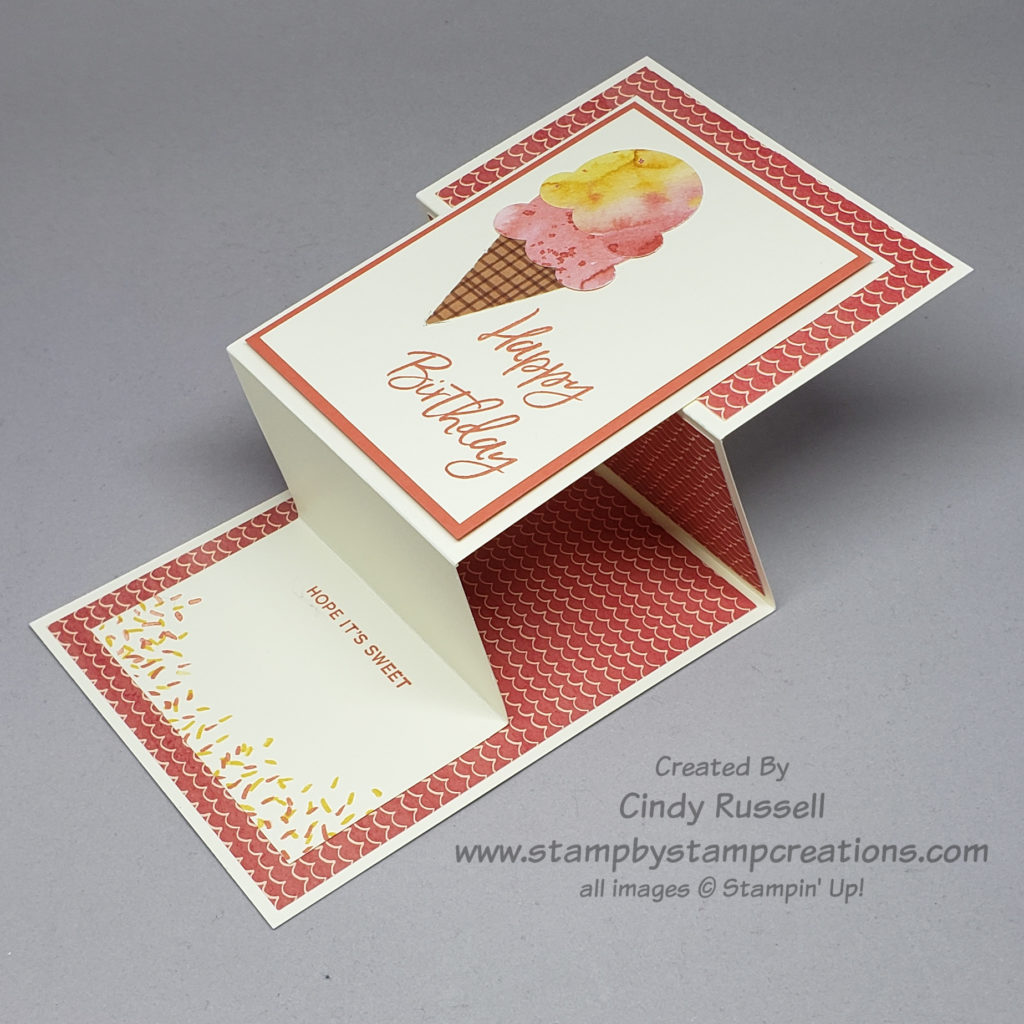
You can see this in the side view picture below. When the card is all closed up the small sections butt up to each other.
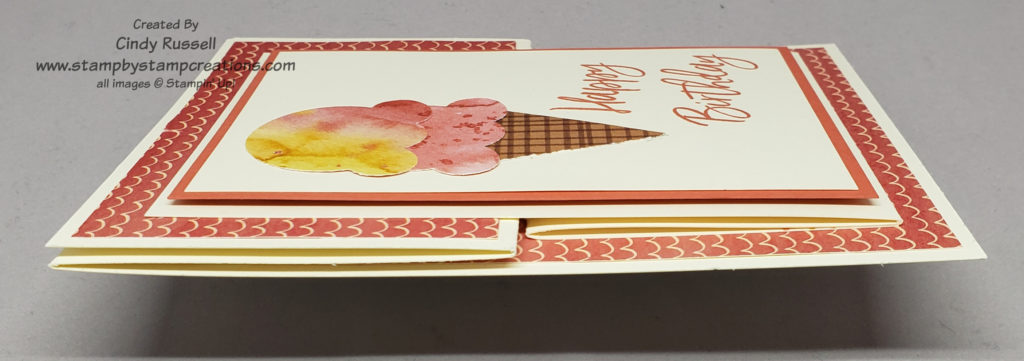

One final thing to note about the Double Z-Fold Fun Fold card is that it won’t open to lay flat. You can kind of see this in both of the pictures of the open cards.
To left is a photo of the Vertical Double Z-Fold card in the closed position.
These cards are fun to make! Enjoy!
Have a great day. Take care and Happy Stamping!