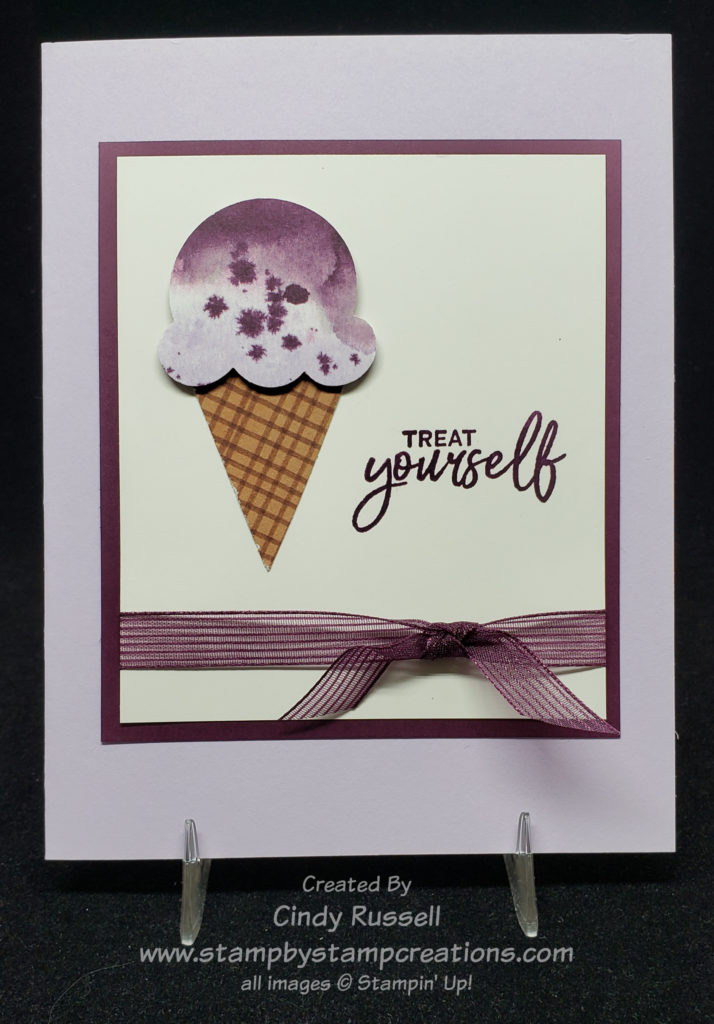
I want to go on record saying that I think every craft room needs a die-cutting machine of some sort. It’s really hard for me to make a card without my Stampin’ Cut & Emboss Machine by Stampin’ Up!. If I haven’t used die cut shapes on my card I’ve embossed the background or some portion of my card.
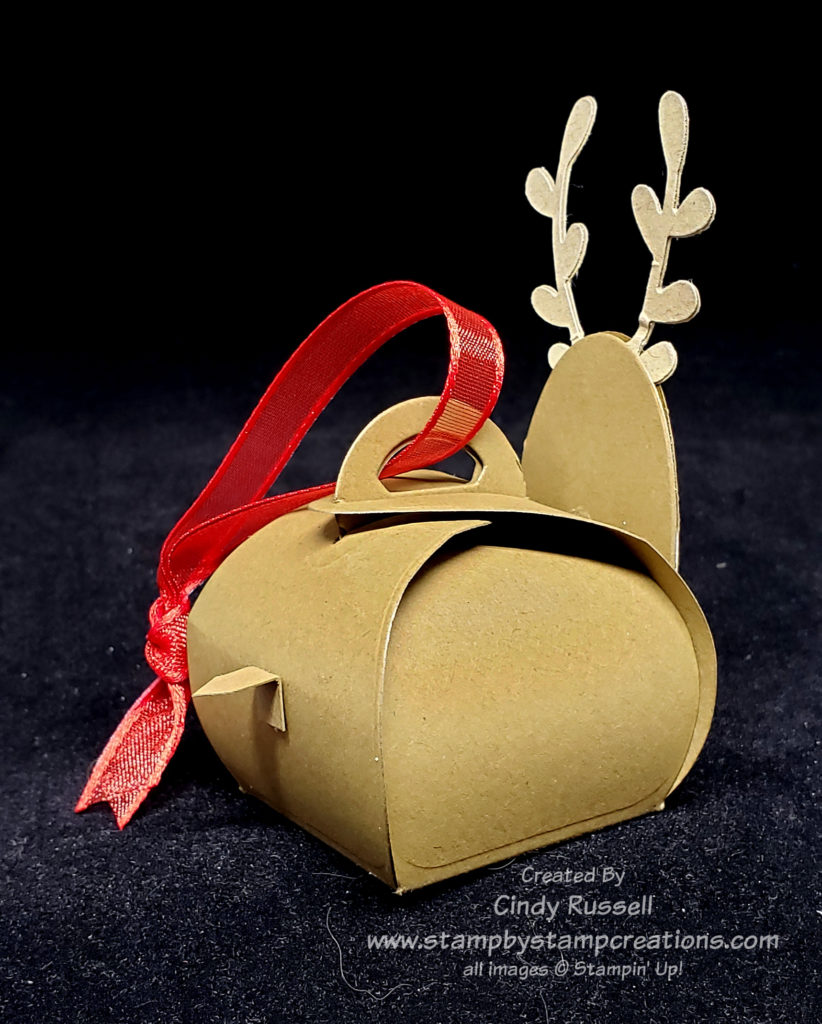
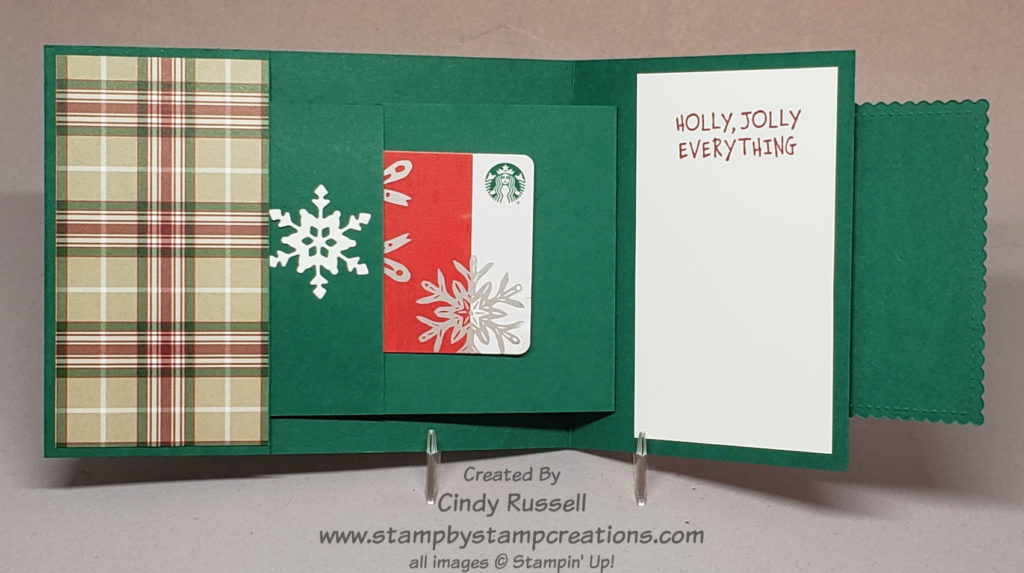
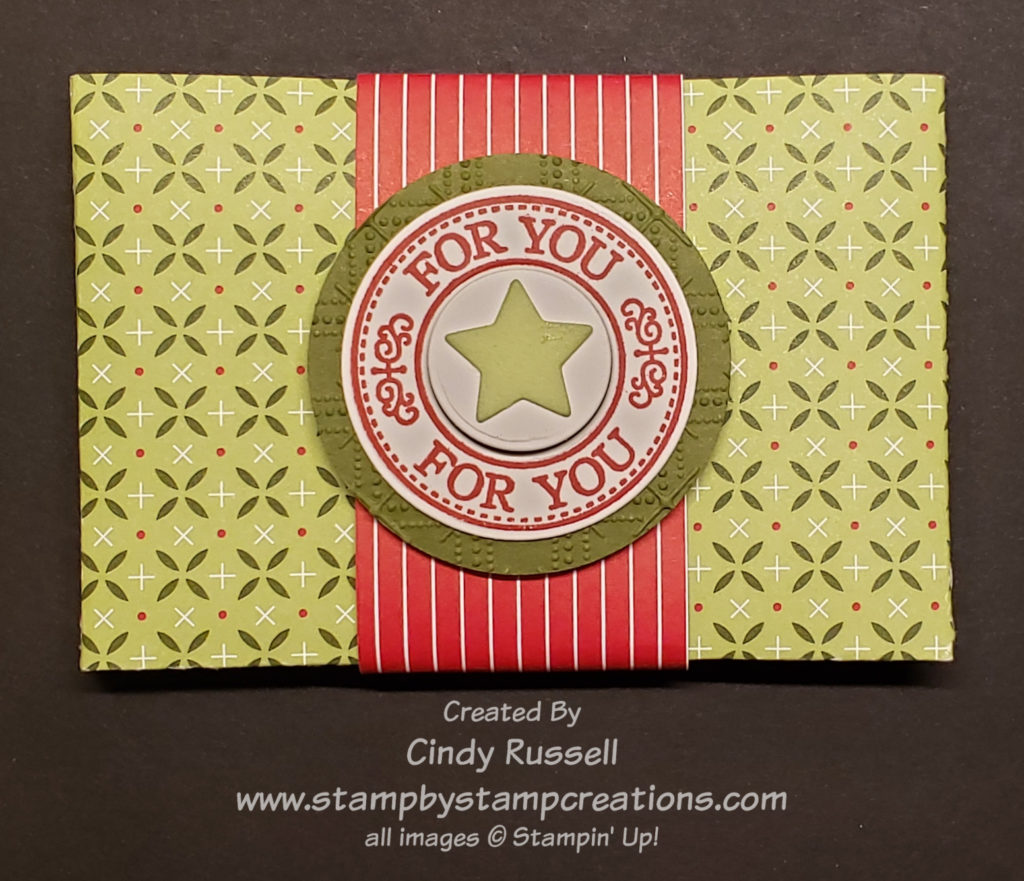
Die-cutting and embossing can add so much to card They will take your card from basic to WOW with just a crank or two of the handle. Why use your scissors to cut out an image if you can die cut it? I had a customer who would always ask “Isn’t there a die for this” whenever we had to “fussy cut” an image for a card during class. If a stamp set comes with coordinating dies I’m going to buy them!
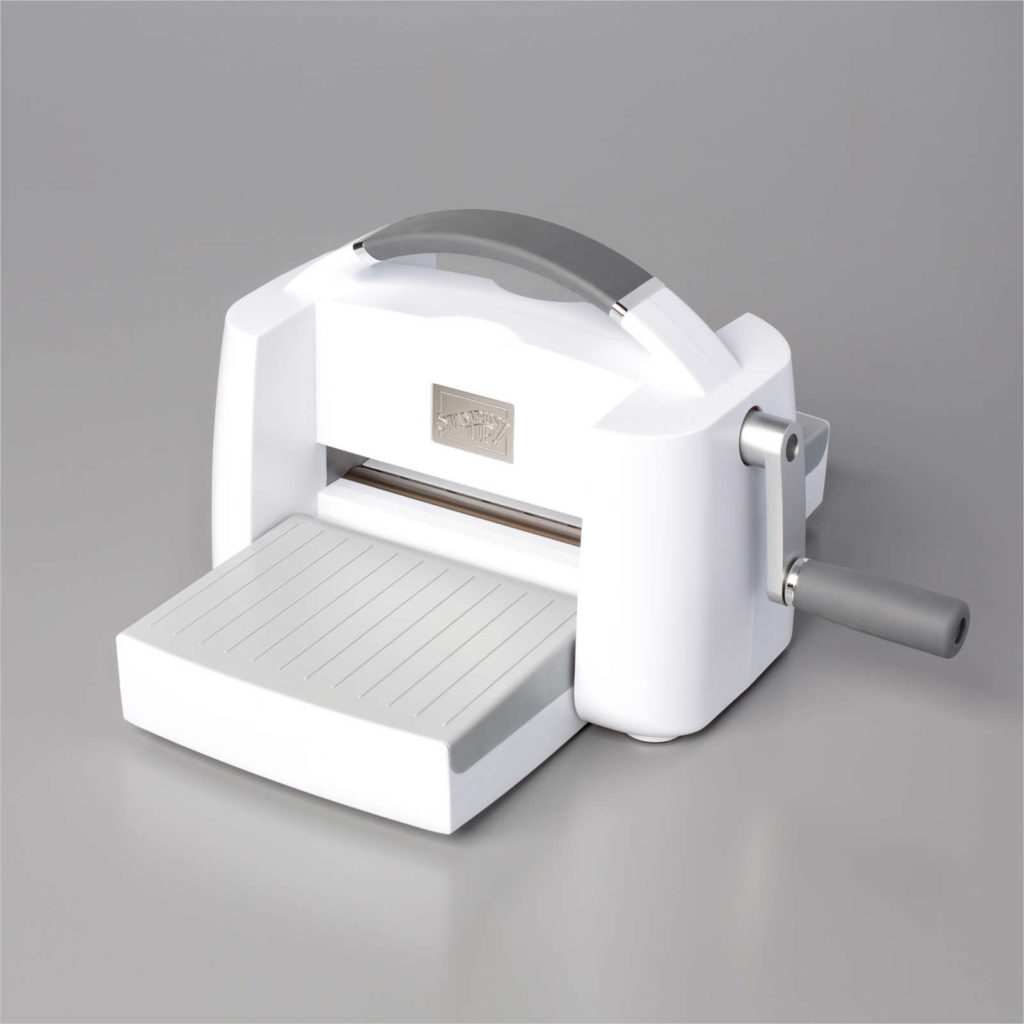
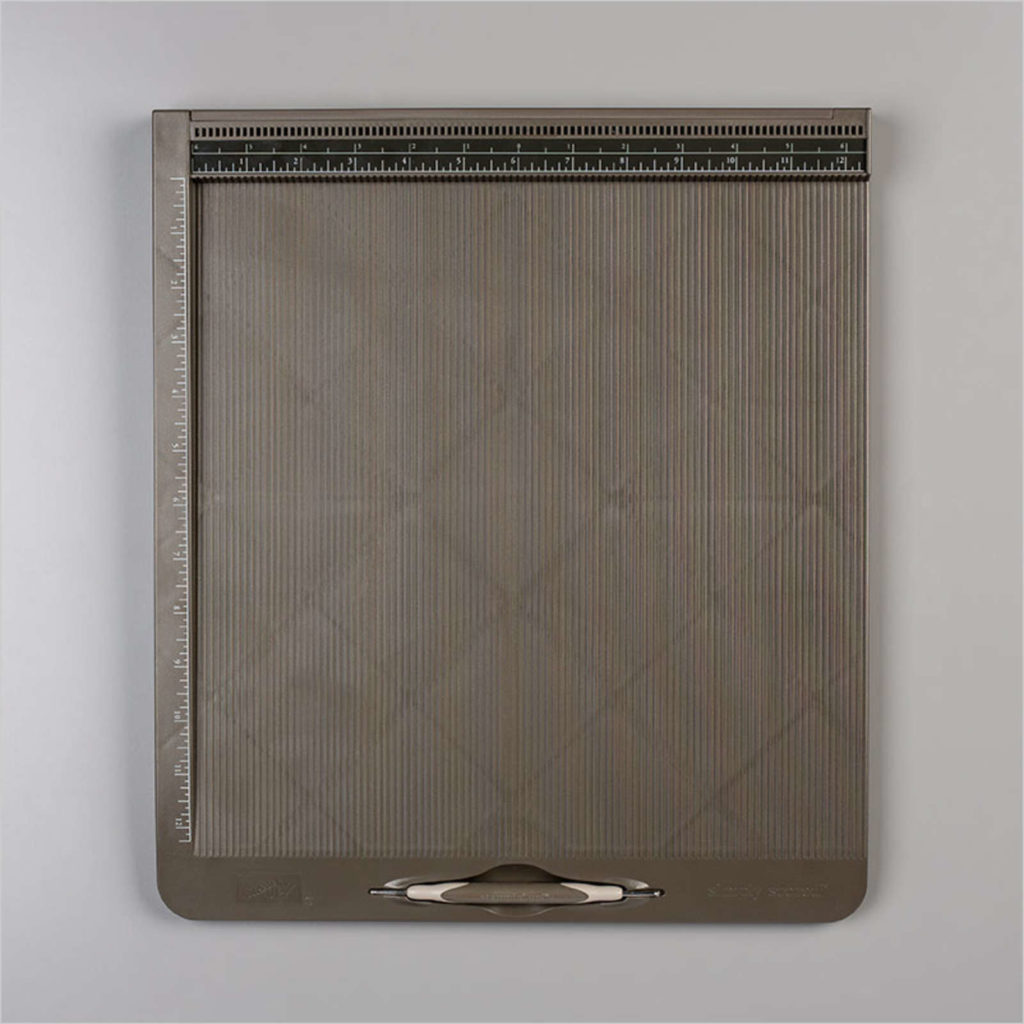
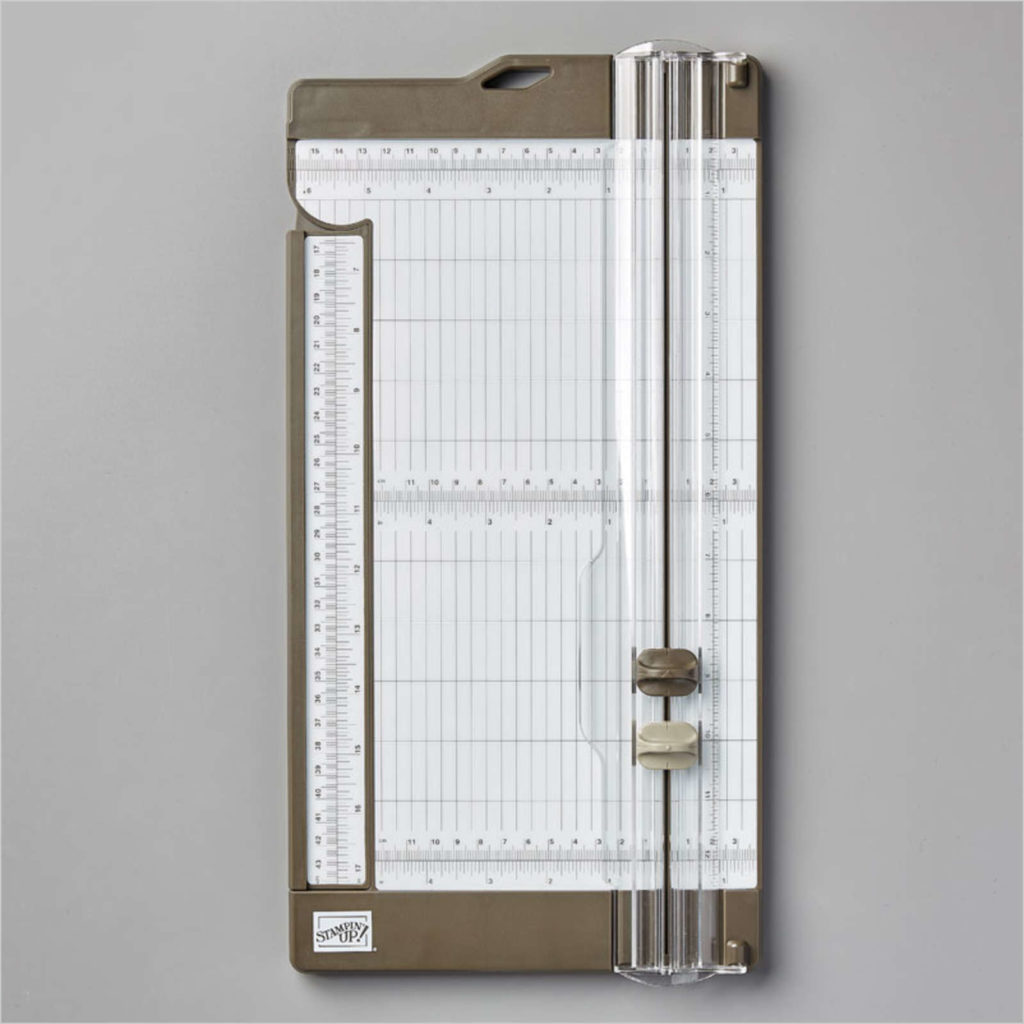
As I mentioned above, I love my Stampin’ Cut & Emboss Machine and couldn’t create without it. The platform base where the dies and embossing folders go through is about 6 1/2″ wide platform area which gives your plates plenty of room to roll through. This is great for crafters like me who don’t always get things lined up perfectly straight when running them through. Each side of the platform folds up to save space for storage. I haven’t got around to trying out that feature though as I’m always using the machine!
The machine comes with 1 Base Plate, 1 Die Plate, 2 Cutting Plates, and 1 Specialty Plate. What’s great is that all of these accessories are numbered which comes in handy because the Base Plate and the Die Plate have pictures with numbers on them telling you how to layer your “sandwiches” of plates, dies and embossing folders! I love this feature! No more guessing!
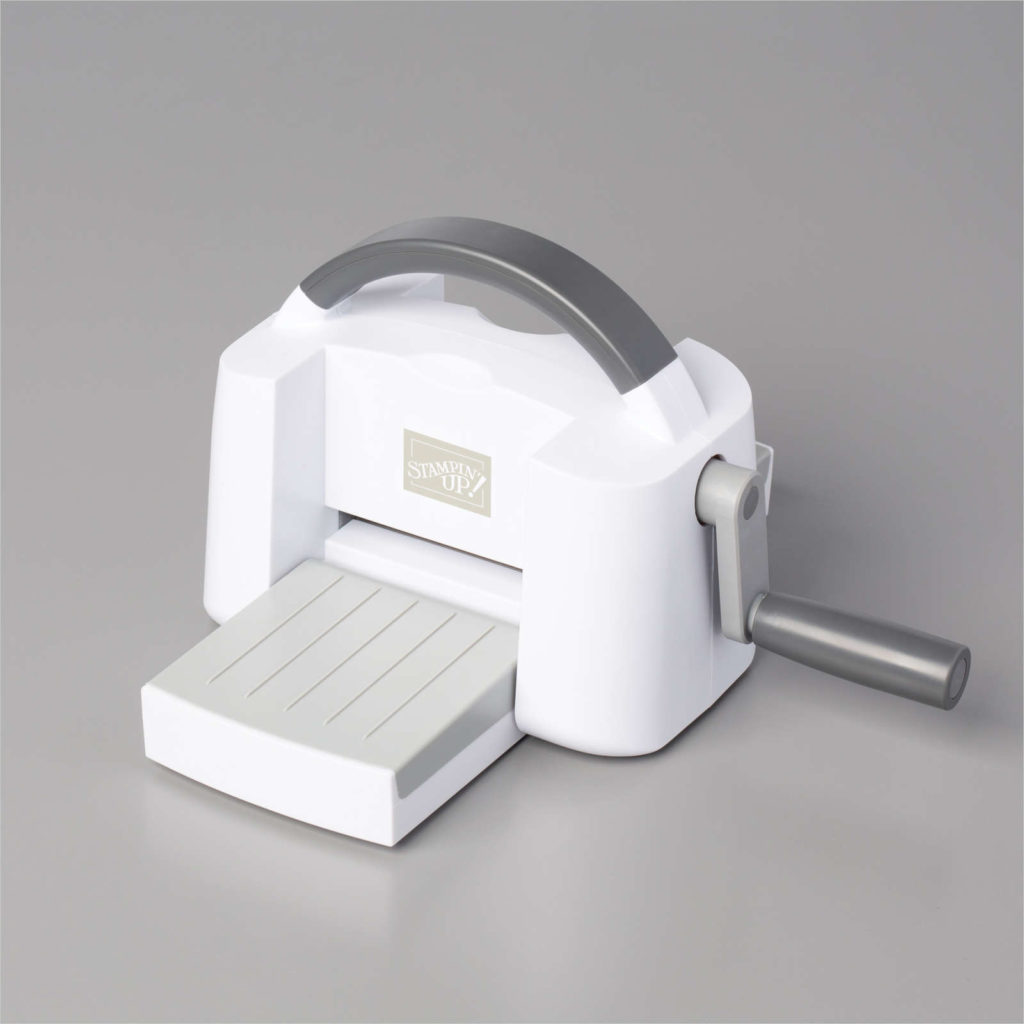
DId you know that the Stampin’ Cut & Emboss Machine had a little sibling? Check out the Mini Stampin’ Cut & Emboss Machine. It’s just like the big one only…mini! The platform on this cute little machine is only 3 1/2″ wide so not all dies or embossing folders will go through it. Stampin’ Up! has designed some narrow embossing folders that will work perfectly in it.
Like it’s bigger sibling, both sides of the platform fold up for easy storage. This little machine come with 1 Mini Base Plate, 2 Mini Cutting Plates, 1 Mini Embossing Plate, and 1 Mini 3D Embossing Plate. All these pieces are numbered also to help you get the right “sandwich” to run through.
Here’s the question of the day: Do you have a die-cutting machine in your craft room? If not, head on over to my on-line store and check out the Stampin’ Cut & Emboss Machine.
Have a great day! Take care and Happy Stamping!