

Welcome to another new series of posts! In this series we’ll be talking Fun Folds! These post will encompass folds for cards as well as folds for 3D items.
I love finding different folds for my cards and many of you do too. Before we jump in though, we’re going to start at the beginning.
Ok, now I’m singing the song from the Sound of Music…Let’s start at the very beginning, a very good place to start…. Do any of you get reminded of song lyrics after you say something and then start singing? I do it all the time.
Enough of that! Let’s get back to Fun Folds!
If we’re starting at the beginning we need to go over the ways we usually cut our 8 1/2″ x 11″ cardstock to make our basic cards. In both ways we are simply cutting the cardstock in half. Either on the long edge or the short edge.
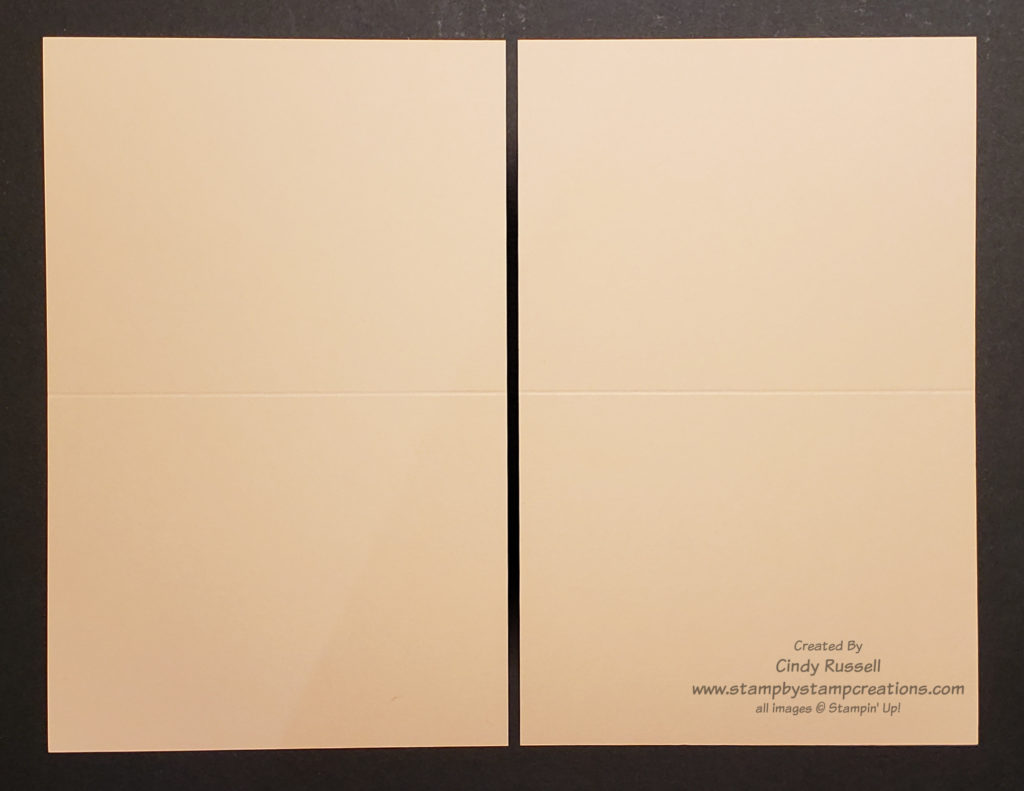
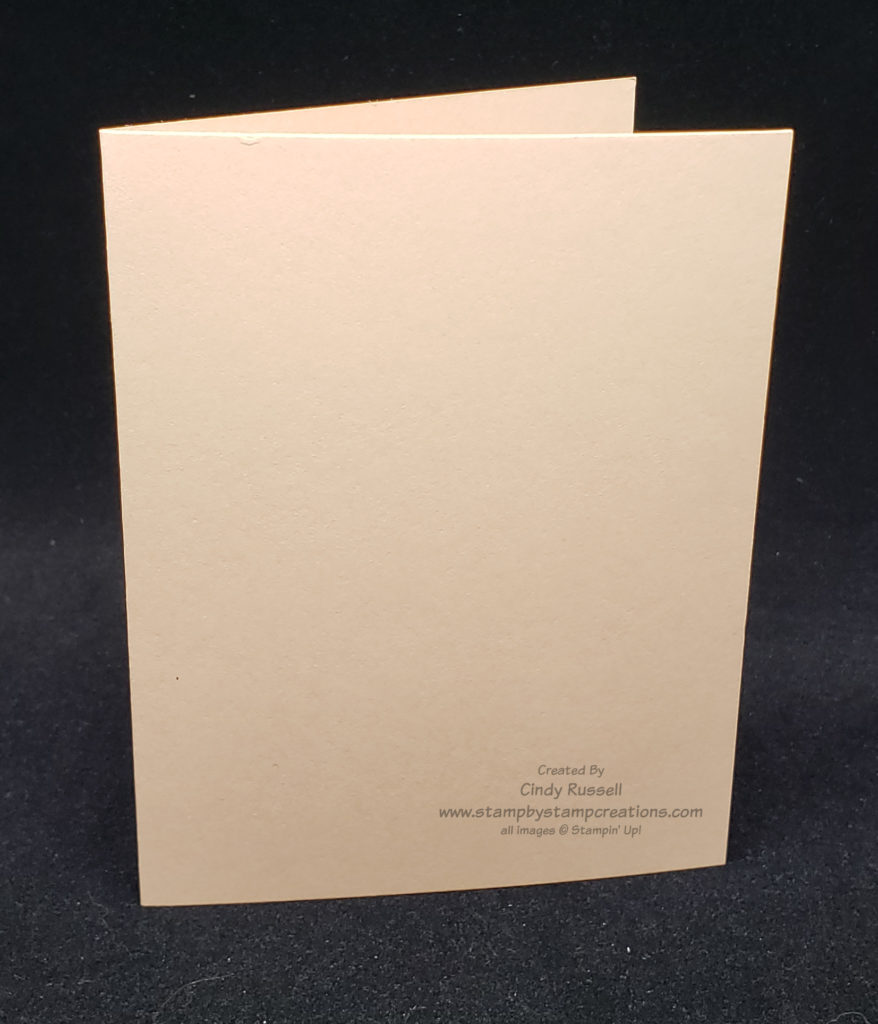
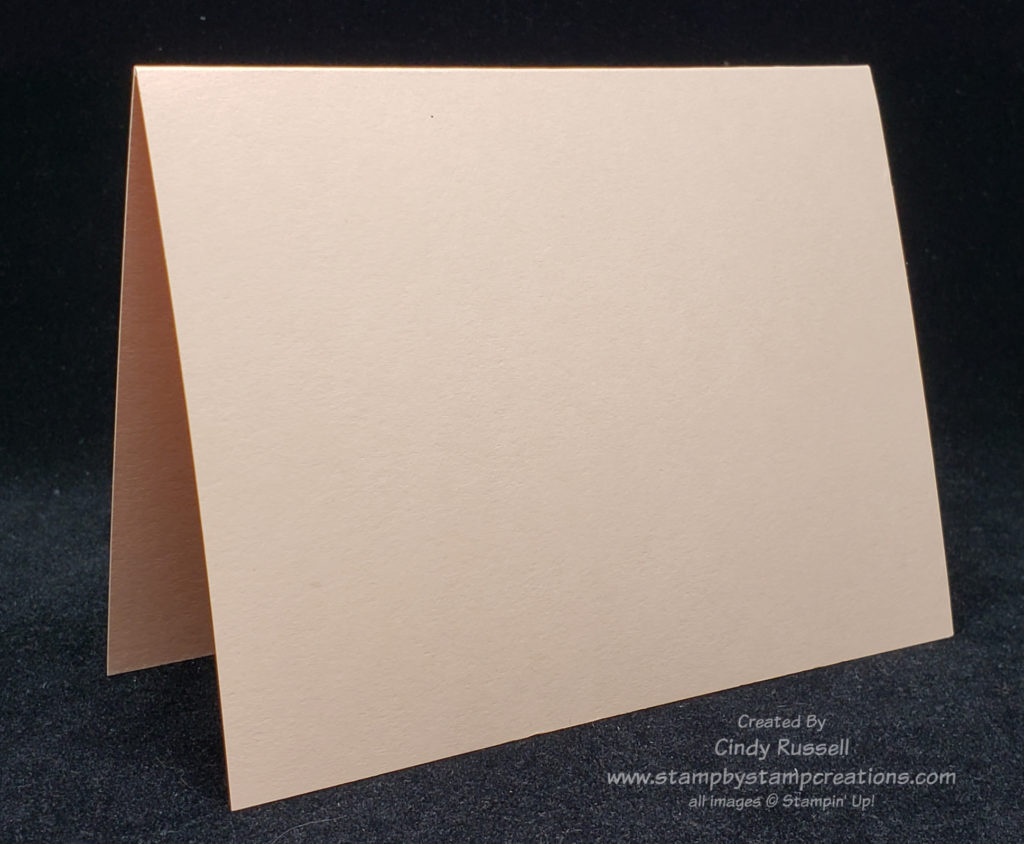
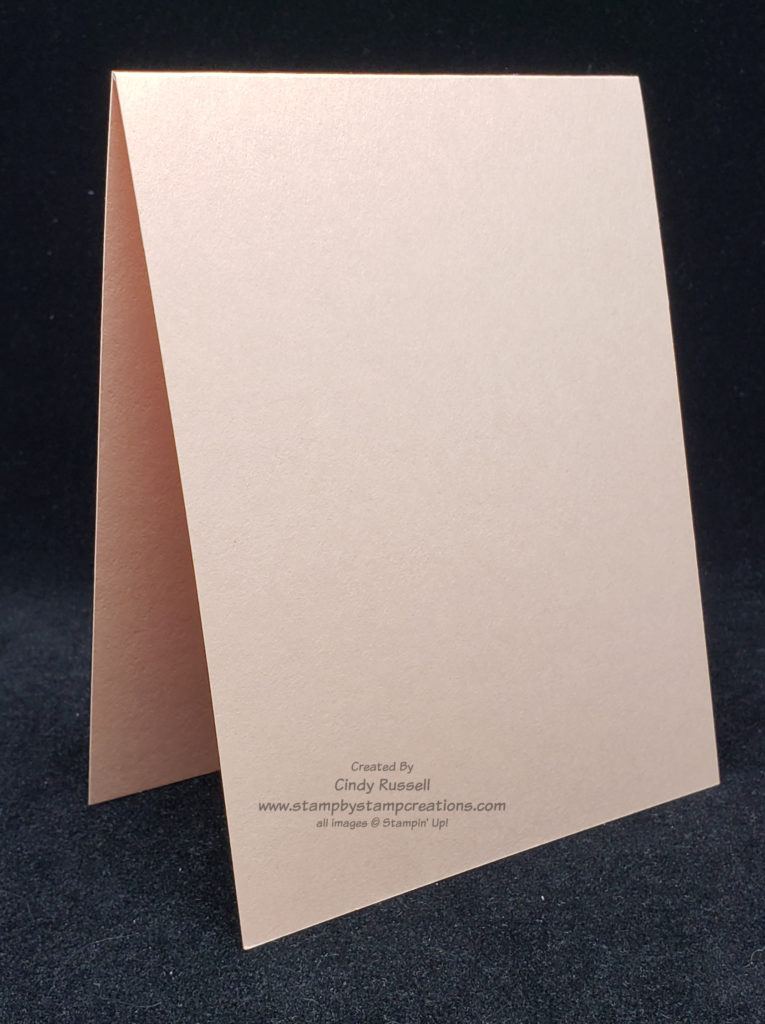
When you cut your cardstock along the long edge you get two pieces of cardstock that are 5 1/2″ x 8 1/2″. If you’re going to score this piece to form your card you will score it at 4 1/4″.
I will be the first to admit that this is the way I usually cut my cardstock this way to make my cards.
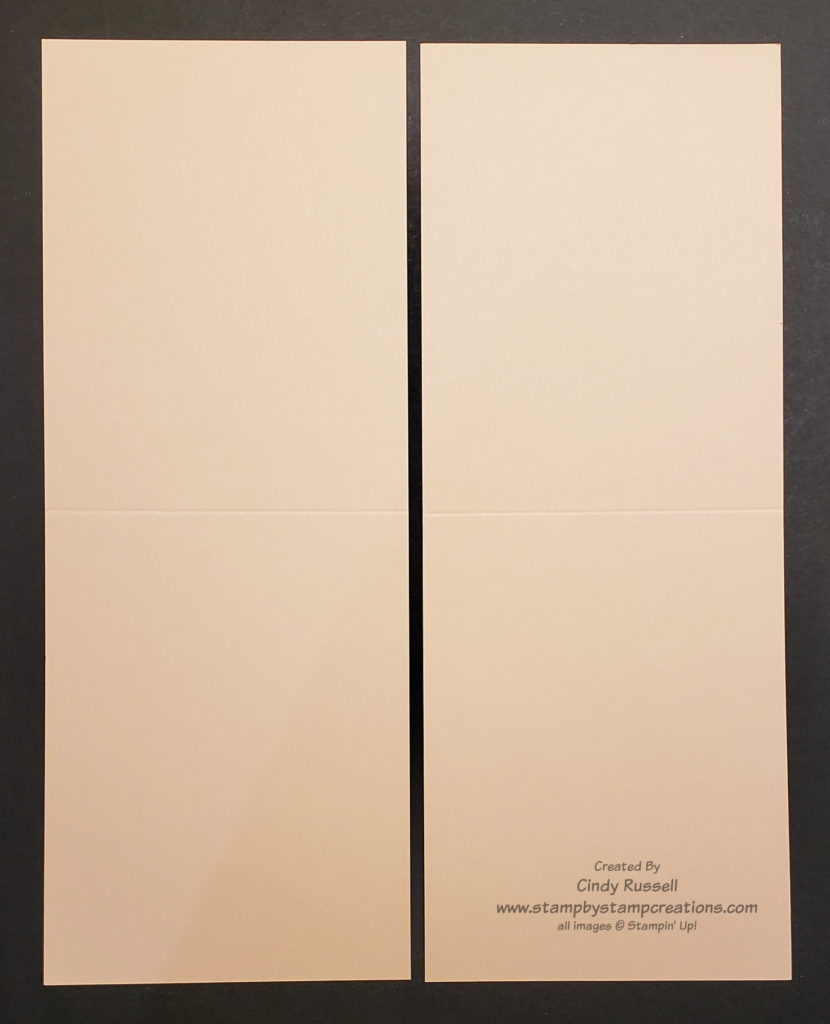
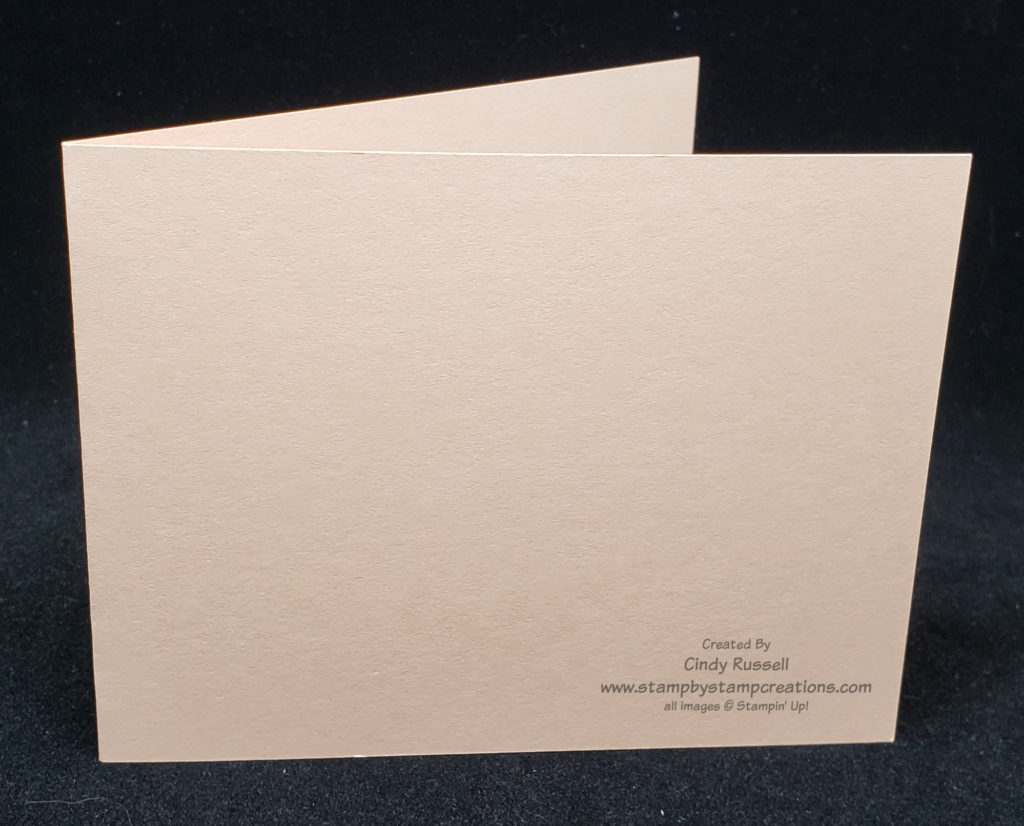
When you cut your cardstock along the short edge you get two pieces of cardstock that are 4 1/4″ x 11″. To form your card you will score at 5 1/2″. I don’t make a lot of cards with this configuration. I’m not sure why. Cutting your cardstock this way changes up your card a little bit. Sure, the card front and the inside will be the same but it’s a fun little change to opening up the card.
We’re done with the beginning. You now know the basic ways to cut and fold your cardstock and how they will look in vertical or horizontal orientations. Leave a comment and let me know your go-to way of cutting the cardstock and which orientation you prefer.
Have a great day! Take care and Happy Stamping!