
This week’s project is fun and adorable. It’s perfect for kids and adults. It’s also quite versatile. What is it? It’s a cute little Rudolph the Red-nosed Reindeer box!
I have to thank fellow demonstrator, Sue McDonald, for this idea. I saw it online and knew I had to make one! It was pretty easy to make once I figured out what size circle punches to use.
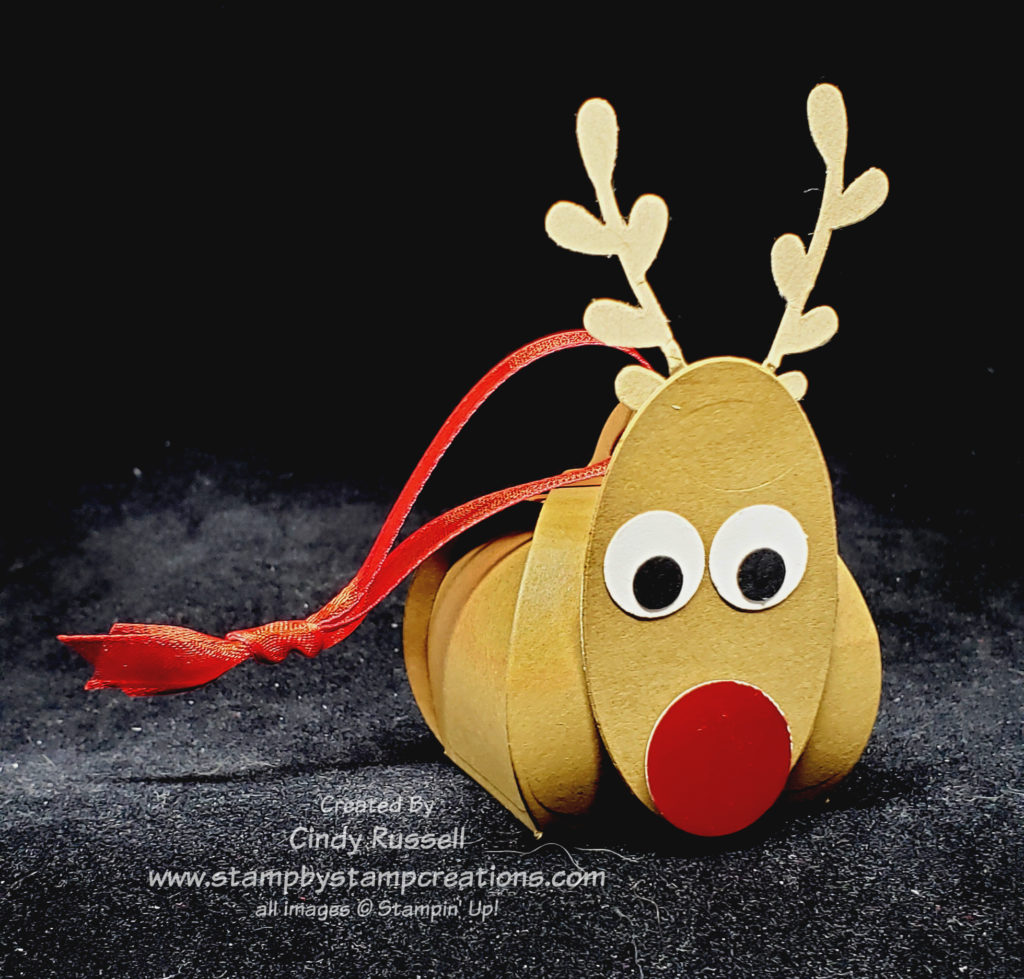
Rudolph’s nose is punched from a Red Foil Sheet with a 3/4″ Circle Punch. The whites of the eyes are punched with a 1/2″ Circle Punch and the black portion of the eyes are punched with a 1/4″ Circle Punch.
The head is die cut with the 3rd smallest Layering Oval Die. I actually die cut two of them so I could layer the antlers between them. The antlers are punched using the Sprig Punch. I also cut two of them and adhered them together just to make them a little sturdier.
You can find the complete directions to make this cute little guy here. When you view the directions you’ll notice that I used Adhesive Sheets on many of the pieces. It made it so much easier adhering things together, especially the eyes. I did use a Stampin’ Dimensional to adhere Rudolph’s nose.
This festive little box has many uses. You can see from the photo that I added a ribbon which makes it the perfect little ornament. Since it’s a box you could even add a little treat to it before hanging it on your tree. If you don’t want to hang it on your tree just leave the ribbon off and it will make the perfect little treat box for your Christmas table.
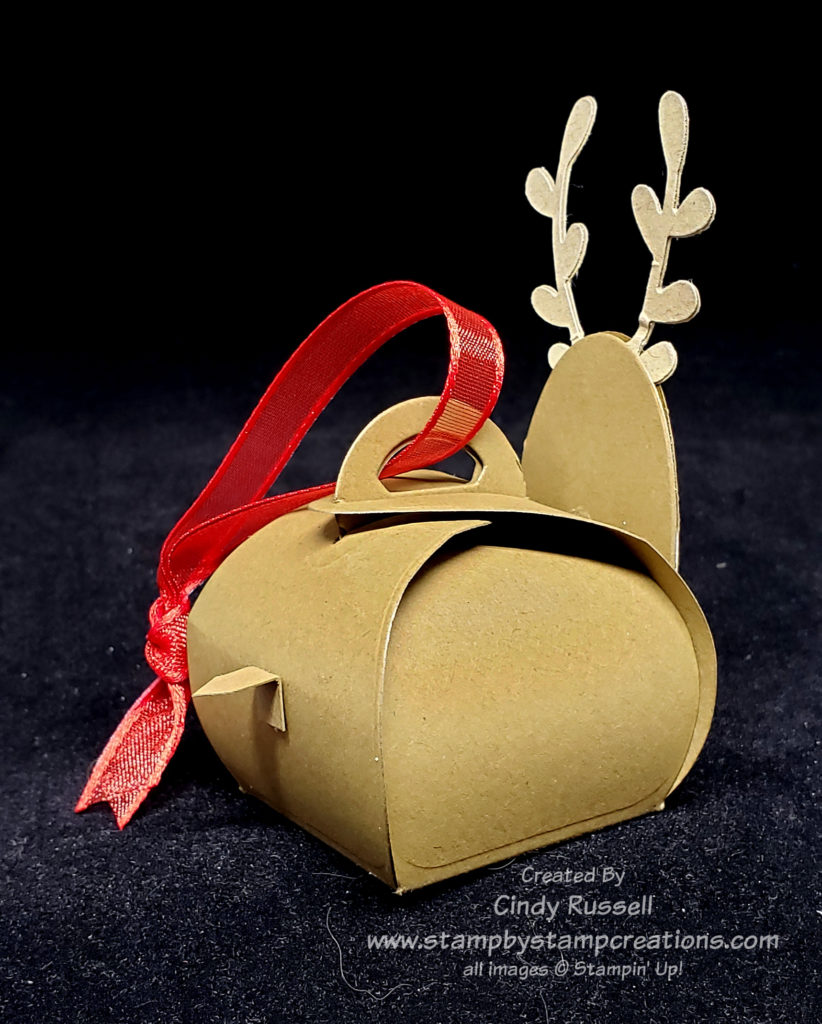
Below you can see a photo of the back of the box…..you don’t want to forget Rudolph’s little tail! 😀
Have a great day! Take care and Happy Stamping!