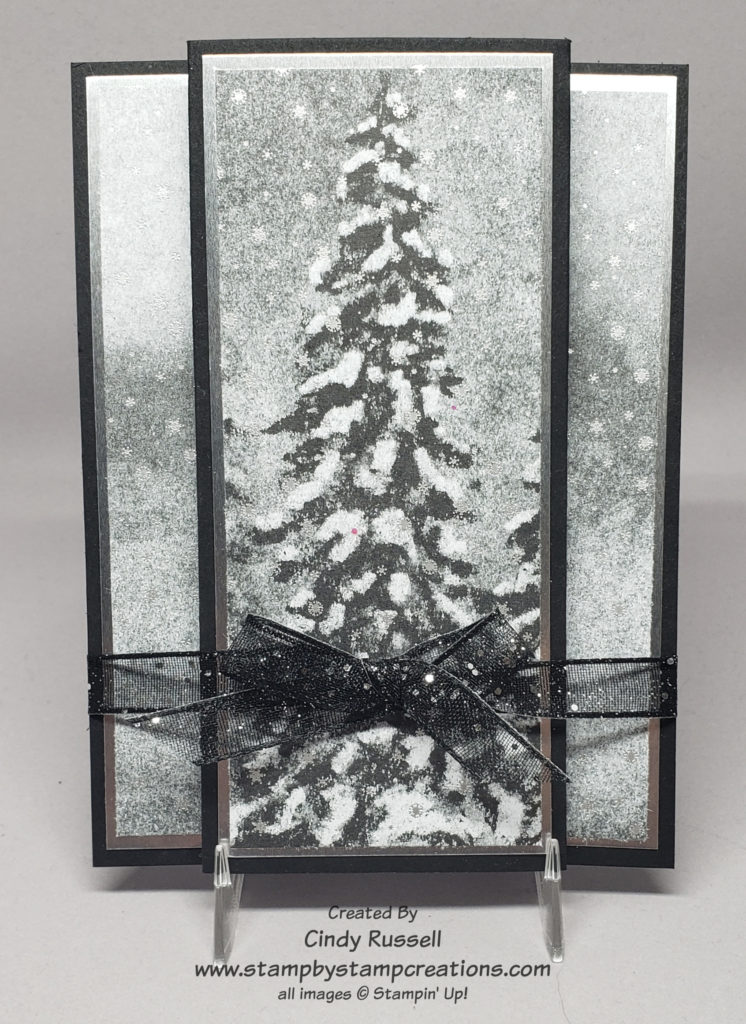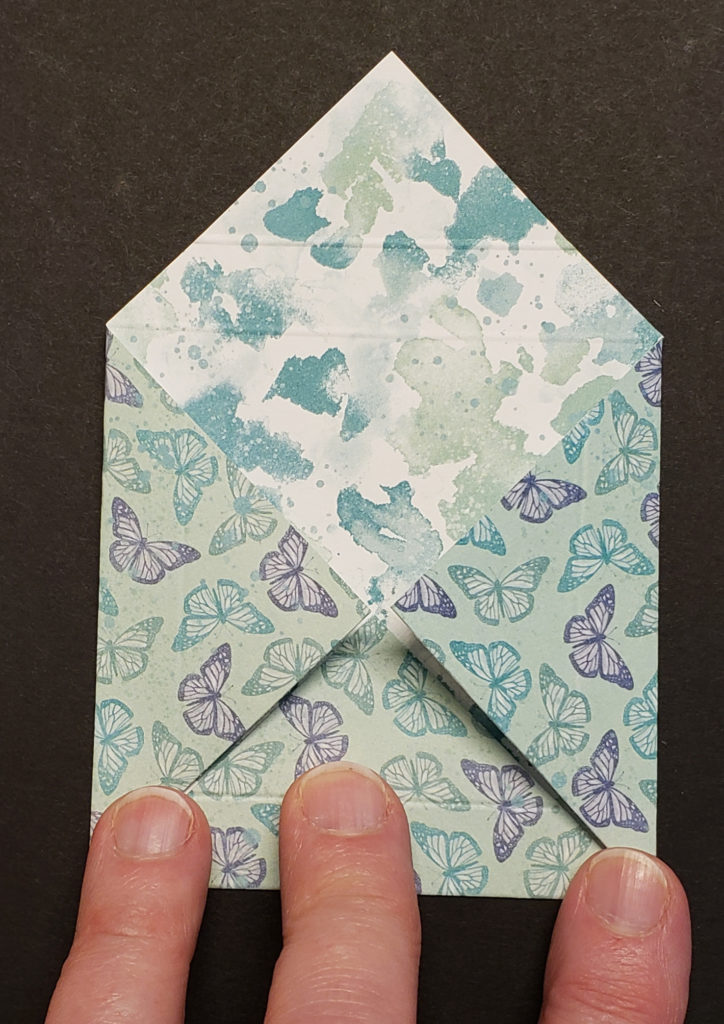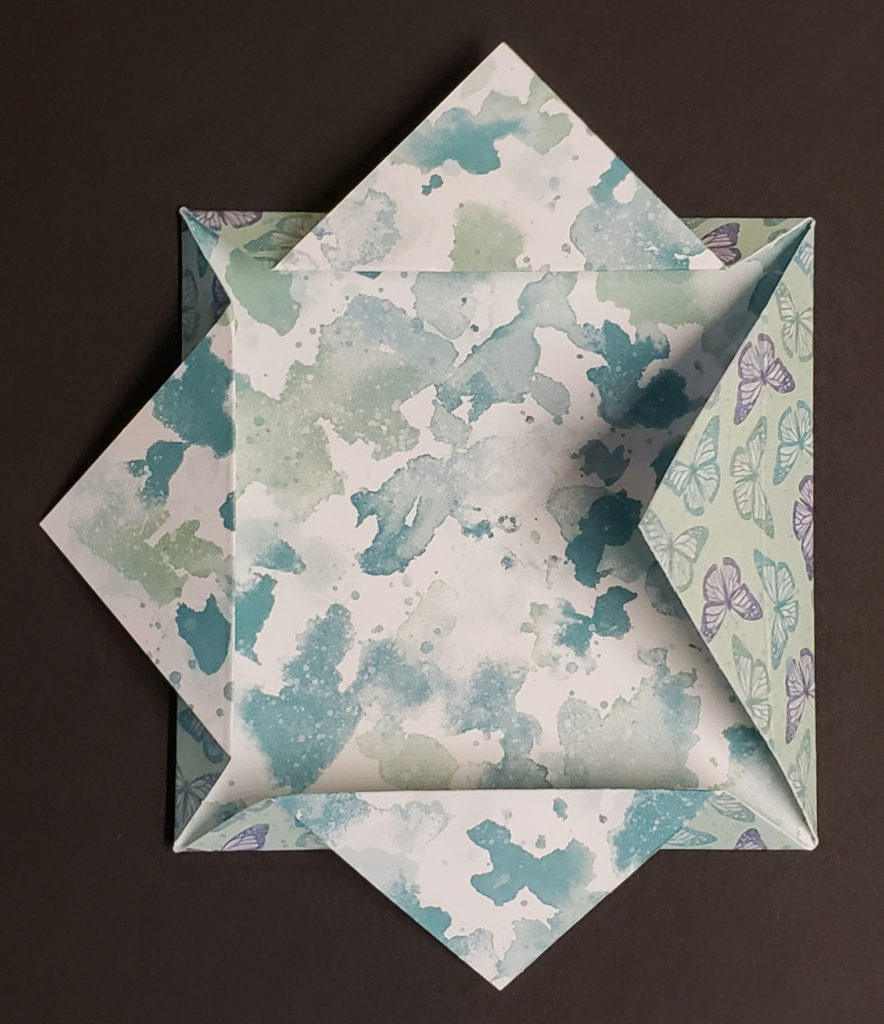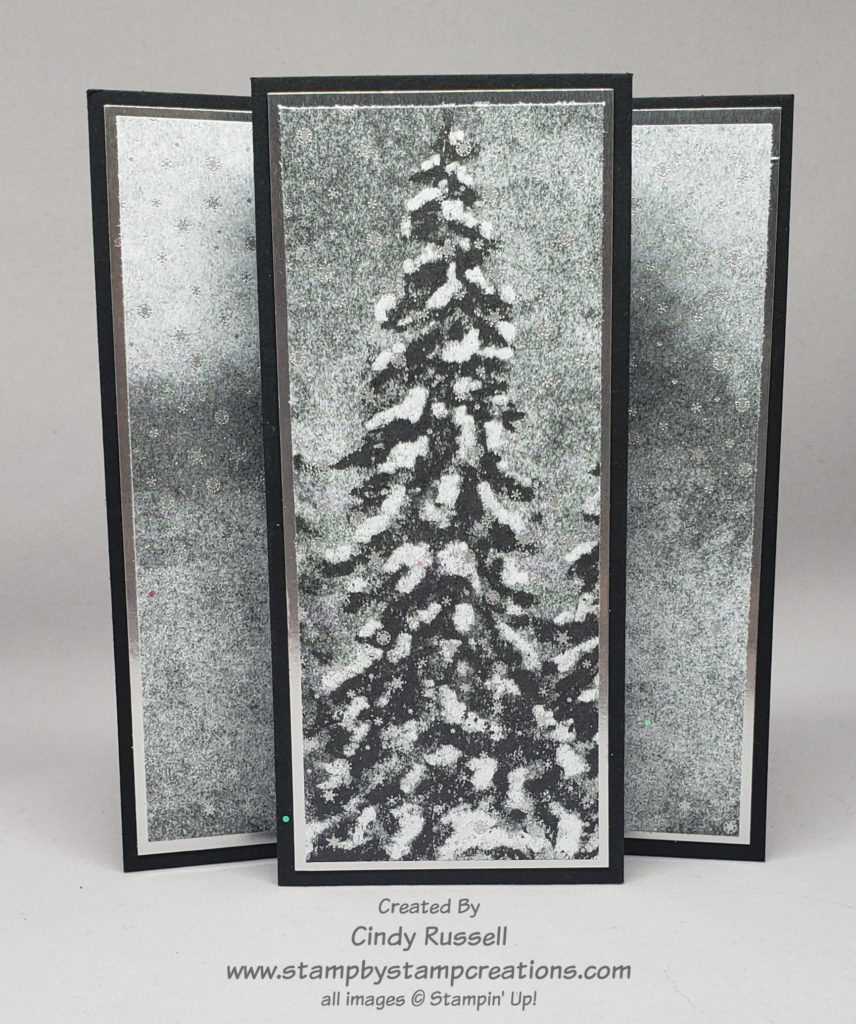
This Fun Fold card is so fun and easy! Four score marks, gorgeous designer paper and some coordinating pieces of paper for the layers. I used Stampin’ Up!’s absolutely stunning Peaceful Place Specialty Designer Series Paper that you will be able to find on page 37 of the new (Holiday) Mini Catalog. The only colors in this package of papers are Smoky Slate, Basic Gray, Basic Black and Silver. Amazing! You will definitely want to check out this paper.
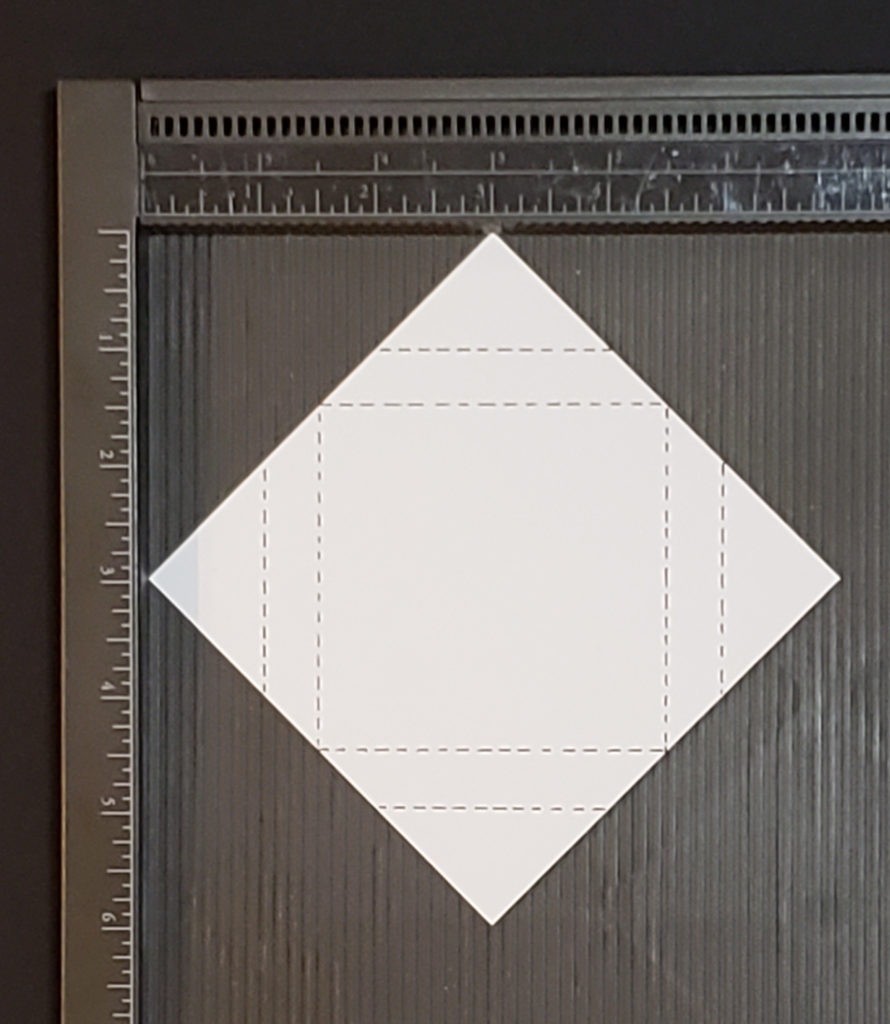
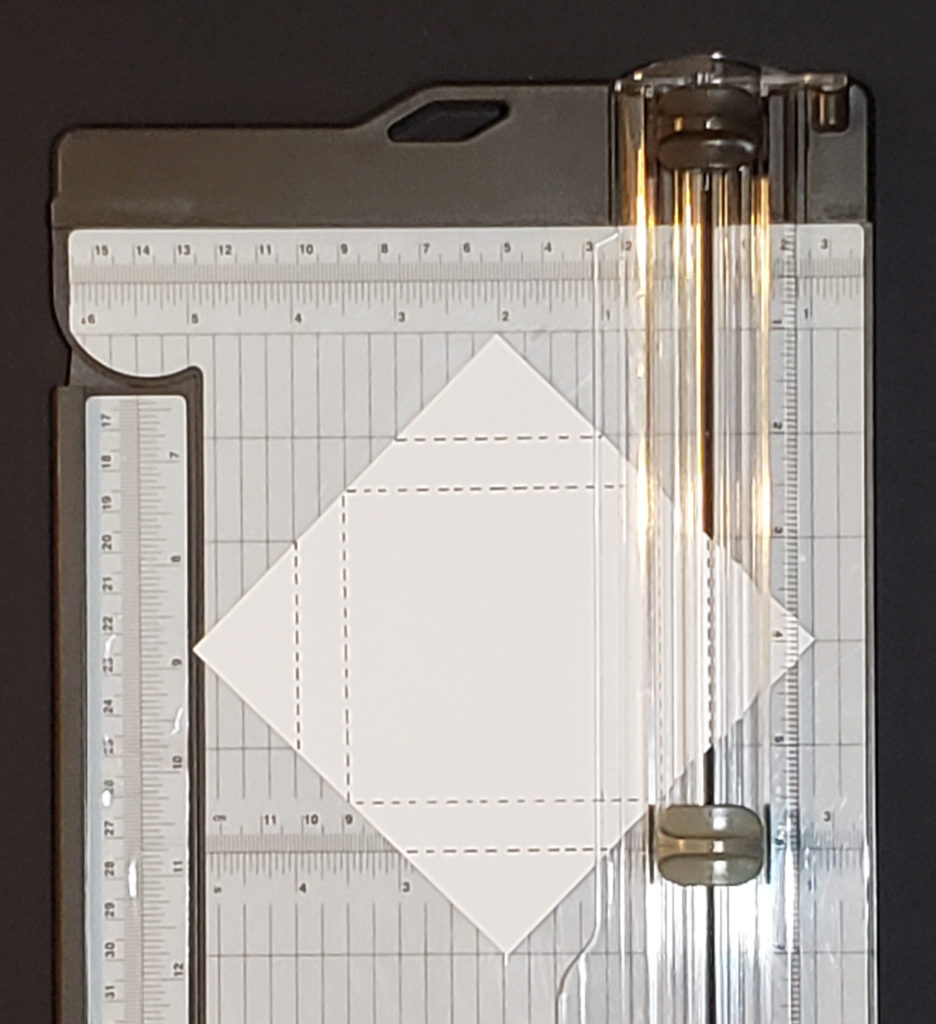
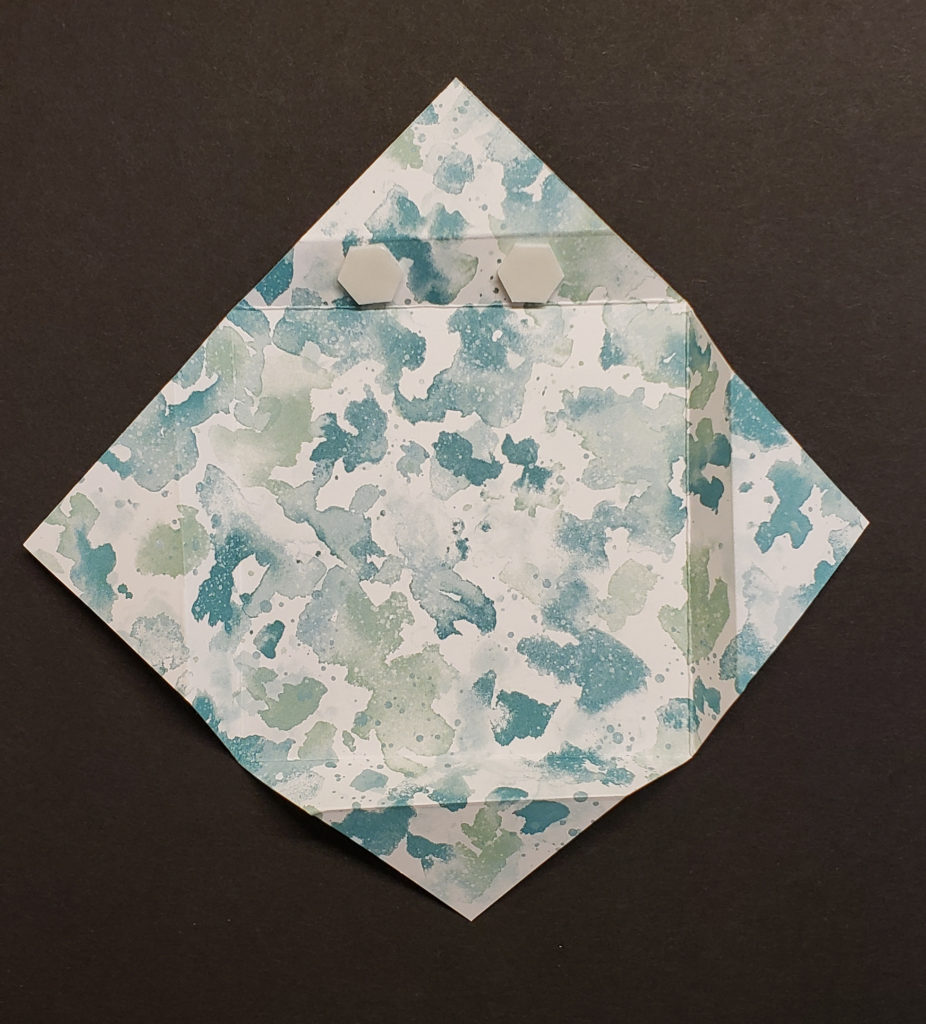
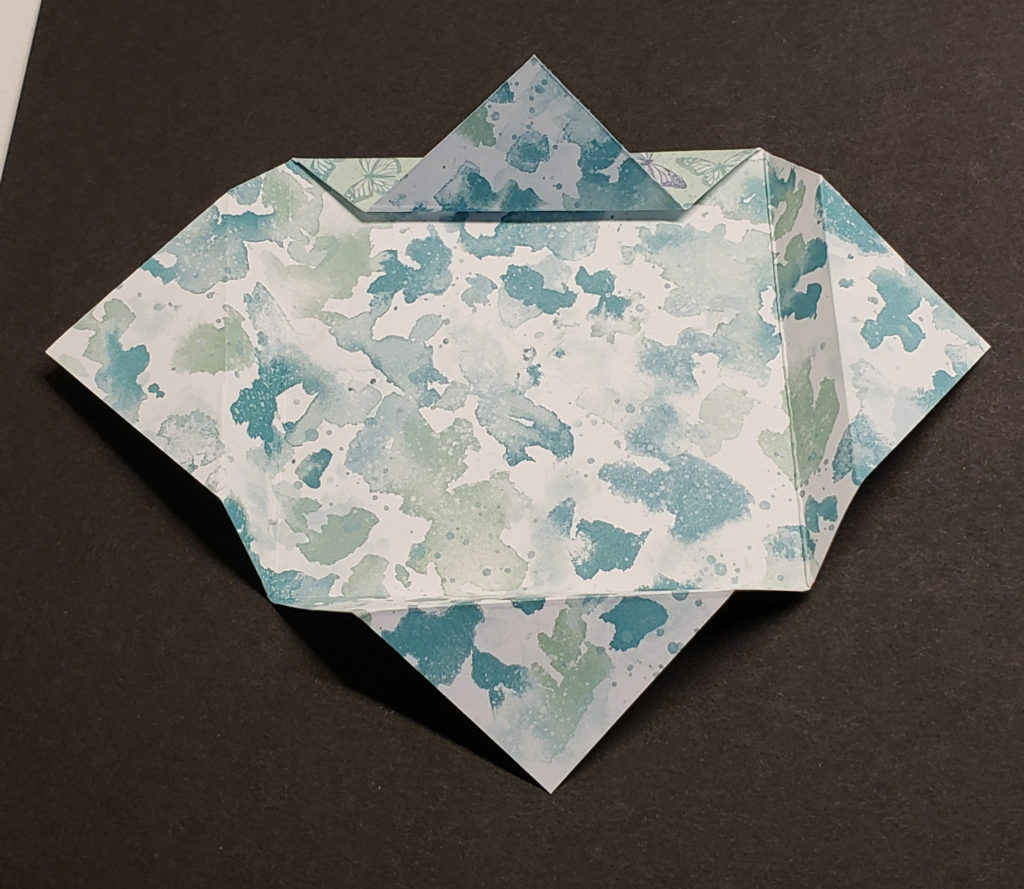
For the card base of this fun fold card you start with a piece of cardstock that is 8 ½” x 5 ½”. Score along the long side at 1 7/8”, 3”, 5 ½” and 6 5/8”. When folding along the score lines the two outside score marks will be valley folds and the two inside score marks will be mountain folds. When folded closed, the card measures 5 ½” x 4”.
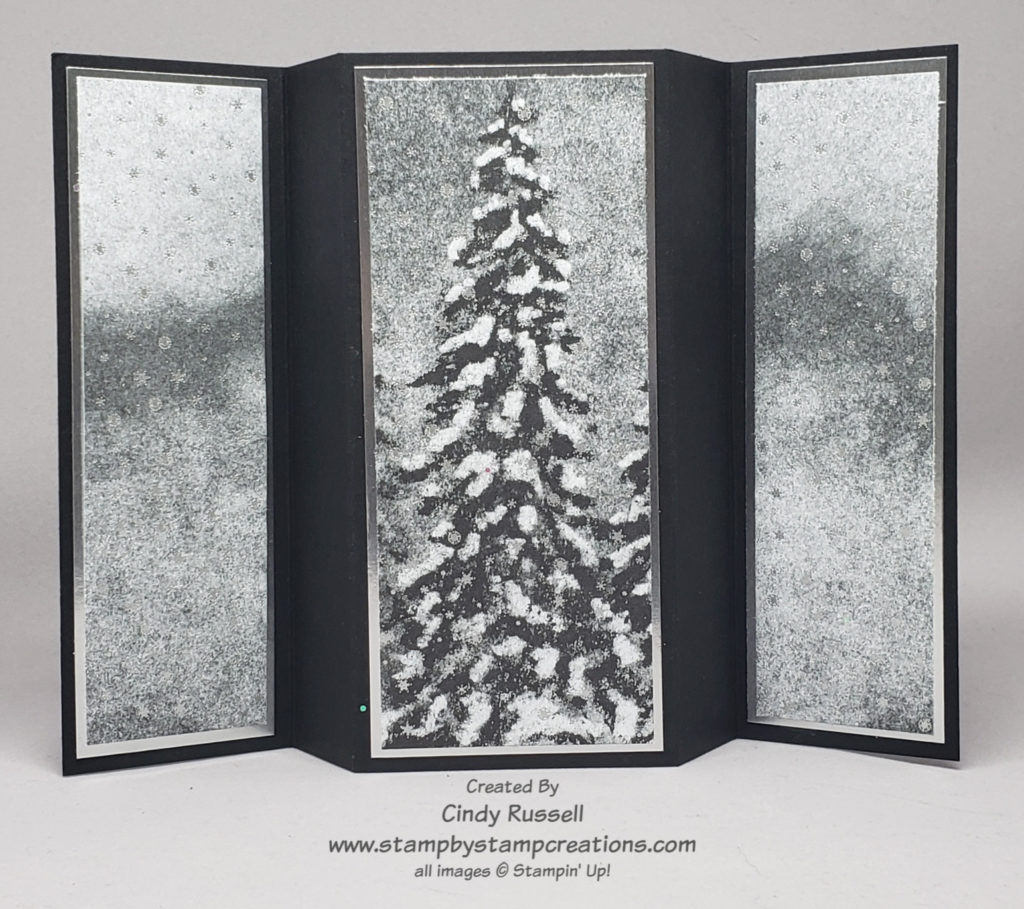
The sheet of designer paper that I chose for this card has large snow-covered trees on the bottom portion and silver snowflakes falling from the sky on the top portion. I used the top portion for my two outside panels and cut them 5 1/8” x 1 ½”. Then I used one of the smaller trees and cut a panel that is 5 1/8” x 2 1/8”. I cut the silver foil layers 5 ¼” x 1 5/8” (2x) and 5 ¼” x 2 ¼”.
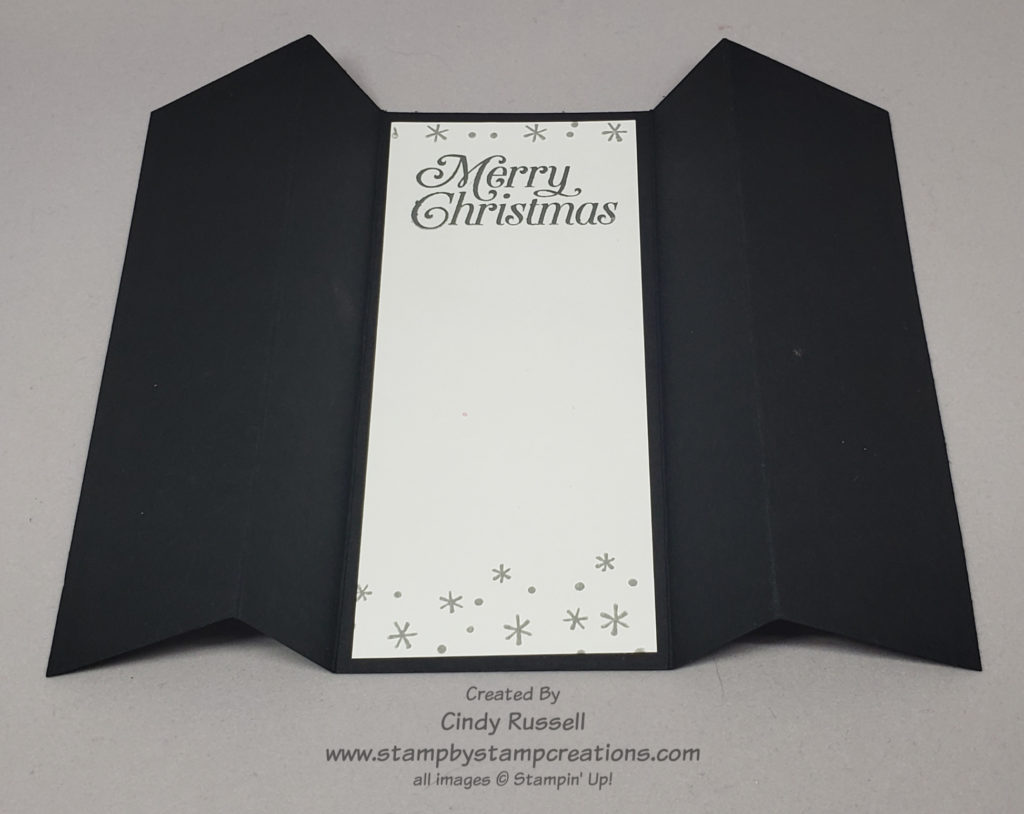
I did add a piece of Basic White cardstock to the back of the large panel so I could add a sentiment. Since I didn’t have the coordinating Peaceful Cabin stamp set (which is on my wish list!) yet I had to search my stash for a sentiment that would fit. Most of the sentiments in the Peaceful Cabin stamp set should fit perfectly. I guess I’m going to put that on my August shopping list so I can recreate this card!
After looking at the Peaceful Place Suite in the new Mini Catalog it dawned on me that I could maybe “close” my card with a belly band of the gorgeous White Glittered Organdy Ribbon. Of course, as I was grabbing it off my ribbon shelf I noticed the Black Glittered Organdy Ribbon. Oh, dear. Decisions, decisions! Since I couldn’t decide, I cut a 20” piece of each of the ribbons and made two belly bands. Now I need your help? If you were going to recreate this card which ribbon would you use for your belly band? White or Black? Please let me a comment below and help me make this decision! Have a great day! Take care and Happy Stamping!