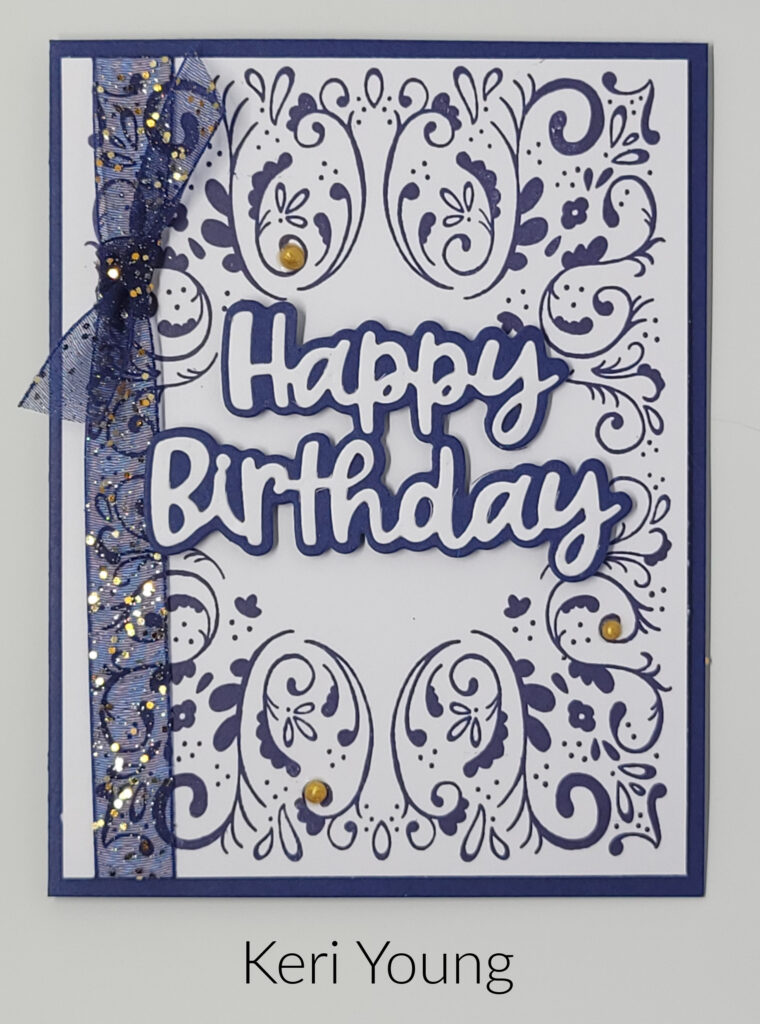
I have another birthday card for Day 8 of my 40 Cards in 40 Days Challenge. This fun birthday card was also designed for our Sassy Stampers & Friends Stamp Camp earlier this month. Keri Young is the designer of this card. Keri used the Tiled Techniques Stamp Set on this card along with the Wanted to Say Dies. I love how combing these two products makes such a lovely card.
When I first looked at the card, I was amazed at how perfectly the stamp lined up on the card if you had to stamp it in each corner, but the stamp used on the front is the largest stamp in the stamp set and only had to be stamped twice. Once at the top and once at the bottom. This makes the perfect frame for the “happy birthday”.
The Wanted to Say Dies should be a staple in every craft room. I haven’t used mine in a while, but I need to get them out. They make it so easy to add a sentiment to the card and they really give your project a wow factor. The die set has four different layered sentiments as well as some smaller dies you can add to your project.
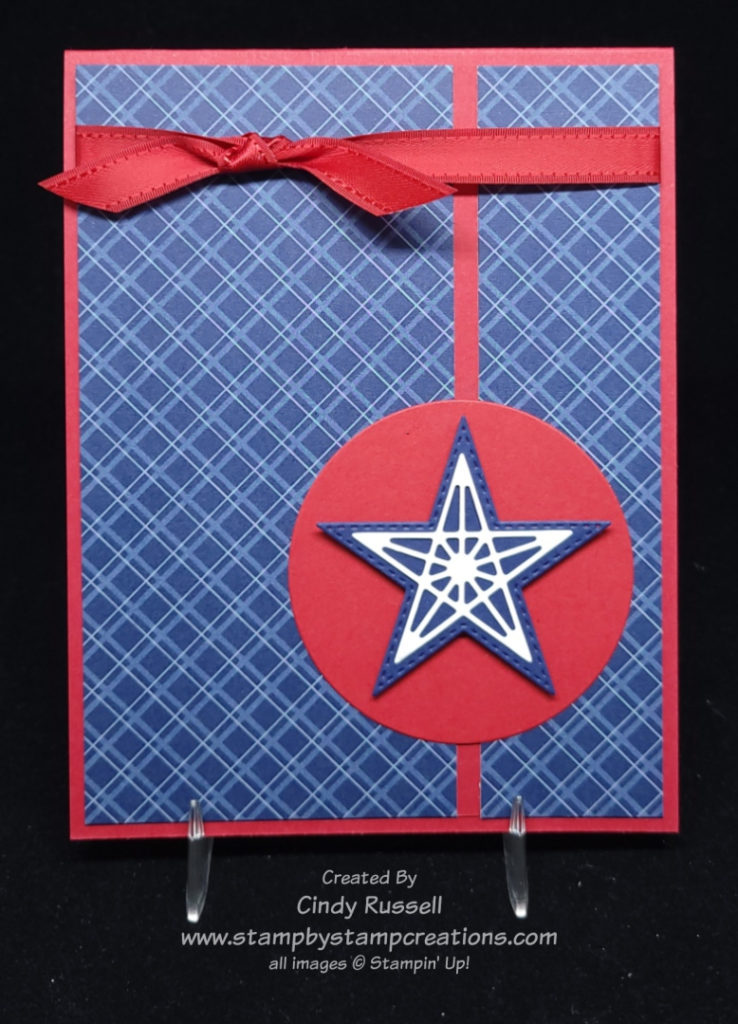
When I came across this card sketch I knew it was perfect for using my Stitched Stars Die Set one last time before it retires. 🙁
A star isn’t a shape that I use often when I make a card but it’s one of those basic ones that is nice to have on hand. The Stitched Stars Die Set will definitely stay as part of my “stash”.
The Tidings and Trimmings Bundle came to my mind first when I saw this sketch so I got out my bundle with the coordinating designer paper and ribbon and created a card. Then I happened to check out Stampin’ Up’s List of Last Products that are no longer available and this bundle was on the list. It was time to go back to the drawing board.
My next thought for using a star was “patriotic”. You know, red, white & blue and stars and stripes.
If you compare my card to the sketch you can see that I kind of flipped it. I also added the ribbon. If you’re wondering how I got my designer paper on the card front so straight, let me tell you my secret. I cut a piece of Real Red cardstock 5 1/4″ x 4″ and a piece of designer paper 5 1/4″ x 3 7/8″. I then adhered the designer paper to the cardstock. Easy Peasy! Sometimes I scare myself when I come up with these solutions. Ha!
I love the challenge of card sketches. The sketch gives you the basic starting point but then the sky is the limit! If you haven’t tried them yet, give them a shot. I think you’ll enjoy them!
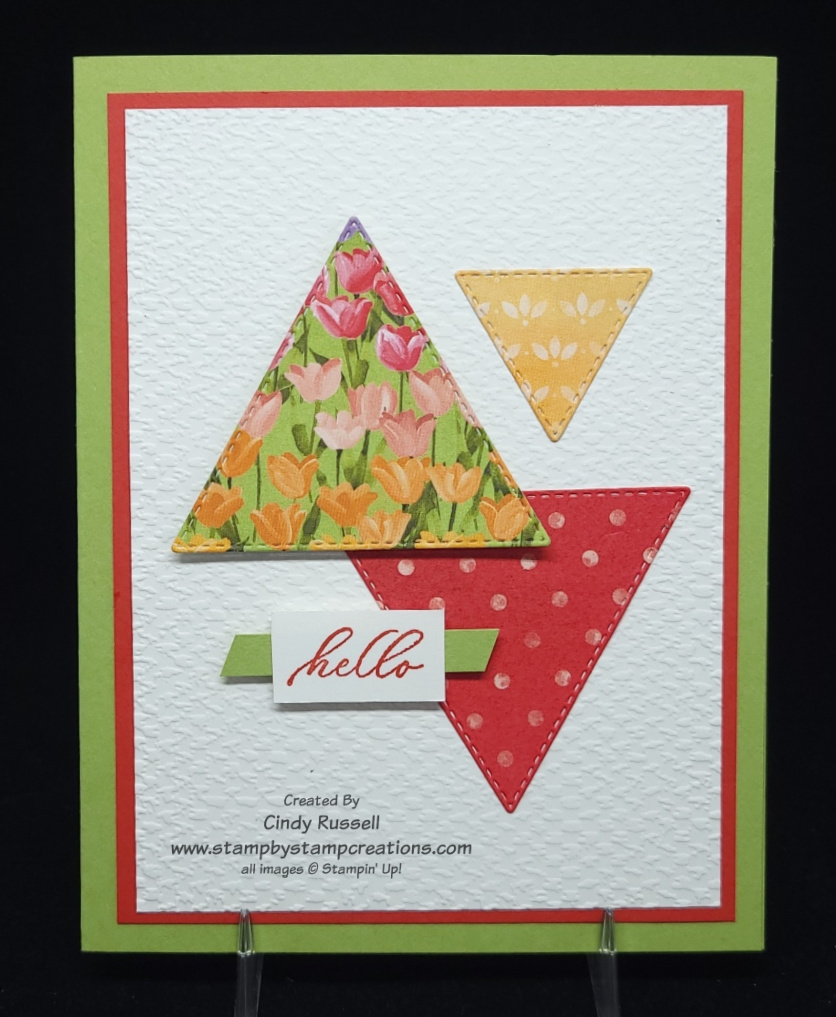
Today’s Card Sketch is all about the (Tri)Angle! I’ve had my Stitched Triangle Dies for a while now and they’ve never been used. (I know….I shouldn’t admit things like this!) Today’s sketch was the perfect chance to see how they worked.
There are 19 different dies in this set including four different sets of nesting triangles! That’s a lot of triangles!
I knew that I wanted to use designer paper for my triangles but the big question was which papers?
Small designs was what I needed for my triangles. Otherwise you wouldn’t be able to see the design. I finally decided on the Flowering Fields Designer Series Paper. All three designs are from this package of paper.
If you compare the card sketch to my card you can see that the first big change I made was to the size of the card. The sketch is for a square card and I made my card the usually 5 1/2″ x 4 1/4″ front.
The only other real change I made was to add a couple of layers, but then that is kind of what I do, right? 🙂
It was fun playing with those triangles. I may have to get them out again soon and play some more! Have a great day! Take care and Happy Stamping!
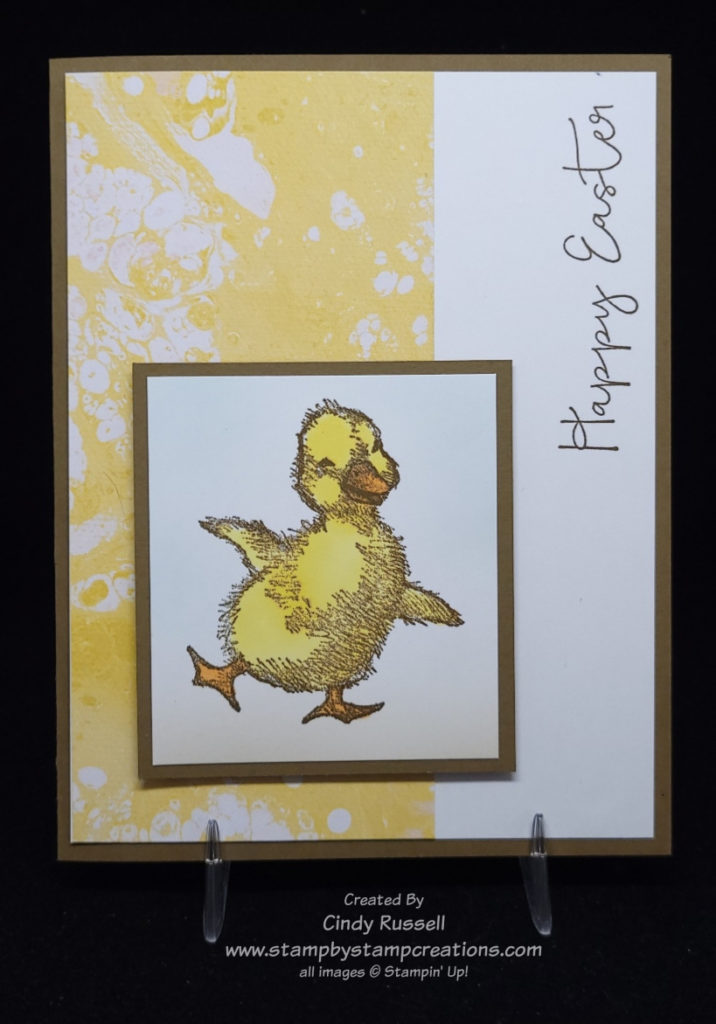
This adorable Easter duckling makes me smile. How about you? You can find this little duckling in the Easter Friends stamp set along with a little chick and a bunny.
Does the designer paper I used on this card look familiar? It should. It’s the same paper I used on yesterday’s 40 Projects In 40 Days card over on Facebook. It’s from the Waves of the Ocean Designer Series Paper. Did you click on the link to check it out? This paper is so fun!
The duckling is stamped in Soft Suede and then colored with the Light Daffodil Delight and the Light Pumpkin Pie Stampin’ Blend Markers. Images that you want to color with your Stampin’ Blend Markers don’t have to stamped with Memento Tuxedo Black Ink. They just need to be stamped with a water-based ink which is what Stampin’ Up! inks are.
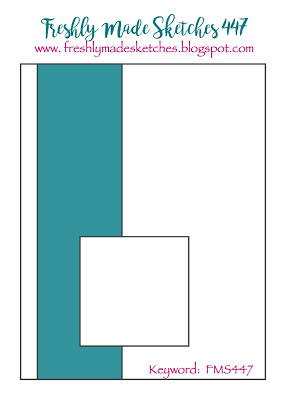
It’s Card Sketch Day and here you can see the card sketch that I followed. I added my usual layers to my card as well as the sentiment. There was just a little too much white space for me. Having the sentiment on it’s side at the top adds a little something different to the card too.
Card Sketches are such a fun and easy way to get inspired. I usually pick a card sketch that I like and then try to figure out what stamps, dies and papers to use on it.
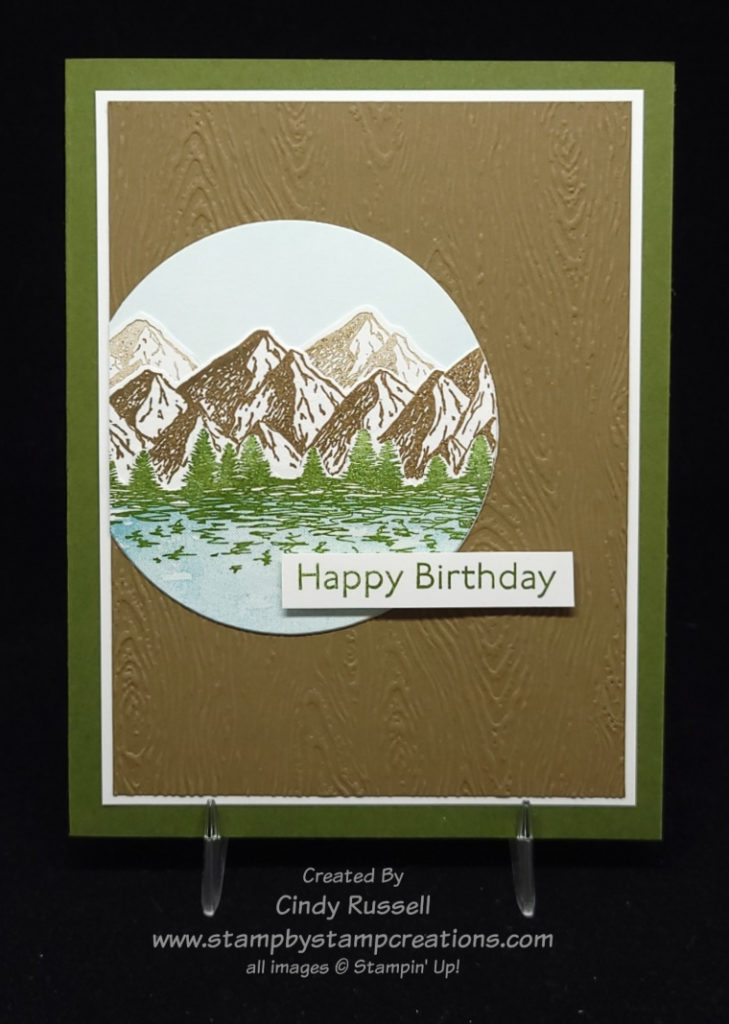
This card definitely reminds me of my home state of Colorado. Gotta love those mountains!
I’ve had the Mountain Air stamp set and the Majestic Mountain Dies for a while and haven’t used them much. My 40 Projects In 40 Days challenge has got me looking at, and trying to use, all of those unloved stamp sets on my shelves.
It may be hard to tell from the photo but I used the dies on my card. I stamped each row of mountains separately, die cut them and layered them on a piece of Basic White cardstock that I had added a little color to with a Blending Brush and Balmy Blue ink.
The water is stamped on a separate piece of Basic White cardstock with Balmy Blue ink and the “water” stamp from the Oceanfront set. The trees are stamped over the water with Mossy Meadow ink. I then used a circle die from the Layering Circles die set to die cut the area of lake and trees that I wanted to use on the card. I did this because I knew that my die wouldn’t go through more than a few pieces of cardstock.
Once the I had my die-cut lake and trees I adhered them to the mountains. I lined up the same circle die around the edge of the water/trees and ran the cardstock and die through my Stampin’ Cut & Emboss Machine. Most of the circle was die cut but I did have to use paper snips on a few areas that had more than a couple layers.
Here is the card sketch that inspired me today. I stayed pretty true to the sketch. The only changes I made were flipping the design and adding one more layer. Not bad for me! Ha!
Have you tried using sketches yet? I hope so! They are a great way to get those creative juices flowing!
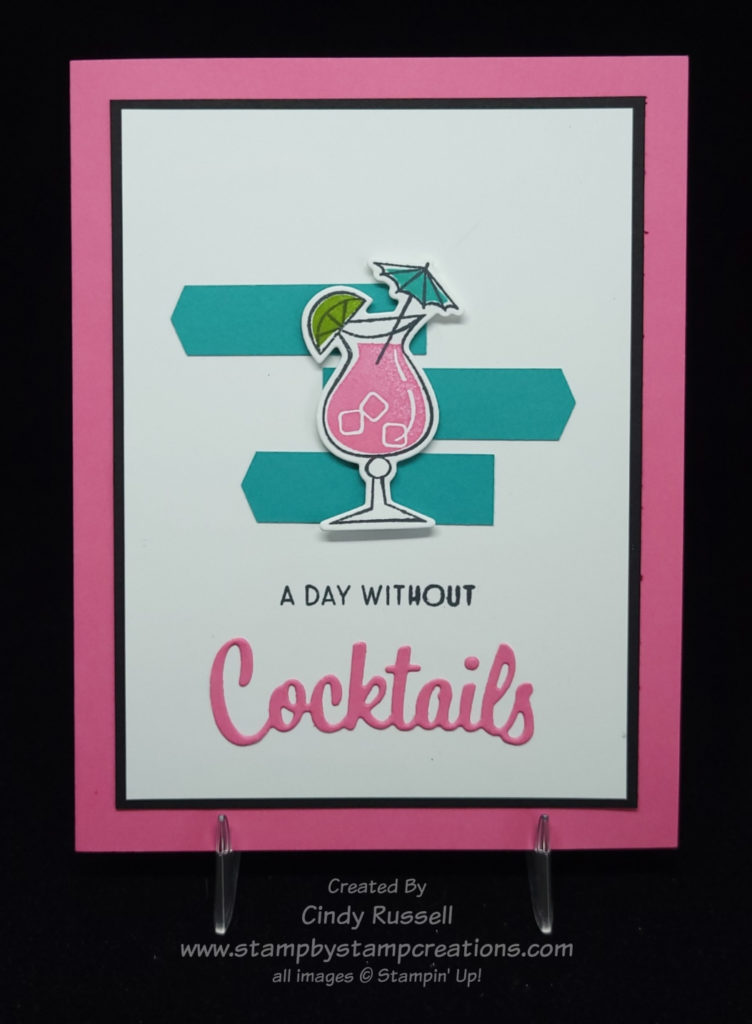
Cocktails and Card Sketches! How can you go wrong? The Nothing’s Better Than stamp set is so fun! It’s definitely going on my keeper shelf. The great thing about this stamp set is that it encompasses four different favorite items (well, only three of mine as I don’t care for coffee…). Cocktails, Chocolate, Cookies and Coffee! Such a fun stamp set and it has coordinating dies too! The Love You More Than dies. The sentiments in this stamp set are fun too.
When I saw this card sketch I thought it would be a fun one to work with. I didn’t realize how difficult it would be to find just the right image for the focal point. I could have used a butterfly just like in the sketch but I wanted to be a little original! 🙂
When I saw the Nothing’s Better Than stamp set on my shelf and knew it had coordinating dies I knew I had the winner. I changed up the sketch a little bit since I wanted to use the die for the work “cocktails”. I also added a few layers (naturally!).
It was a fun sketch to work with and I was able to use a bright and cheerful color palette with Polished Pink, Bermuda Bay and Basic Black.
Have a great day! Take care and Happy Stamping!
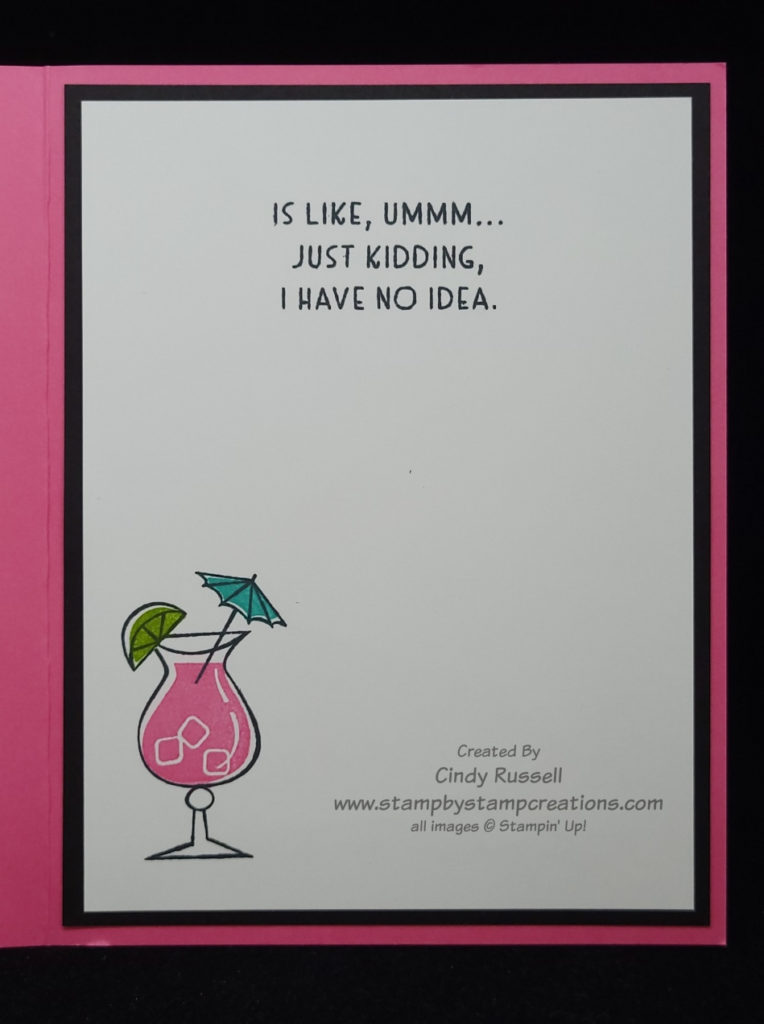
(Don’t forget to decorate the inside of your cards!)
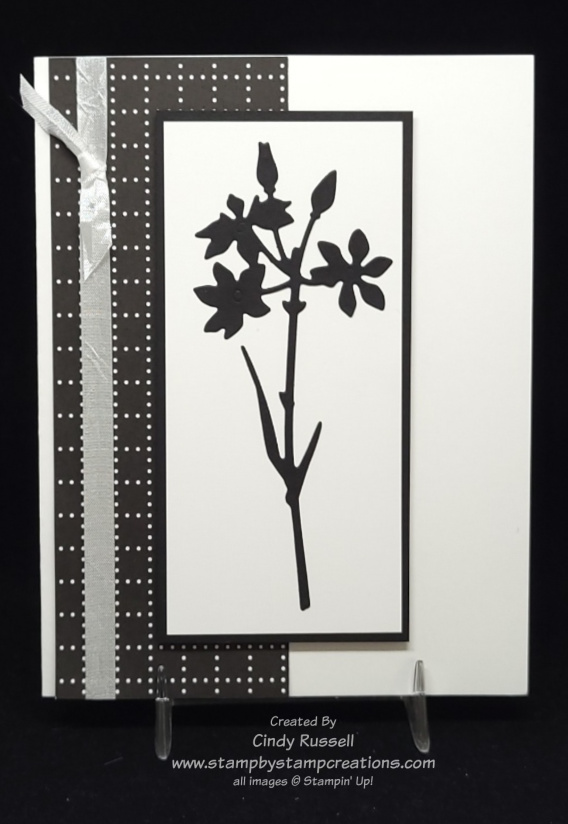
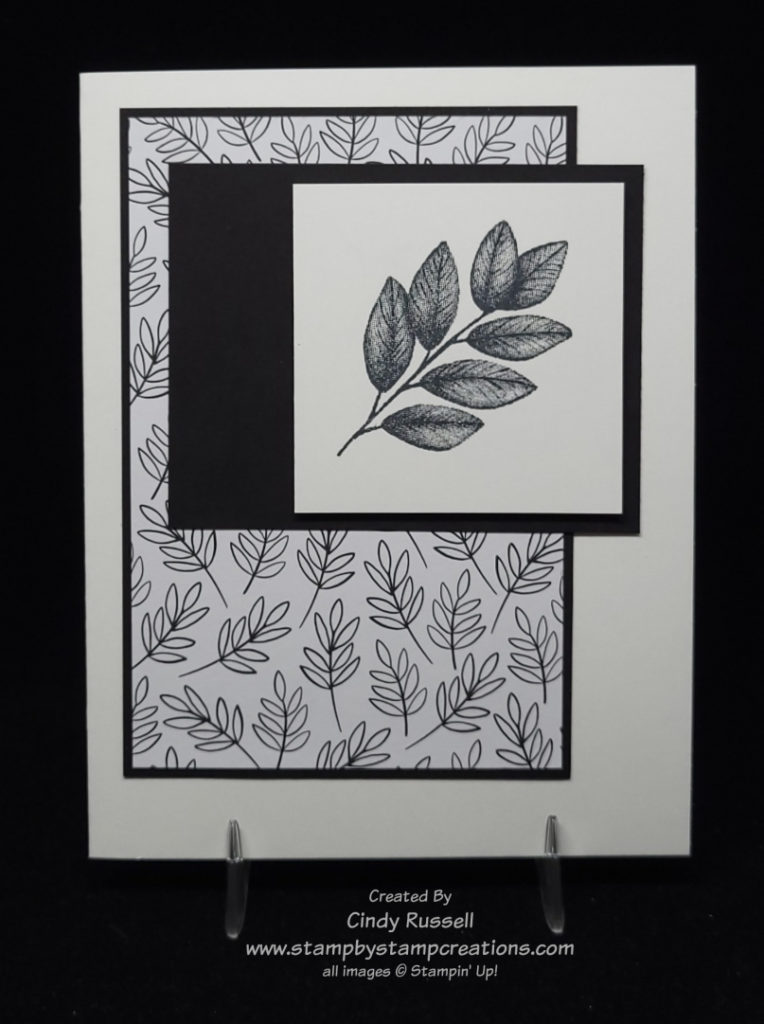
It’s black and white week here on my blog. All of the projects I’m sharing with you this week are black and white. As I mentioned on Monday, there is something about a black and white card that always catches my eye. They’re so striking.
Once again I was able to stick pretty close to the card sketch. I only added one layer around the focal point. The designer paper I used was the fun All Together 6″ x 6″ Designer Series Paper. As I mentioned in my newsletter earlier this week, all of the designs are black and white. So fun!
The die I used as the focal point is from the Meadow Dies which coordinates with the Quiet Meadow stamp set. This set of dies is filled with silhouette dies. So many different ones to choose from for any type of card.
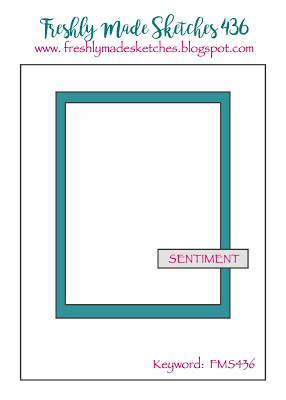
What would you use as your focal point on this card sketch? Would you use a die like I did or would you prefer to stamp an image. Maybe a combination of the two! There are really so many options when you use a card sketch.
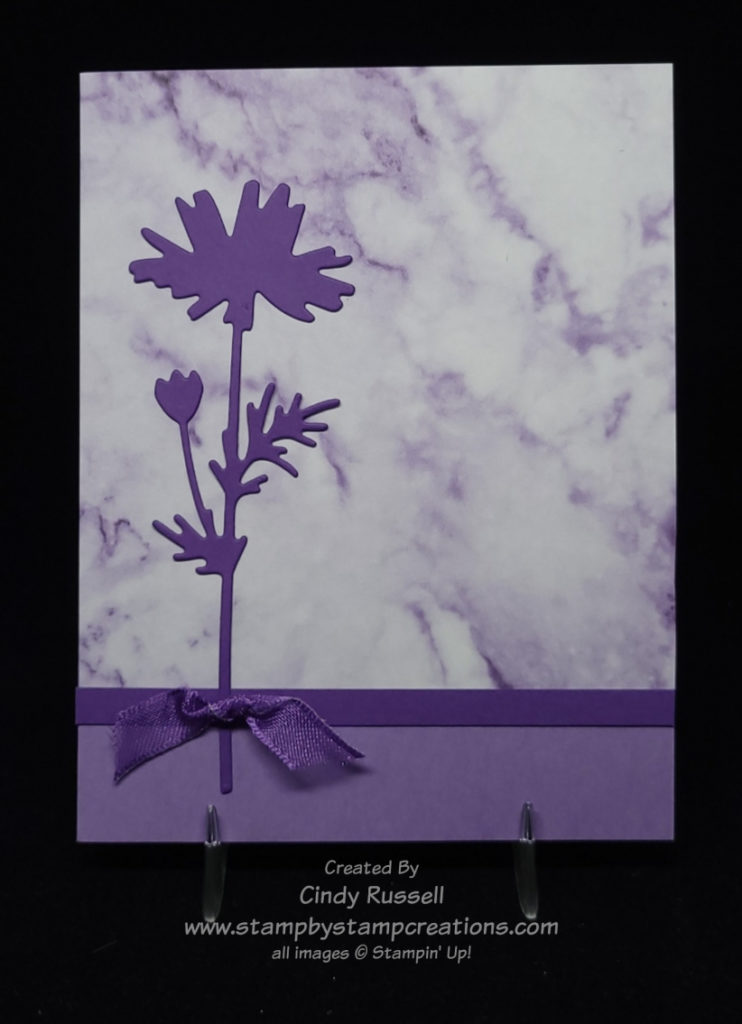
Pretty in Purple (Marble). Stampin’ Up!’s Simply Marbelous designer paper is gorgeous and I love it more each time I use it. It’s the perfect background paper with the soft designs on both sides. Best of all, you can get it for FREE during Sale-a-bration with a purchase of $50 or more. Don’t wait! Sale-a-bration is ending soon on February 28th!
Back to this lovely card. Besides the Simply Marbelous Designer Series Paper I used the Meadow Dies for the flowers. I am loving these silhouette-type dies! The Meadow Dies can be found in the Annual Catalog or here in my online store. The dies coordinate with the Quite Meadow stamp set. These items can be purchased separately or together as a bundle saving 10%.
Any of the colors of designer paper would have worked well with this design. Blues, pinks, grays, yellows, greens or purples. I can’t remember why I chose purple but it may have been because I had ribbon that matched the card. That’s how I make design decisions sometimes. 😊
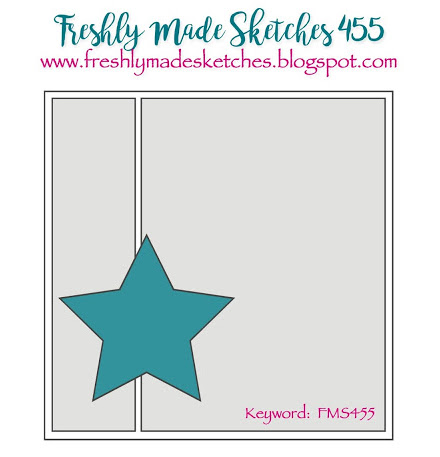
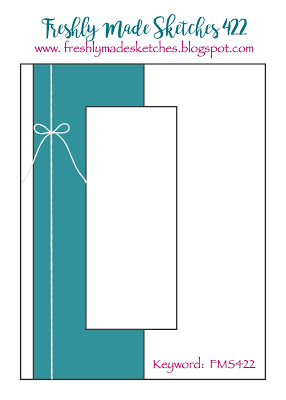
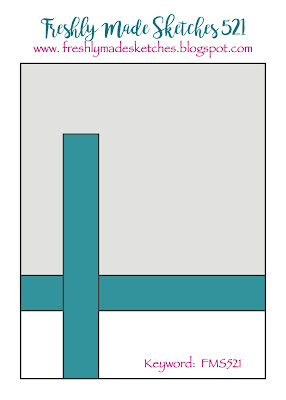
The sketch to the left here is the one that I used today. As you can see, I stayed pretty true to the sketch again. I have both the horizontal and the vertical piece even though my vertical piece doesn’t go all the way to the bottom of the card. I did add a piece of ribbon to my card for a little added interest.
This card was quite simple yet can be used for almost any occasion. Have a great day! Take care and Happy Stamping!
After you’ve chosen a card sketch what’s the next step? Do you first choose colors, stamp set or embellishments? For me, it depends on what first comes to mind.
With this card sketch I knew it needed designer paper for at least one of the layers. Of course I then had to decide which package of designer paper and from there which pattern.
Luckily I happened to have the new All Together package of designer paper right next to me so I started flipping through all of the patterns. The fun part of this package of paper is that it’s all in black and white and there are tons of patterns to choose from. I came a cross a leafy pattern and thought that was a good place to start.
The next step was finding a single stamp for the stamped image. I didn’t want anything too large or too busy. A branch of leaves would be perfect. Then it was off to my stamp shelf!
This image from the Forever Fern stamp was perfect! Not only is it a beautiful image but it was similar to the branches on the designer paper!
I thought about using another piece of designer paper to layer my leaf on but it got too busy. Maybe if the leaf stamp wasn’t so detailed that might have worked. The plain black layer works perfectly!
Did you notice how well I did following the card sketch? I only added one additional layer! Ha!
Be sure to check out the fun All Together designer series paper. You can find it and the other items in the All Together Collection here.
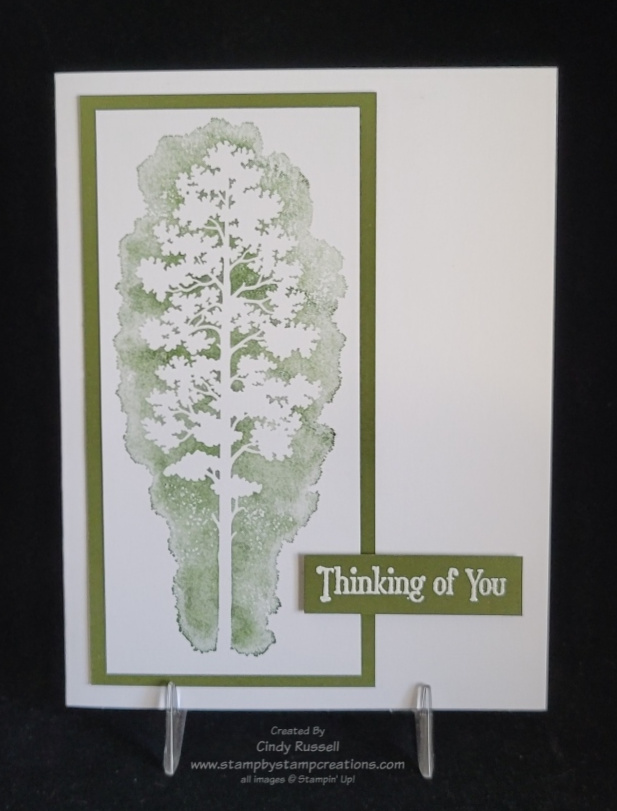
I love the simplicity of today’s card sketch and how easy it was to work with. I didn’t even have to add a layer although I did shift the focal point to the side. 🙂
I’ve been wanting to use the Amazing Silhouettes stamp set and this card sketch was perfect for it! I’ve had this stamp set since this fall. I either received it with my On Stage event registration or with the registration add-on that I purchased. That’s the great thing about being a Stampin’ Up! Demonstrator. You’re able to get your hands on products ahead of their release! (If you’ve ever considered becoming a Stampin’ Up! Demonstrator please contact me so I can give you the whole scoop!)
The Amazing Silhouettes stamp set is one of Stampin’ Up!’s DistINKitive stamp sets. DistINKtive stamps create different opacities in a single stamped image. So beautiful! The sentiment is from the Quiet Meadow stamp set. I stamped it on the Mossy Meadow cardstock with the White Craft Ink and then heat embossed it with White Embossing Powder. A little tip for you when heat embossing: rub a dryer sheet over the cardstock before stamping the image. This way the embossing powder will only stick to the inked image.
I really like this quick and easy card. I may have to make more of them! Have a great day! Take care and Happy Stamping!
Happy New Year! Yes, It’s been awhile since I’ve posted. Life got busy and I decided I needed a little down time. I have to admit it was wonderful not stressing about making samples and sharing them online. But, I’m back! Recharged and ready to go!
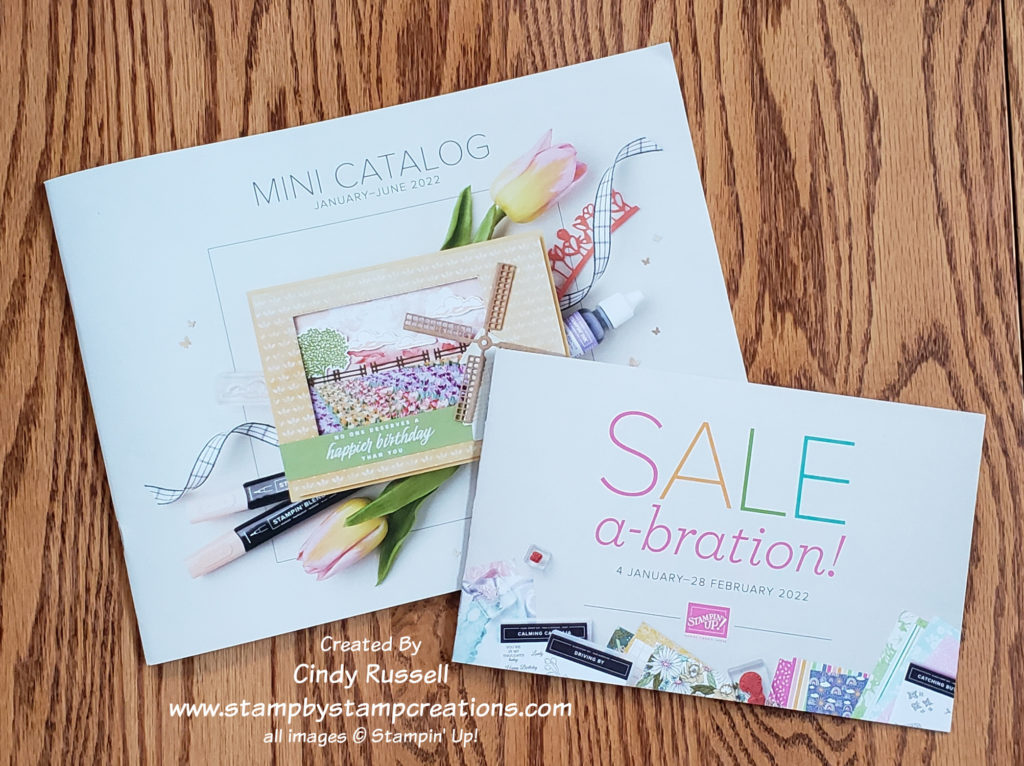
Stampin’ Up!’s January – June Mini Catalog and the new Sale-a-bration Brochure
It’s a January and in Stampin’ Up!’s world that means it’s time for a new Mini Catalog and Sale-a-bration! What a wonderful time of the year!
The Mini Catalog is full of fabulous new products that I know you’re going to love. You can view the online catalog here or you can head on over to my online store to view all of these wonderful products.
During Sale-a-bration you can choose a free Sale-a-bration product when you spend $50 or $100 (before tax and shipping). How often do you get to choose free products when spending money? Ha! There are some really cute items for you to choose from. You can view the Sale-a-bration Brochure online here or you can head over to my online store and view the items here.
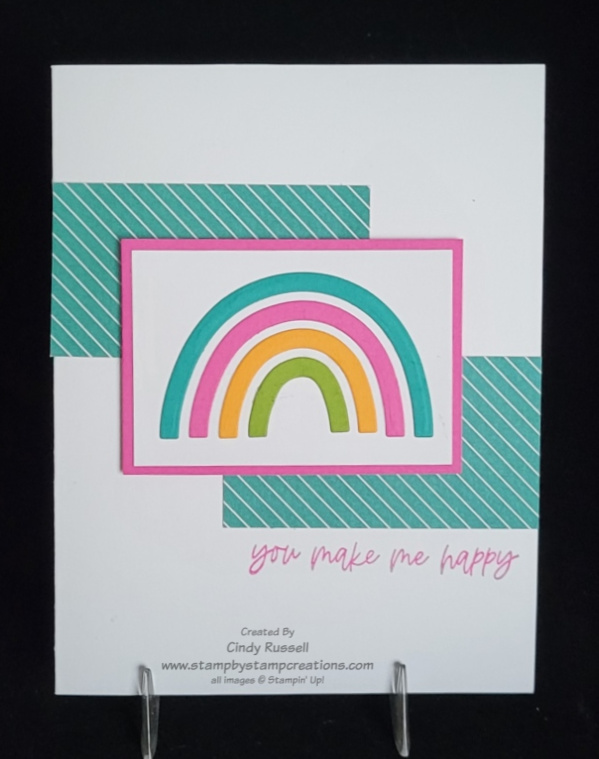
Rainbow of Happiness Bundle Card Sketch
It’s Thursday so that means it’s Card Sketch Day! Today’s card is made using products from both the Mini Catalog AND the Sale-a-bration Brochure! How’s that for coordination?!
The sentiment is from the Rainbow of Happiness stamp set and the rainbow is die cut using the Brillian Rainbow Dies. The designer paper I used on the card is from the Sunshine & Rainbows package of Designer Paper that is one of the items you can choose for free from the Sale-a-bration Brochure!
This package of paper has some really fun designs that are perfect for coordinating with the Rainbow of Happiness Bundle or just using on their own. I chose one of the simpler designs that coordinated with the colors that I used in my rainbow.
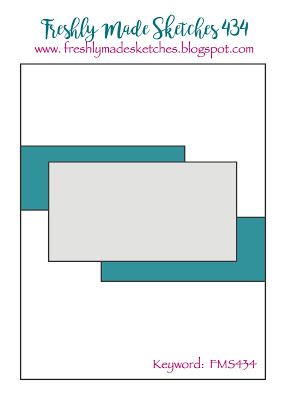
Here’s the card sketch that I used. I really like using these sketches because they’re fairly simple. I have a hard time doing simple and this gives me practice with it.
This card came together pretty quickly. Click here to view a PDF that has supplies used, dimensions and directions on making the card.
Get those supplies out and create your own card using this sketch. I’d love to see what you create! You can either post your photo in the comments or email me your card at cindy@stampbystampcreations.com.
Have a great day! Take care and Happy Stamping! Don’t forget that you make me happy! 🙂
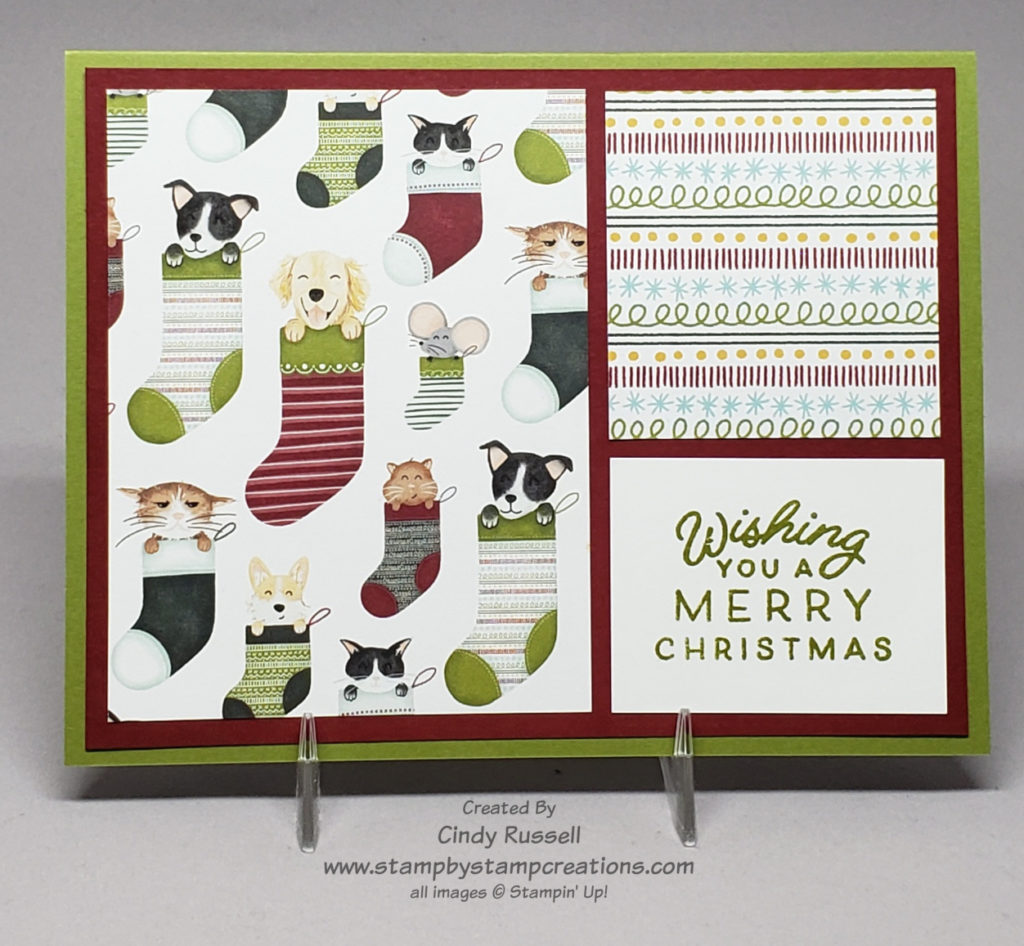
Are you a cat lover or dog lover? Maybe you just love animals in general. If so, then the Sweet Stockings suite of products in Stampin’ Up!’s July – December Mini Catalog is for you! The stamp set and the designer paper are all about cats and dogs (and a few other critters)! The designer paper is adorable and has some great designs on the sides that don’t feature animals. I don’t have the stamp set/bundle but I do have the paper and decided I wanted to try for this card sketch.
Pretty darn cute if you ask me! You’ve got to love the critters hanging out of their stockings! To darn cute. I paired that with one of the patterns and a sentiment to complete my card.
Enough about these cute critters! We’re suppose to be talking about card sketches today. Ha!
What do you think? Did I stick close to today’s sketch? I only added one extra layer and changed the orientation of the card. I think that’s a win! This sketch was perfect for highlighting cute designer paper. Give it a try with your favorite designer paper!
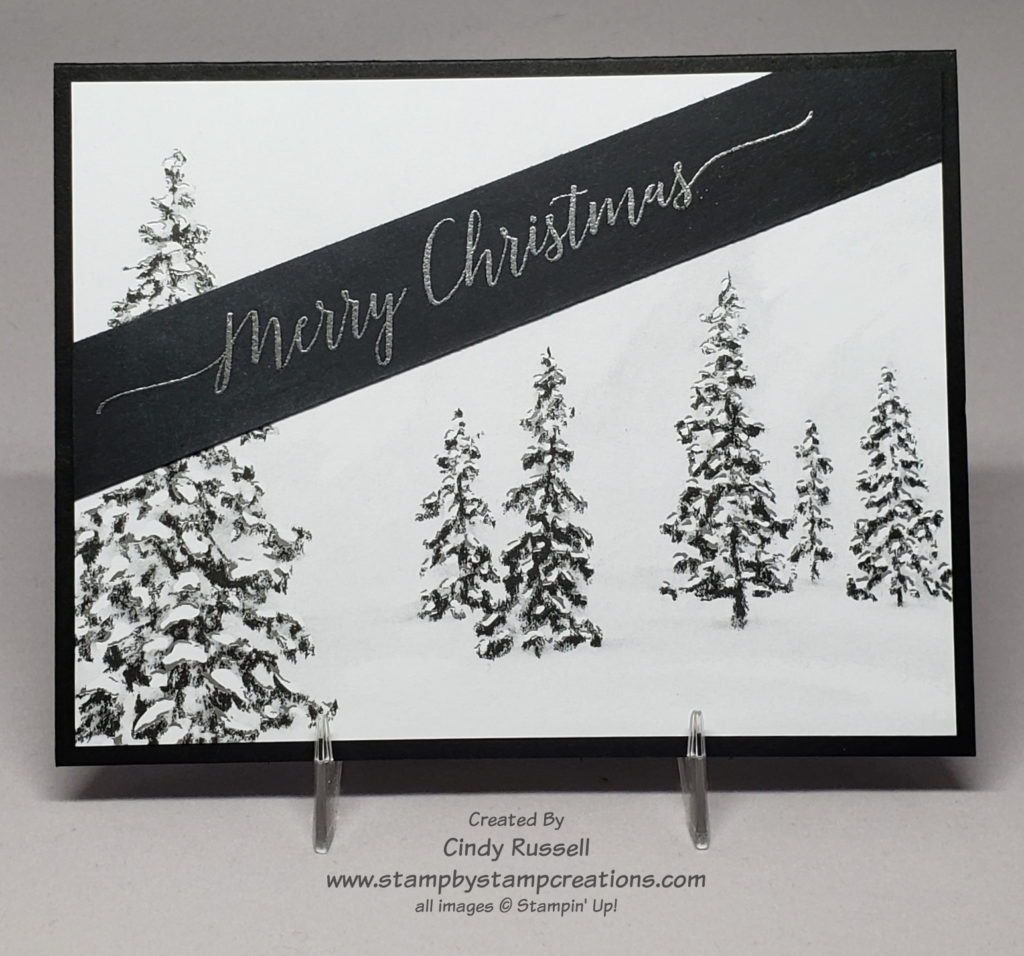
Ah, Winter! Ok, I’m really not ready for Winter yet but I love this designer paper and it was perfect for today’s card sketch. Unfortunately, my photograph doesn’t do the card justice. Not only is there white snow on the trees, there is also silver snow on the trees to complete the gorgeous scene. I embossed the sentiment with silver embossing powder to coordinate with the silver on the trees.
The background is a piece of the Peaceful Place Specialty Designer Series Paper. (#156394 $15). This paper is gorgeous! Grays, black, white and silver. The sheet of paper that this scene came from had four different 6” x 6” sections with the same scene. Perfect for those easy cards! The sentiment is from the Heartfelt Wishes stamp set (#156541 $21) in Stampin’ Up!’s July – December Mini Catalog. I love the font!
I wanted to use black ink on a strip of Basic White cardstock, but the background of the trees has a little too much gray in it and the white just didn’t look right. My next choice was black, and it worked perfectly!
It is Card Sketch Day, so I should probably share with you the sketch I was trying to copy. Did you notice that I used the exact number of layers on my card as the sketch shows? Unbelievable! Ha! The only thing I changed was the orientation of the card. I made my card in a landscape orientation so I could use the gorgeous Peaceful Place paper.
What supplies are you going to use to try your hand with this card sketch? Have a great day! Take care and Happy Stamping!
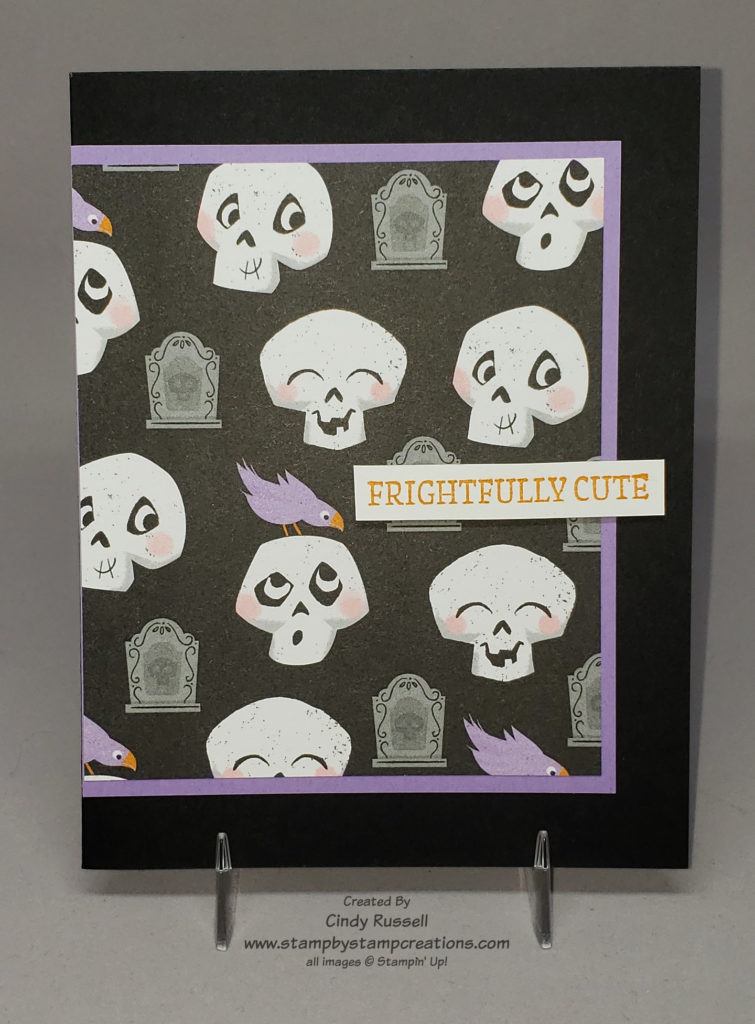
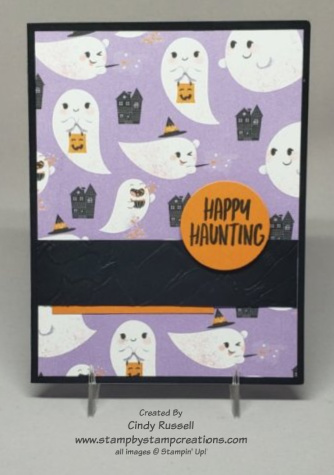
Boo! Stampin’ Up!’s Cute Halloween Designer Series Paper has so many cute designs! I am having so much fun using it on my Halloween projects this year.
I know I say this a lot but working with card sketches makes card making SO easy! The Freshly Made Sketches that I am using really make it easy because their designs are so simple. For this card I simply layered a piece of designer paper on cardstock and adhered it to the front of the card. Then I finished it off with the sentiment. So fun! So easy!
If you’re in a card-making rut or don’t know where to begin on your next project give a card sketch a try. I think you’ll be pleasantly surprised at what you come up with!
Boo! Halloween is definitely in the air. When we returned home from our trip this past weekend the two houses at the entrance to our street were completely decorated for the spooky holiday.
This cute and easy card was inspired by a Card Sketch. The Cute Halloween designer paper was the perfect choice for the background of my card. Aren’t these little ghosts adorable. I used one of them on my Make It Mine project this past Monday.
Once again I couldn’t leave well enough alone and had to add an extra layer. Other than that I stuck pretty close to the card sketch. Do you use card sketches when creating? If so, are you able to follow the sketch as is or are you like me and have to change things up a bit? There is no right or wrong way when creating. Just do what works for you!