
Just because it’s a national holiday celebrating the Fourth of July doesn’t mean we can’t start thinking about Christmas does it? There are only 173 days left! (I looked it up.) We need to get crafting!
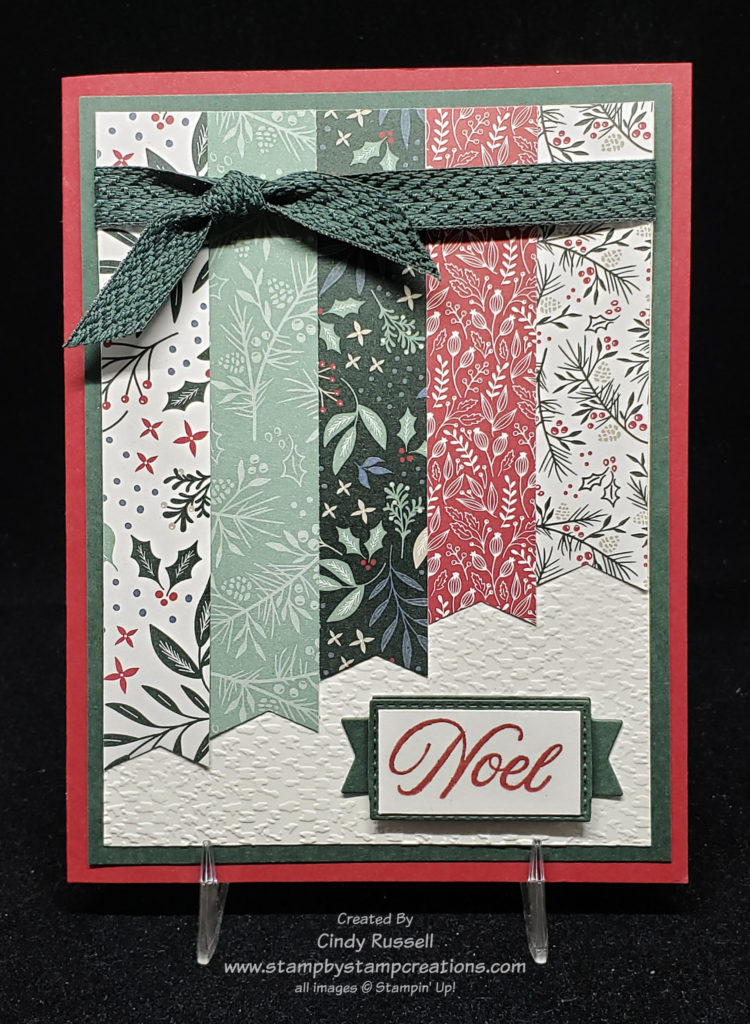
Besides the fact that Christmas is almost upon us (kinda, not really) this Tidings of Christmas Designer Paper was perfect for this card. AND…it’s one of the papers that Stampin’ Up! has on sale this month. 🙂
These little banners of designer paper show off five of the gorgeous patterns in this paper. I love it. You’ll probably see lots of it when I get really get started on my Christmas creations.

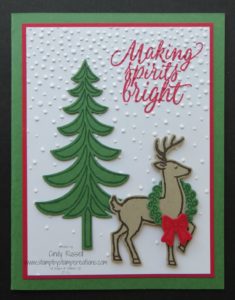
This is the card that inspired me. I liked it’s simplicity. As you can see by comparing the cards though, I didn’t quite carry over the simplicity of Laura’s card to my own.
After changing the orientation of my card I added an extra layer as well as a label to my card. The biggest reason I had for changing the orientation of my card was so I didn’t have quite so much white space on my card. My banners are 3/4″ wide. Before punching the banner end of my strips they are 4-1/2″, 4-1/4″, 4″, 3-3/4″ and 3-1/2″.
I have to share a fun little tip about my label. The “noel” from the Tidings & Trimmings stamp set in Stampin’ Up!’s Annual Catalog was the perfect size for my card but I wanted a little label for it. I searched high and low through my stash and through the catalog to find a punch or die that I owned that would work. I was getting a little disappointed when my eyes stopped on the Messages Die. Oh, my! This die is amazing! It’s been sitting on my shelf just waiting to be used. It’s one die that has all sorts of die shapes on it. It’s created to use with the Many Messages and the newer Many Happenings stamp sets but you can certainly use it for anything like I did. Just be sure to use a smaller piece of cardstock when die cutting as you’ll get all of the other shapes too. The label shape that I used was this little rectangle with the banner tails on it. I first die cut the shape in white, stamped Noel and then trimmed the word down. Then I die cut the shape twice in the Evening Evergreen. I adhered the first green label directly on to my card front. I trimmed the second one down so that it was just the rectangle. I adhered my white sentiment piece directly to this trimmed down label and then adhered the trimmed down label over the full label with Stampin’ Dimensionals. So fun!
Thank you Laura for inspiring my Christmas in July card! Such a fun design!
Have a great day! Take care and Happy Stamping!
 It’s definitely beginning to look a lot like Christmas here in Denver. We had a little snow overnight and woke up to temperatures in the teens. Brrrrr! We don’t usually get that cold!