Make It Mine: Pretty In Pink

It’s time to step away from Fall, Halloween, and Christmas for a bit.  I love making cards and projects for those occasions but today I felt like switching it up.  With the days becoming shorter and cooler it’s time for a little pretty in pink to brighten things up.

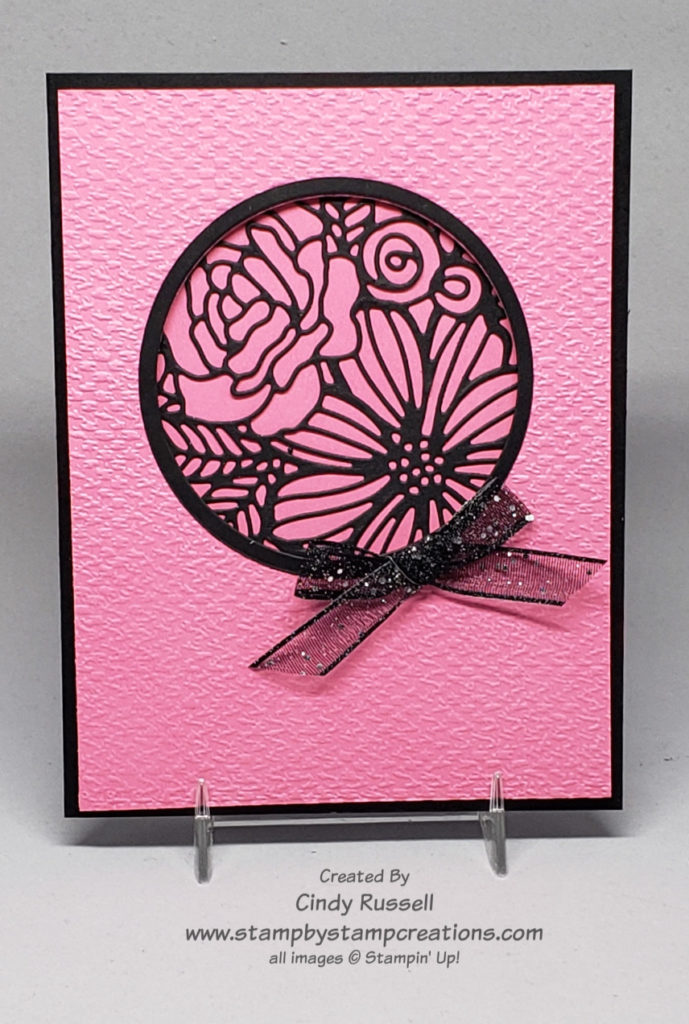
This color combination is one of my favorites and I love the contrast between the two colors.  The little window with a peek at the outline of the flower bouquet is gorgeous.  The flower bouquet outline is from Stampin’ Up!’s Artistic Dies.  Of course you can’t go wrong adding a little sparkle with a bow made with the Black Glittered Organdy Ribbon.  This card makes me smile!

I had seen the card that inspired me (thank you Arlene!) months ago and had saved it on my computer in a special place so I could Make It Mine at some point in time. Lucky you that today is that day!
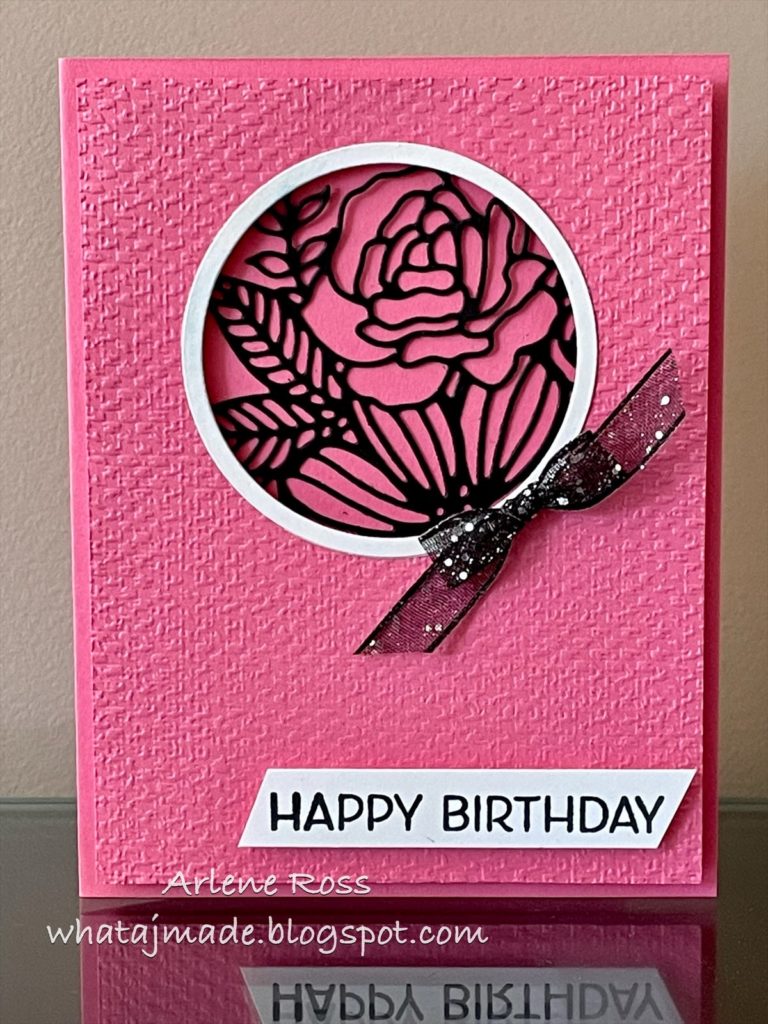
When I saw Arlene’s card I knew I had to recreate it.  But being me, I had to change some things up.  I really only changed a few things.  I changed the color of the card base from pink to black for a little more contrast on the card.  I did the same with “frame” for the window changing from white to black.  The last thing I changed was leaving the sentiment off the front of the card. 

I hope this card brightens your day as much as it did mine.  Have a great day!  Take care and Happy Stamping!

Cookies and a Fun Fold

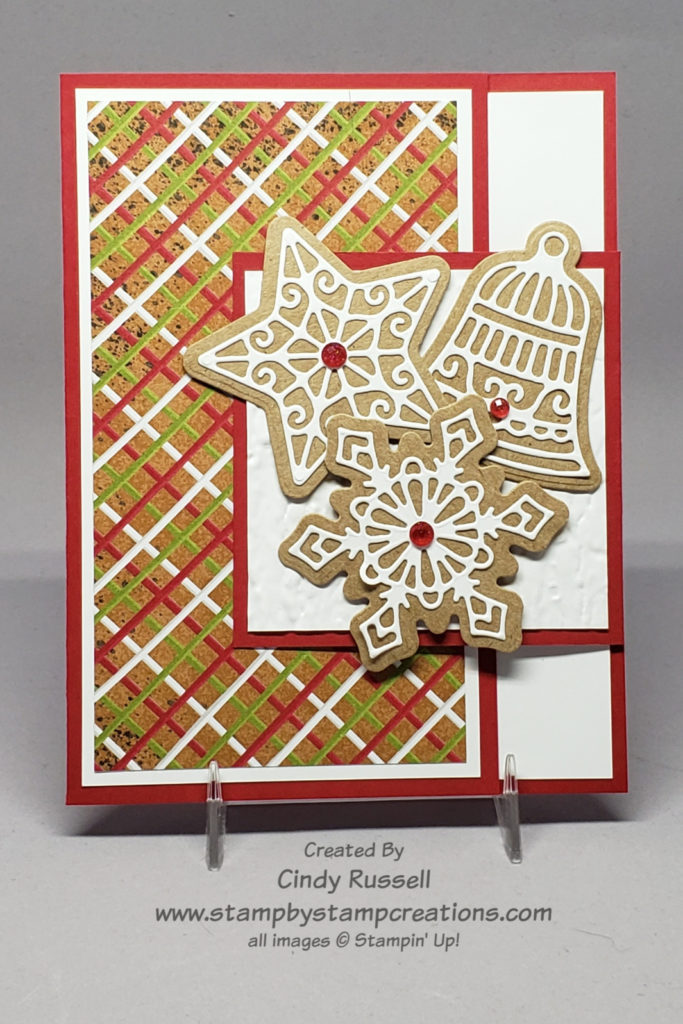
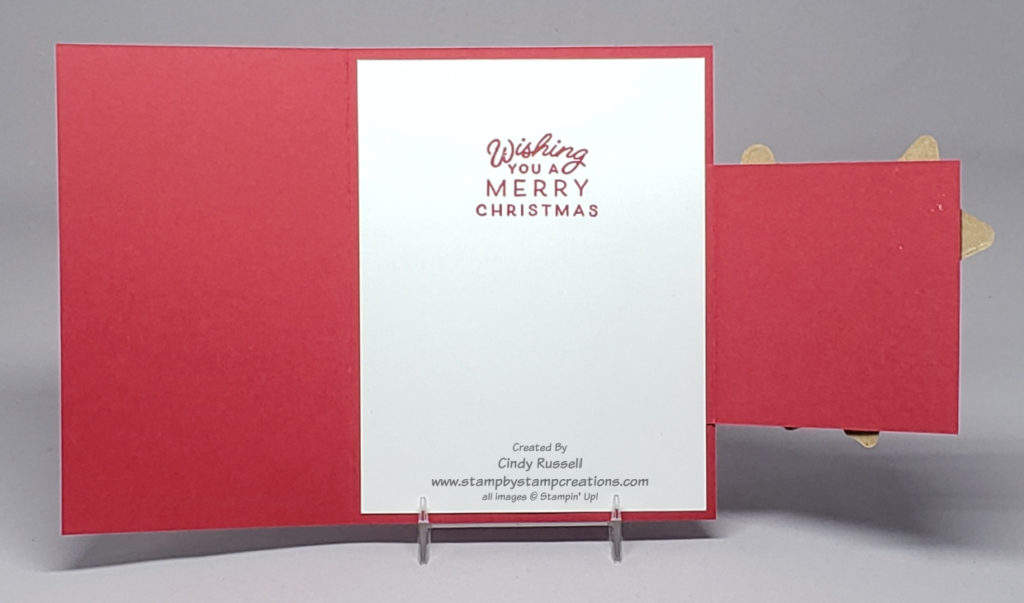
I love fun fold cards!  They make an ordinary card a bit more special.  When I find a fun fold that I want to recreate and it’s only called “fun fold” the hard part begins.  What do I call it? How do I describe it to you?  That’s where my unoriginal descriptive names come in.  Ha!

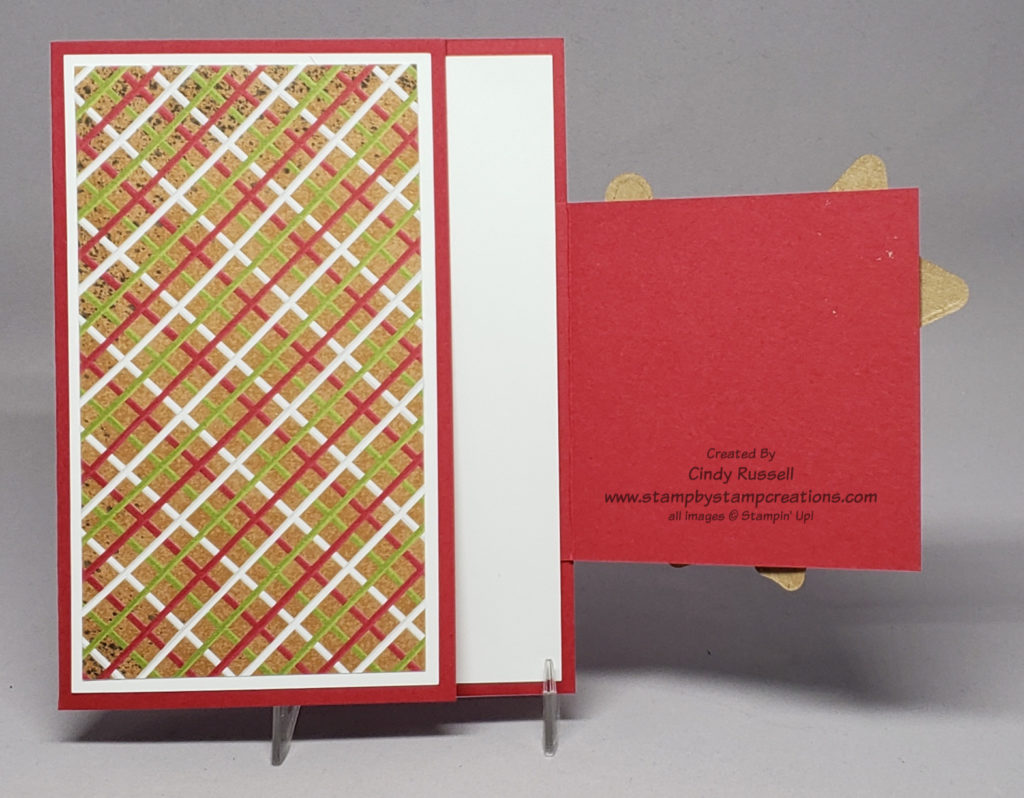
I am calling today’s fun fold the Side Flap Fun Fold because…it has a side flap.  Yep.  Original.  Whatever….let’s forget about the name and talk about how to make this fun card.  Basically, you take a regular-sized card, trim the front and add the side flap.  Easy peasy.

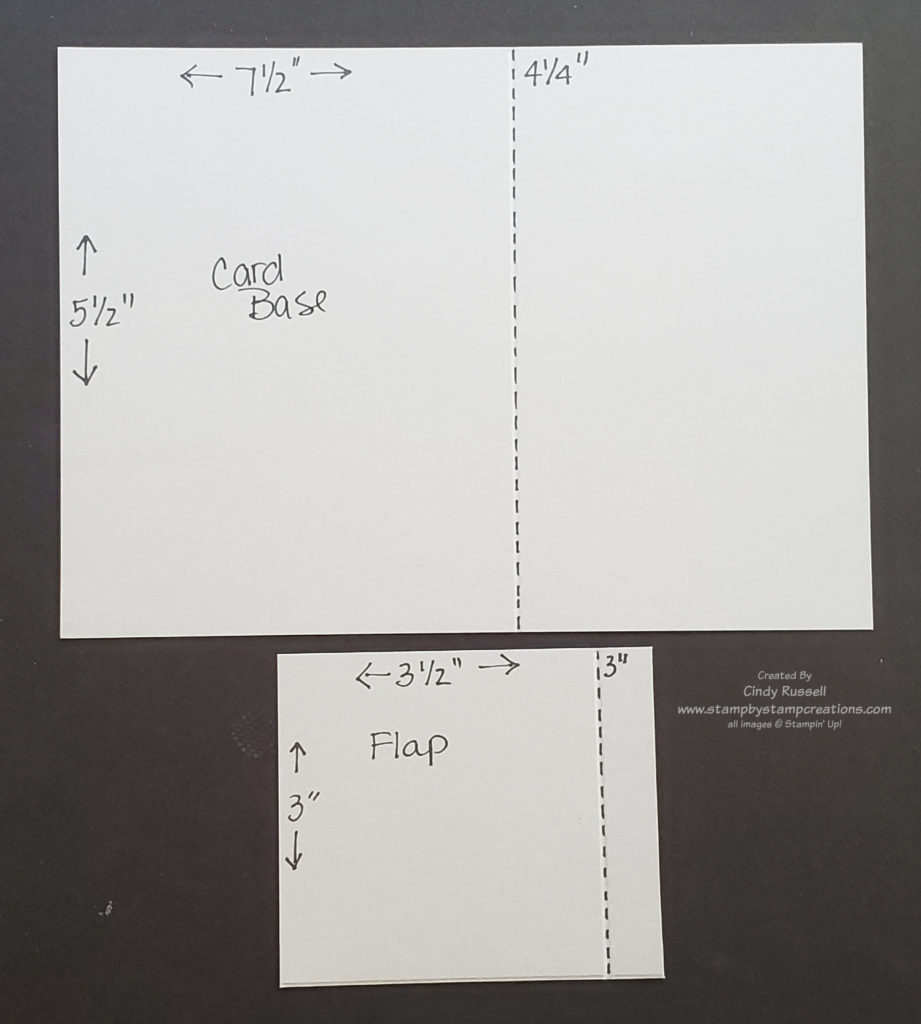
The base is 5 ½” x 7 ½” or a regular 5 ½” x 8 ½” card base with 1” trimmed off the front of the card.  The side flap is 3 ½” x 3”.  Score at the 3” mark on the 3 ½” side.  The ½” section of the flap is the part that gets adhered to the inside of the card back. 

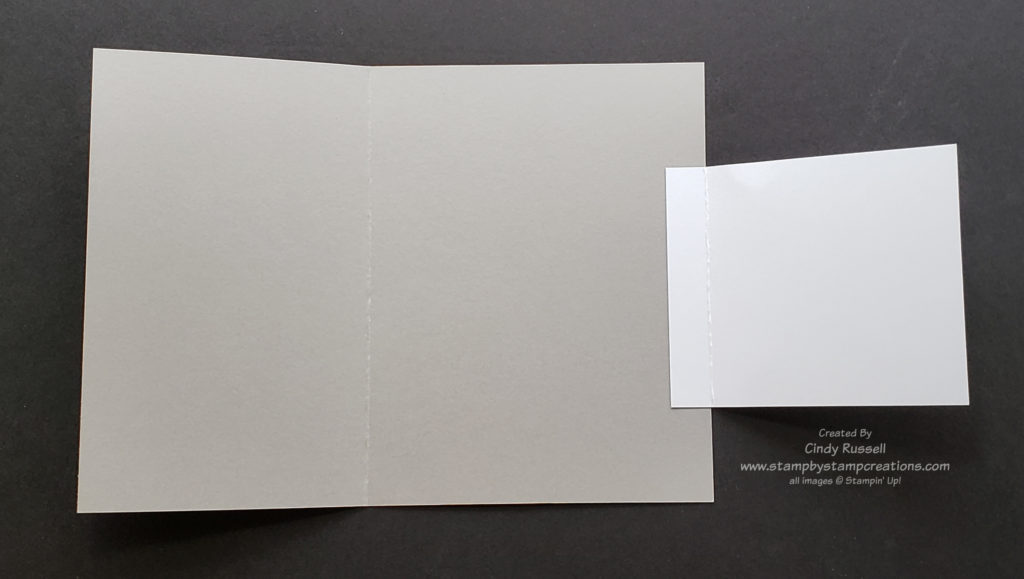
After you’ve folded the card base along the score line it’s time to adhere the flap.  Fold the flap all the score line.  With the flap still folded, place adhesive on the small section.  Now, with the card base open, line up the fold of the flap with the right edge of the card base.  Adhere the flap to the card base.  That’s it.  You’ve made the Side Flap Fun Fold.  Now it’s time to decorate.

I used products form Stampin’ Up!’s Gingerbread & Peppermint Suite of products.  The sentiment on the inside of the card is from the Frosted Gingerbread stamp set and the “cookies” on the flap of the card are cut using the coordinating Gingerbread dies.  I love how you can die cut the “cookie” and the intricate “frosting”.  I just wish I could make cookies that look so good.  Ha!  The designer paper is from the Gingerbread & Peppermint Designer Series Paper pack.  Gotta love all that coordination!  The jewels on the “cookies” are Wonderful Gems.

Here are some additional dimensions for the layers on the card.
Basic White:  5 ¼” x 4”, 5 ¼” x 3”, 2 ¾” x 2 ¾” Designer Paper:  5” x 2 ¾”

This was a pretty easy fun fold card to make.  I hope you’re enjoying fun folds as much as I am.  Have a great day!  Take care and Happy Stamping!
Just In Case

Happy Tails

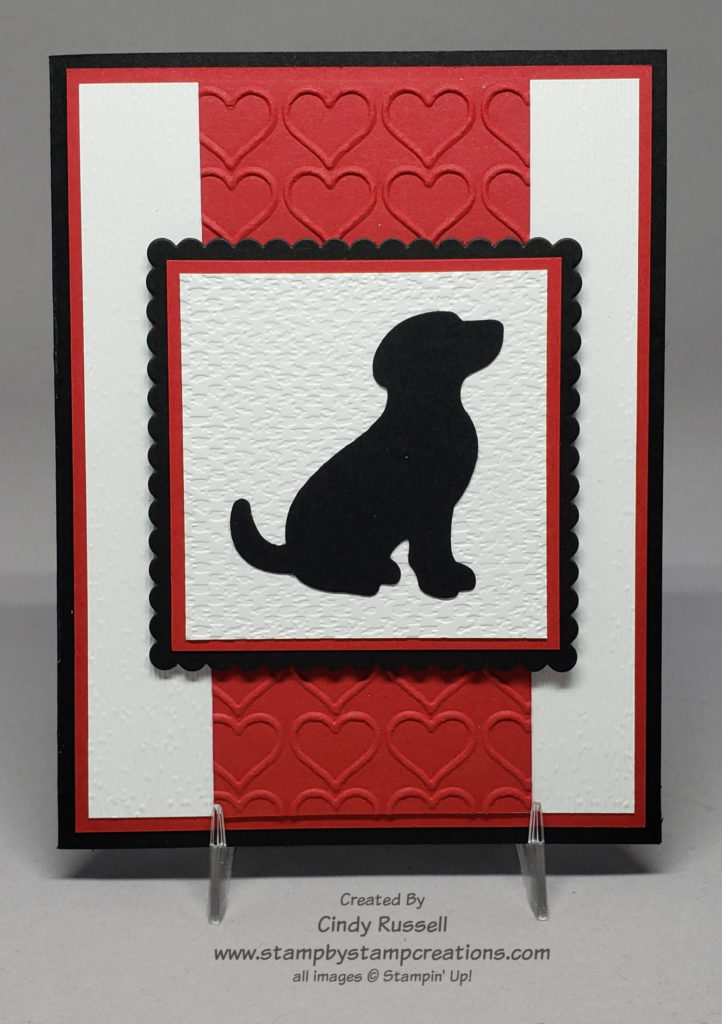
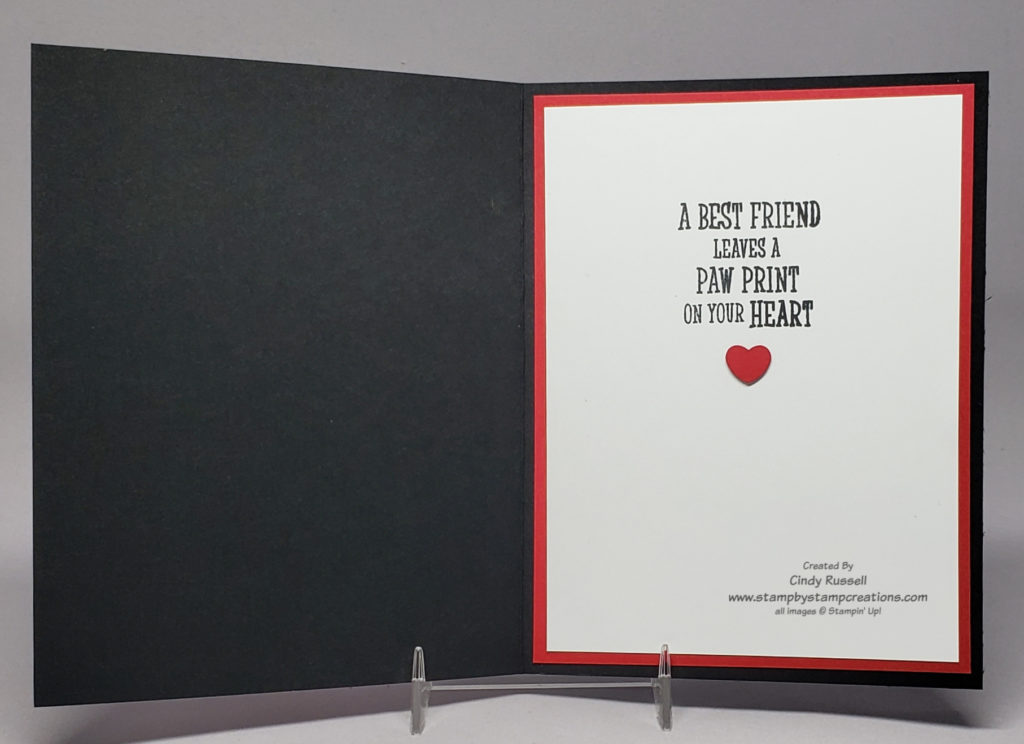
My cousin’s dog moved on to Doggy Heaven last week and I wanted to make them a doggy sympathy card.  Luckily, I had saved the Happy Tails stamp set as well as the Dog Punch.

I’m calling today’s card Throwback Thursday and a Make It Mine Card Sketch because:

a) The stamp set and punch I used are retired

b) Two of the embossing folders I used on my project are retired

c) The dies I used are retired

d) I made up my own card sketch (Ha!)

As you can see, I used a lot of retired products on this card.  This is why my craft room is so messy.  I hang on to a lot of retired items….just in case!  You never know when you might need that embossing folder that you liked but only used once or that designer paper that you absolutely loved but don’t want to use because it’s so pretty.  And the list goes on.  How many of you are just like me and save way too many older products….just in case?

Have a great day! Take care and Happy Stamping!
Make It Mine: Inspired Thoughts

Wow!  Are you in for a treat today.  You’re getting the combo post.  What?  It’s Make It Mine Monday but the card I made also uses last week’s card sketch.  It’s a twofer…two for one!  Ha!

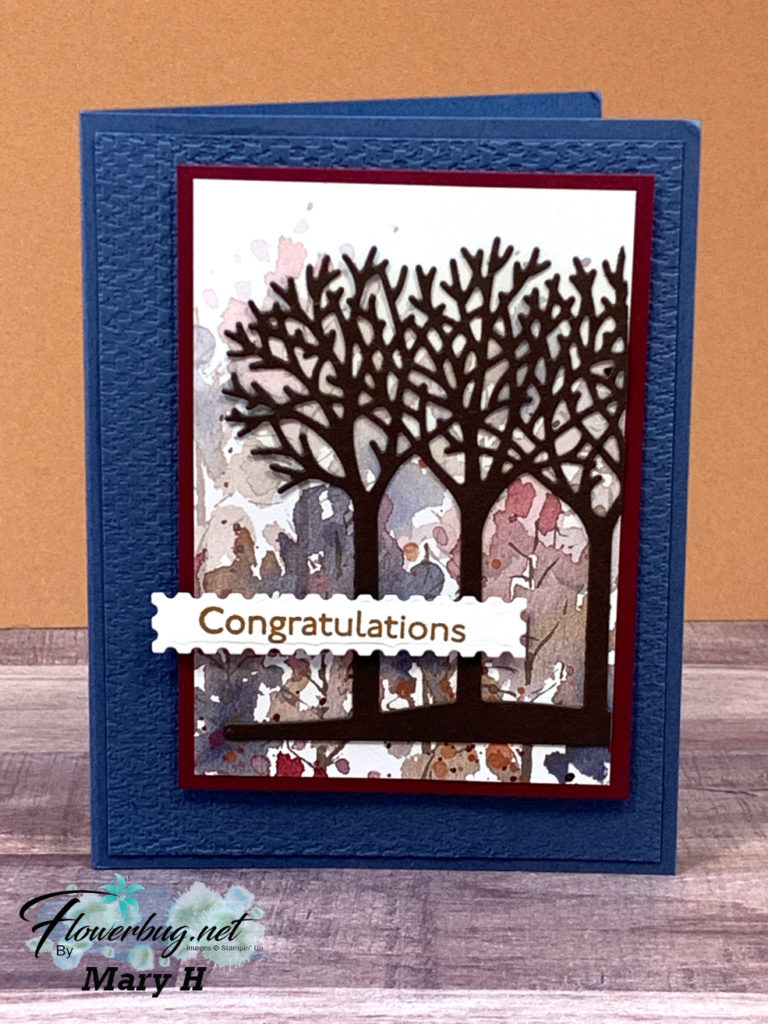
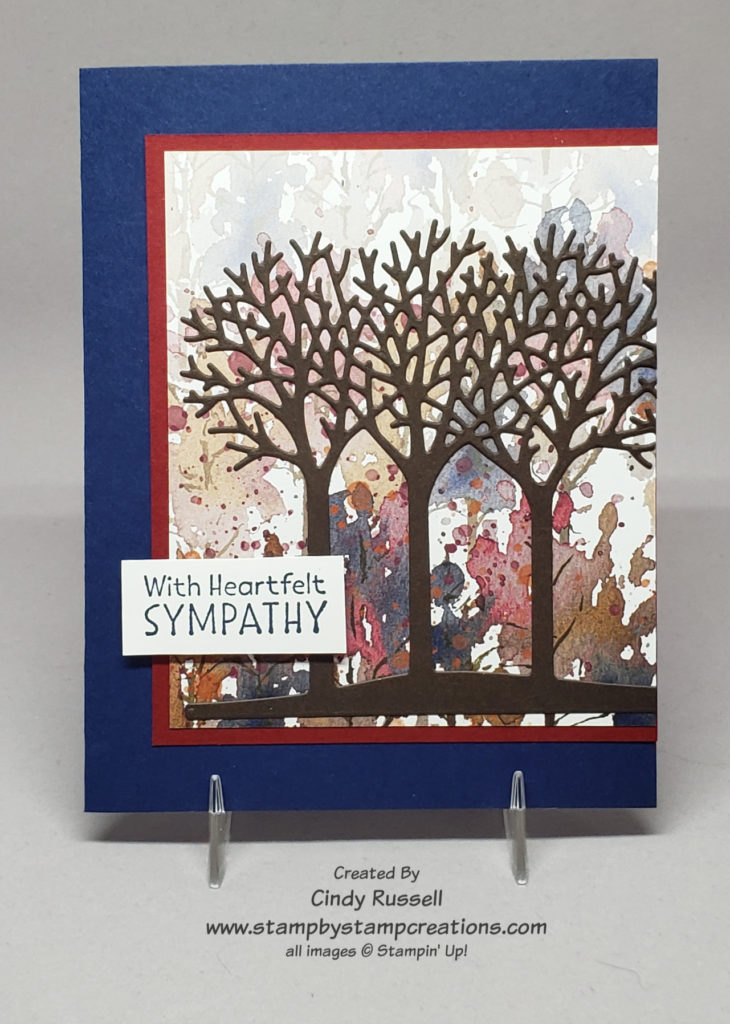
Enough silliness (although I do that fairly well…)! Let’s get to the card!  Isn’t it lovely?  The colors are beautiful and the design is simple.  Thank you to Mary H. for the inspiration.

Mary used the Beauty of the Earth Designer Series Paper as the background for the die-cut trees. Some of the designs from this package of paper are absolutely gorgeous! This is one of my favorite designs. The die-cut trees are from the Inspiring Canopy Die Set.  The sentiment is from the Inspired Thoughts stamp set which can be bundled with the Inspiring Canopy dies. If you haven’t checked out this bundle of products (pg. 52 of Stampin’ Up’s Annual Catalog) please do. The stamp set is all lovely sentiments for various occasions.

Here’s my take on Mary’s card combined with last week’s card sketch. As you can see, I switched things up a bit from both cards that inspired me, but not too much.

It’s so fun and easy to create when you’re inspired by others (and/or yourself…). Give it a try! Take care and Happy Stamping!

A Squirrely Fun Fold Card

Window Double Card Fun Fold

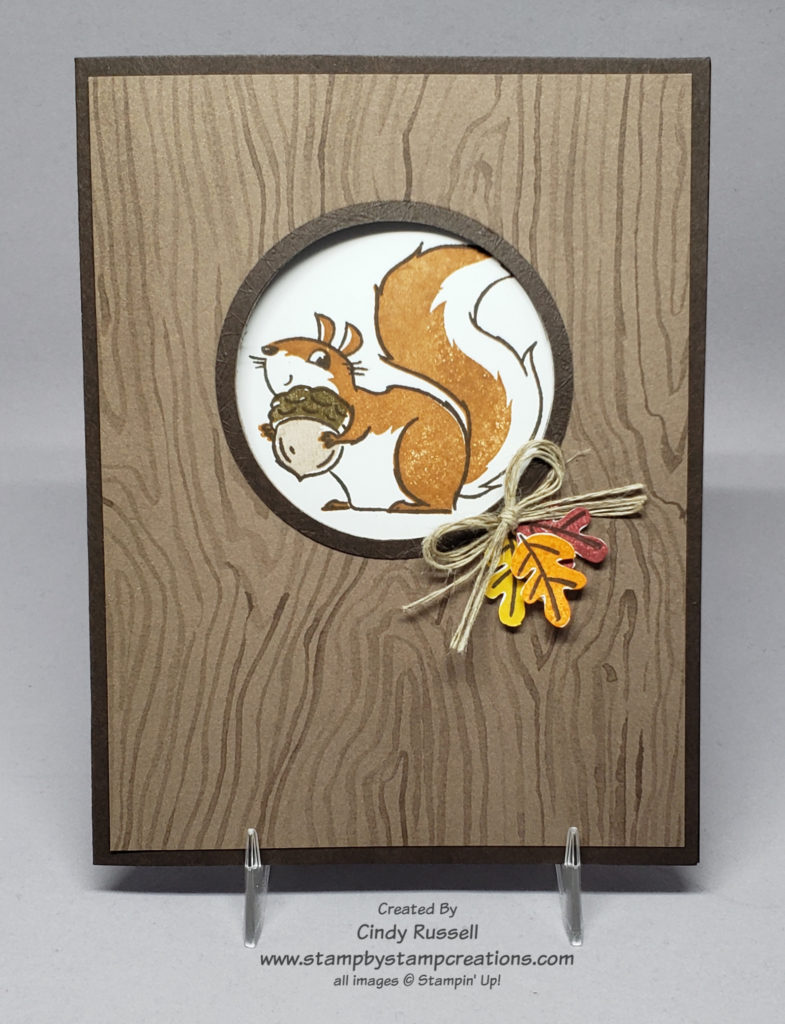
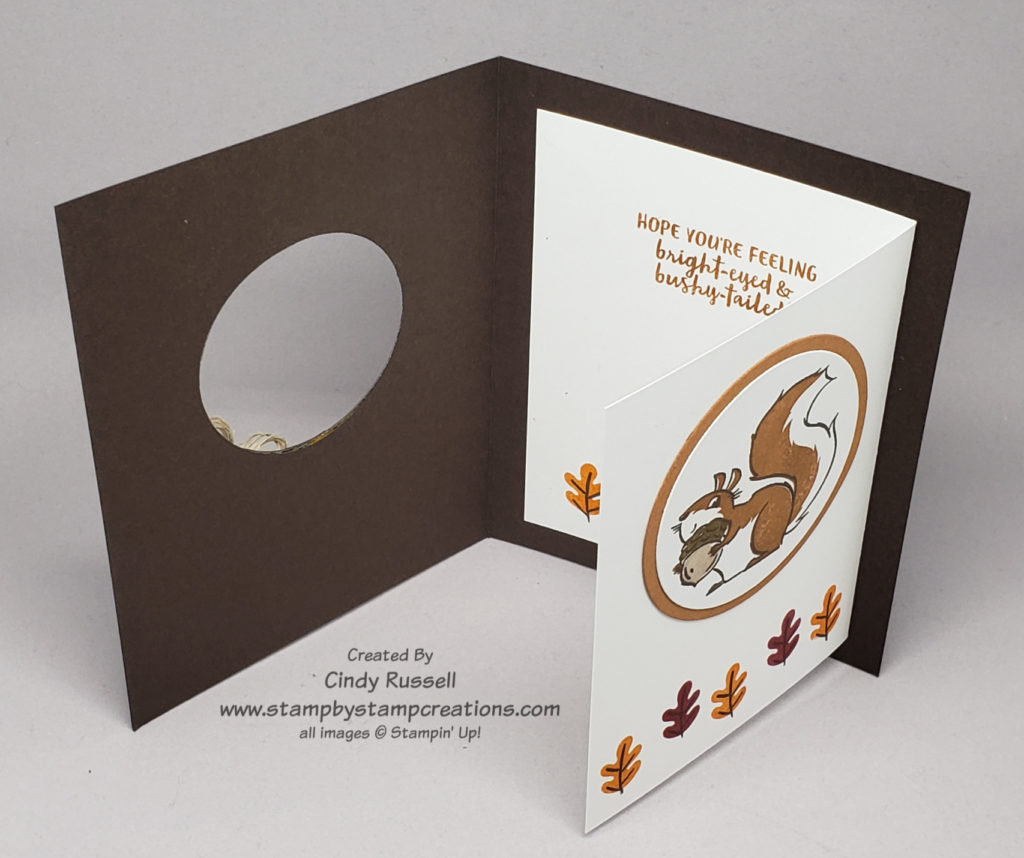
I was going through my stash of cards the other day and came across this Fun Fold that I call the Window Double Card Fun Fold.  It’s a rather easy fun fold and I decided to give it a try for today’s card.  Next was to figure out what supplies to use on it.  As I searched my shelf of stamps, I came across the adorable Nuts About Squirrels stamp set from the current Mini Catalog and knew it was perfect for this fun fold.

The little squirrels in this stamp set are so dang cute and the sentiments are cute too. The outline of the squirrel is stamped in Early Espresso and the shading of the squirrel is in Cinnamon Cider. The insides of the acorn are stamped with Soft Suede and Crumb Cake.

This fun fold gets it’s name because it’s basically two cards in one.  You have the outside decorative card and then you have another piece of cardstock folded into a card on the inside of the card.  The outside of the card is a basic 5 ½” x 8 ½” piece of cardstock folded in half.  The inside piece is a 4 ¾” x 7” piece of cardstock folded in half. 

I added the designer paper (from the Beauty of the Earth package) to the front of the card before die-cutting the circle.  After die-cutting the circle I die cut the circular frame to fit around it.  I started by die-cutting the larger circle and then chose the next smallest circle die from my Layering Circles Dies.  The outside of the smaller die fit the edges of the die-cut larger circle perfectly.  The leaves on the front of the card are stamped on Basic White cardstock and then cut out by hand.  Fussy-cutting isn’t my favorite thing but these little leaves finished off the front of my card perfectly!

This fun fold could easily be made without the window in the front but the little peek-through makes it so fun!  Have a great day.  Take care and Happy Stamping!

A Spooky Card Sketch

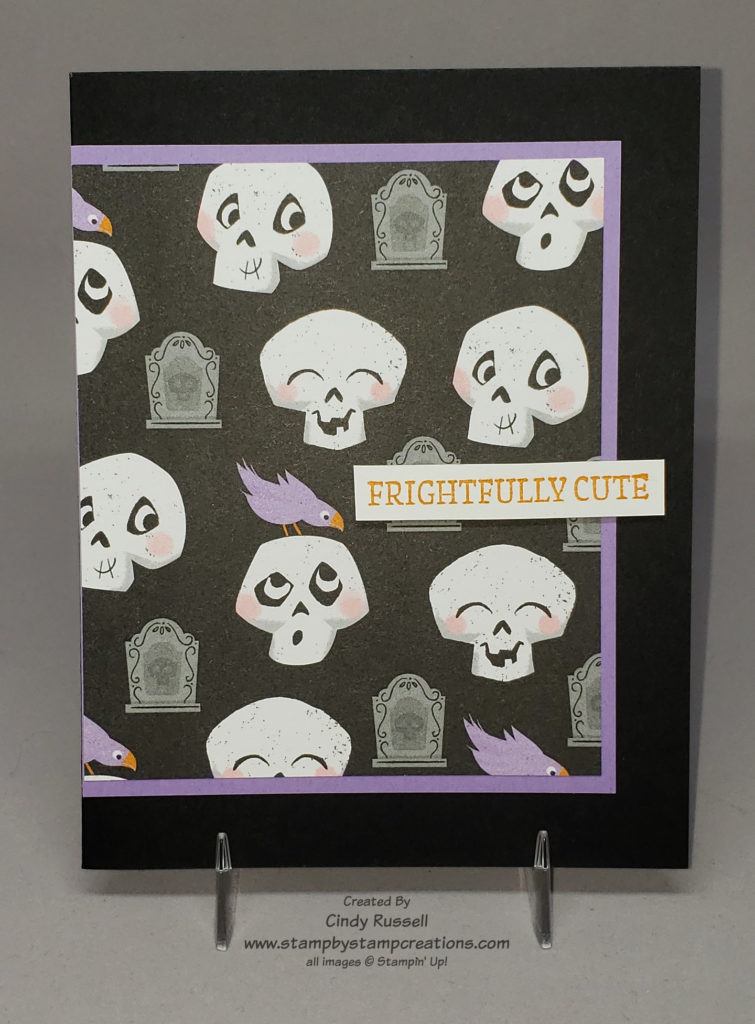
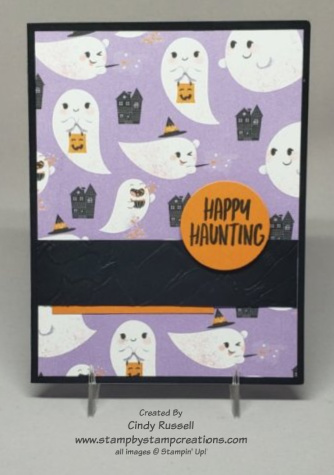
Boo! Stampin’ Up!’s Cute Halloween Designer Series Paper has so many cute designs! I am having so much fun using it on my Halloween projects this year.

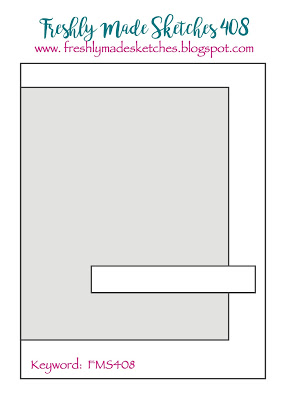
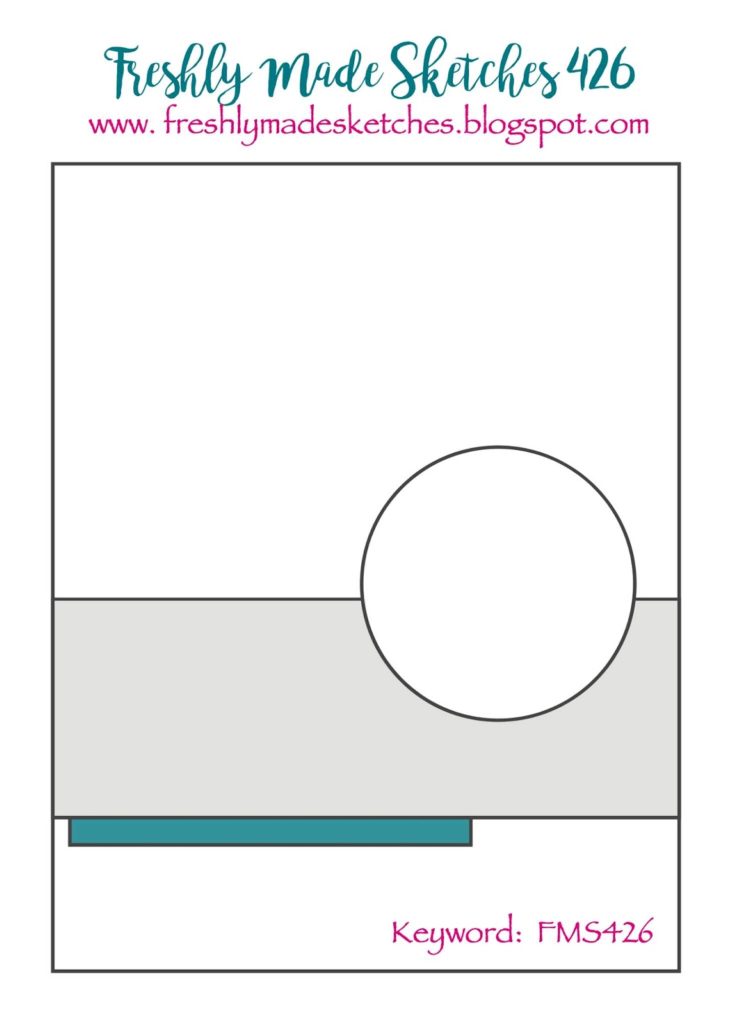
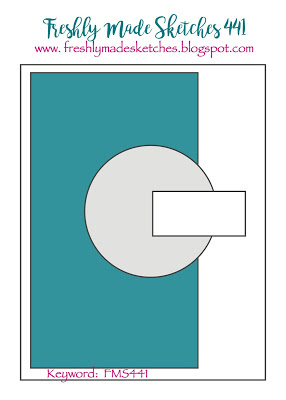
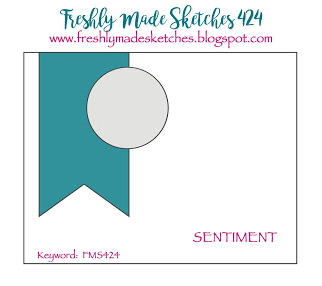
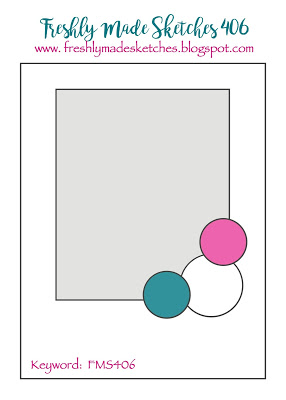
I know I say this a lot but working with card sketches makes card making SO easy! The Freshly Made Sketches that I am using really make it easy because their designs are so simple. For this card I simply layered a piece of designer paper on cardstock and adhered it to the front of the card. Then I finished it off with the sentiment. So fun! So easy!

If you’re in a card-making rut or don’t know where to begin on your next project give a card sketch a try. I think you’ll be pleasantly surprised at what you come up with!

Have a great day! Take care and Happy Stamping!
The Overlapping Panel Fun Fold Card

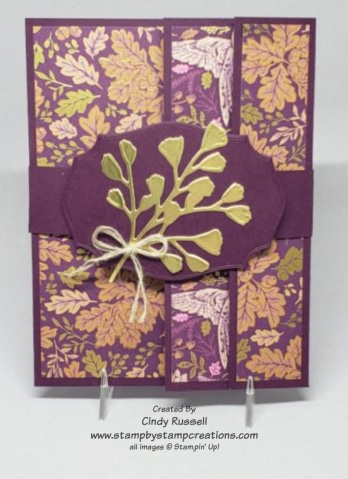
Another descriptive name for a fun fold card….the Overlapping Panel Fun Fold or if you prefer you can call it the Overlapping Tri-Panel Fun Fold. Three score marks make three front panels that show off your favorite designer series paper.

When I saw the Blackberry Beauty Designer Series Paper in Stampin’ Up!’s July – December Mini Catalog I wasn’t overly impressed. I thought it was a little busy and the I didn’t like the birds on it. Fast forward to actually seeing the paper in person and using it. I still don’t really like the birds on it but the paper is gorgeous! Deep purples and gold foil. A lovely combination. Have you seen this paper in person? What do you think of it?

I die cut the foliage on my belly band from Gold Foil using the Forever Flourishing Dies and adhered it to a label die cut using one of the Tasteful Label Dies. The purple cardstock used on my card is Blackberry Bliss.

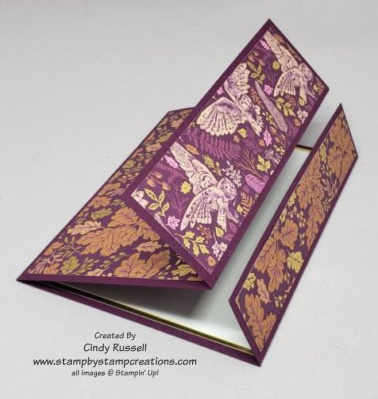
In this photo you can get a better idea of how the card is folded and how the three different sections will overlap. I added a layer of gold foil to the inside white piece of my card to really set it off.

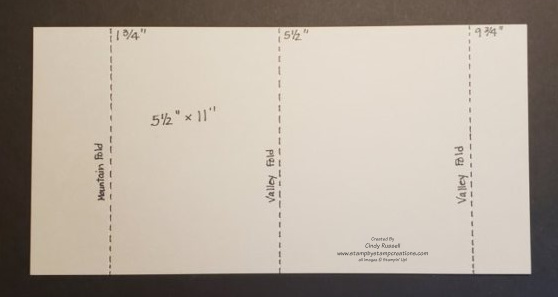
Here’s the template to show you where to score and in which direction to fold your score marks.

Start with a piece of cardstock that is 5 1/2″ x 11″. Score at 1 3/4″, 5 1/2″ and 9 3/4″. The designer paper measurements for the panels are 5 1/4″ x 1″, 5 1/4″ x 1 1/2″ and 5 1/4″ x 3 1/2″.

Overlapping Panel Fun Fold Card

Above is a quick video showing you how make this fun fold card. It shows you in which direction your folds should go and where to apply the designer paper. Enjoy!

Have a great day! Take care and Happy Stamping!
Boo To You Card Sketch

Cute Halloween Card Sketch

Boo!  Halloween is definitely in the air.  When we returned home from our trip this past weekend the two houses at the entrance to our street were completely decorated for the spooky holiday. 

This cute and easy card was inspired by a Card Sketch.  The Cute Halloween designer paper was the perfect choice for the background of my card.  Aren’t these little ghosts adorable.  I used one of them on my Make It Mine project this past Monday.

Once again I couldn’t leave well enough alone and had to add an extra layer. Other than that I stuck pretty close to the card sketch. Do you use card sketches when creating? If so, are you able to follow the sketch as is or are you like me and have to change things up a bit? There is no right or wrong way when creating. Just do what works for you!

Have a great day! Take care and Happy Stamping!
A Book Binding Fun Fold Card With A Twist!

A bit ago I shared with you the very easy Book Binding Fun Fold card. The base of the card is so easy. Start with a piece of cardstock that is 4 1/4″ x 11″. Score along the long side at 4 1/4″ and 5 1/2″. On the inside of the card place adhesive between the two score marks. Close the card and adhere. Now when you open the card the inside will be 4 1/4″ x 4 1/4″. Decorate the card and this fun fold is done.

Let’s step it up a notch. We’ll start with the same base of the card but when we open it, the magic begins!

Ok, it’s not really magic. It’s simply a 6″ x 6″ piece of designer paper that has been folded three times and adhered to the inside of your card.

When you open the card you get a fun surprise!

The first thing you need to do to add the “explosion” to the card is to determine which side of the designer paper you want to be prominent when you open the card.

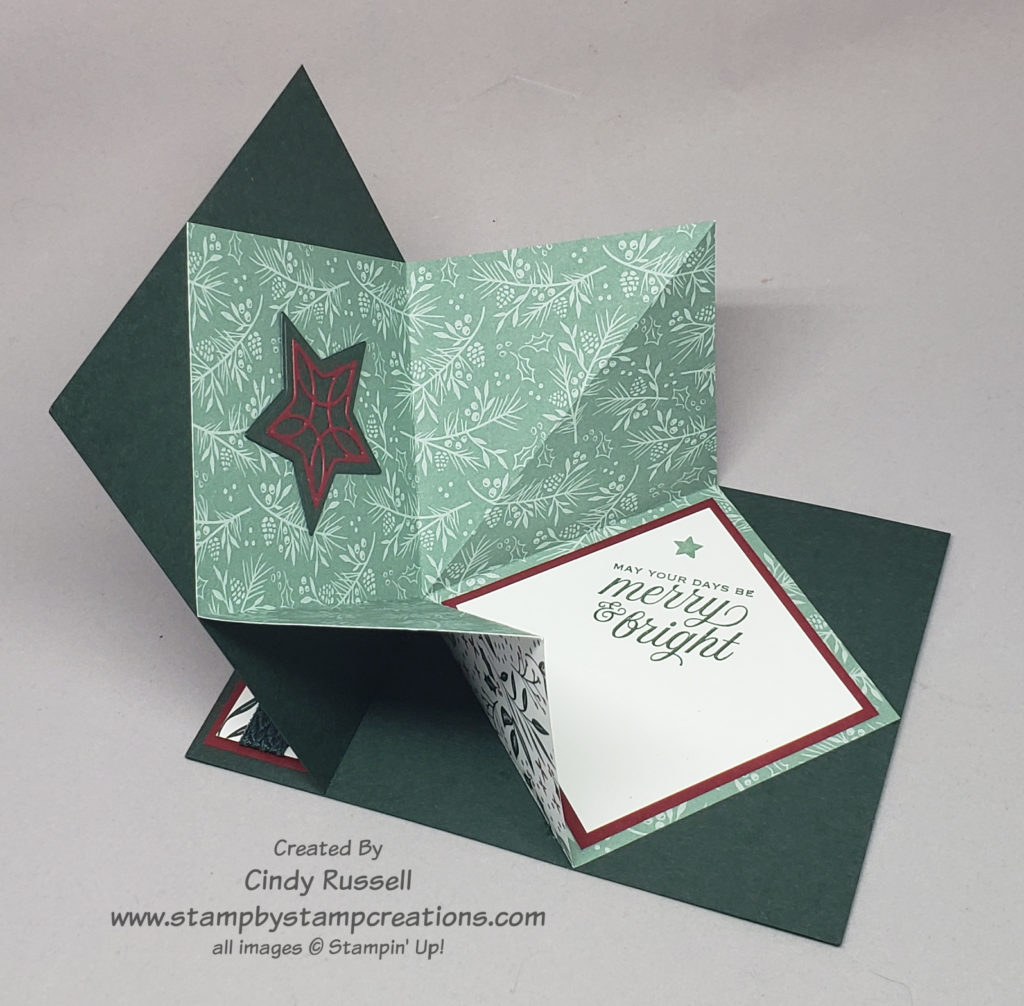
With the prominent side of the paper facing up, fold the designer paper in half. Open it and now fold it in half the other way. Open it once again, flip it over so that the side you don’t want to see is facing up. Now fold the card in half diagonally. Done. You’ve got these folds completed you’re reading to place this piece in the card. Below you will find a video with the details of the folds and how to adhere it to the center of the card.

This “explosion” is a fun addition to the easy Book Binding Fun Fold. Give it a try! I may be making a number of these cards for my holiday cards this year. Have a great day! Take care and Happy Stamping!
Iridescent Snowflake Card Sketch

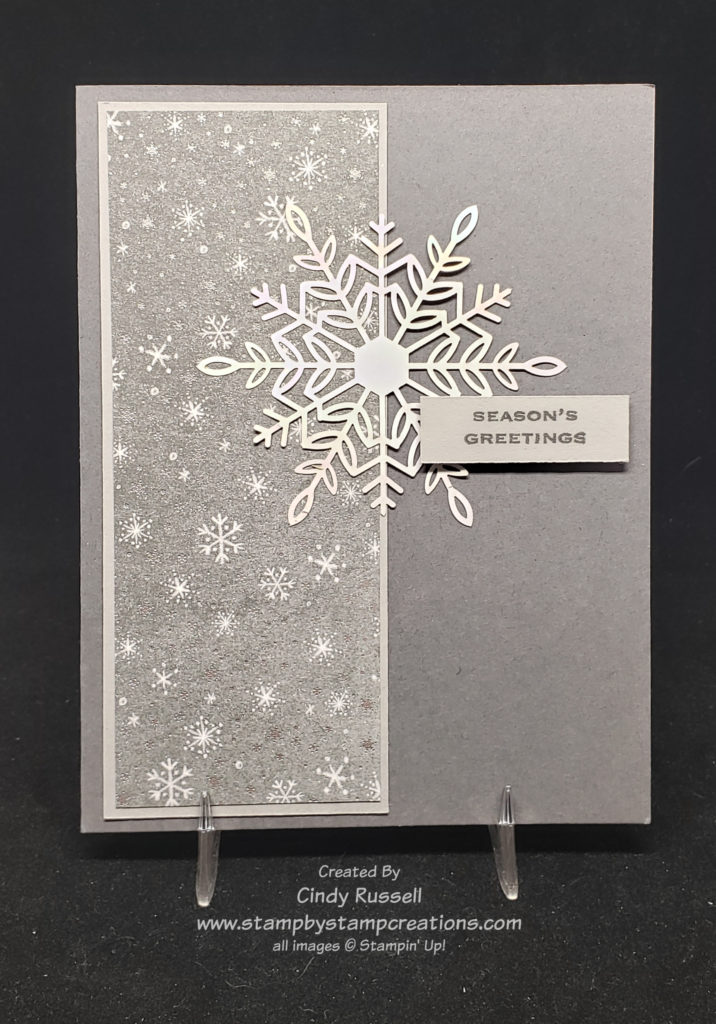
The Wonderful Snowflake accent is gorgeous! Shiny and iridescent on one side, white on the other. You’ll find them on page 25 of Stampin’ Up!’s July – December Mini Catalog with the Whimsy and Wonder Suite of products. But guess what? They go equally well with the Peaceful Place Designer Series Paper on page 37. Coordination is definitely the name of the game!

How did I do on today’s card sketch? When I first saw this sketch I knew that this snowflake was perfect for the focal point. Then I needed to find designer paper that had snowflakes on it. Yes, Stampin’ Up! has a number of patterns of designer paper with snowflakes but I went with this Peaceful Place design because it looked a little more elegant with the iridescent snowflake.

I adhered my snowflake directly to the front of the card. I think I’ve mentioned this before when I’ve used it but a Stampin’ Dimensional fits perfectly in the center of the snowflake. Quite convenient! 🙂

This card sketch was pretty easy. Give it a try! I’d love to see the results!

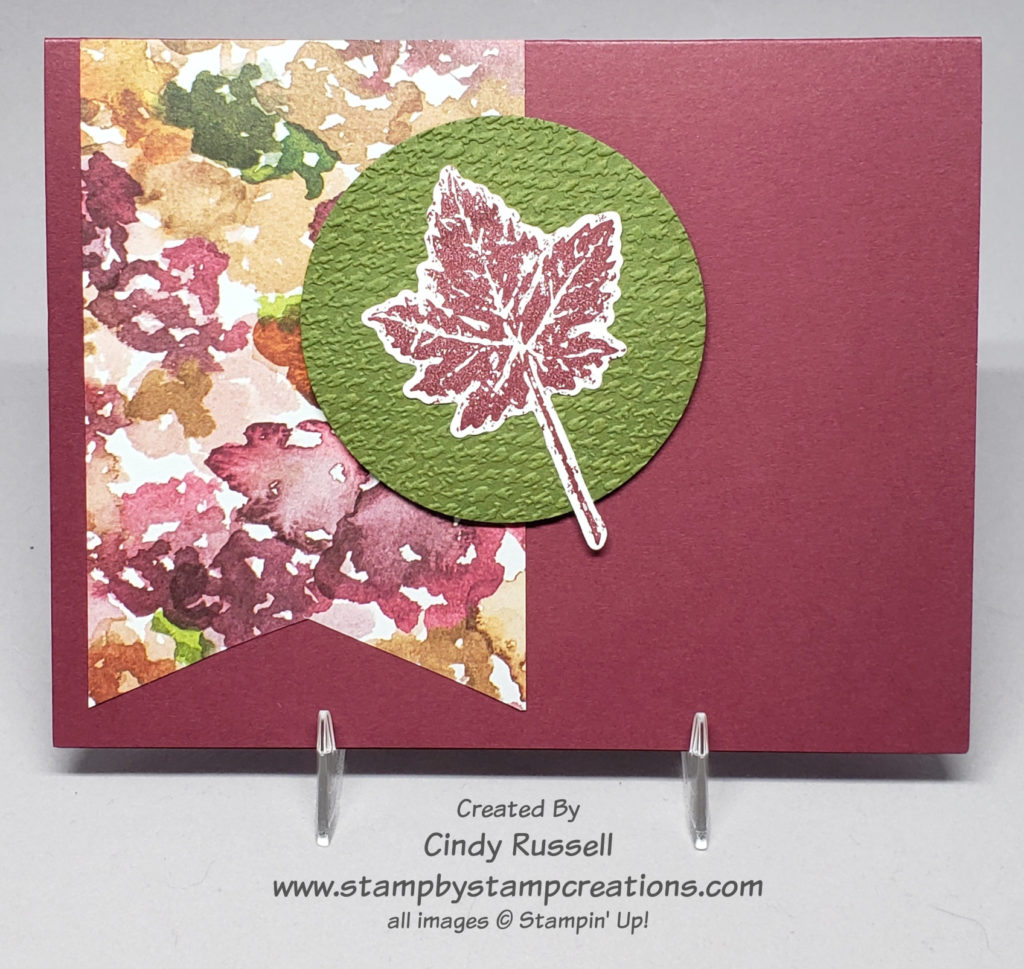
A Fabulous Fall Card Sketch!

Gorgeous Leaves Card Sketch

Woo hoo! It’s officially the second day of Fall so it makes sense that I post a Fall card for today’s card sketch.

Ok folks…take a good look at my card for today….now take a look at the card sketch. Are you impressed? I actually left something OFF with my rendition. Unbelievable!

The gorgeous Beauty of the Earth designer paper is so perfect for Fall. I love all of the rich colors. Golds, browns, reds and greens. So pretty! Do you recognize the color of my card base? I used Merry Merlot which is one of those colors that may get forgotten. I know I mostly think about using it in Fall and for Christmas cards. I stamped the leaf from the Gorgeous Leaves stamp set in Merry Merlot and die cut it with the Intricate Leaves Dies.

This was a fun and easy card sketch to make. I can’t wait to see what I’m going to post for next week’s sketch. Have a great day! Take care and Happy Stamping!
Make It With Vellum!

Vellum always adds a little something-something to a project. I wish I would remember to use it more often on my projects!

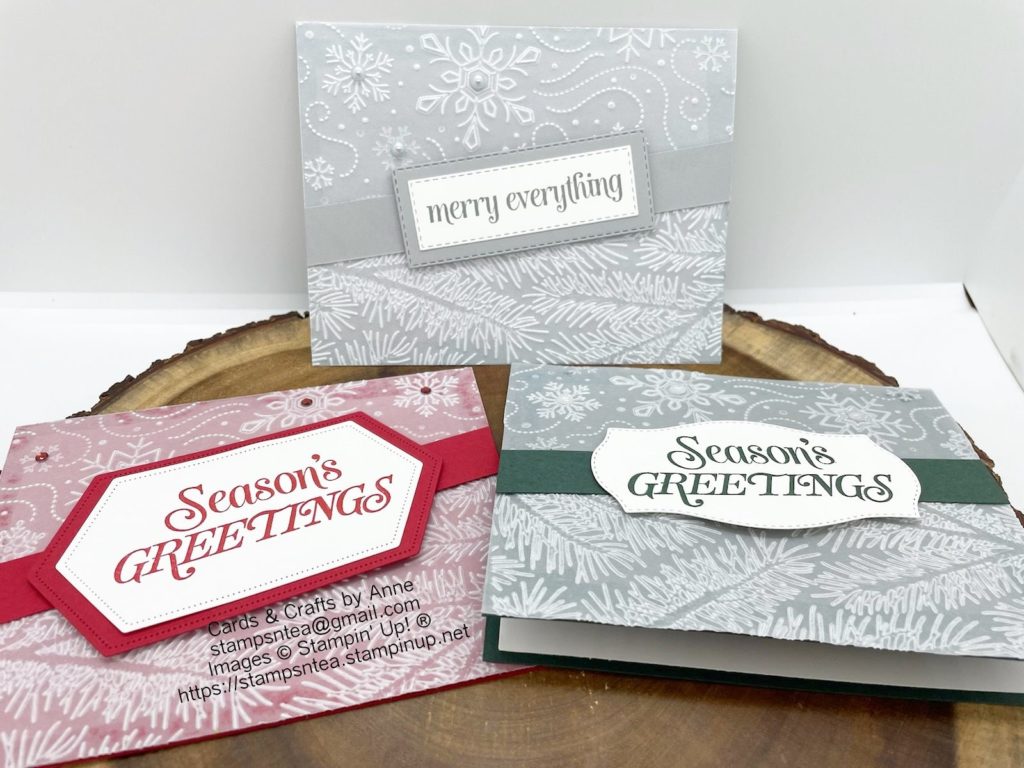
These projects by Anne were just the nudge I needed. They’re very simple but the embossed vellum makes the cards pop! I couldn’t wait to get my supplies out and start creating!

Anne used the Wintery 3D Embossing Folders from Stampin’ Up!’s Annual Catalog to make her cards. Both the snowflake folder and the pine bough folder come in a set together. These are smaller folders that fit perfectly in the Mini Stampin’ Cut & Emboss Machine. Of course they work just fine in the full size model too.

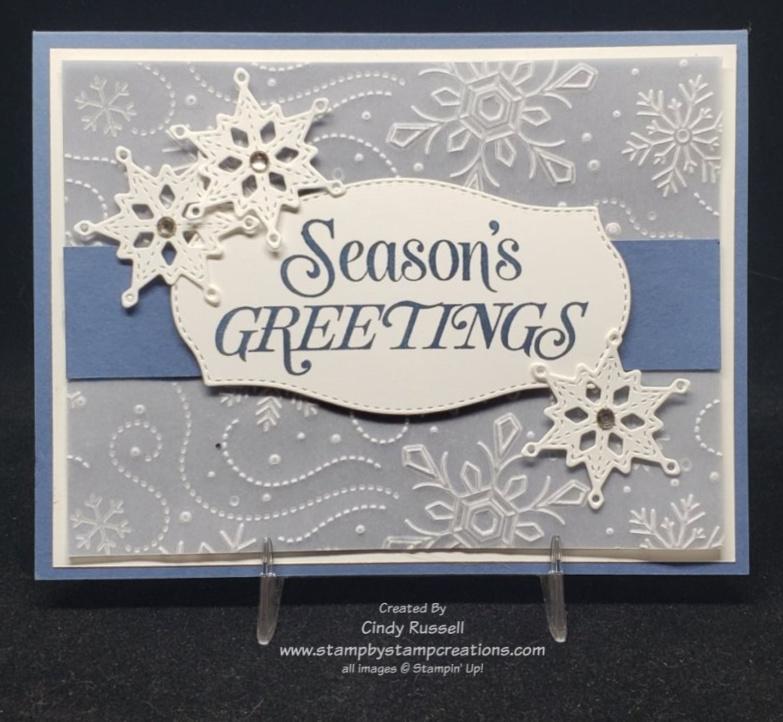
Here’s my take on Anne’s projects. I decided to only use the snowflake folder on my card and kept the snowflake theme by adding a few Stitched Snowflakes to the card. Naturally I had to add a few layers to my card too. Ha!

The issue when using vellum is adhering it so that the adhesive doesn’t show through. To adhere the vellum on my card I added a strip of adhesive to the edge of the vellum that would stick under the Misty Moonlight strip of cardstock.

The “Season’s Greeting” sentiment is from the Merry Everything stamp set. I also used one of the other sentiments from this stamp set on the inside of the card. I die-cut the sentiment using one of the labels from the Tasteful Labels Dies. This is definitely one of my go-to sets of dies. I love all the different sizes and shapes of labels it has.

This is a fun and easy card! I hope you like it. Have a great day. Take care and Happy Stamping!

Fall Leaves Tent Topper Fun Fold Card

Tent Topper Fun Fold Card

You’re probably tired of hearing me say this but I’m ready for FALL!!!!! Give me that cool weather and those colored leaves.

Since I’m so ready for those colored leaves I knew I wanted to use Stampin’ Up!’s gorgeous Beauty of the Earth Designer Paper on today’s fun fold. Don’t you love the color combination on this pattern? Night of Navy, Merry Merlot and Cinnamon Cider!

This fun fold is pretty easy to make. You only need two pieces of colored card stock, two pieces of designer paper, two pieces of Basic White cardstock and your embellishments/stamps. For tools you will need your Simply Scored or your Paper Trimmer with a scoring blade, your Stampin’ Cut & Emboss Machine and your Layering Circle Dies.

I used my favorite Stitched Leaves Dies to embellish the card. A stamped image would work well in the focal point circle also but I seem to be on a die kick. I’d rather find a die that works for my project than stamps and ink. Yes, it’s kind of weird. Hopefully this is just a phase I’m going through. Ha!

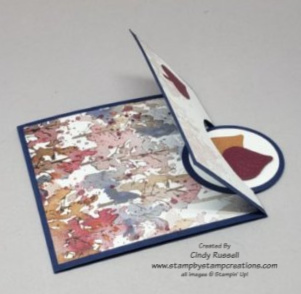
Here is another view of the card. You can see how the top flap opens up and that the circle is part of the base of the card. (You also can see more of that gorgeous designer paper!)

These two photos show you the two different sides of the card. The photo on the left shows the inside and the photo above shows the “outside”. These photos give you a good idea on how the card is put together.

I’ve posted a video below with some tips and tricks for putting this fun fold card together. The fun fold isn’t hard to make, it’s just easier with these tips and tricks.

Dimensions for the card:

Night of Navy cardstock: 4 1/4″ x 11″, 2 1/4″ x 2 1/4″ Basic White cardstock: 4″ x 4″, 2 1/4″ x 2 1/4″ Designer Paper: 4″ x 4″, 2 1/4″ x 4″ scraps for leaves

Here is a quick video to show you how to make the Tent Topper Fun Fold card along with some tips and tricks.

I hope you’ve enjoyed this fun and easy card. Have a great day! Take care and Happy Stamping!
Stitched Snowflake Trio Card Sketch

Snowflake Trio Card Sketch

What a fun card sketch for today! The hardest part was figuring out what images to use down in the corner. Since I’ve been working on tons of Christmas card designs snowflakes won out!

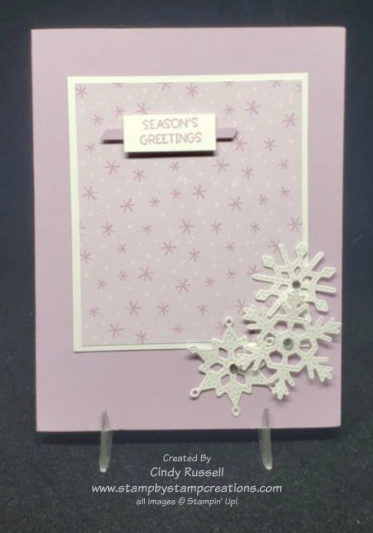
Have you checked out the Stitched Snowflake dies that are bundled with and coordinate with the Merry Snowflakes stamp set on page 13 of Stampin’ Up!’s July – December (Holiday) Mini Catalog? I love these die because the stitching sets them off perfectly! You can see three of the snowflakes on my card. Of course, you don’t want a naked snowflake so I had to add a rhinestone to the center of them. Ha!

Once again I managed to create above and beyond the sketch. The extra layer was a given but I also added the little sentiment and the strip of cardstock to make it pop. Maybe if the designer paper was a little brighter and busier I could have got by without the sentiment but I think it finishes off my rendition perfectly.

The designer paper is the Penguin Playmates paper from the Sale-a-bration Brochure. It’s a package of designer paper that you can choose for FREE when placing a $50 order but only through September 30th. The sentiment is from the Penguin Place stamp set on page 33 of the July – December Mini Catalog and yes, the paper coordinates with the stamp set! Gotta love coordination!!!

What products would you use on a project if you were using this card sketch? I’d love to know! Leave a comment and let me know!

Have a great day! Take care and Happy Stamping!
It’s All About the Paper!

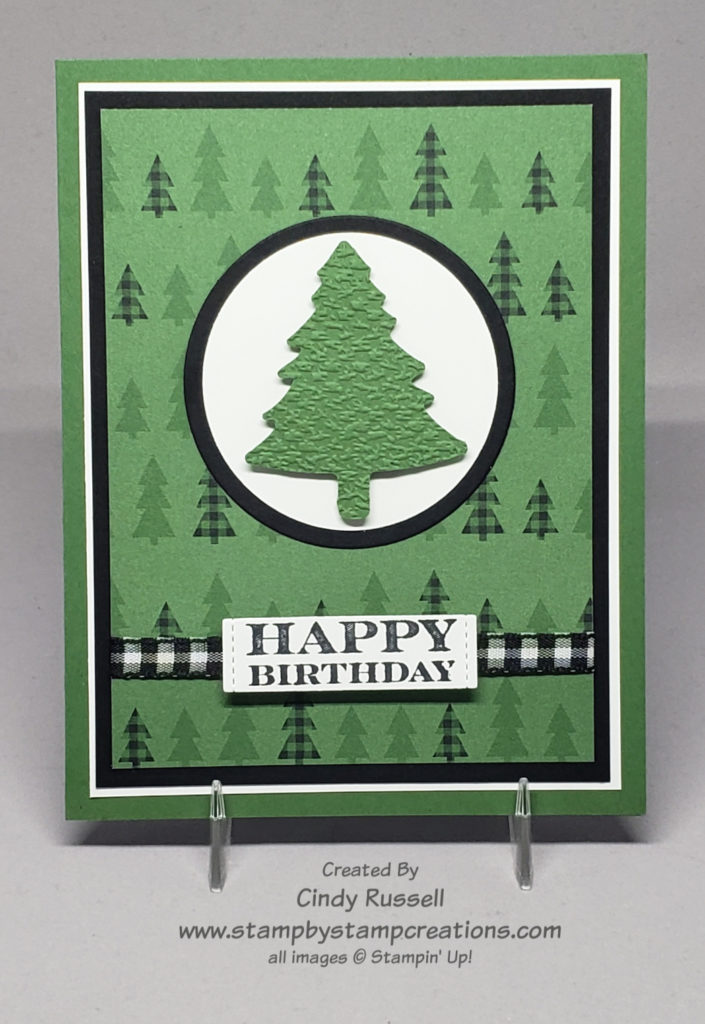
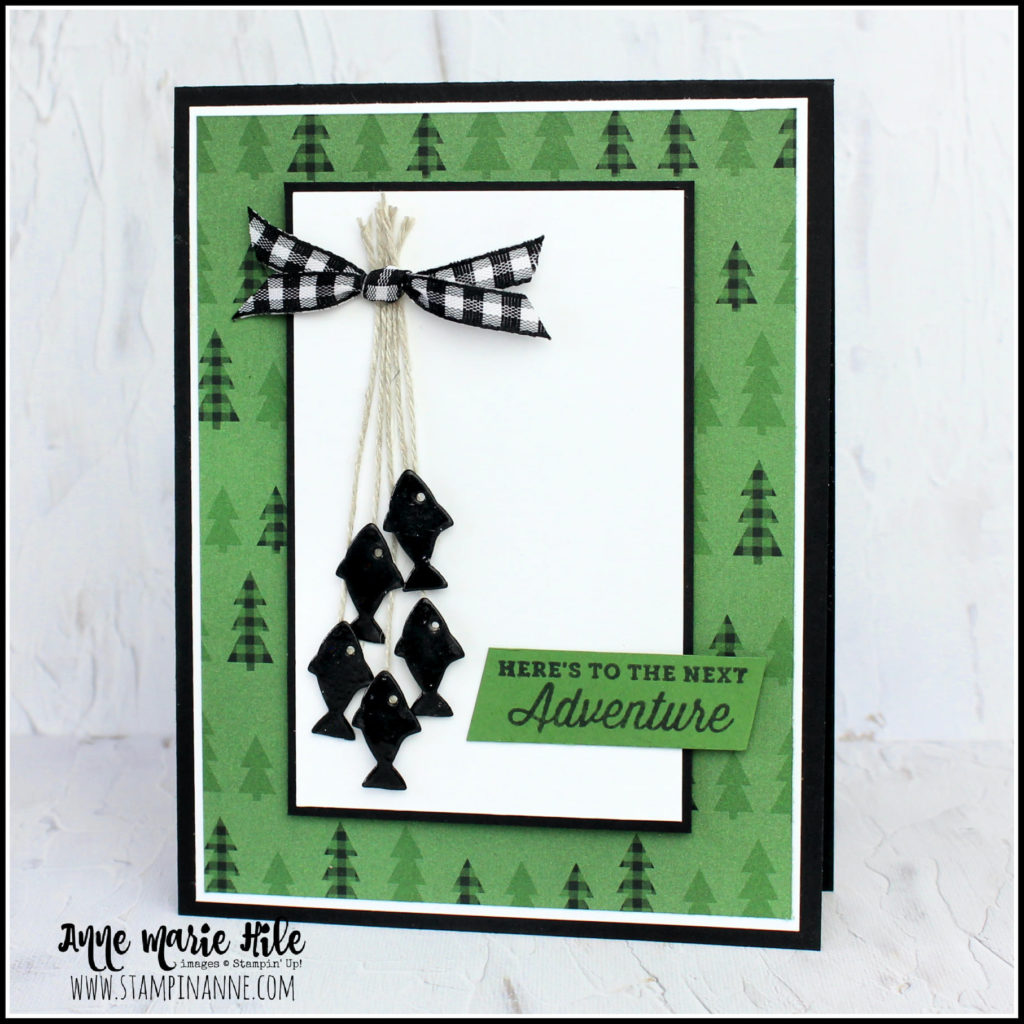
It’s all about the paper (ok…and the adorable little fish….) with this card.  How can you go wrong with fun designer paper that has little pine trees all over it….and plaid pine trees at that?!  Two of my favorite things!  When I think of pine trees I think of the Minnesota Homeland and our family property in Canada.  I can’t wait to get back there.  Oh….as you read this I AM in the Minnesota Homeland hanging with my mom and dad.  I’ll be here for a week before hubby joins me and we head up to the cabin.  Woo Hoo! I’m excited to hopefully spend some time in the upper midwest!

This card really came together once I was inspired Anne Marie’s card. She hit the trifecta on her card. Plaid trees on the paper, plaid ribbon and the little fishies! The fish were what first caught my eye! They’re so cute!

I wanted to incorporate the fish on my card without completely copying Anne Marie’s card but I just couldn’t make it work so I decided to go with the Pine Tree Punch. Did you notice that I ran the punched tree through the Stampin’ Cut & Emboss Machine with the Tasteful Textile Embossing Folder? This really gave it a nice texture.

This color combination of black, white and Garden Green is very striking. I’m not sure I’ve used it before. Hope about you? Have you checked out the Peaceful Prints Designer Series Paper in the Sale-a-bration Brochure yet? So many fun designs! If you like it, you need to get it soon! Sale-a-bration is almost over! Only a few weeks left! With a $50 purchase you can choose this package of designer paper for FREE!!! Don’t miss out!

I’m pleased with the way my card turned out. Guess what? You could use it for lots of occasions including Christmas! Hmm….

Have a great day! Take care and Happy Stamping!