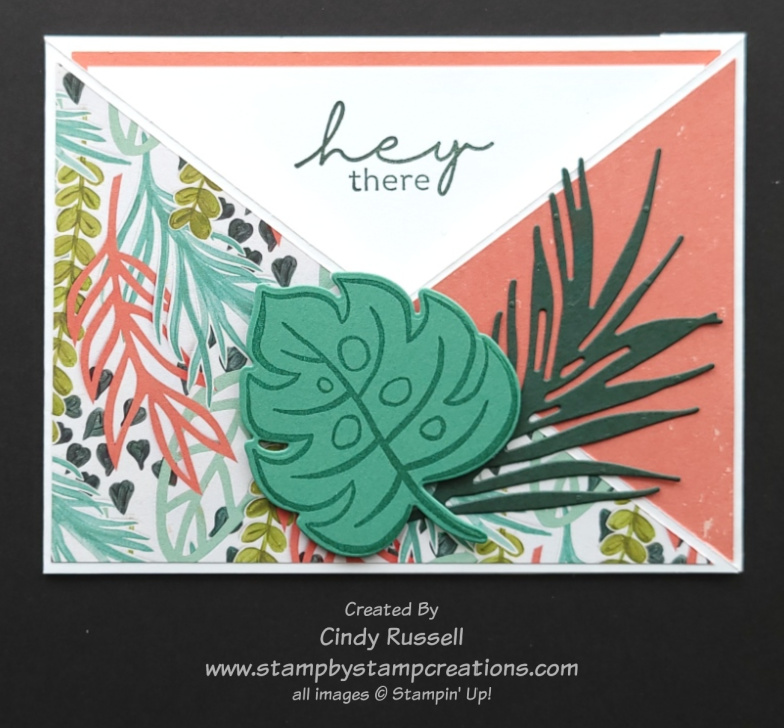
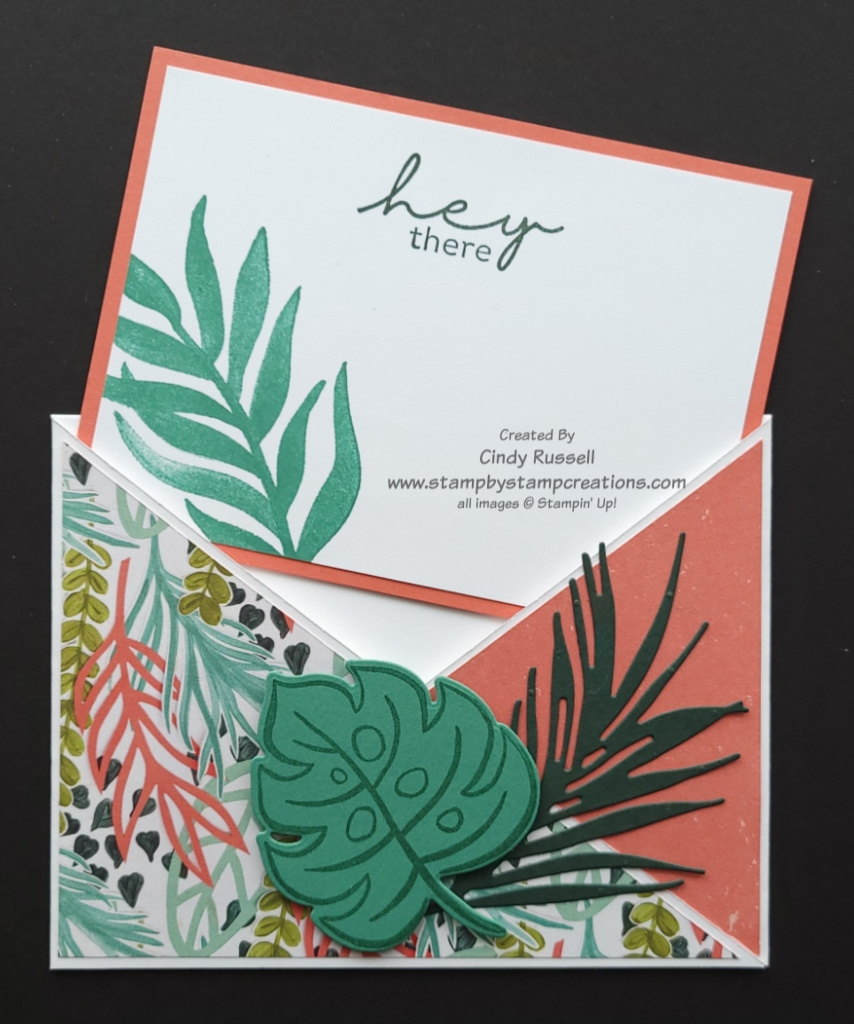
Today’s Fun Fold is an Angle Pocket Fun Fold. So fun and easy if you follow the instructions. Below you will find step-by-step instructions with photos on how to make it. I do have a disclaimer…on my samples in the instructions the card stock base doesn’t really match the rest of the parts of the card but I wanted to make sure you could see the different steps.
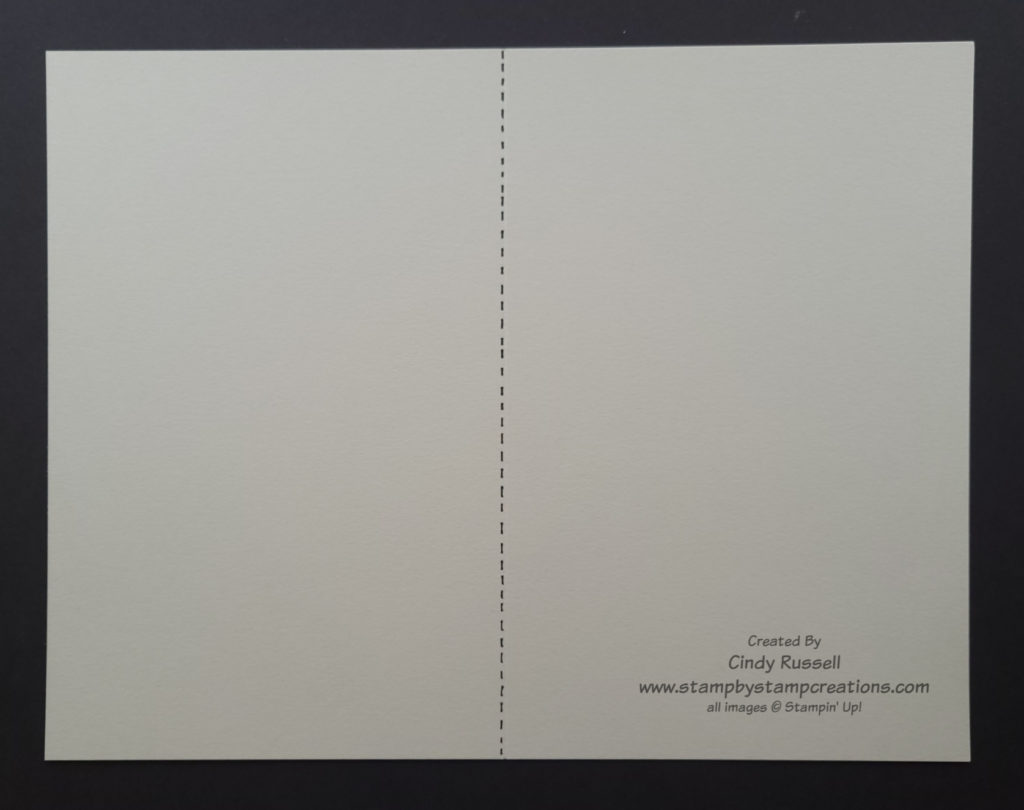
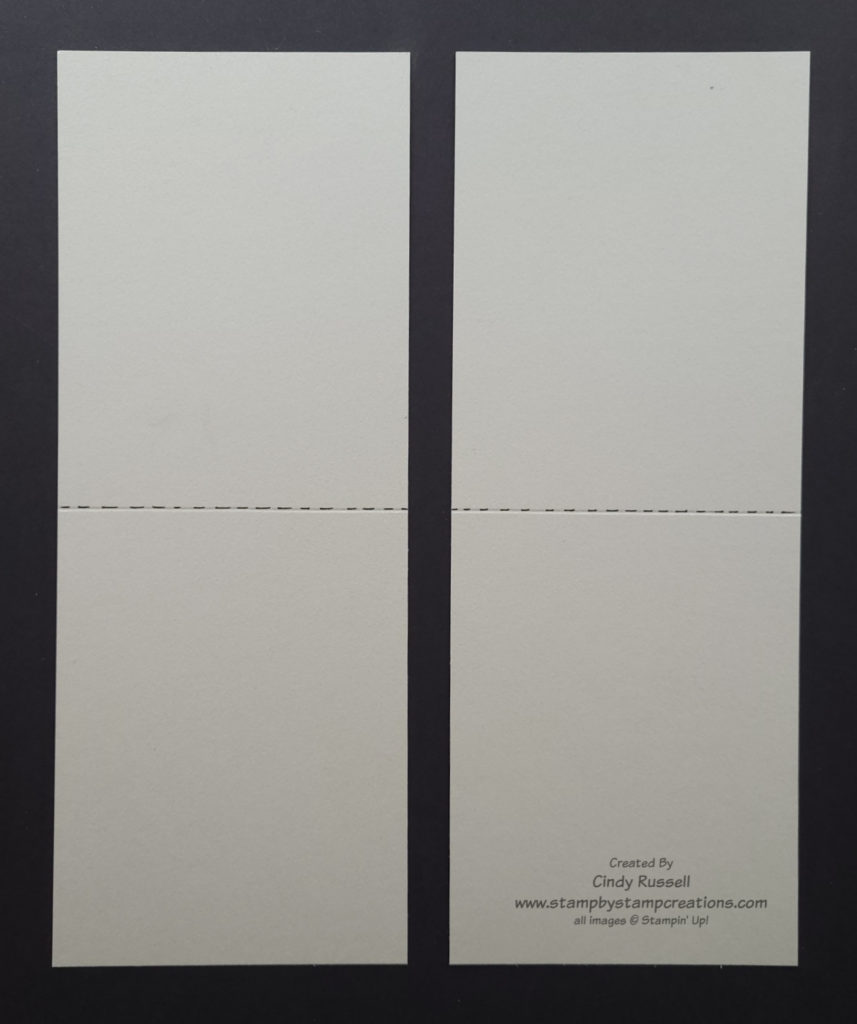
For the base of this card you need to start with a full sheet of cardstock. With the long side of the cardstock at the top of your score board, score at 5 ½”. The next step is to cut the card stock in half along the short side (at the 4 ¼” mark) so that you have two pieces of cardstock that are 4 ¼”x 11” and scored in half. At this point you want to make sure that both pieces are the exact same size because they will overlap.
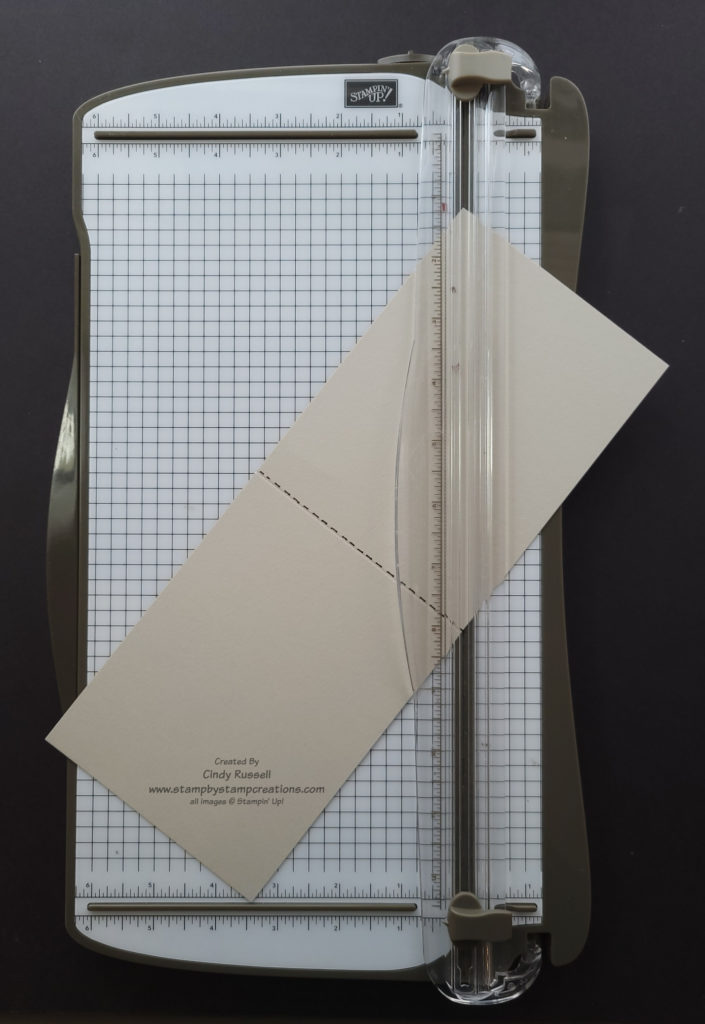
Place one of the 4 1/4″ x 11″ pieces of cardstock vertically on the Paper Trimmer (short side towards the top). Start at the top left corner and cut diagonally to the right side of the score line.
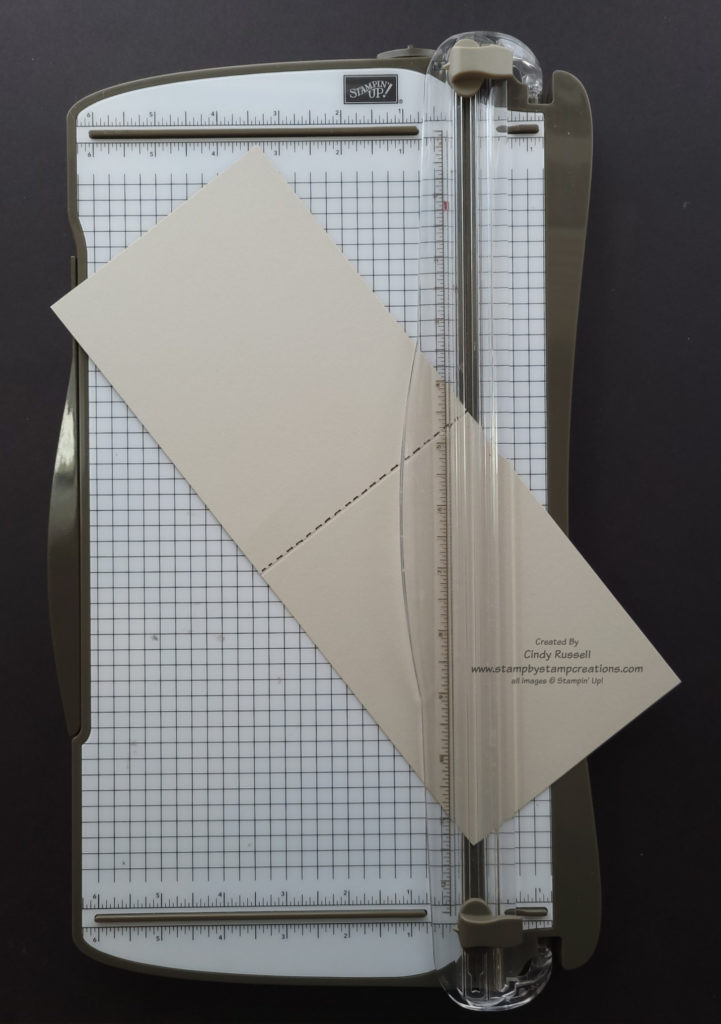
On the second piece of 4 1/4″ x 11″ cardstock start at the right side of the score mark and cut diagonally to the bottom left corner.


Fold both pieces along the score lines making sure that edges and points/corners line up straight. Lay the two pieces horizontally with the angled pieces to the outside. Adhere the two rectangular sections together, making sure all edges line up square.
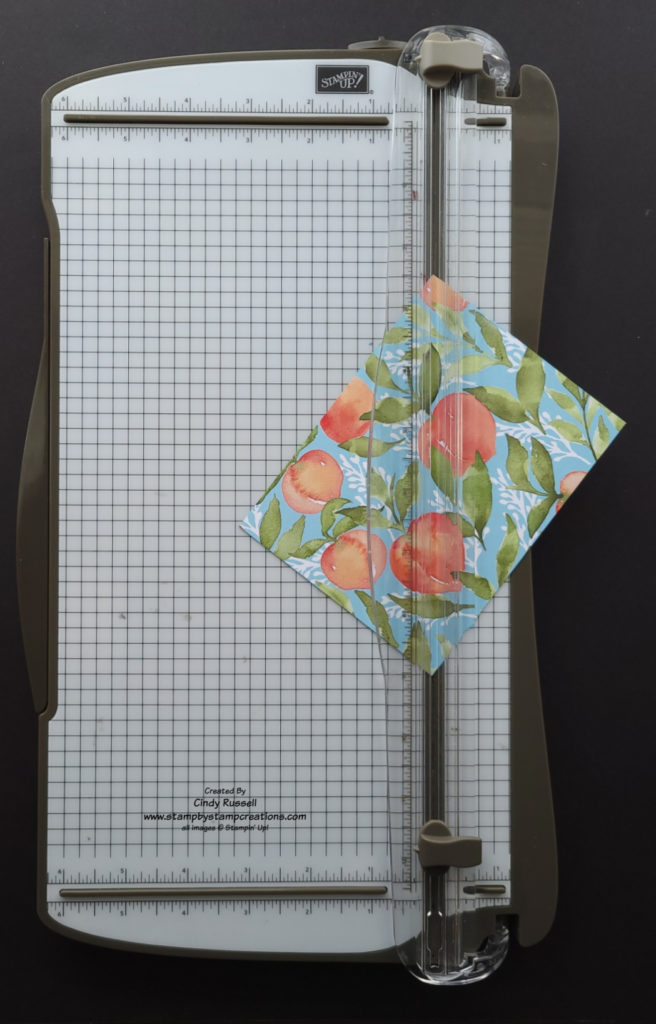
The angled sections of the card need to be decorated before you complete the pocket. It’s easiest if you start with a piece of designer paper that you want to use both sides of. Cut the designer paper to 5 ¼” x 4”. If the patterns you want to use aren’t on the same sheet of designer paper, you will need to cut two different 5 ¼” x 4” pieces. The side of the paper facing up will be adhered to the angled section on the right side of the card. Cut the designer paper diagonally from the upper left corner to the lower right corner. If the designer paper has a pattern where it matters if something is upside down, be sure to take this into consideration before cutting the paper. You will notice that on my card at the beginning of this post that the leaves are pointing down. Lucky for me this doesn’t really matter with leaves. (I forgot to take my own advice! Ha!). In the sample photo to the left you see that it will matter if the peaches are upside down so I had to take that into consideration.
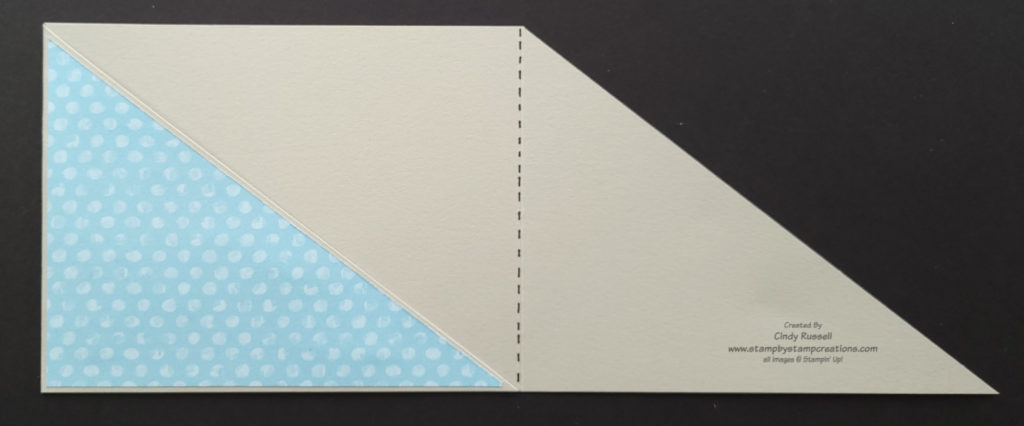
Adhere the designer paper pieces to the angled sections of the card base. Make sure you have the sections in the “closed” position so you don’t adhere the paper to the wrong side of the section. I like to use liquid glue so that I have to a little room to slide the piece and make sure I get it in the correct position.

To make the pocket, place a strip of Tear & Tape adhesive as close to the bottom edge of one of the angle sections as possible . You will want to adhere the adhesive to the angled section that will be “underneath” and will be covered by a portion of the other angled section. In this example photo I placed my adhesive on the left angled section. Remove the backing from the Tear & Tape, fold the section over towards the center and adhere.
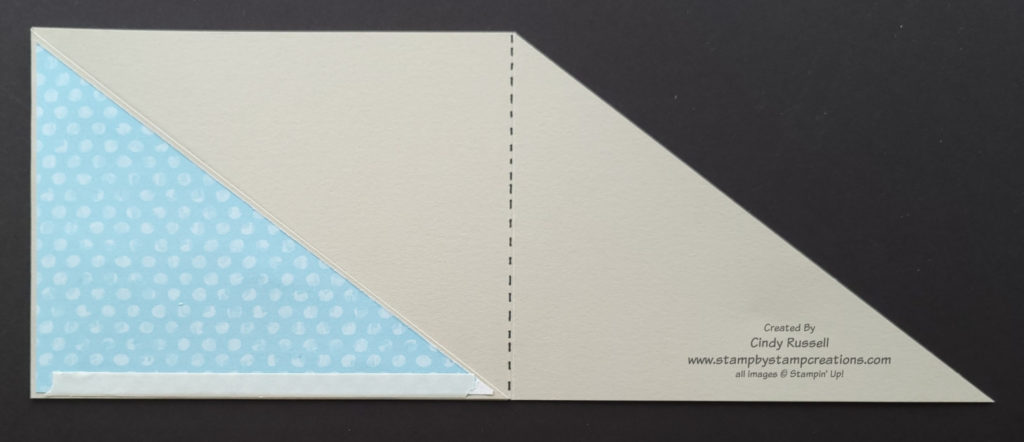
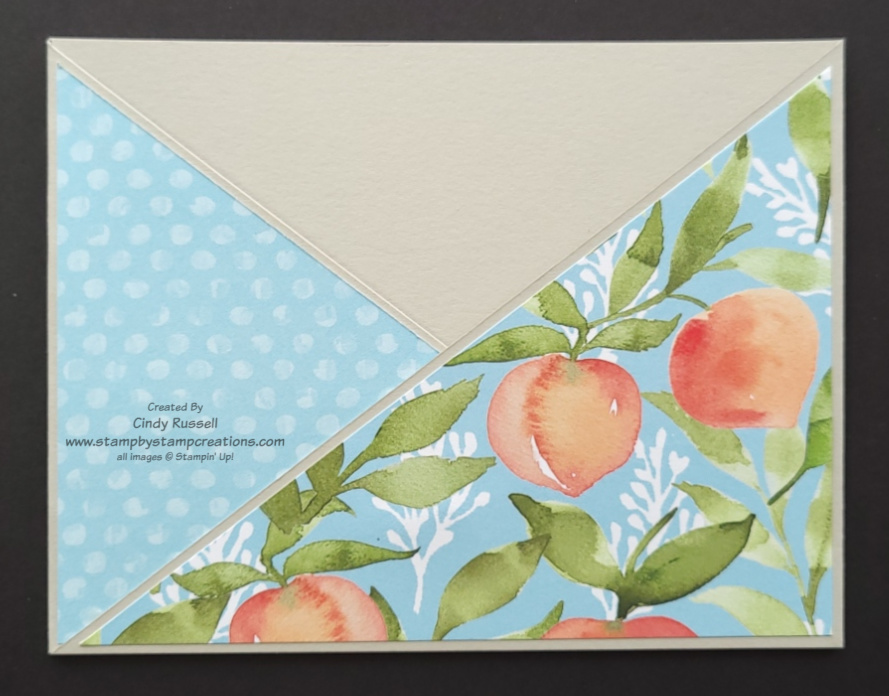
To adhere the second angle section over the first, place a piece of Tear & Tape adhesive close to the bottom edge of the first angle section (which is already adhered to the center of the card). Make sure not to get too close to the left side (in my example) so that the adhesive doesn’t show when the angled piece is adhered.
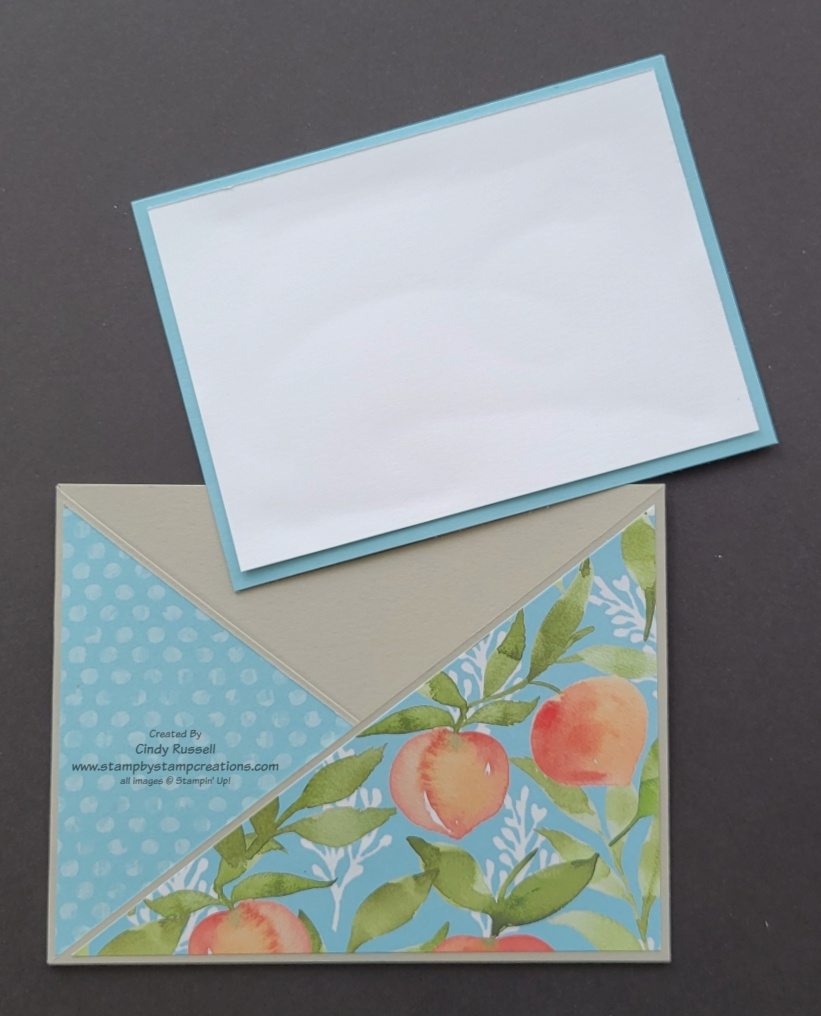
For the pocket insert cut the base piece 5 1/8” x 3 ¾”. The Basic White piece which you will decorate/write on should be cut 4 7/8” x 3 ½”.
Despite my lengthy instructions and all of the photos, this card is pretty easy to make. Have fun recreating it!
Have a great day! Take care and Happy Stamping!
