
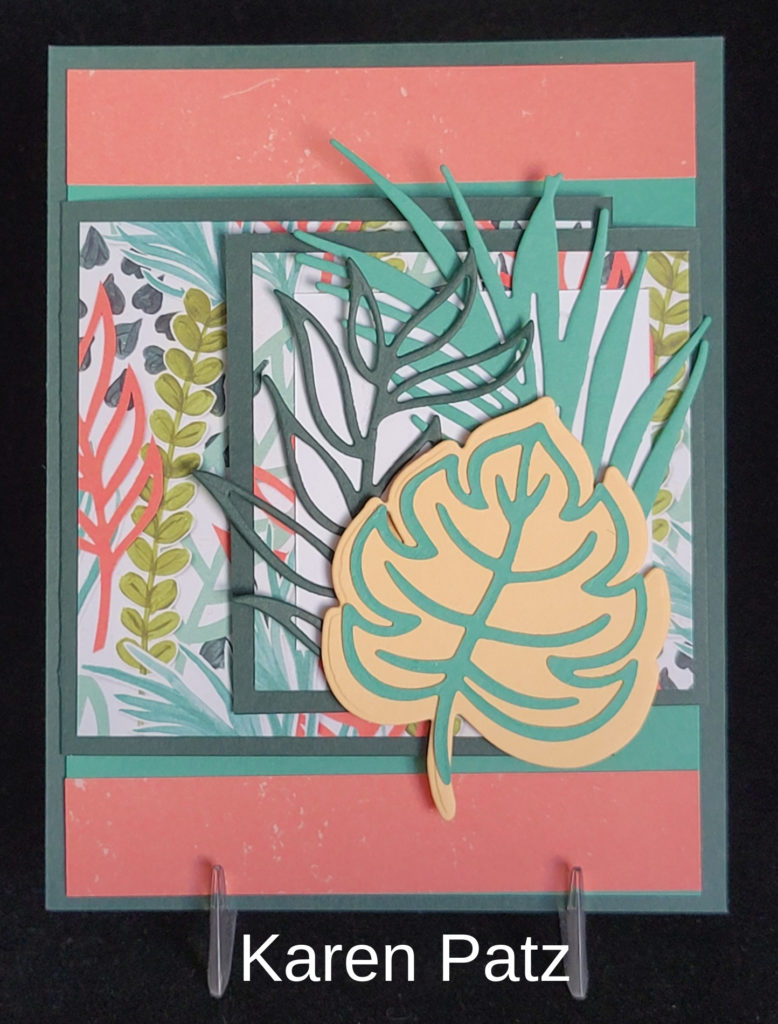
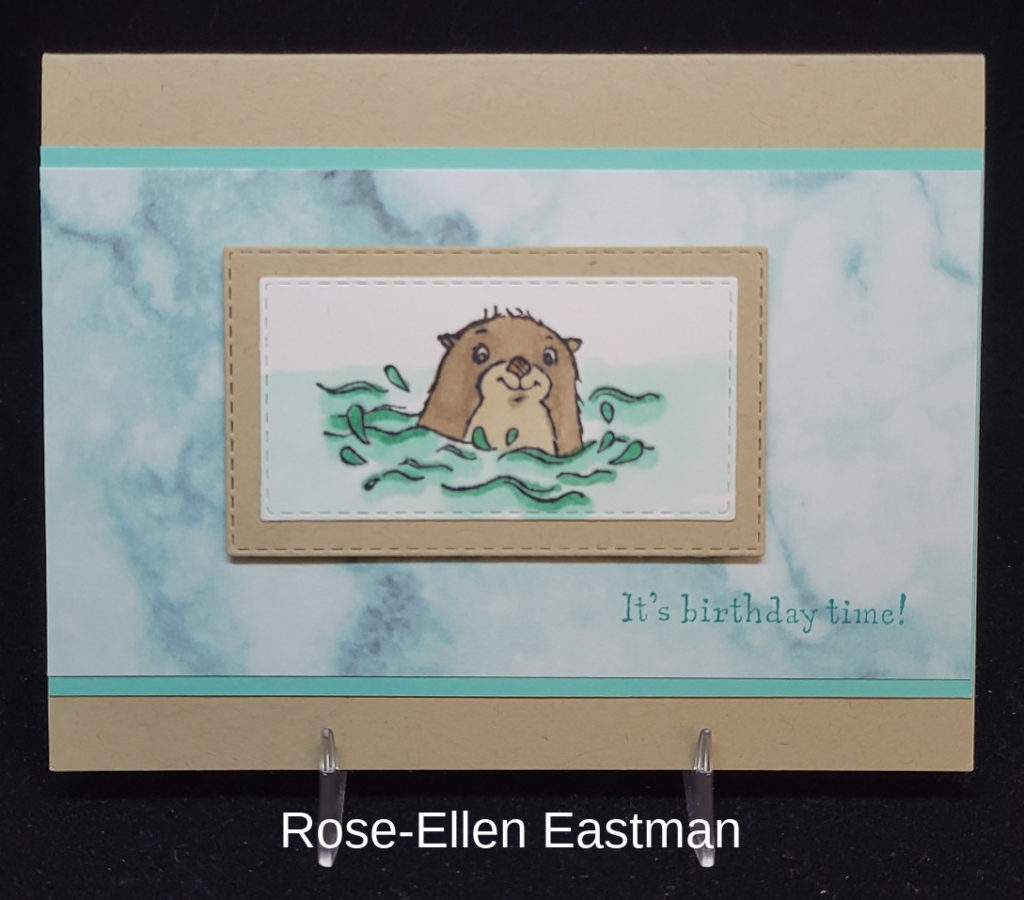
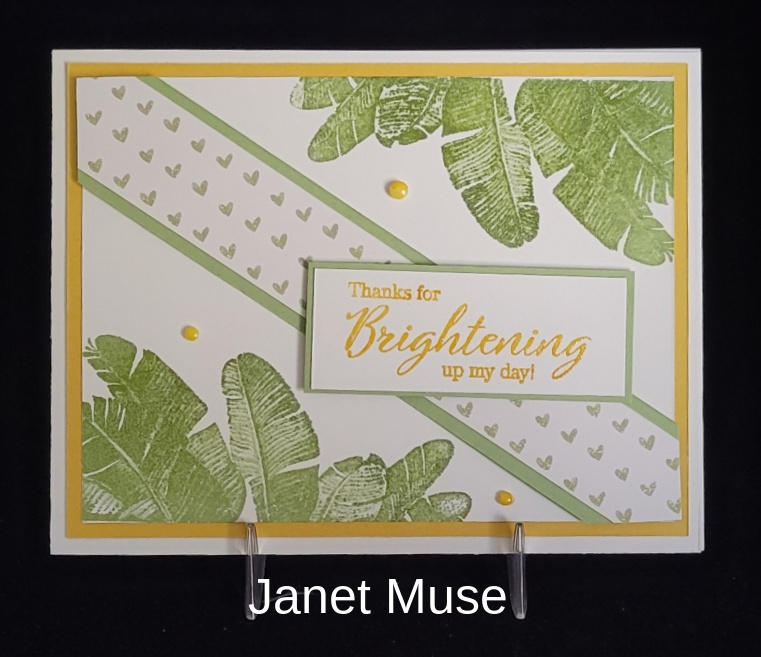
Tropics are definitely on the brain this week. With two days of snow this week I’m ready for a tropical vacation. Since I don’t have one scheduled, I’ll just look at this lovely tropical card and imagine a Mai Tai in my hand and the sandy beach under my toes!
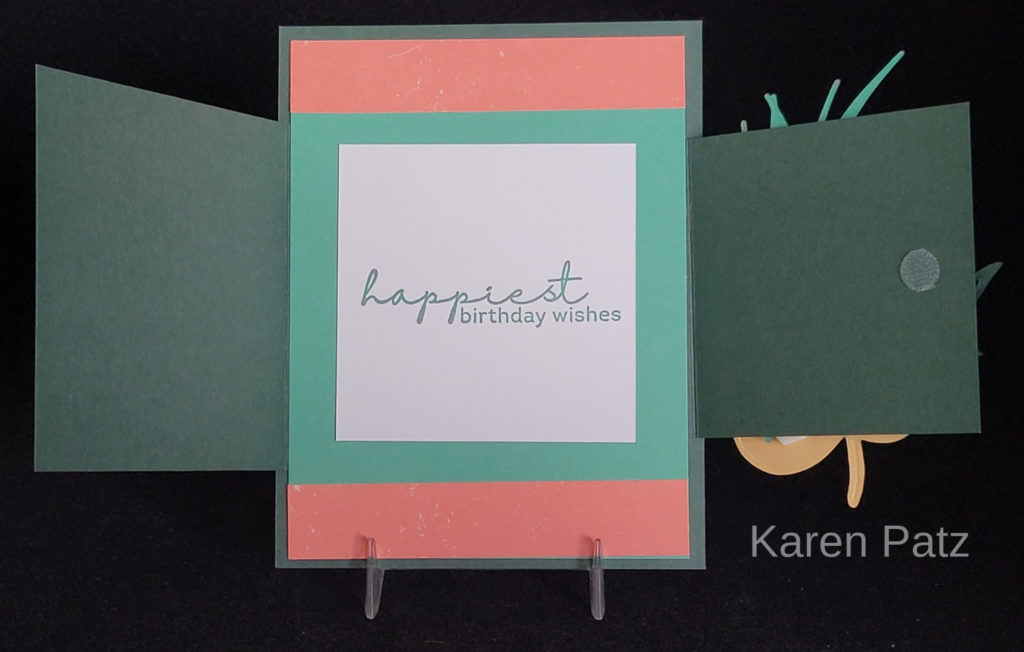
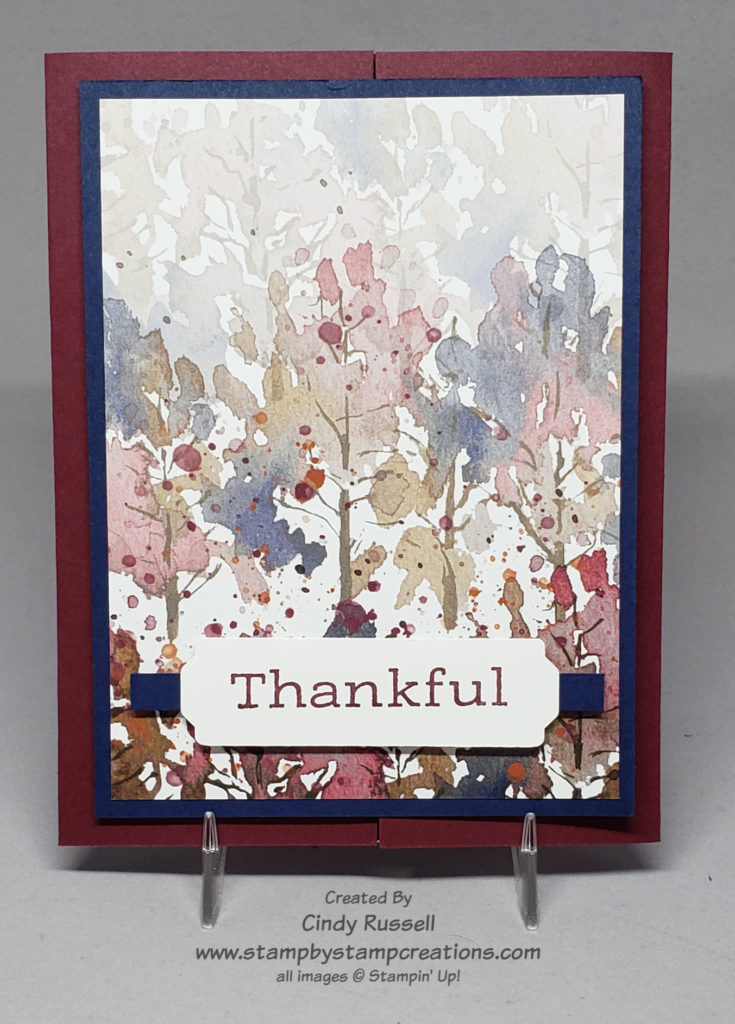
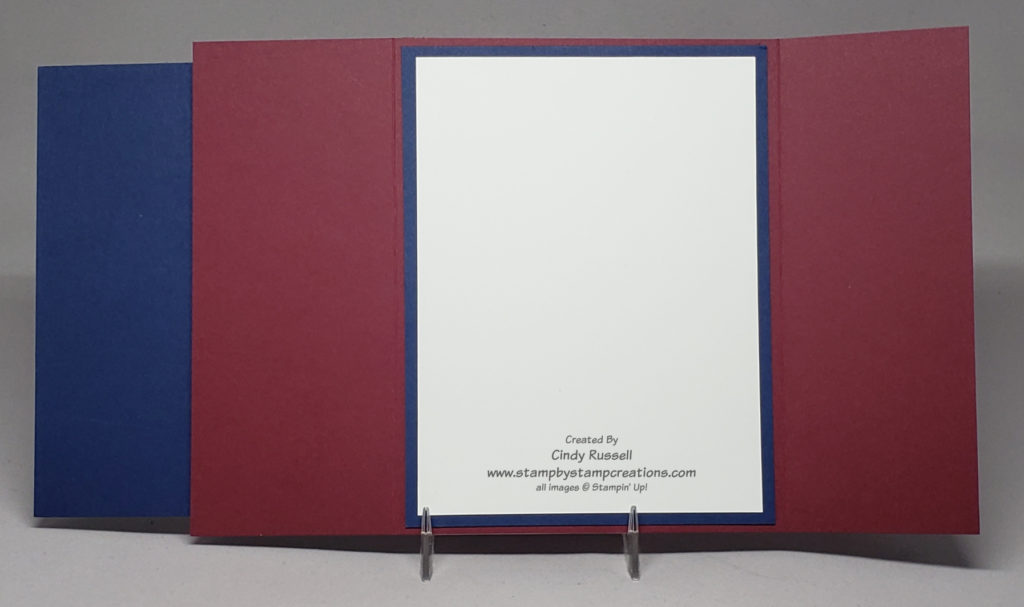
It’s Friday today and I usually do Fun Folds on Friday. This swap is perfect to share today. My downline Karen created this card for our Mini Catalog Swap. Didn’t she do a nice job? The Fun Fold may look familiar. I shared it with back in September. It’s funny how different the fold can look when you use different products. You can view the original post on this Overlapping Flap Fun Fold card here. The original post will give you dimensions as well as a quick video on how the fun fold was made.
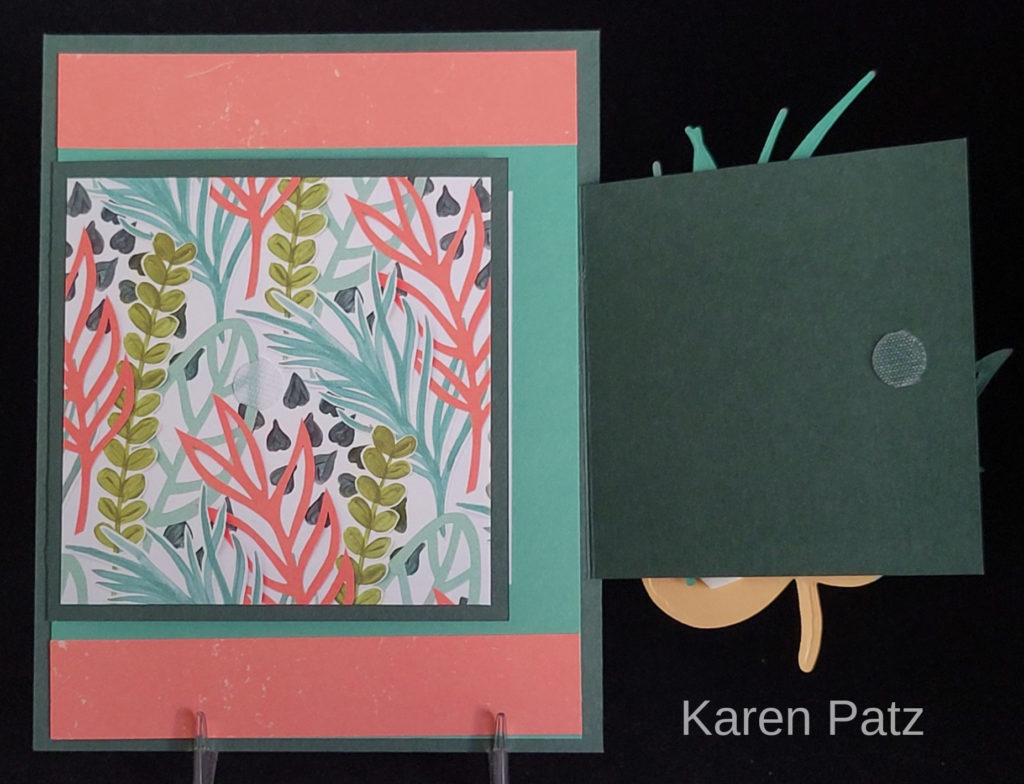
One fun feature that Karen added to her fun fold was the Velcro-type fastener to hold the top flap closed. Sometimes with a lot of layers things don’t stay closed like you want. Another option that would have worked would be tiny, thin magnets to hold things closed. The nice thing about magnets is that you can hide them under cardstock. I like the fasteners that Karen used because they’re almost clear. You can hardly tell that they’re there.
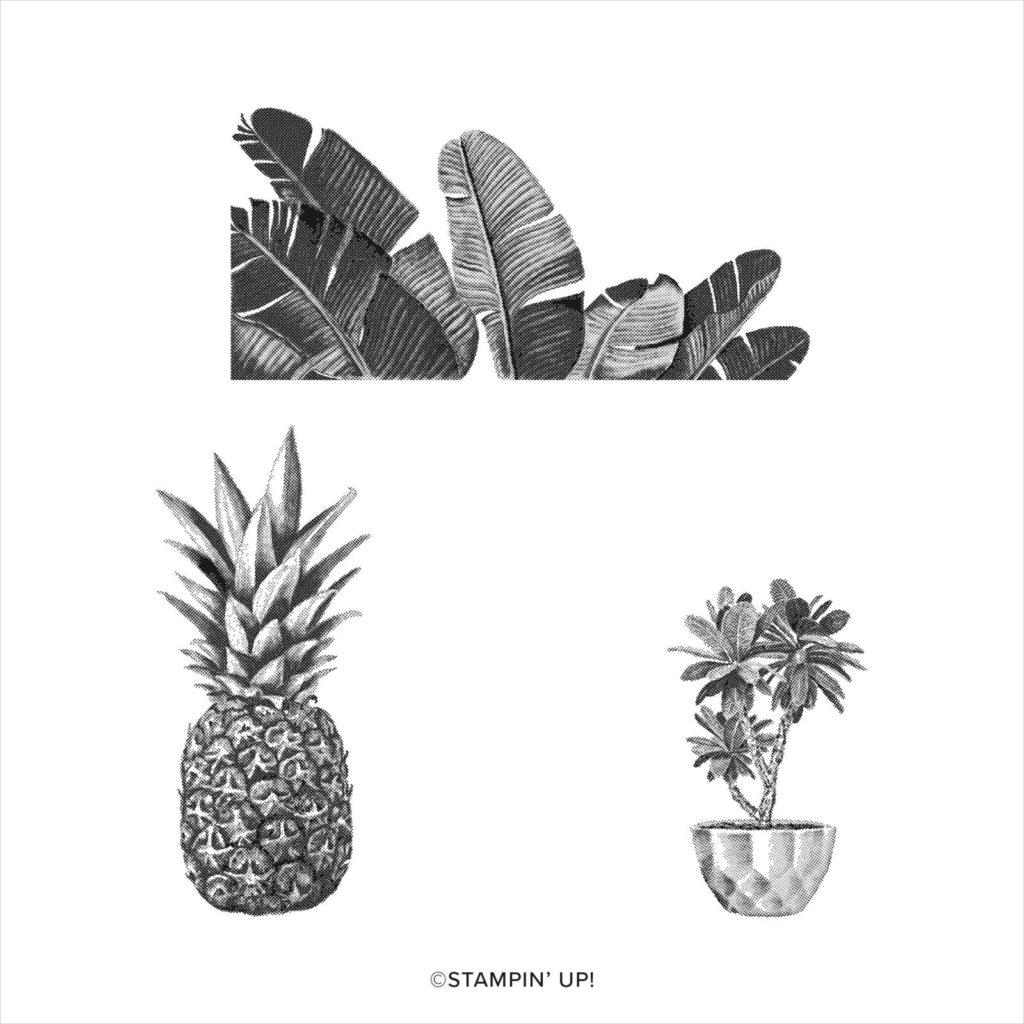
Karen used some of the products from the Artfully Composed Suite in Stampin’ Up!’s new Mini Catalog on her card. So much fun to be had with Artfully Layered stamp set, the Tropical Layers dies and the gorgeous and fun Artfully Composed Designer Series Paper! I love the soft colors and bold designs of the paper and can’t wait to play with it.
Are you itching for a tropical vacation after seeing Karen’s card? I sure am! Have a great day. Take care and Happy Stamping!

