
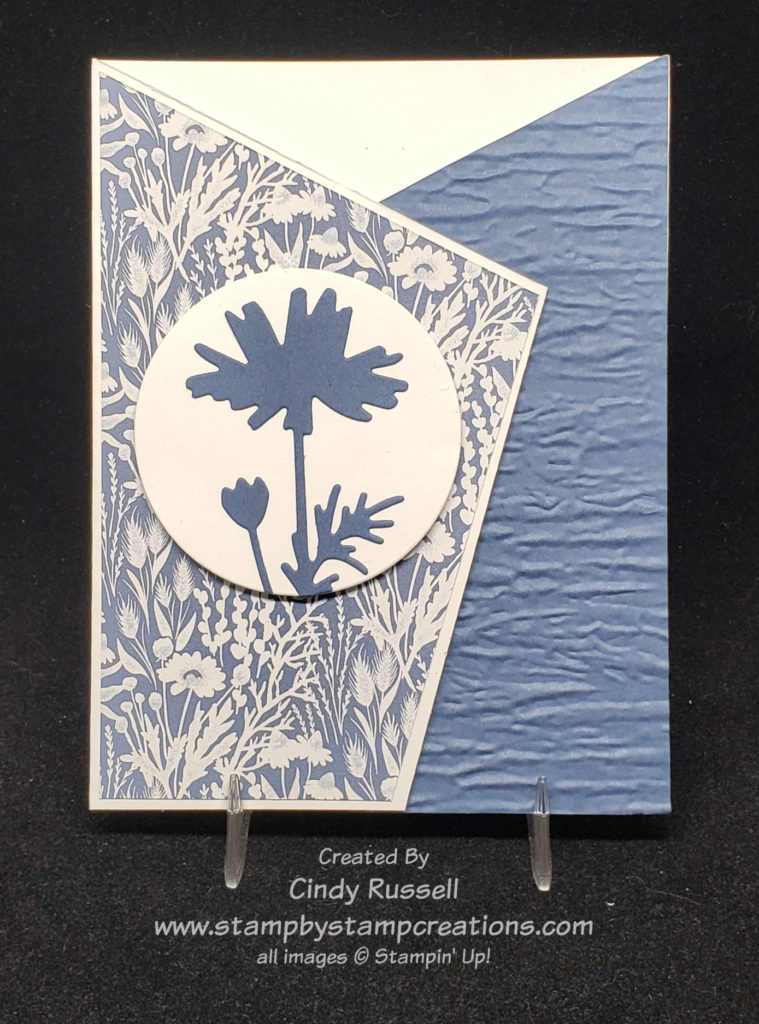
As soon as I saw this Angled Gate Fold card I knew I had to give it a try. It’s so interesting with the different angles. You can have either the left flap or the right flap of the card be the one that has your focal point on it. The sample I saw had the focal point on the right side but wanted to change it up and have my focal point on the left. Personally, I like it better on the left.
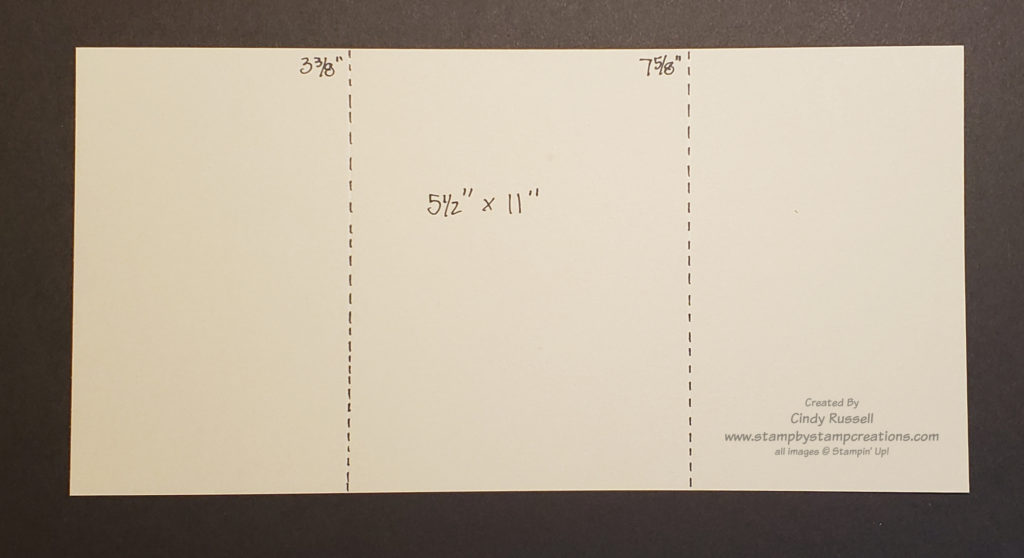
The card base for this card is pretty easy to make once you’ve figure out the little tricks to it. You are going to start with a 5 ½” x 11’ piece of cardstock. Score it along one the long sides at 3 3/8” and 7 5/8”.
The easiest way to figure out how to cut the angles on the flaps of the card base is to watch the quick video below that I recorded. I’ve also posted a few photos below.
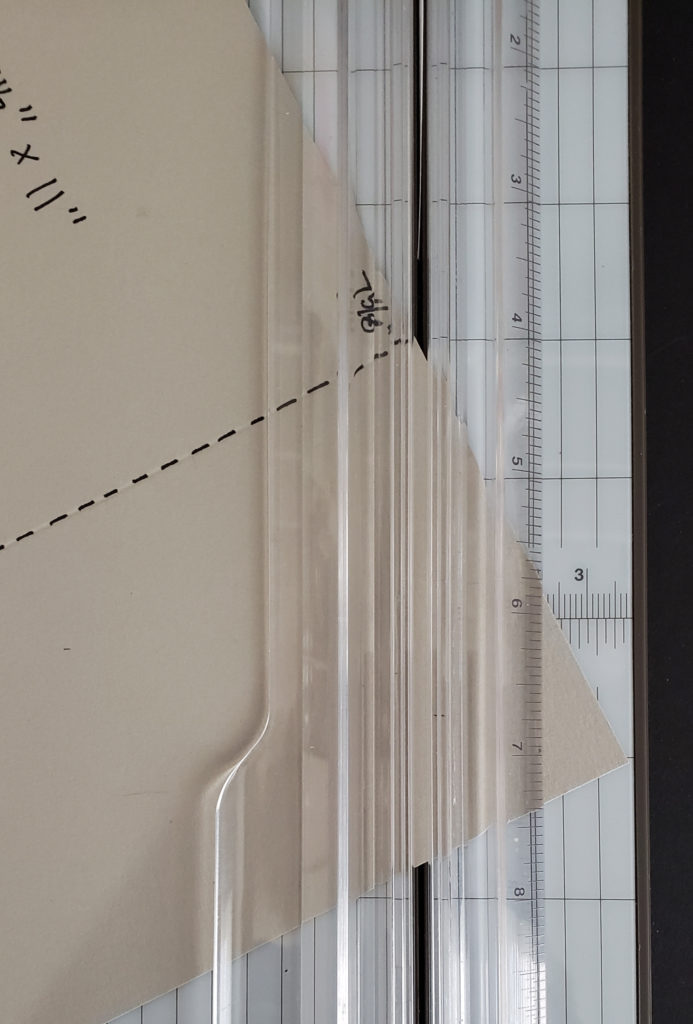
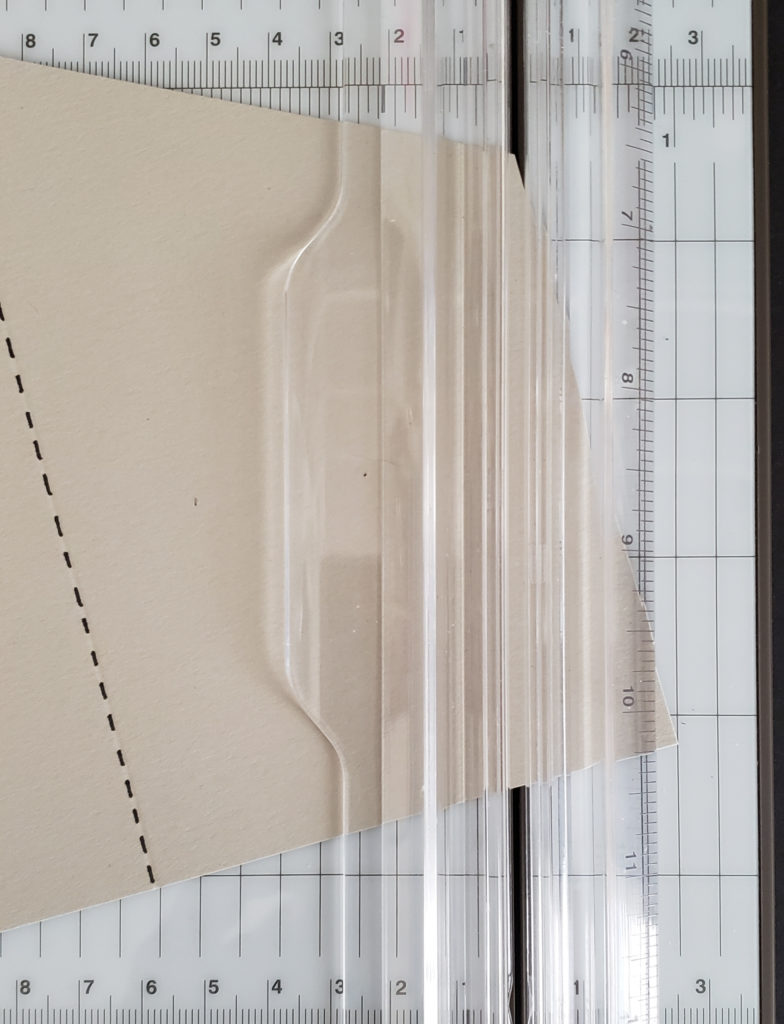
To make the top angle you want to line up the 7 5/8″ score mark in the cutting grove of your Stampin’ Up! Trimmer. Then line up the top corner of the card base at the right edge of the trimmer grid. This actually is at 1 1/2″. Then cut along the cutting grove.
The second or bottom angle of the flap is just as easy to make. This time you are going to line up the corner piece that you just cut in the cutting grove and then line up the bottom corner of the card base with the 1″ mark. You can view this in the photo below.
To cut the angles on the left flap of the card base I completely flipped my card base over and repeated the steps above.
It was easier to flip the card so that I could use the same measurement points on the right side of my Paper Trimmer.
To cut the designer paper and/or cardstock to layer on top of the card base flaps you will want to start with a piece which is 3 1/4″ x 5 3/8 . The important thing to remember when trimming these pieces is that it is not going to exactly match up to the flap. Your borders may not be exactly equal. If you are super particular about your crafting you may need to tweak things a bit.
You will trim the 3 1/4″ x 5 3/8″ pieces the exact same way that you trimmed the angles on the flaps. Instead of starting the first angle on the score mark you will start it at the left top corner of the paper.
Most of the samples I saw using this fun fold had the same pattern of designer paper on both the left flap and the right flap of the card. I tried that but with the pattern I was using and with the white card base it was just too much white. My card needed a little contrast so I decided to cover the right flap with Misty Moonlight cardstock which I embossed with the Bark 3D Embossing Folder. It was just what my card needed!
I hope you like this week’s fun fold. Give it a try and leave a comment with your project. I’d love to see it! Have a great day! Take care and Happy Stamping!