Make It Mine Monday: Long & Skinny Card

Today I thought I’d try something a little out of my comfort zone.  I decided to try a new size card.  Have you seen these long, skinny cards?  The card is 4” x 9 ¼” and fits perfectly in a letter-size envelope (9 ½” x 4 1/8”).

Butterfly Bouquet Long & Skinny Card

This is the card I saw that I wanted to make my own.  Isn’t it pretty?  I love the background and all of the different colored butterflies.  I copied the basic design of the original card, along with the butterflies, but that’s about it.

My Butterfly Bouquet Long & Skinny Card

I decided to keep my colors simple and used Blushing Bride, Basic White and Smoky Slate.  I needed the Blushing Bride butterflies to pop a little more so I used my new Blending Brushes and lightly colored Velum Cardstock with the Smoky Slate ink.  It was just enough to make the Blushing Bride butterflies and the little velum butterflies pop against the Basic White background.  One other thing I did to help make the butterflies pop against the background was to use a Sponge Dauber and add a little color around the edges of the butterflies.  It really made a difference on the card.

Another little secret is how I was able to emboss the Basic White background without a seam since the cardstock is longer than the embossing folder.  I put the cardstock in the embossing folder about halfway.  Then  I ran it PARTIALLY through my Stampin’ Cut & Emboss Machine.  I made sure the end of the embossing folder didn’t go all of the through the roller of the machine.  I had to roll it back towards me to get the folder out and then turned the cardstock around and repeated the process.  It worked like a charm!  If you try this, you definitely don’t want to try it with a folder that has a distinct design.  I used the Subtle Embossing Folder that didn’t need anything to line up. 

On all of my butterflies I only adhered the bodies down to let the wings flutter.  I used the Elegant Faceted Gems to add a little sparkle the butterflies too.   

This was a fun card size to make.  I’m not sure how often I’ll make this card size since it’s such a large area to fill.  I’d have to be working with just the right products (like butterflies!) to make it work.

Have a great day! Take care and Happy Stamping!

Make-It-Mine Monday: Snailed It!

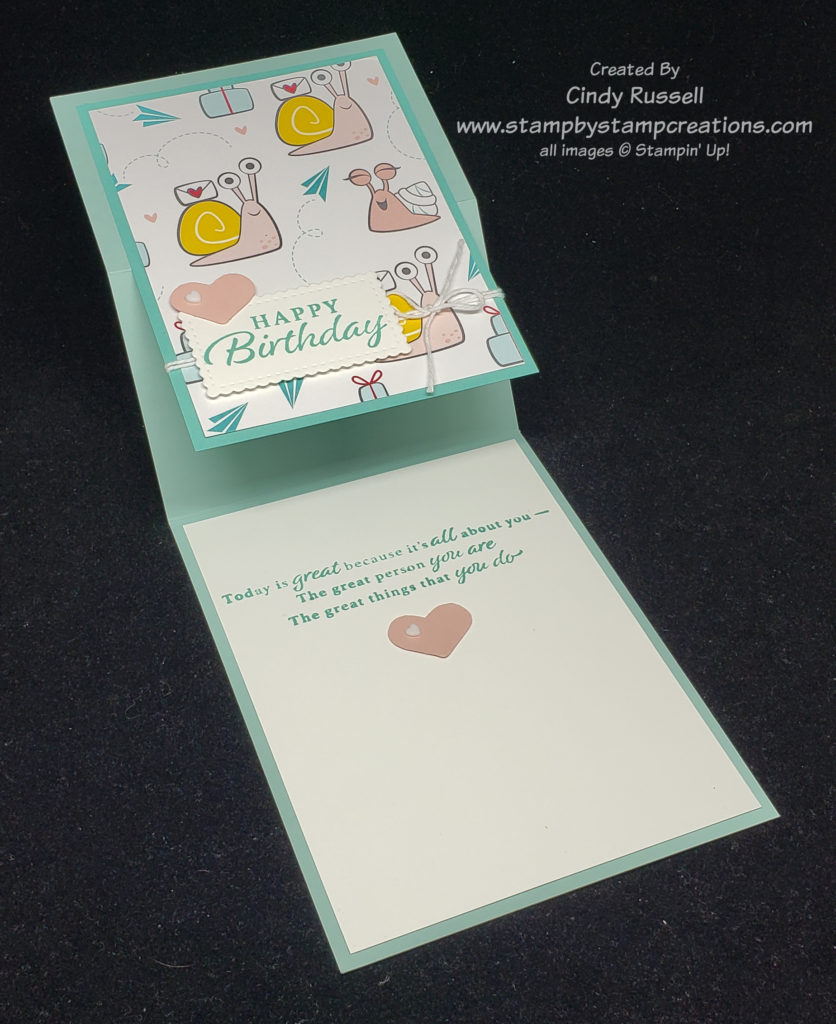
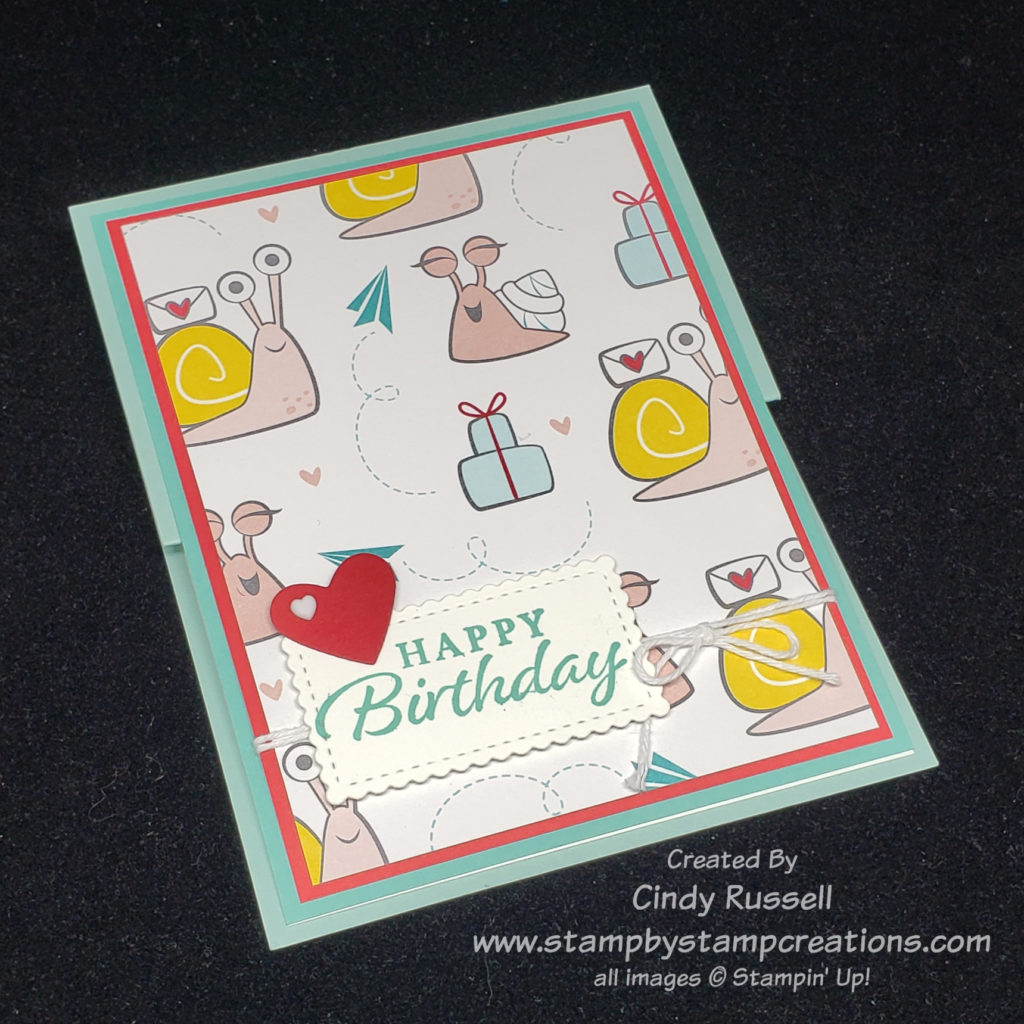
Snailed It Fun Fold

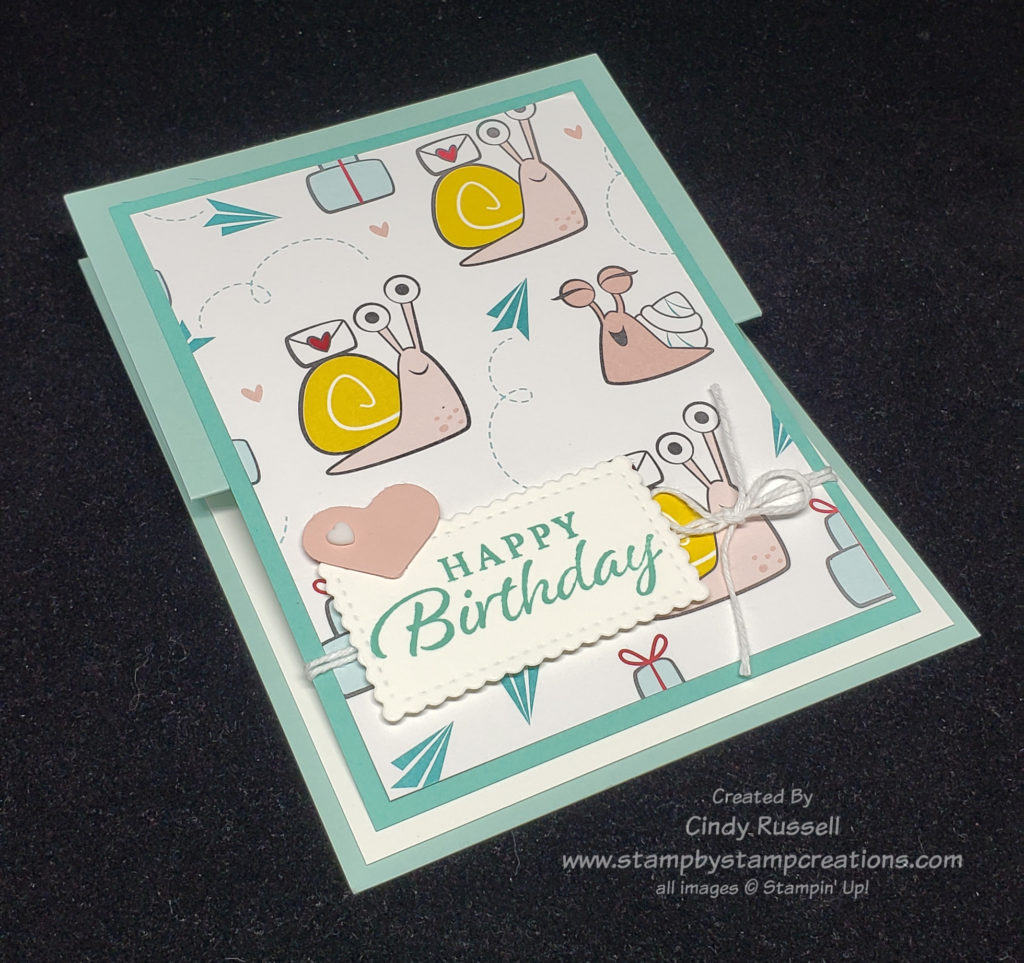
Oh, my gosh! These snails are so stinkin’ cute! I only have the designer paper right now but I am ordering the stamp set and dies on my next order. I can’t wait!

I usually don’t go for the cutesy stamp sets and dies. I stick with the more traditional ones. However….the more I see of these little snails the more excited I am to have them in my stamp room!

Recently I took a training from another demonstrator which included cards we could make. The adorable card here is one of the cards we were able to make with our kit. I love new ideas!

Hopefully you can see in the photos this is a Z-fold card like the strawberry card I shared with you in this post. The only difference is that the strawberry card had a horizontal layout and this card is vertical.

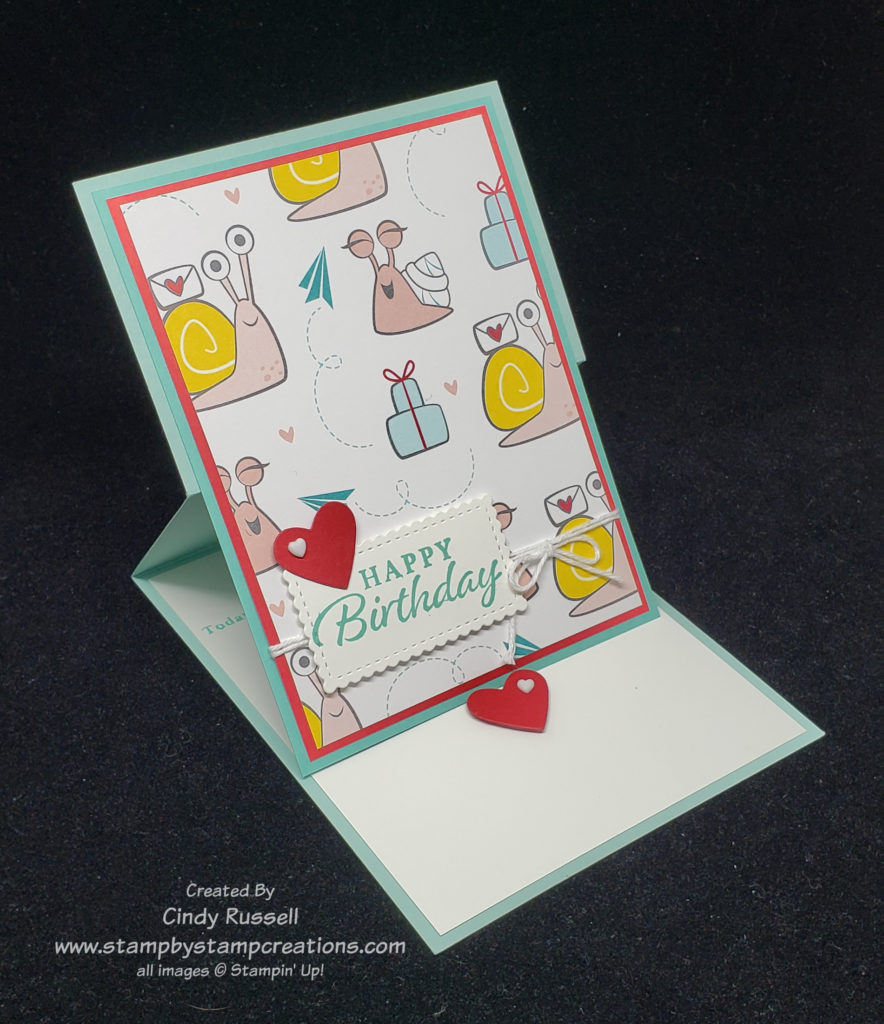
This card turned out very cute but as I was making it I thought about how I could make it into an Easel Z-fold card like the one I shared with you here.

Of course, simply turning it into an Easel Z-Fold wasn’t the only change to be made by me. Hello….can you say “more layers please”? Ha! Actually, believe it or not, adding one layer and changing the color of the hearts were the only changes I made.

Snailed It Easel Z-Fold Card

I think adding the red layer and changing the heart to red make things pop a little more on the card. The little resin hearts (that are on both cards) are really fun to add to cards. They come in red and in white. I do have to admit that I didn’t have the Kiss Punch which is where the pink heart came from on the first card. I had to dig through my retired stash of dies to find a heart that was about the right size for my version. This is why I hardly ever get rid of things! Ha!

Have a great day! Take care and Happy Stamping!
Make It Mine Monday: Pretty Perennials

Happy Monday!  I hope you all had a good weekend.  Besides the plugged-up kitchen sink, our weekend was quiet.  Luckily my husband is very handy and was able to fix it after working on it for almost two hours!  Hmm….now what should I do with all that money we just saved on a plumber?  Ha!

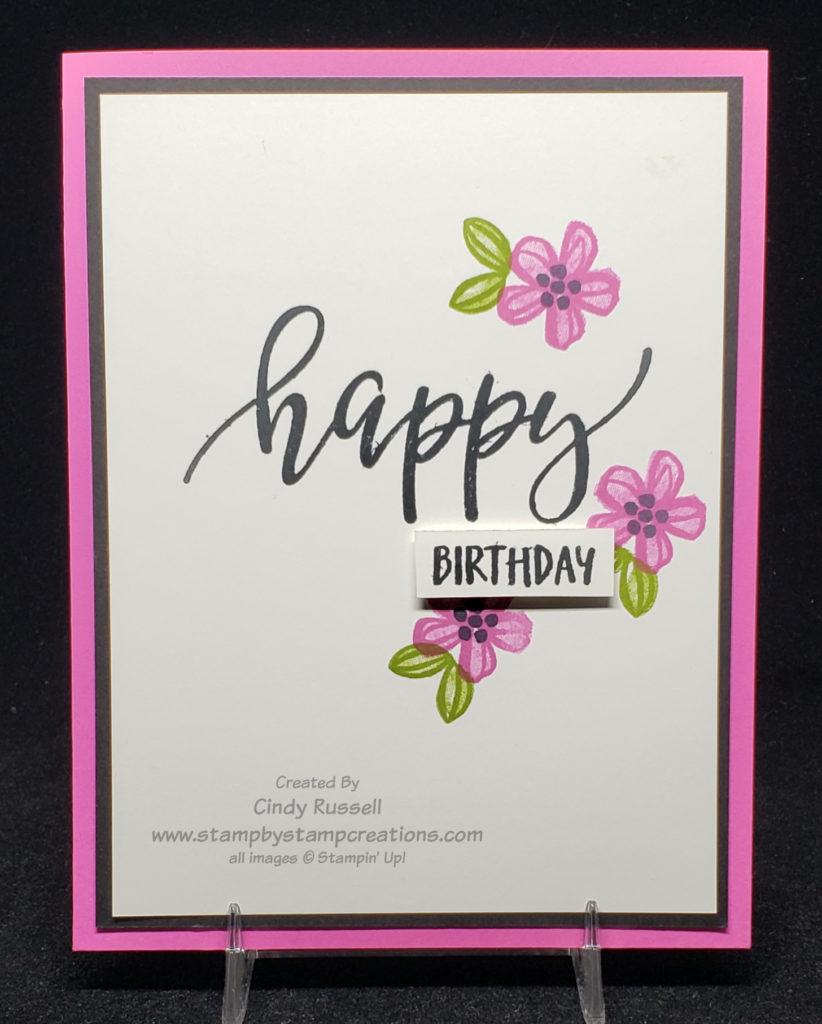
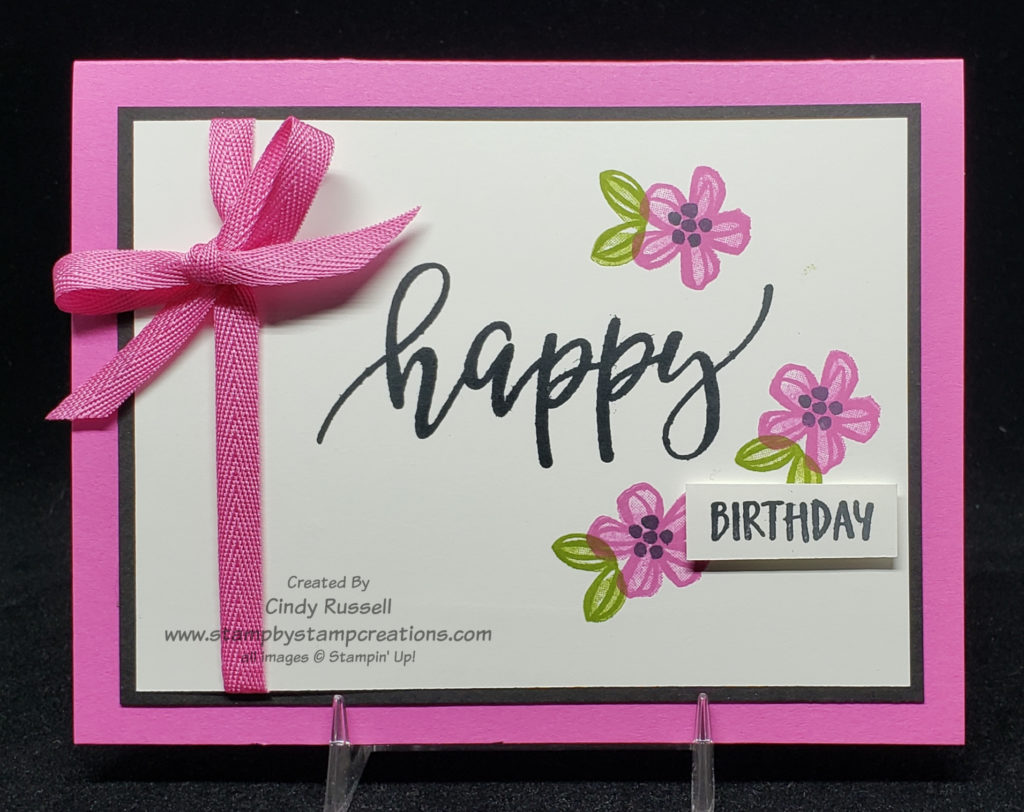
Have you seen the Pretty Perennials stamp set on page 31 in Stampin’ Up!’s new January – June Mini Catalog?  It’s a fun flower set that has a 22-piece coordinating die set!  You know how I feel about coordination….woo hoo!  I had fun playing with this stamp set about a week ago.  As I was searching the internet for samples I liked I came across this very simple one made by Helen Wigham.  Isn’t is lovely?

Make it Mine Monday: Pretty Perennials

You know me though, I have a really tough time making a card without layers.  If you’re going to add one layer, then you may as well add two, right?  That’s what I did.  The focal point of my card is pretty much exactly the same as Helen’s but I just framed it before putting it on a card base.  The only other thing I changed was the color of the word “happy”.

Pretty Perennials simple card

Why stop at one change though?  I was on a creative roll when I made this first card so I decided to keep going.  This time I switched the orientation of my card and added some ribbon which I think makes the card a little more flirty.  Did you notice that I actually used a real bow on my card?  I haven’t done that in a long time.  The card definitely needed it though to fill in that upper corner.  I like how it turned out so you may seeing more bows on my cards these days.

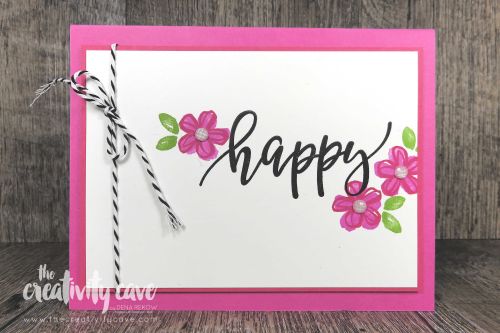
After writing most of this post I was looking at other samples made using the Pretty Perennials stamp set and I discovered that without realizing it, I had actually CASEd (copy and share everything) another card when I made my second one!  I guess my subconscious is working well!  Ha!  The second card I copied was actually made by Dena Rekow who designed the Pretty Perennial stamp set!

Pretty Perennials by Dena Rekow

I really had fun playing with this stamp set and can’t wait to play with it some more! Have a great day! Take care and Happy Stamping!