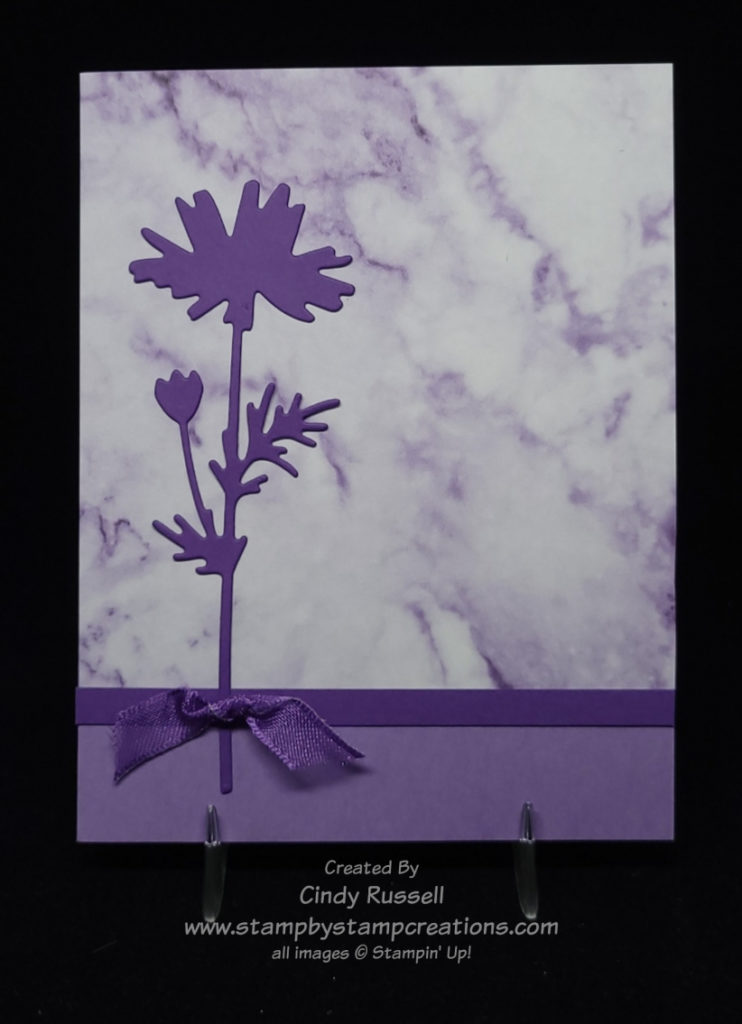
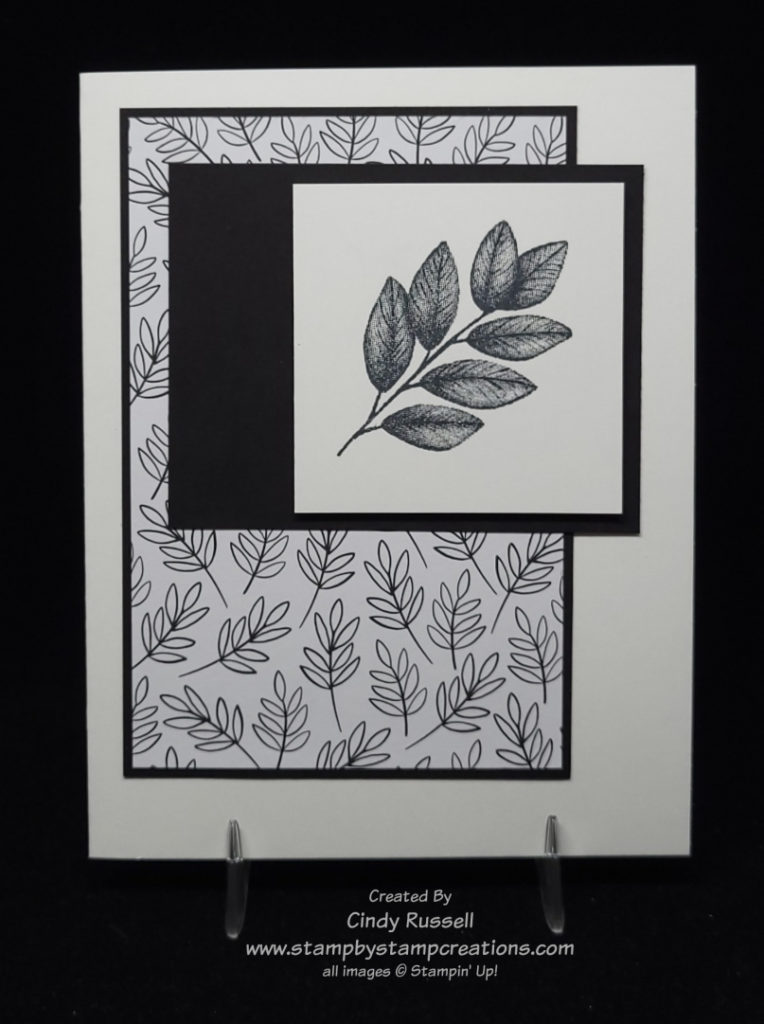
This week’s Make-It-Mine card is black and white with a little bit of gray on it. Monochromatic is the technical term. Monochromatic means: “of, relating to, or having tones of one color in addition to the ground hue”.
There’s something about a black and white card that always catches my eye. Black and white together is simple and it’s stunning. I like these types of cards so much that I’m sharing them all week on my blog, Facebook and even in my newsletter. Be sure to check them all out! (If you don’t get my newsletter yet, just fill out the info in the box to the right.)
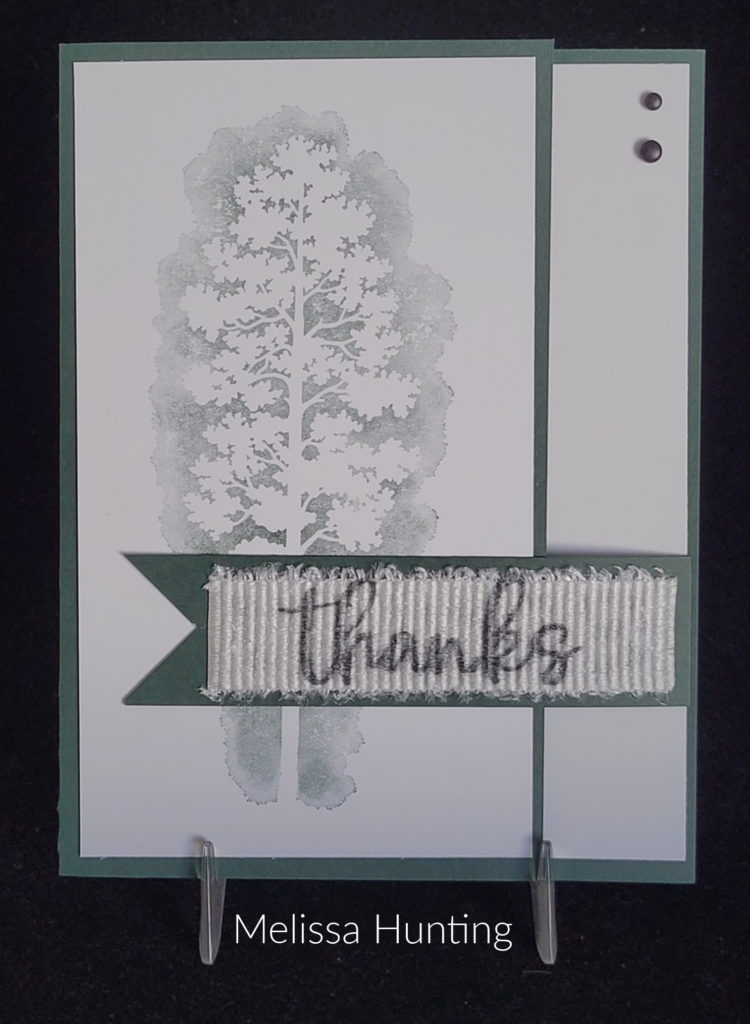
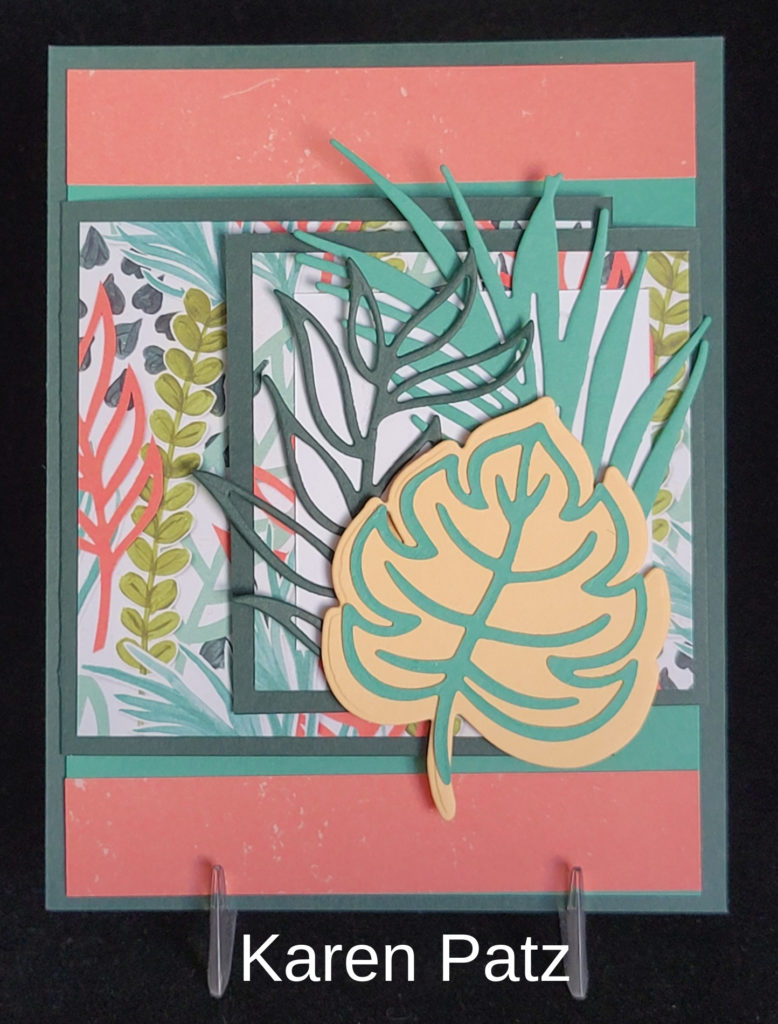
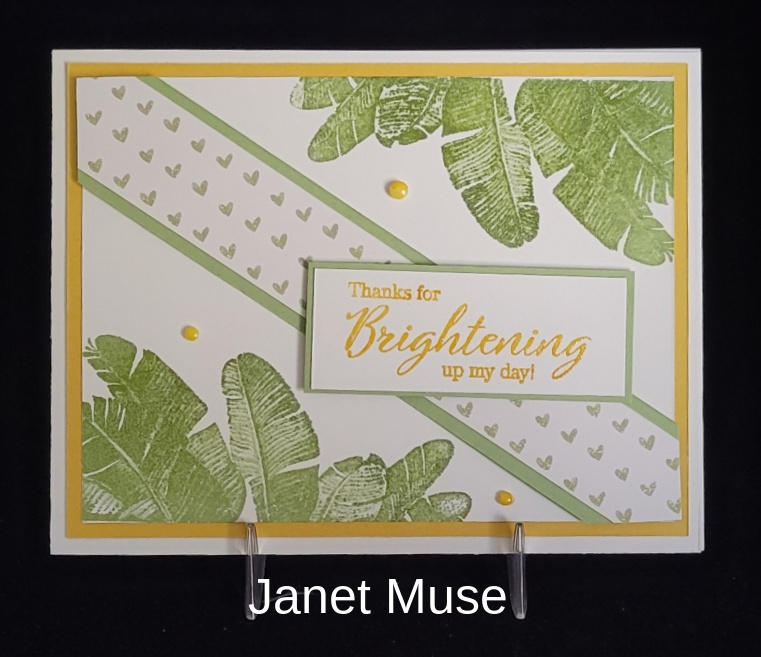
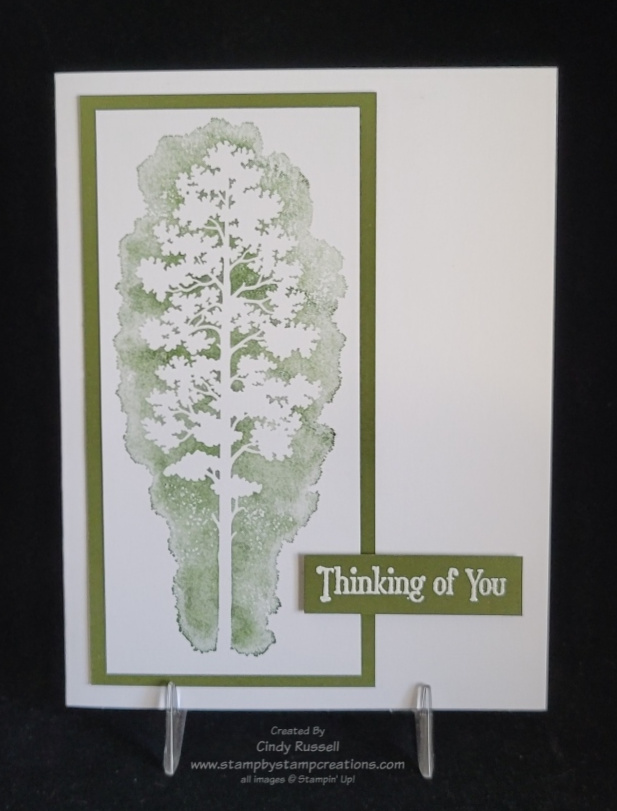
I used Stampin’ Up!’s Artfully Layered stamp set on today’s card. I was inspired by Tess Rollin’s card. As you can see, I stuck pretty close to Tess’s card and only added a few extra leaves.
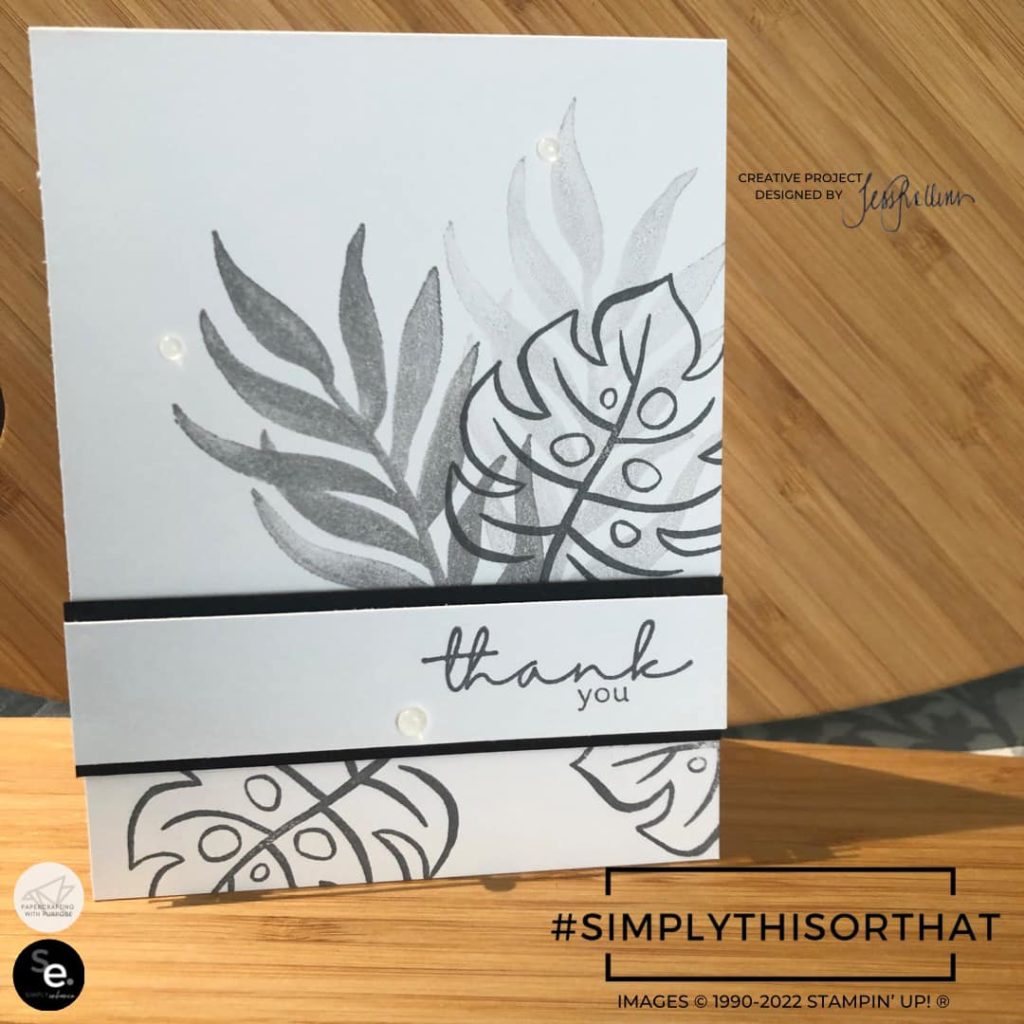
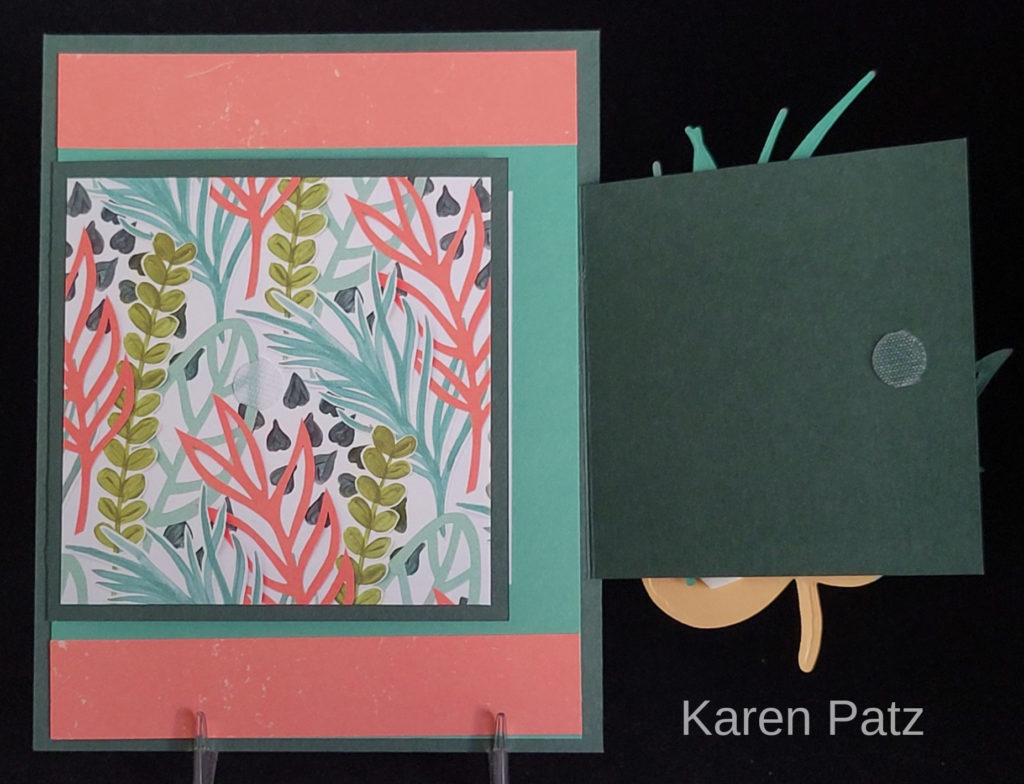
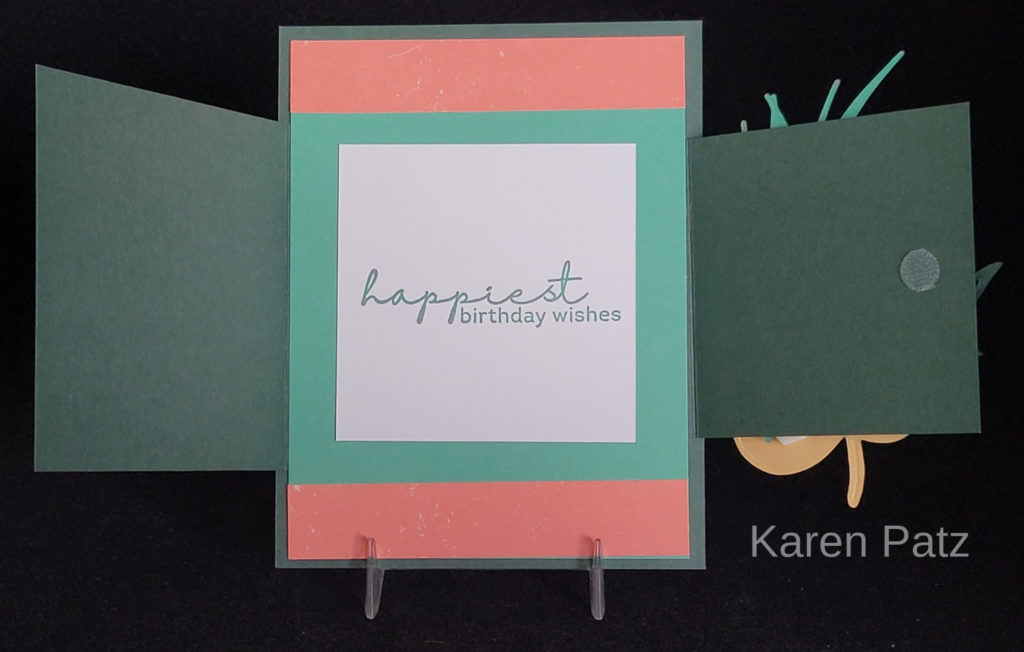
This card is quite simple. All stamping except the sentiment is done directly on the card base. The two leaves on the upper portion of the card were stamped first. Then I used a piece of scrap paper to cover them so I could stamp just a portion of the leaves on the lower section of the card. The sentiment is layered on black cardstock and adhered to the card front with Stampin’ Dimensionals. Easy Peasy!
I tried using embellishments of some sort on my card like Tess did but they seemed to distract from the simplicity of the card. I like Tess’s use of embellishments but I just couldn’t make them work. Sometimes simple is better.