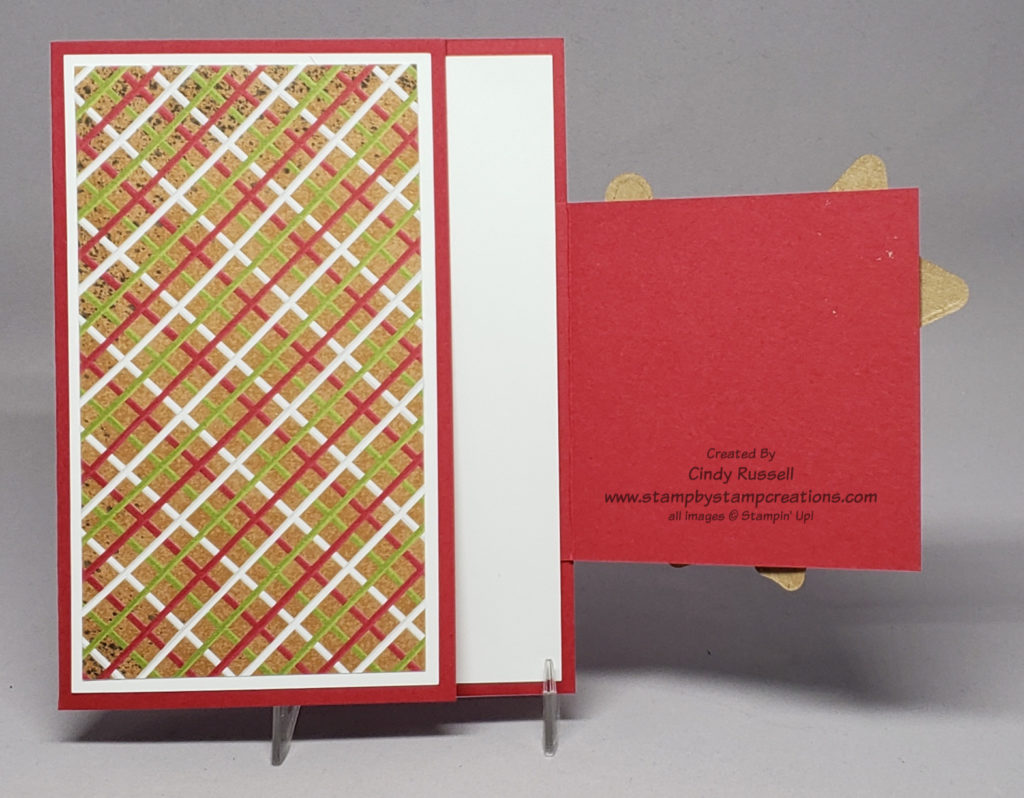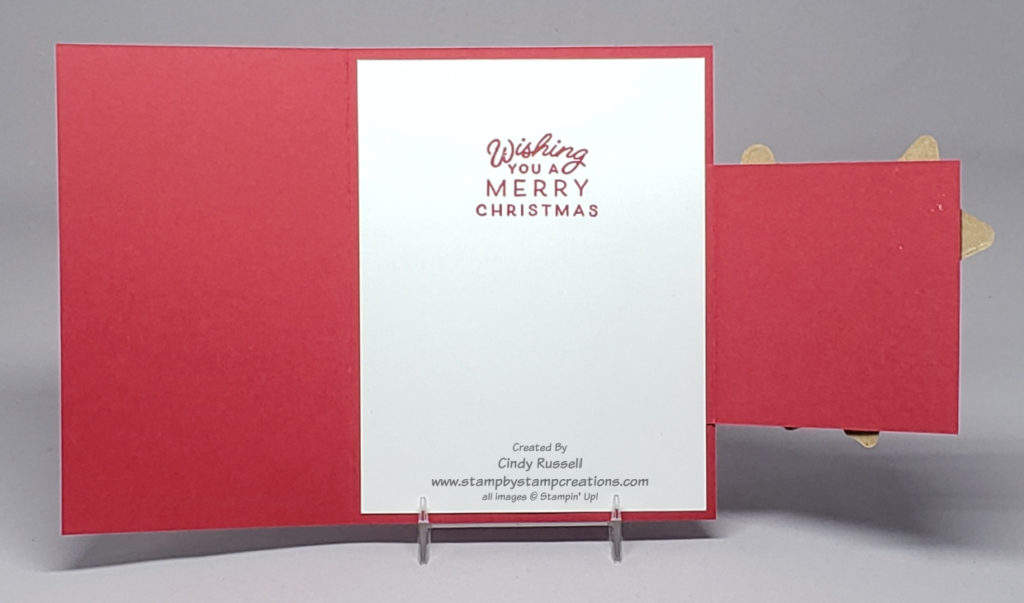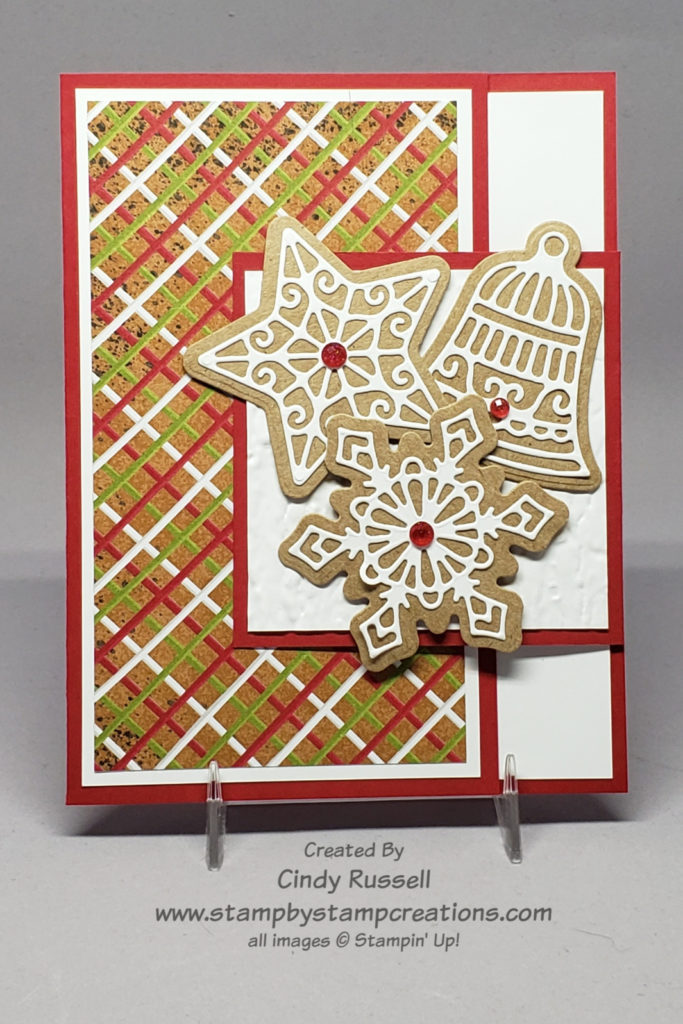
I love fun fold cards! They make an ordinary card a bit more special. When I find a fun fold that I want to recreate and it’s only called “fun fold” the hard part begins. What do I call it? How do I describe it to you? That’s where my unoriginal descriptive names come in. Ha!
I am calling today’s fun fold the Side Flap Fun Fold because…it has a side flap. Yep. Original. Whatever….let’s forget about the name and talk about how to make this fun card. Basically, you take a regular-sized card, trim the front and add the side flap. Easy peasy.
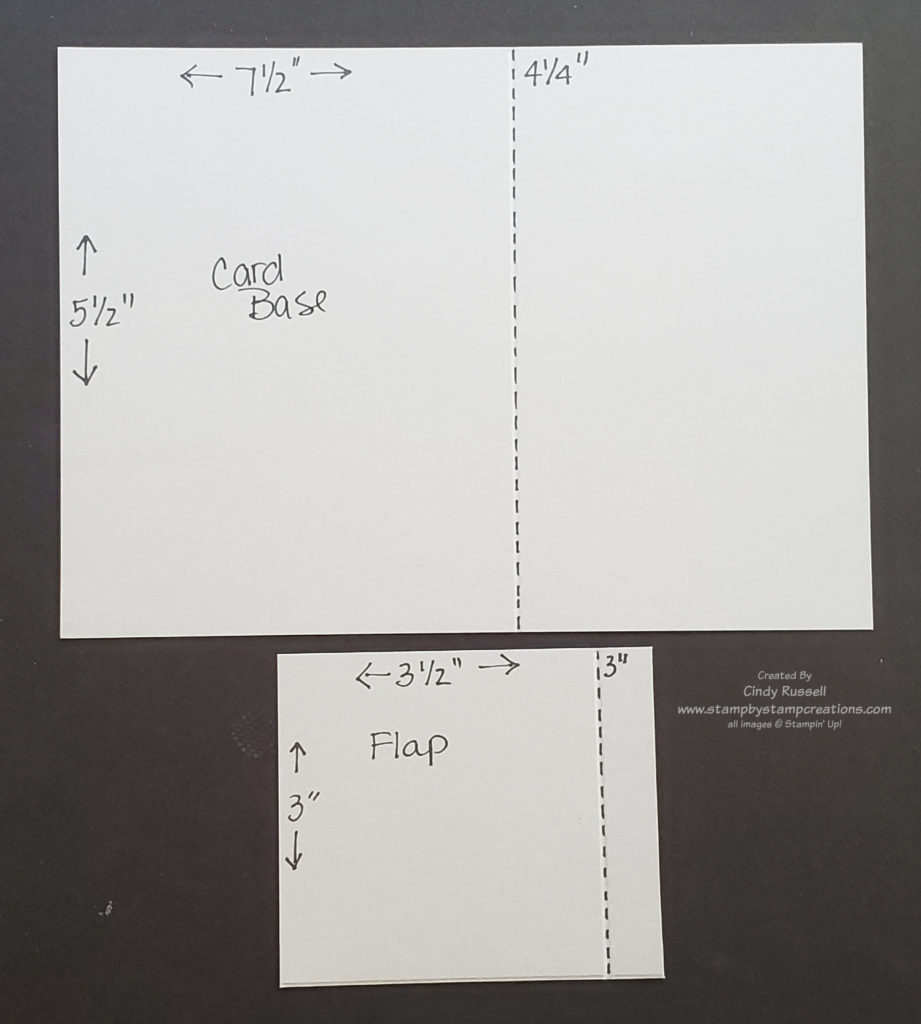
The base is 5 ½” x 7 ½” or a regular 5 ½” x 8 ½” card base with 1” trimmed off the front of the card. The side flap is 3 ½” x 3”. Score at the 3” mark on the 3 ½” side. The ½” section of the flap is the part that gets adhered to the inside of the card back.
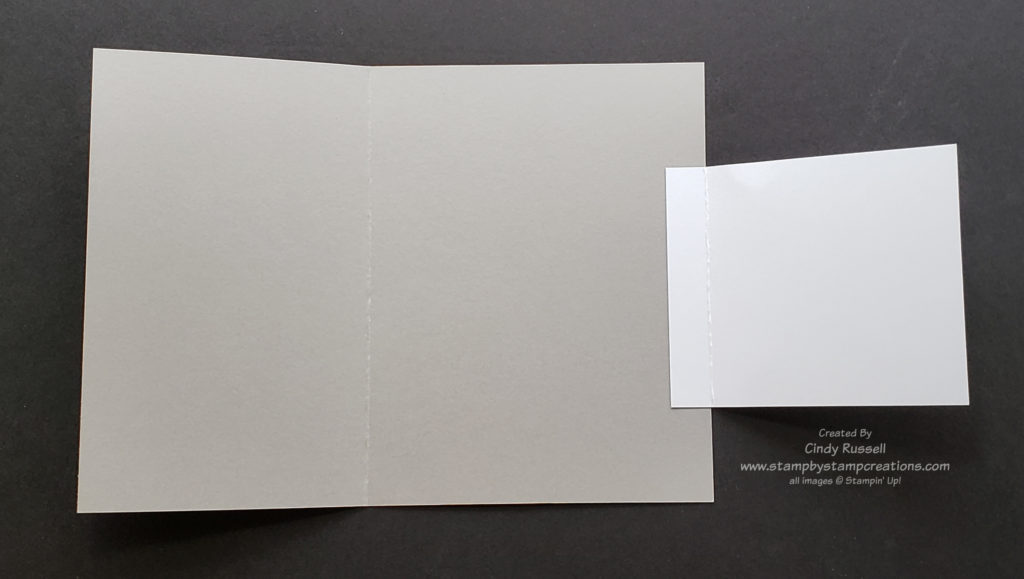
After you’ve folded the card base along the score line it’s time to adhere the flap. Fold the flap all the score line. With the flap still folded, place adhesive on the small section. Now, with the card base open, line up the fold of the flap with the right edge of the card base. Adhere the flap to the card base. That’s it. You’ve made the Side Flap Fun Fold. Now it’s time to decorate.
I used products form Stampin’ Up!’s Gingerbread & Peppermint Suite of products. The sentiment on the inside of the card is from the Frosted Gingerbread stamp set and the “cookies” on the flap of the card are cut using the coordinating Gingerbread dies. I love how you can die cut the “cookie” and the intricate “frosting”. I just wish I could make cookies that look so good. Ha! The designer paper is from the Gingerbread & Peppermint Designer Series Paper pack. Gotta love all that coordination! The jewels on the “cookies” are Wonderful Gems.
Here are some additional dimensions for the layers on the card.
Basic White: 5 ¼” x 4”, 5 ¼” x 3”, 2 ¾” x 2 ¾” Designer Paper: 5” x 2 ¾”
This was a pretty easy fun fold card to make. I hope you’re enjoying fun folds as much as I am. Have a great day! Take care and Happy Stamping!
