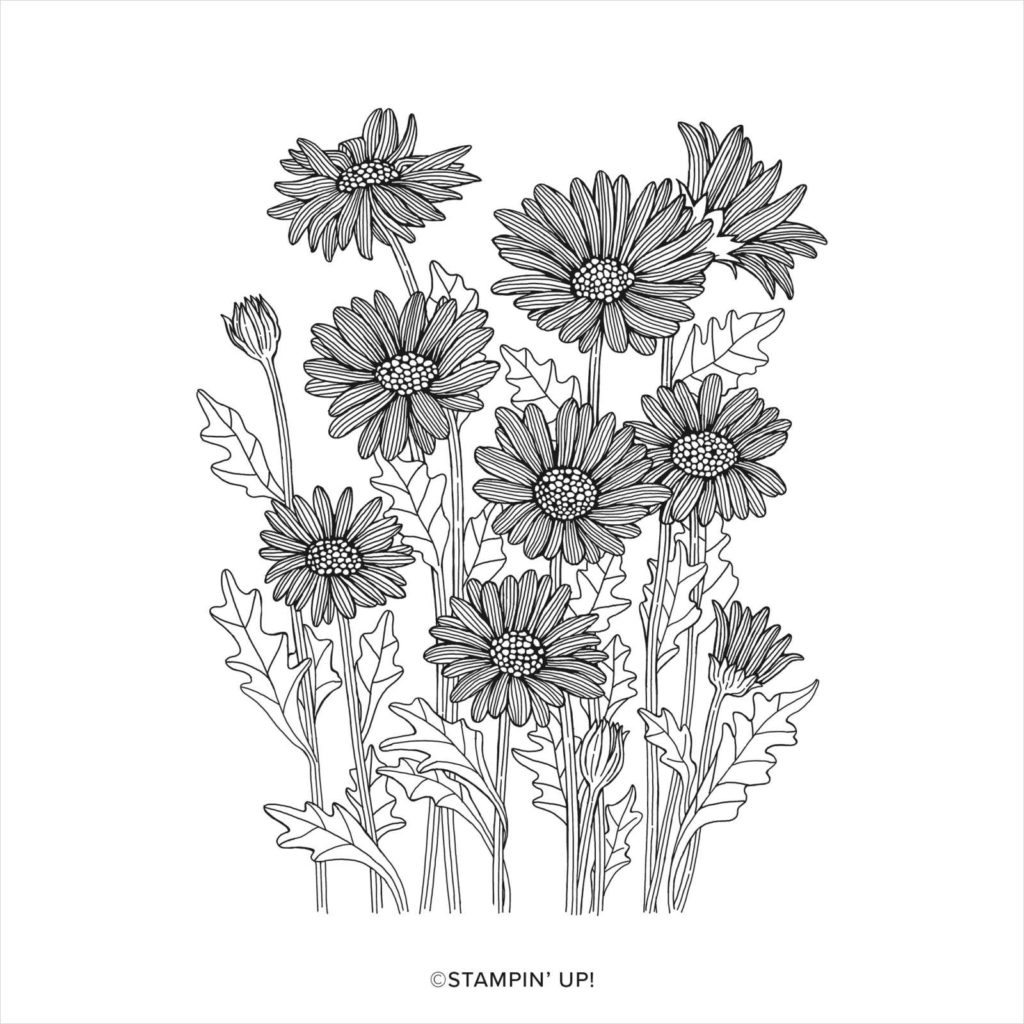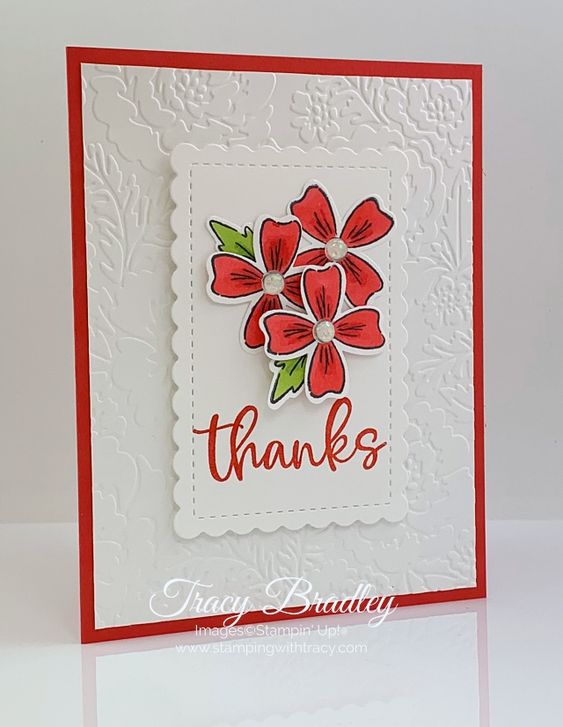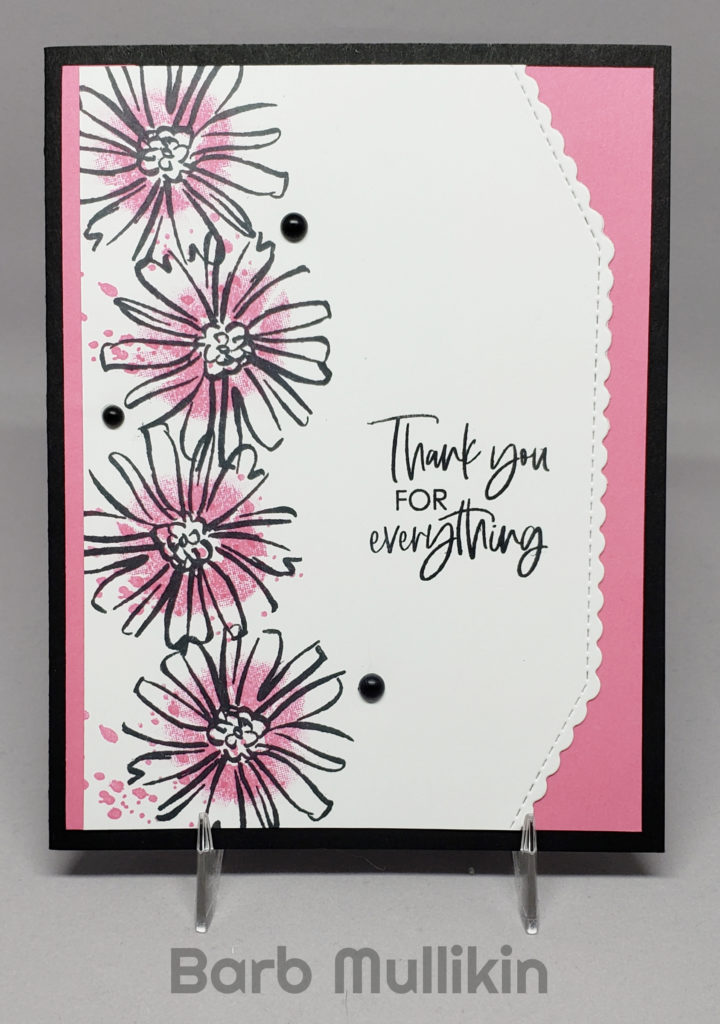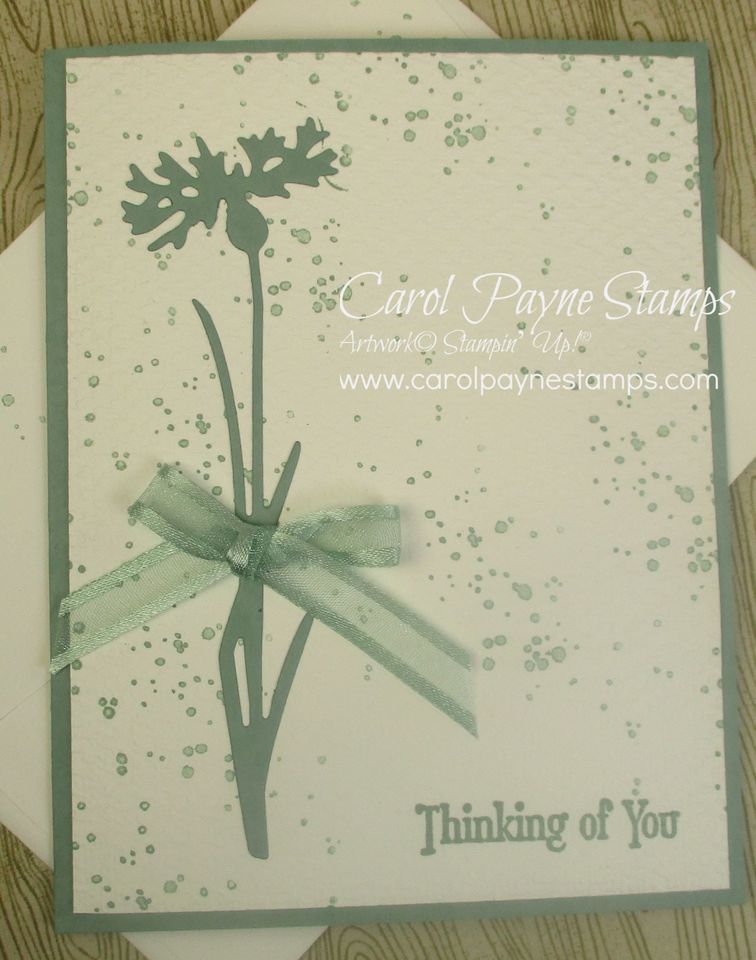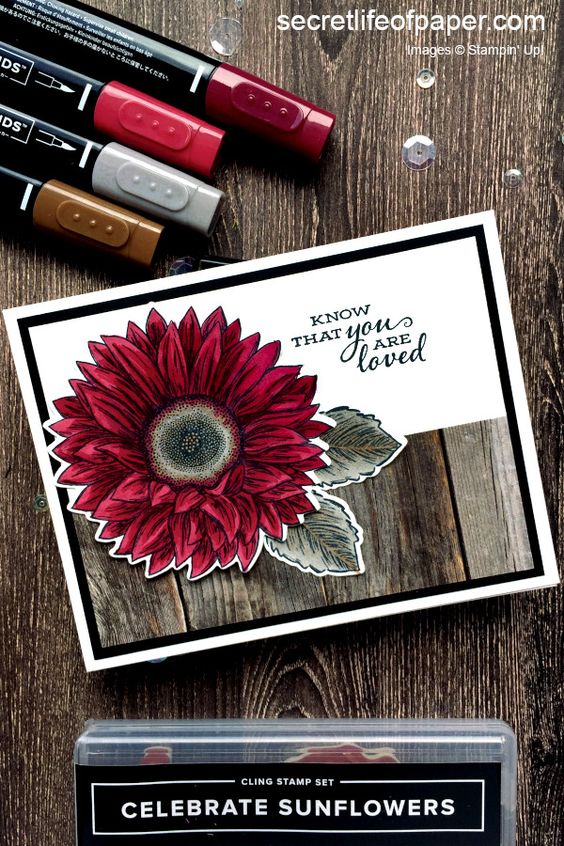
This lovely card made with Stampin’ Up!’s Celebrate Sunflowers stamp set really caught my eye. My first thought was “nice card but sunflowers are yellow!”. Well, I had to look it up but apparently you can find sunflowers in colors other than yellow if they are crossbred. Who knew? I admire the creator of this card for stepping outside the box. I also admire them for doing such a nice job of coloring with their Stampin’ Blends Markers!
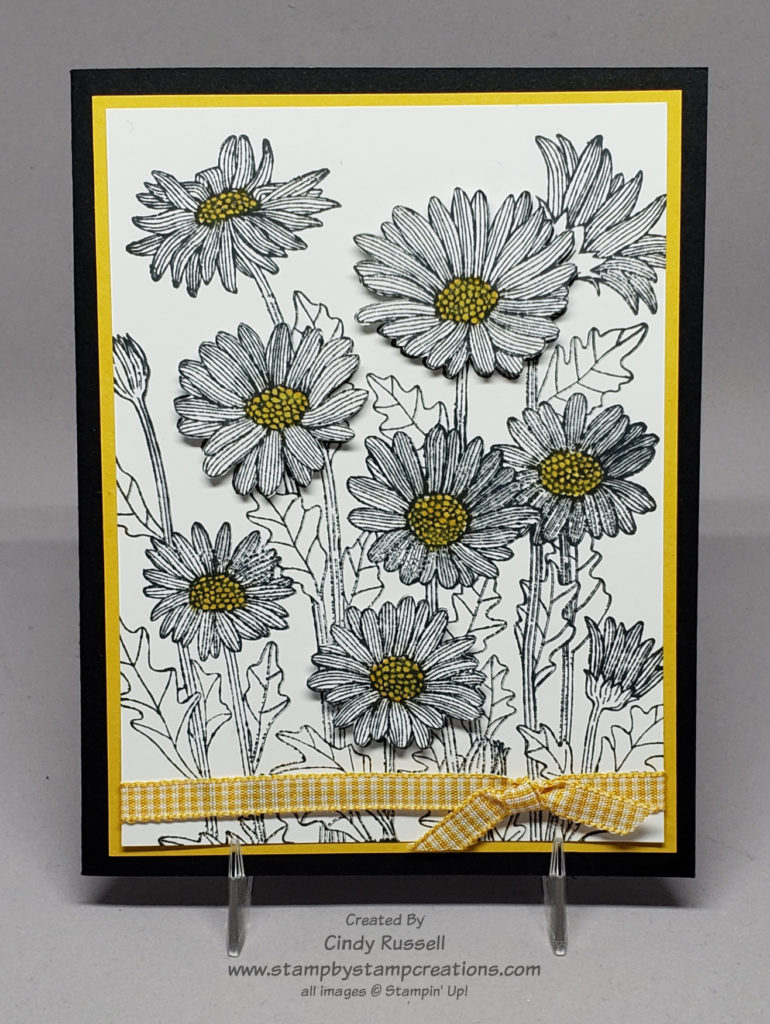
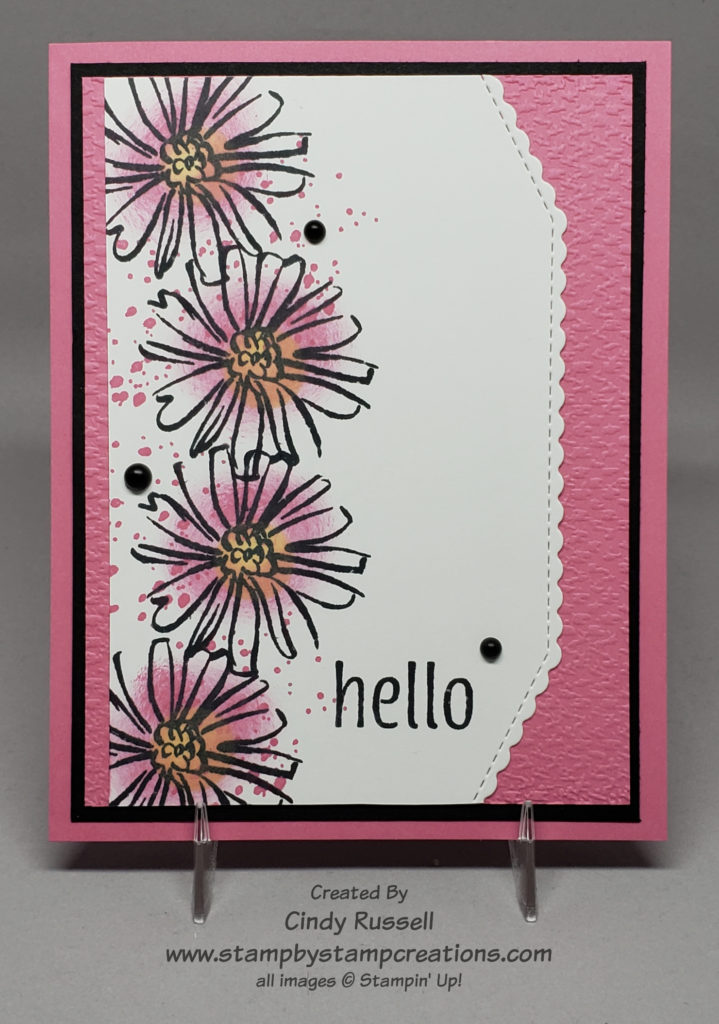
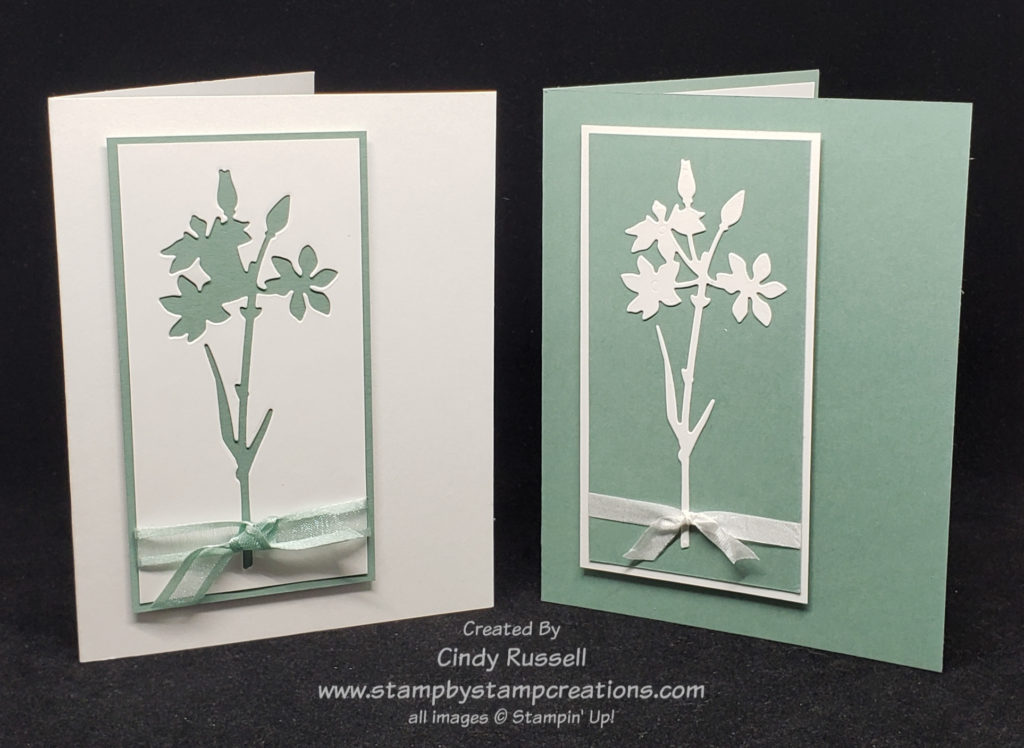
How do you switch up such a nice card? Well, you first make the sunflower yellow! Ha! I guess I’m a purist. Of course then I had to decide which of Stampin’ Up!’s yellows to use. As with many of the color decisions I make when creating a project I let my ribbon make the decision for me. After seeing the lovely original I knew that I wanted to add ribbon and thought that the Bumblebee Gingham Ribbon would work perfectly with a sunflower.
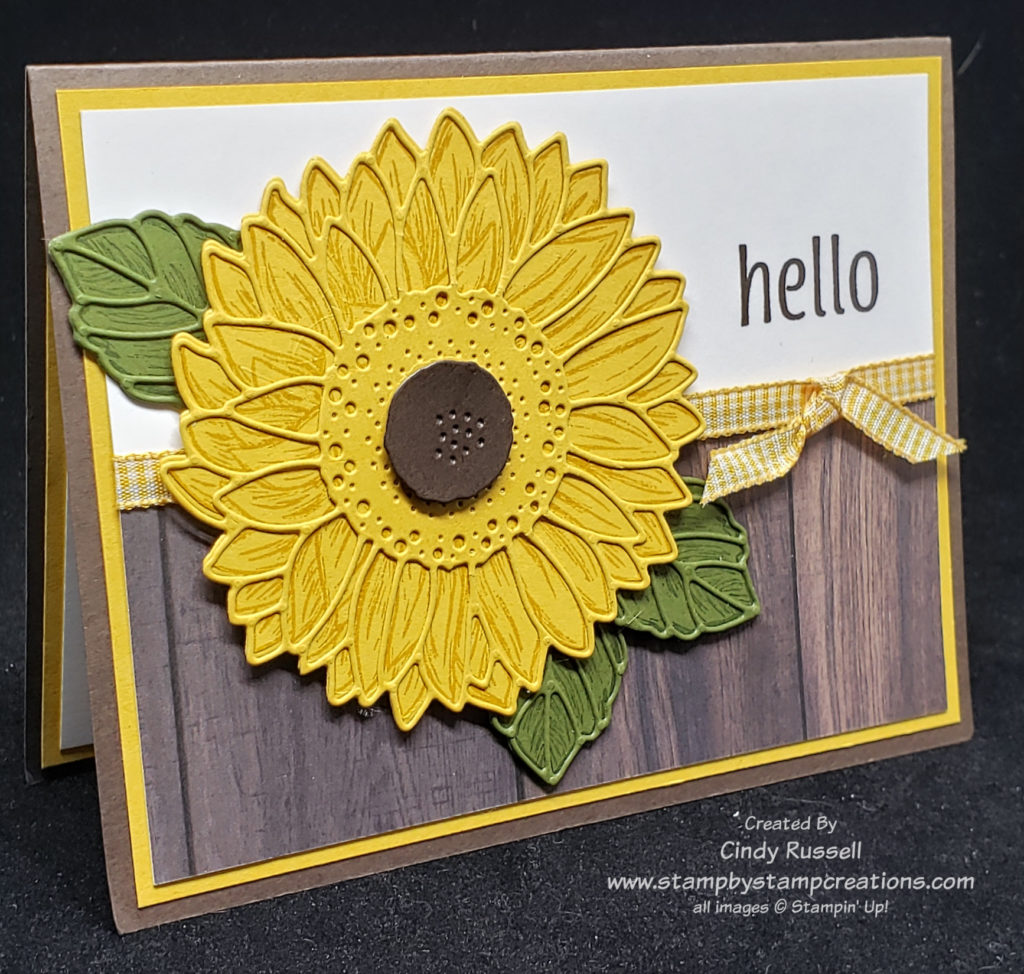
Lately, I’ve really been into using dies on my projects so that is what I chose to do with my sunflower. I’m not very good at coloring either.
I stamped both the flower image and the leaves before die-cutting the solid portions and then I die cut the intricate pieces after adding a piece of Adhesive Sheet to the back of the cardstock.
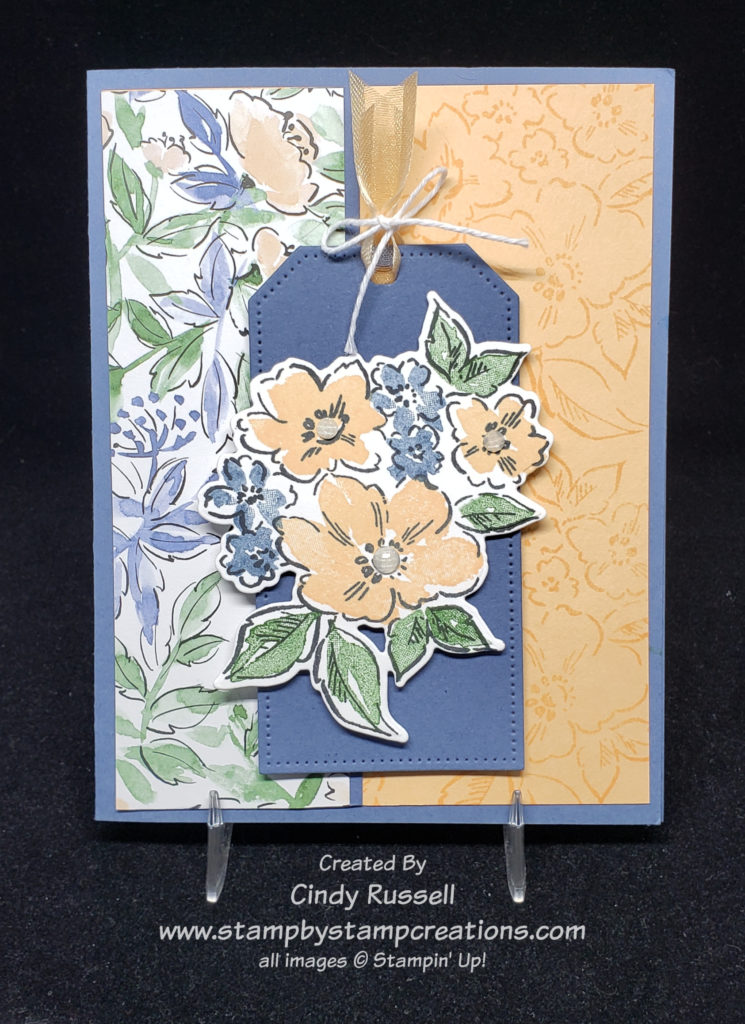
The more I thought about it, I guess I did change up quite a bit on the card. The only things that I didn’t change were the basic layout of the card and the stamp set I used. That’s the whole idea of Make It Mine Monday. Get inspired! Take a card that catches your eye and start from there.
Have a great day. Take care. Happy stamping. Be inspired!