Happy Monday! I hope you all had a good weekend. Besides the plugged-up kitchen sink, our weekend was quiet. Luckily my husband is very handy and was able to fix it after working on it for almost two hours! Hmm….now what should I do with all that money we just saved on a plumber? Ha!

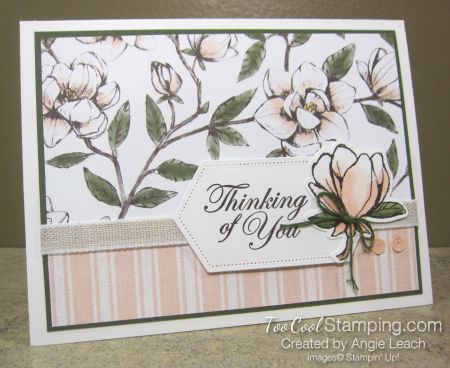
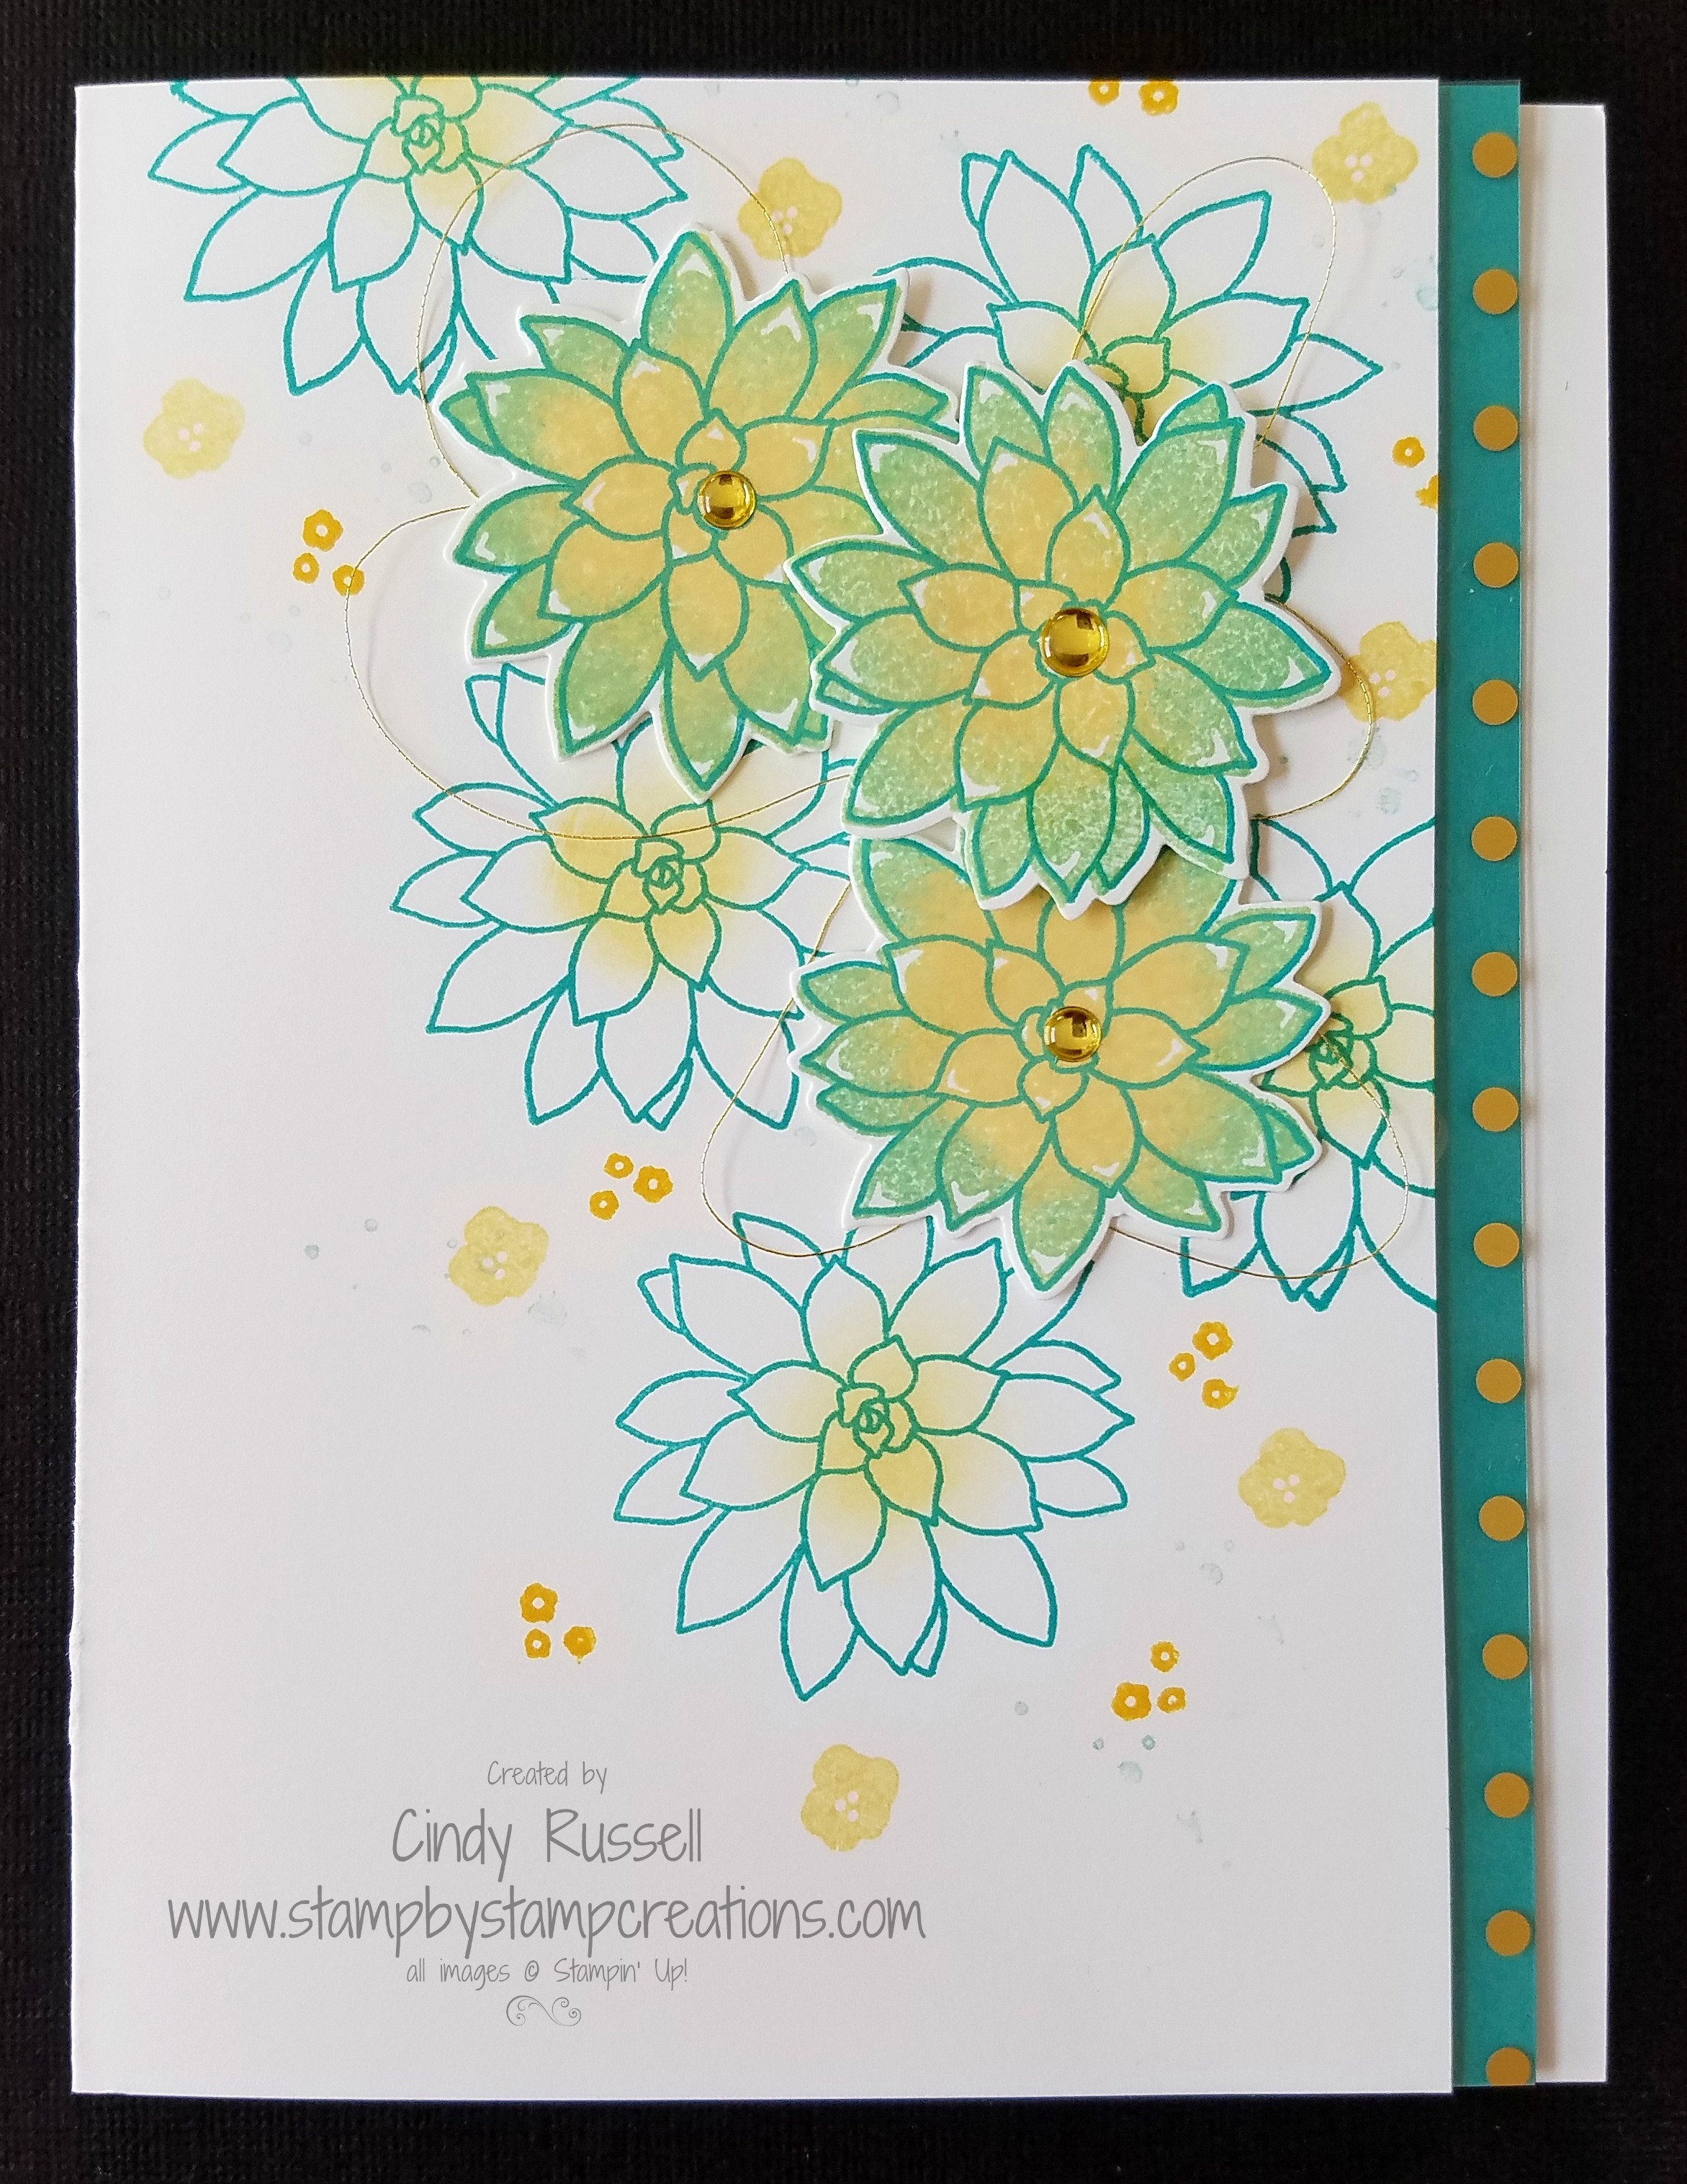
Have you seen the Pretty Perennials stamp set on page 31 in Stampin’ Up!’s new January – June Mini Catalog? It’s a fun flower set that has a 22-piece coordinating die set! You know how I feel about coordination….woo hoo! I had fun playing with this stamp set about a week ago. As I was searching the internet for samples I liked I came across this very simple one made by Helen Wigham. Isn’t is lovely?
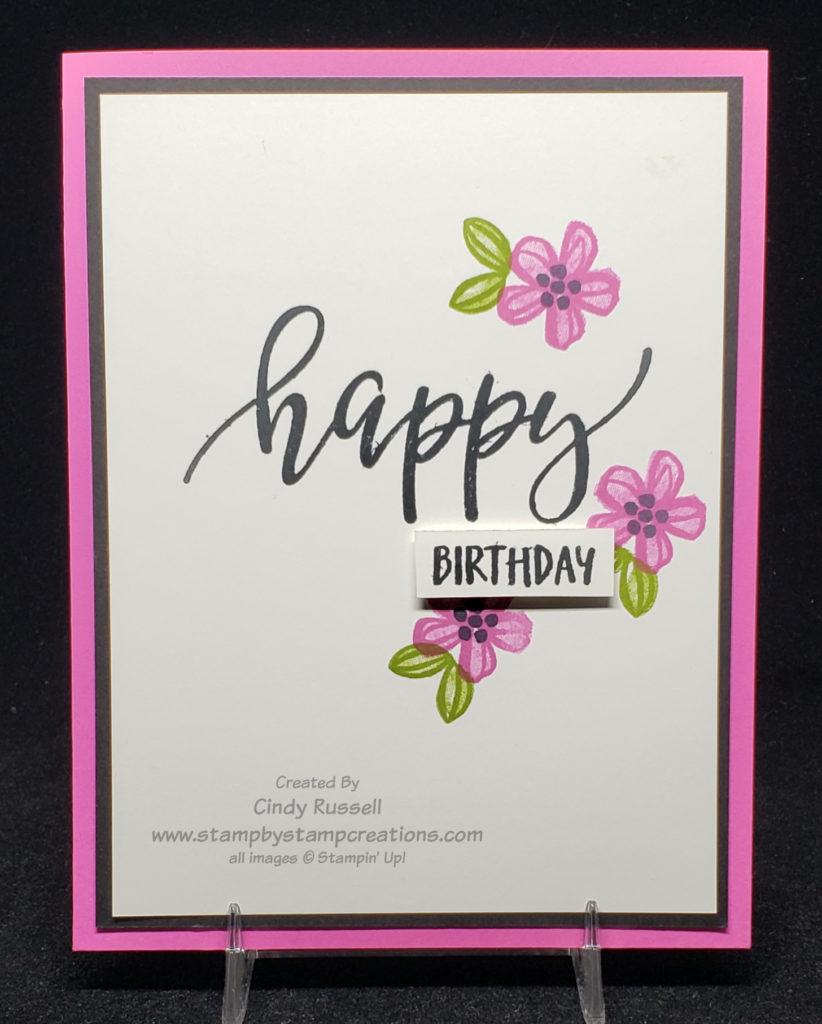
You know me though, I have a really tough time making a card without layers. If you’re going to add one layer, then you may as well add two, right? That’s what I did. The focal point of my card is pretty much exactly the same as Helen’s but I just framed it before putting it on a card base. The only other thing I changed was the color of the word “happy”.
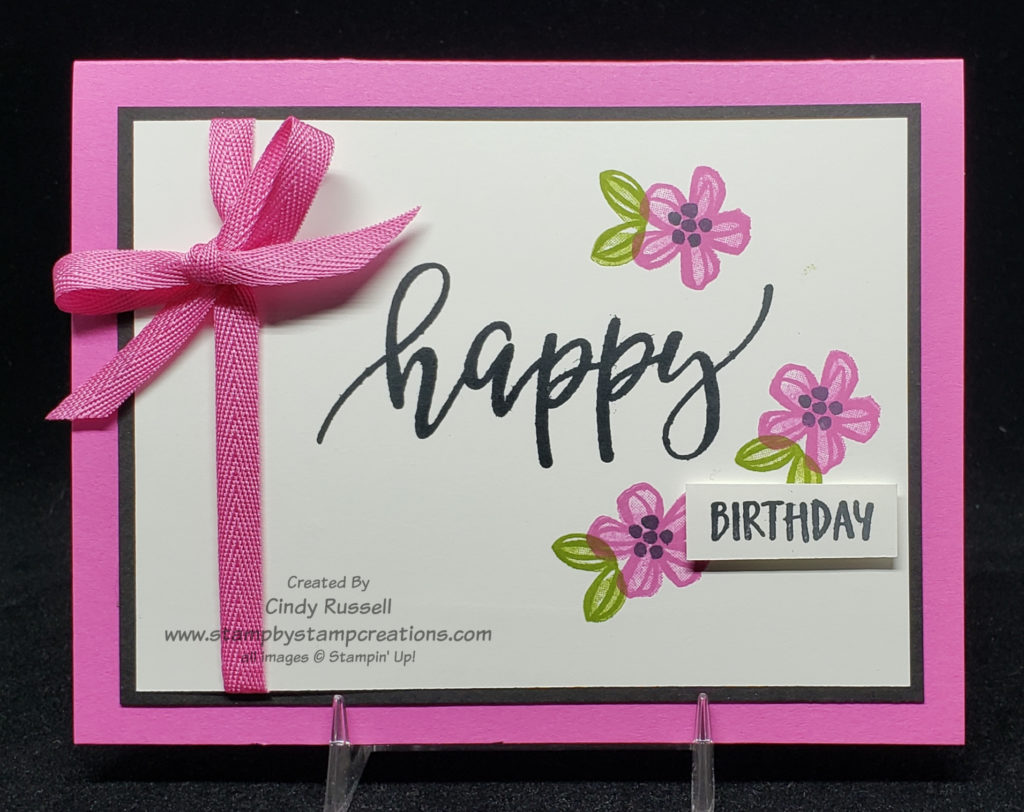
Why stop at one change though? I was on a creative roll when I made this first card so I decided to keep going. This time I switched the orientation of my card and added some ribbon which I think makes the card a little more flirty. Did you notice that I actually used a real bow on my card? I haven’t done that in a long time. The card definitely needed it though to fill in that upper corner. I like how it turned out so you may seeing more bows on my cards these days.
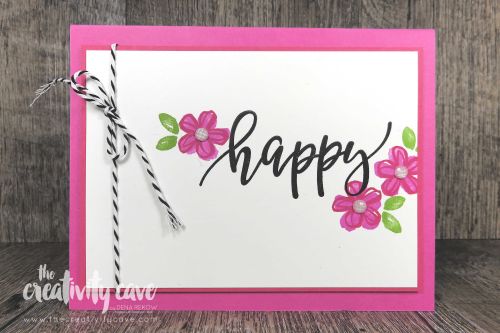
After writing most of this post I was looking at other samples made using the Pretty Perennials stamp set and I discovered that without realizing it, I had actually CASEd (copy and share everything) another card when I made my second one! I guess my subconscious is working well! Ha! The second card I copied was actually made by Dena Rekow who designed the Pretty Perennial stamp set!
I really had fun playing with this stamp set and can’t wait to play with it some more! Have a great day! Take care and Happy Stamping!

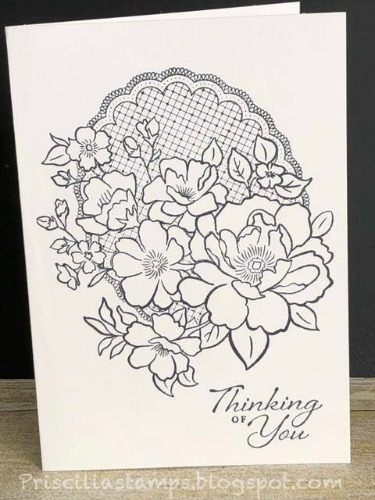
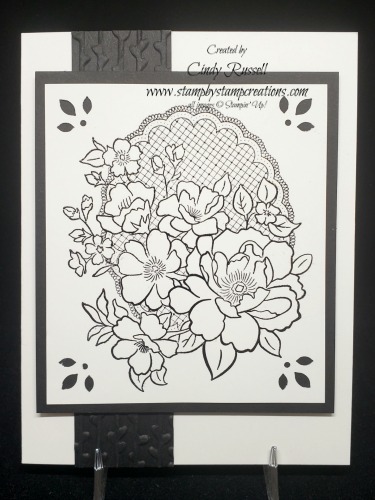
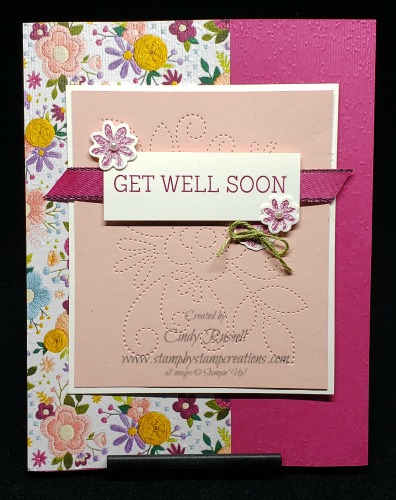


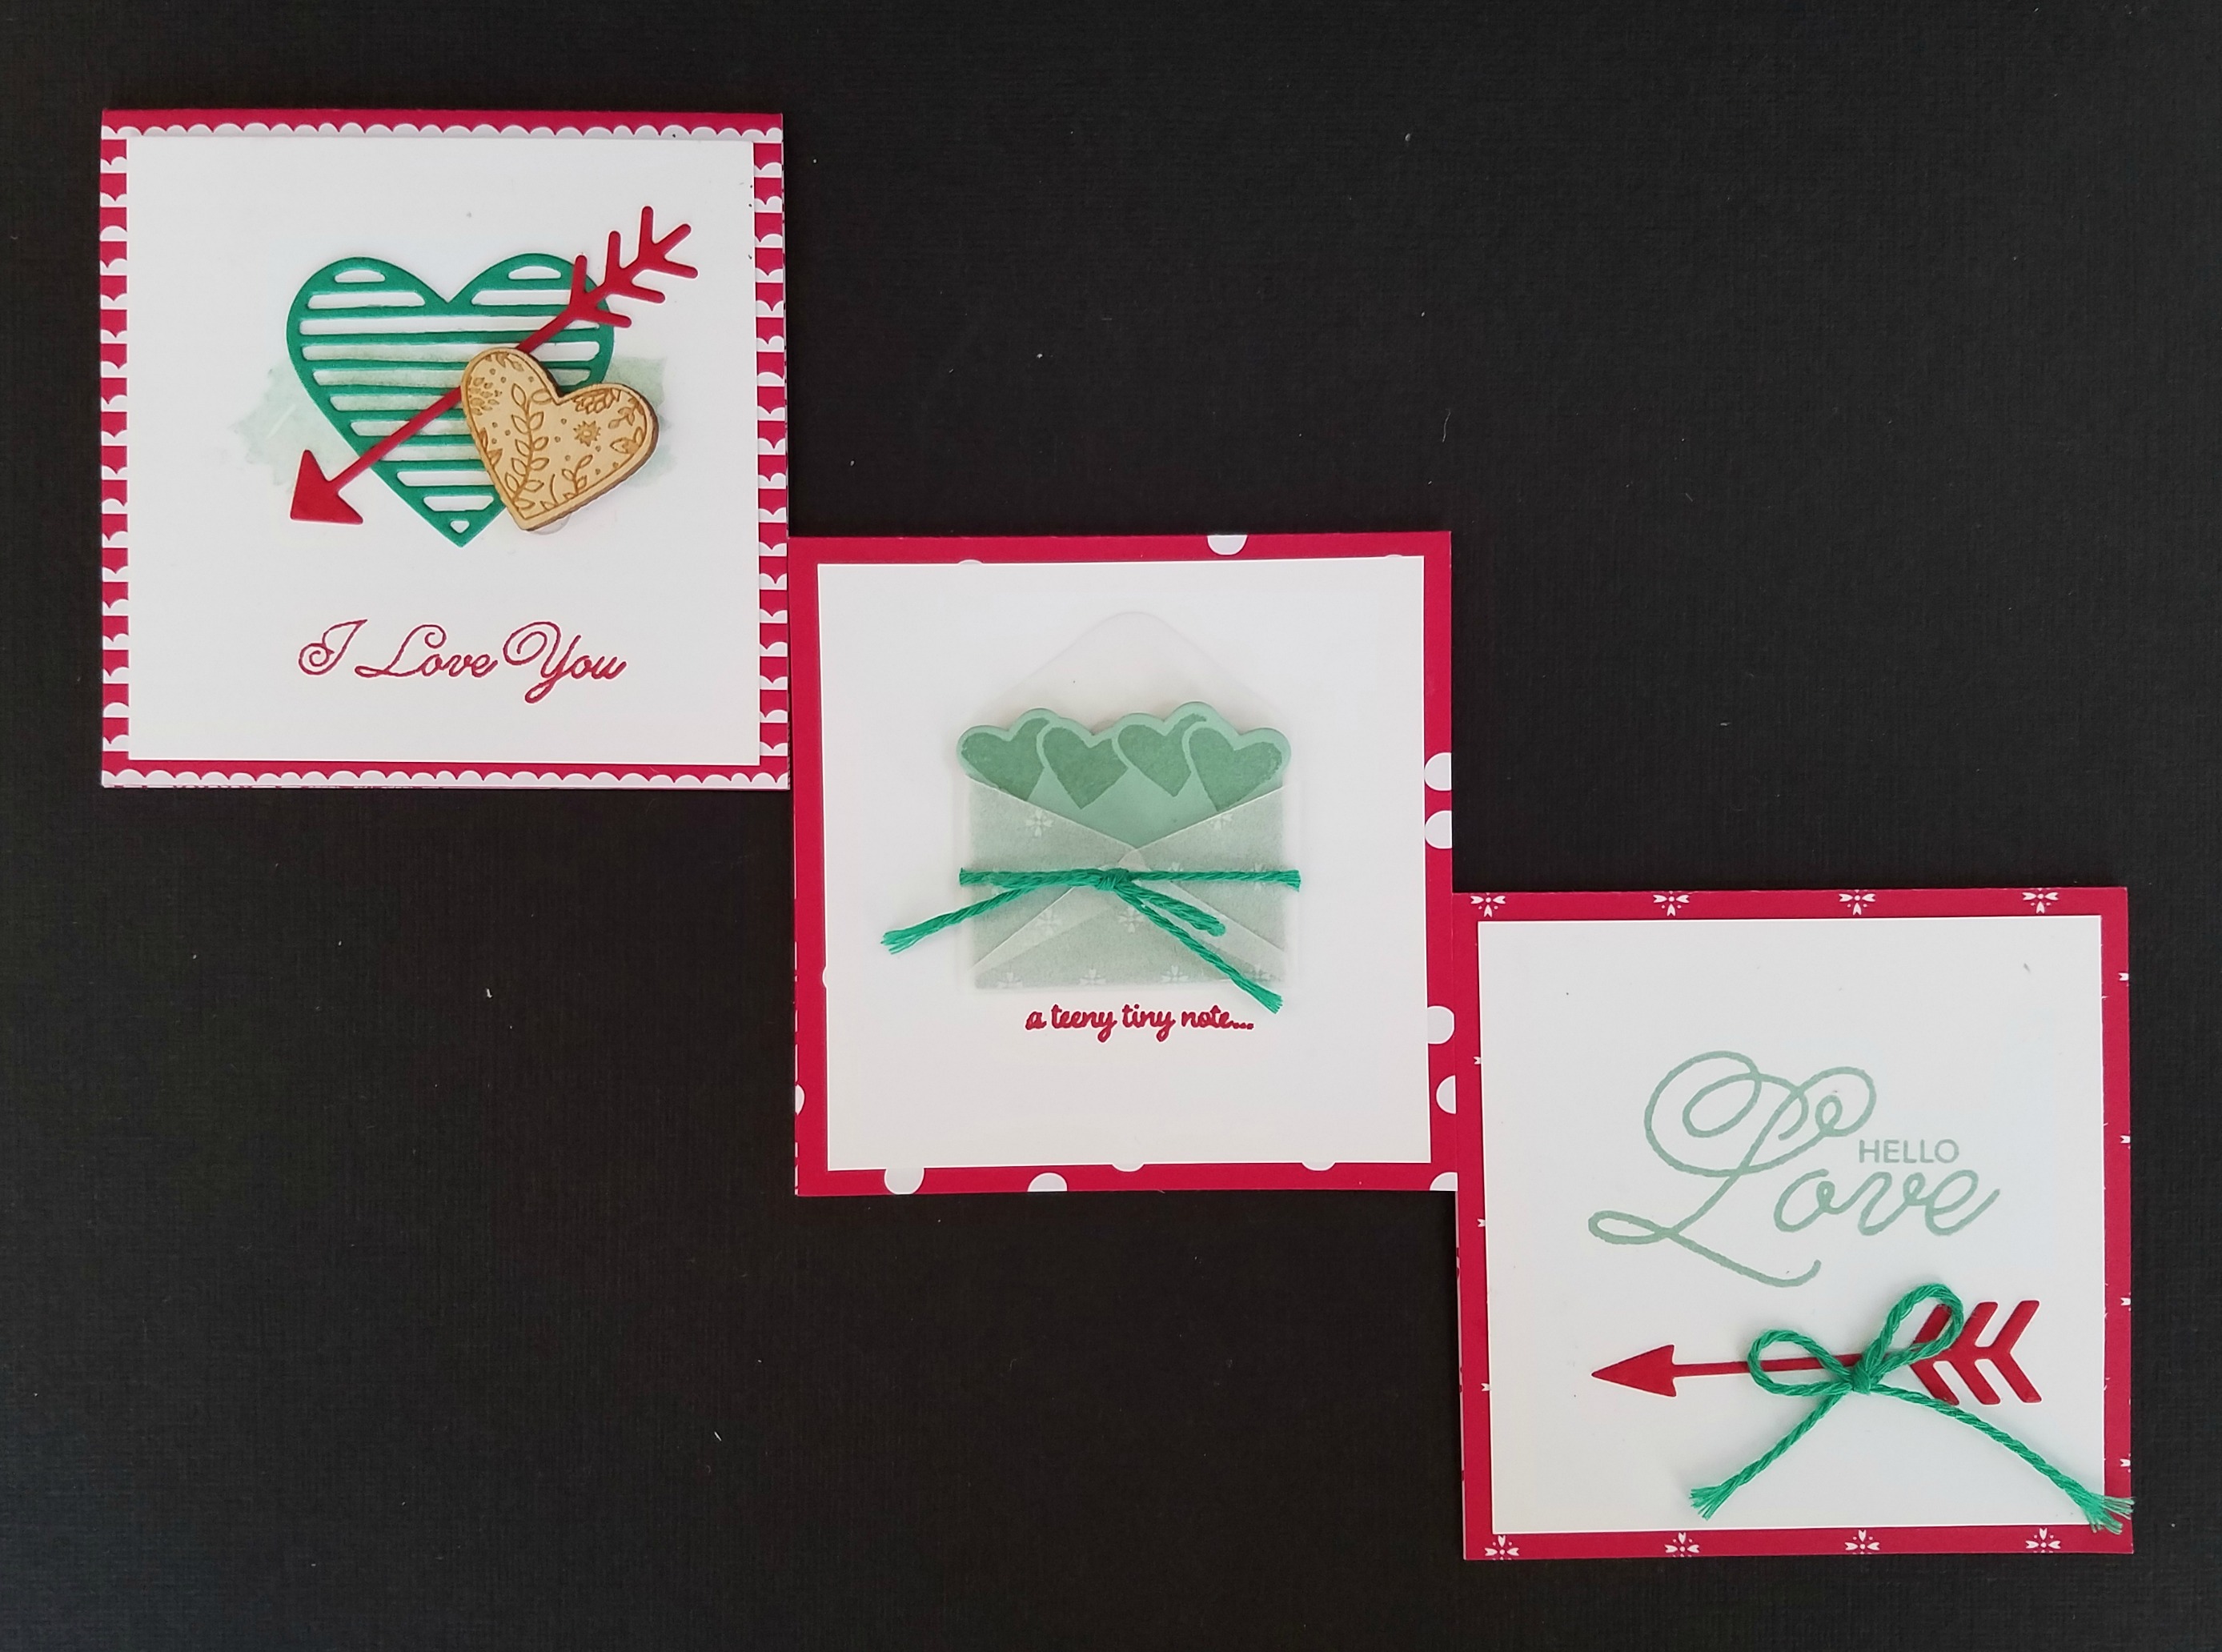
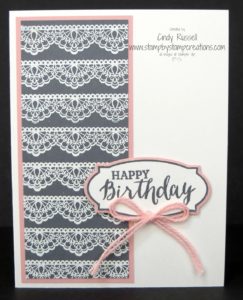 Ah, so sweet. That’s what this color combination says to me. It’s soft and relaxing. The lace from the Sale-a-bration stamp set Delicate Details makes it sweet too.
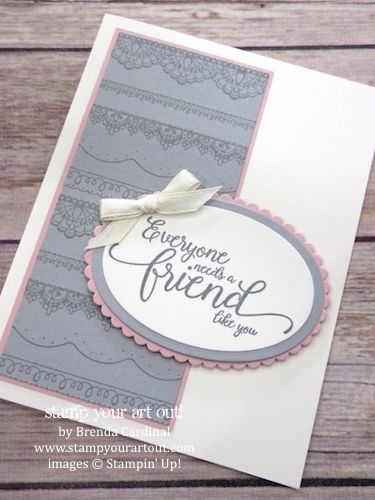
 It’s Monday! Make it Mine Monday! Woo Hoo!