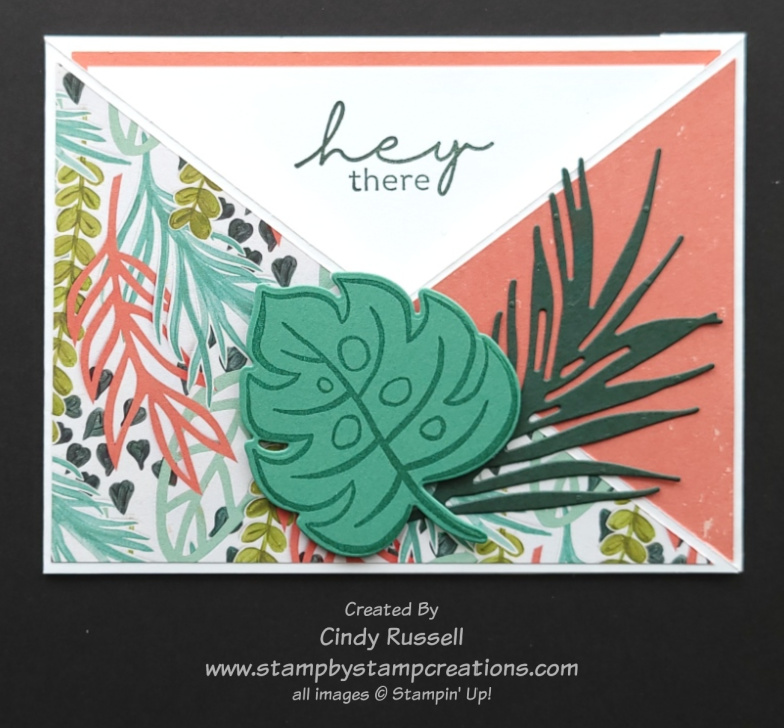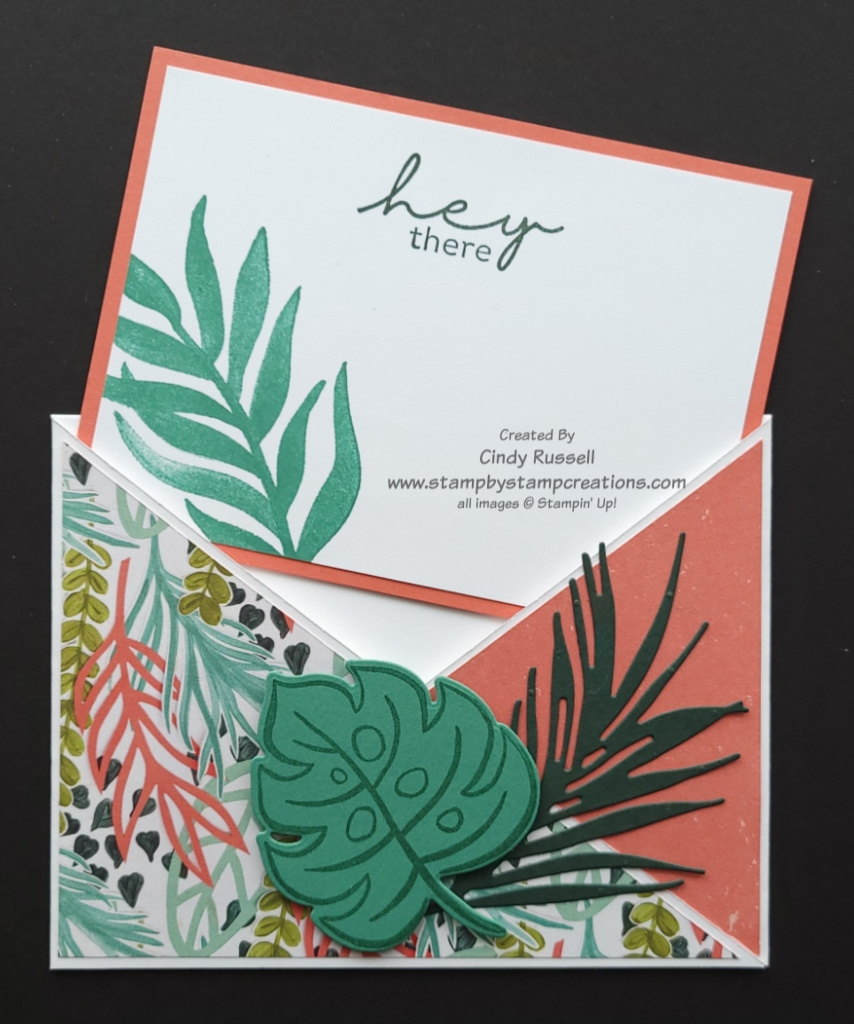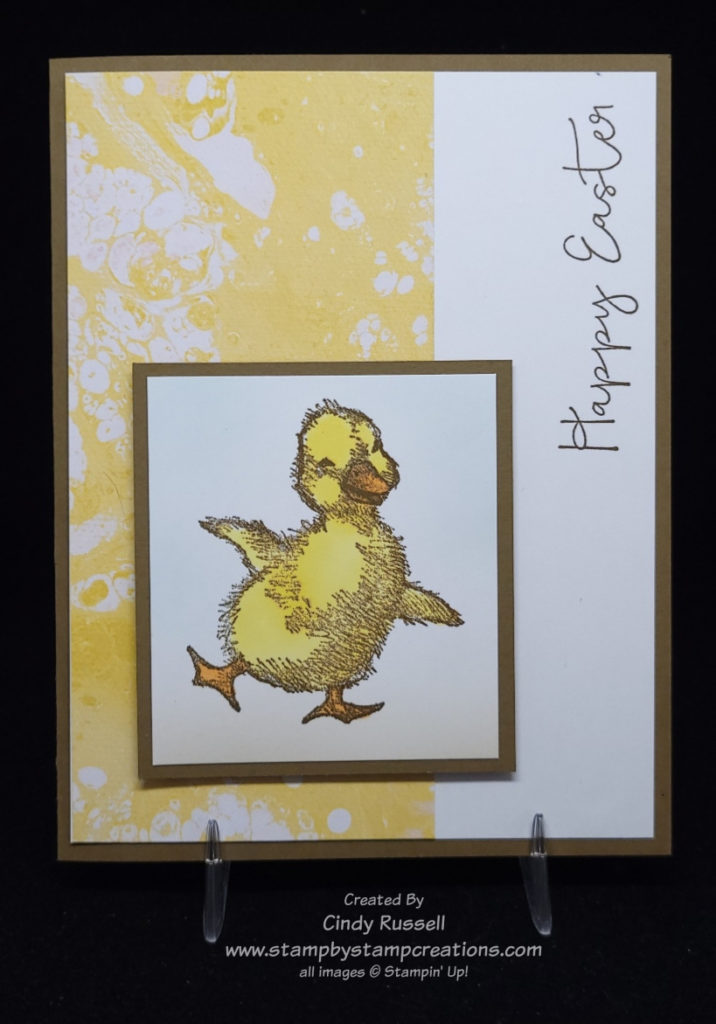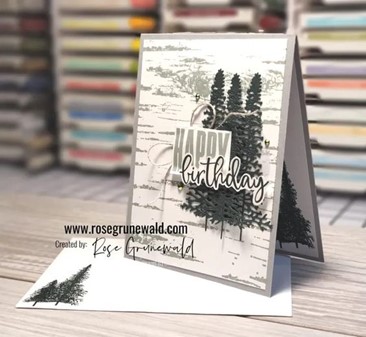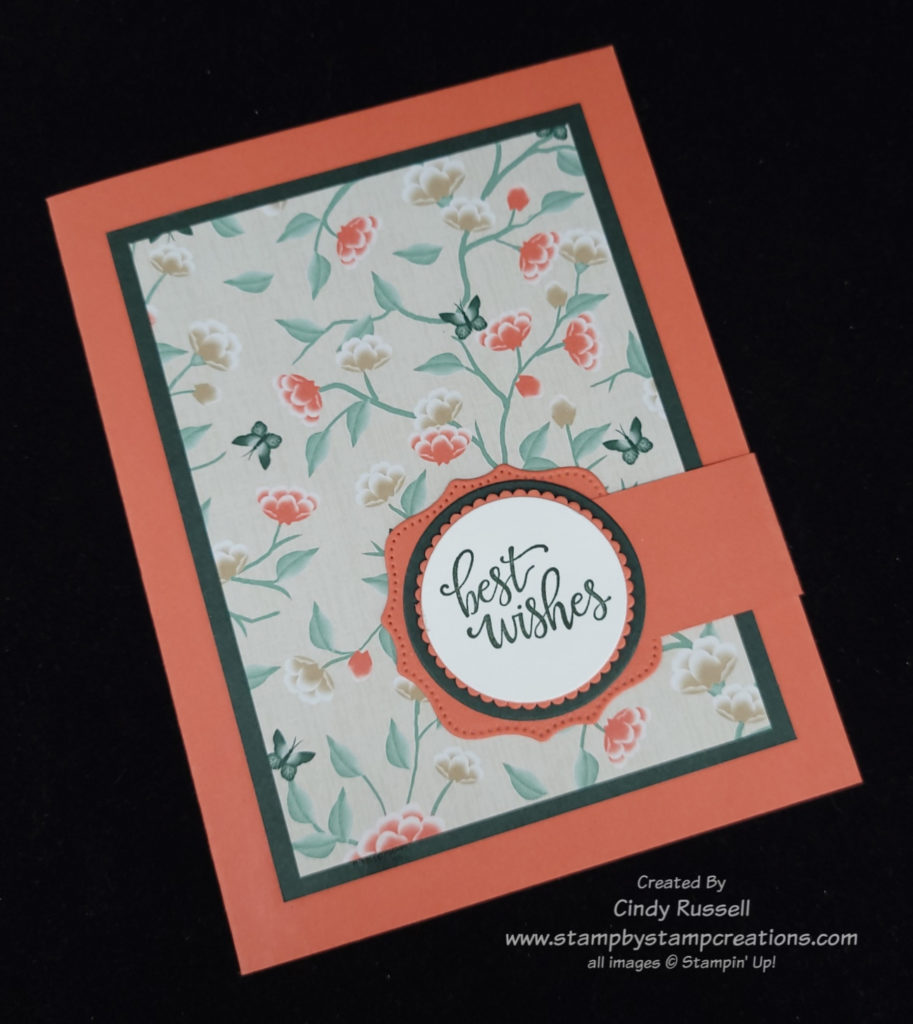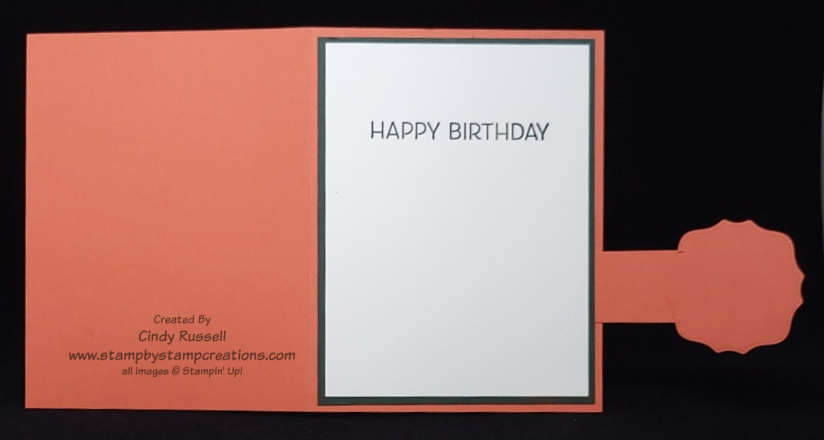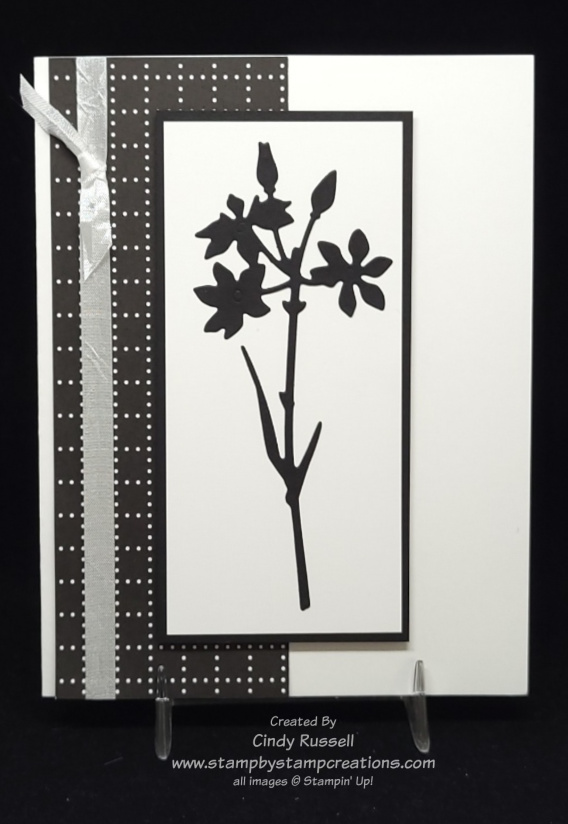
I’m calling today’s card a hybrid because it looks just like last week’s card but it doesn’t have a pocket and it’s a Gate Fold Card because the two sides fold in like a gate. Here’s the link to last week’s Angled Pocket Card and here’s the link to a Belly Band Gate Fold Card that I made. If we have to give this hybrid a name, let’s call it the Horizontal Angled Gate Fold. I like to name the fun folds so that I can tell them apart. 😊
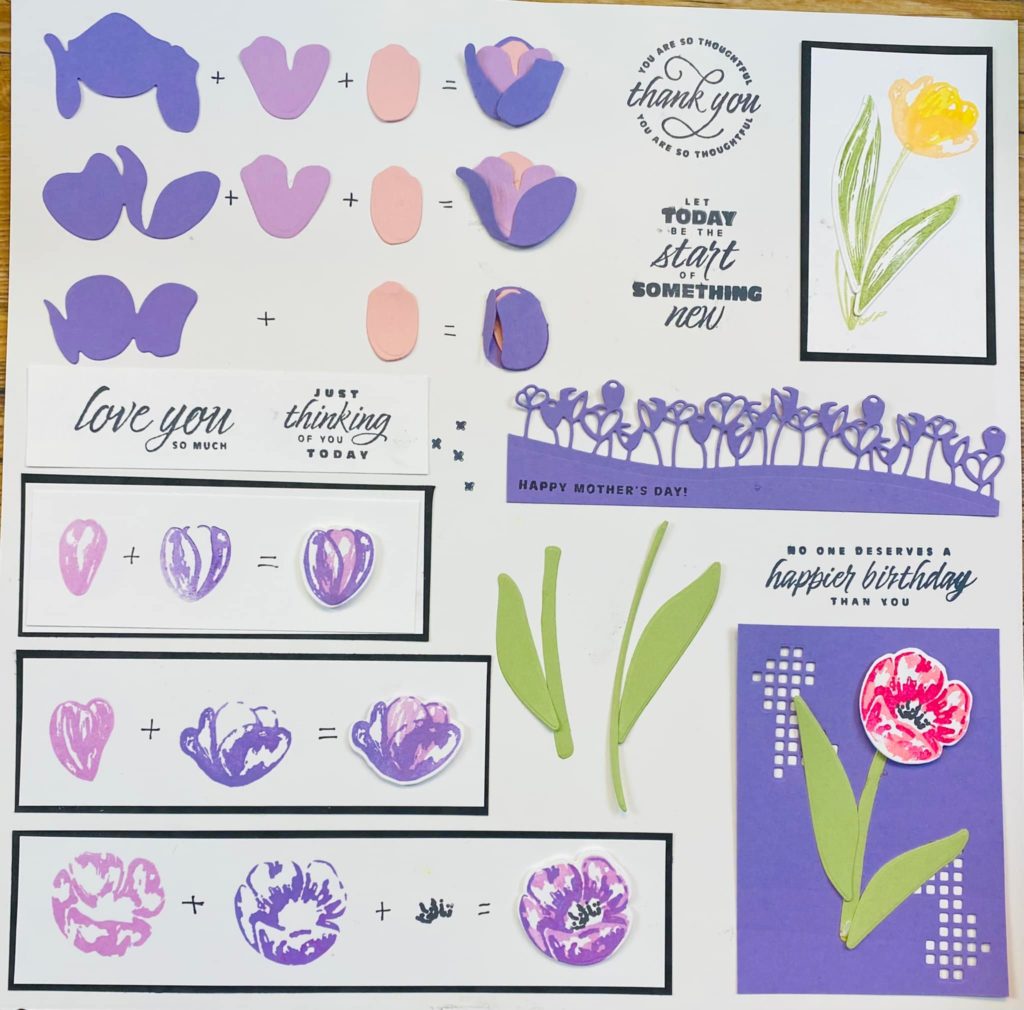
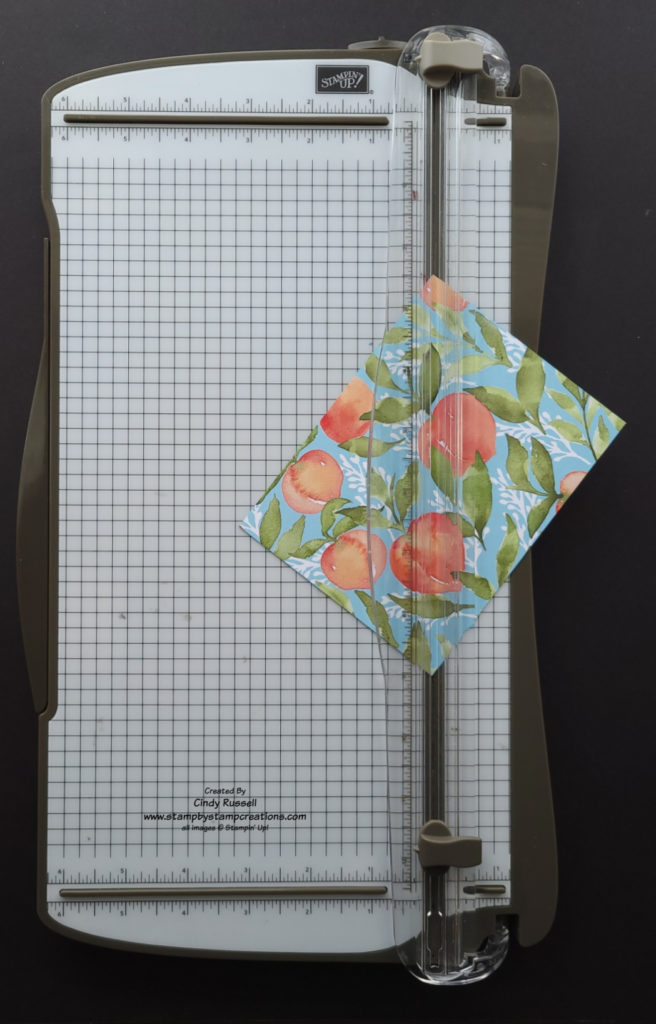
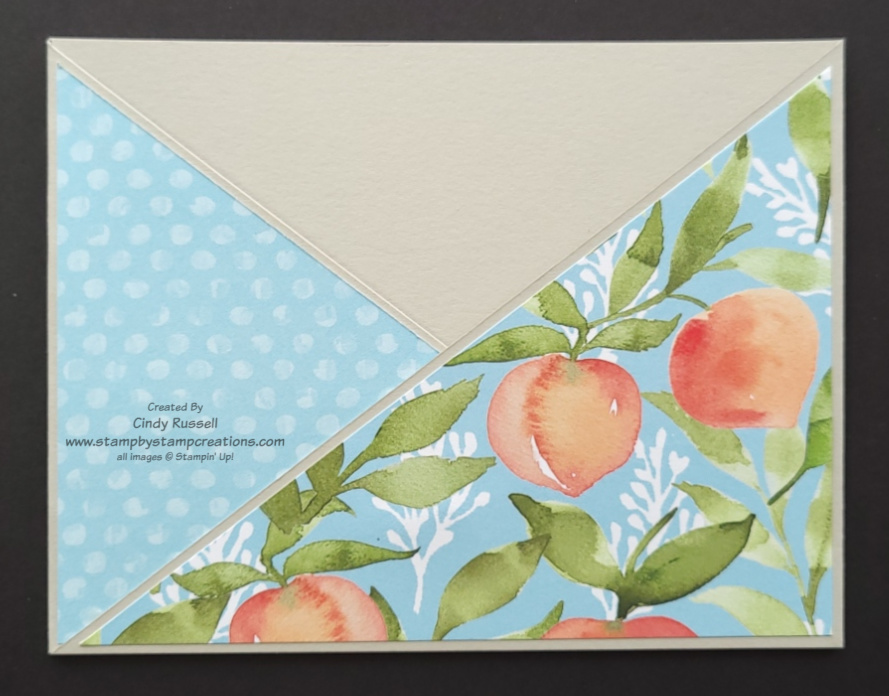
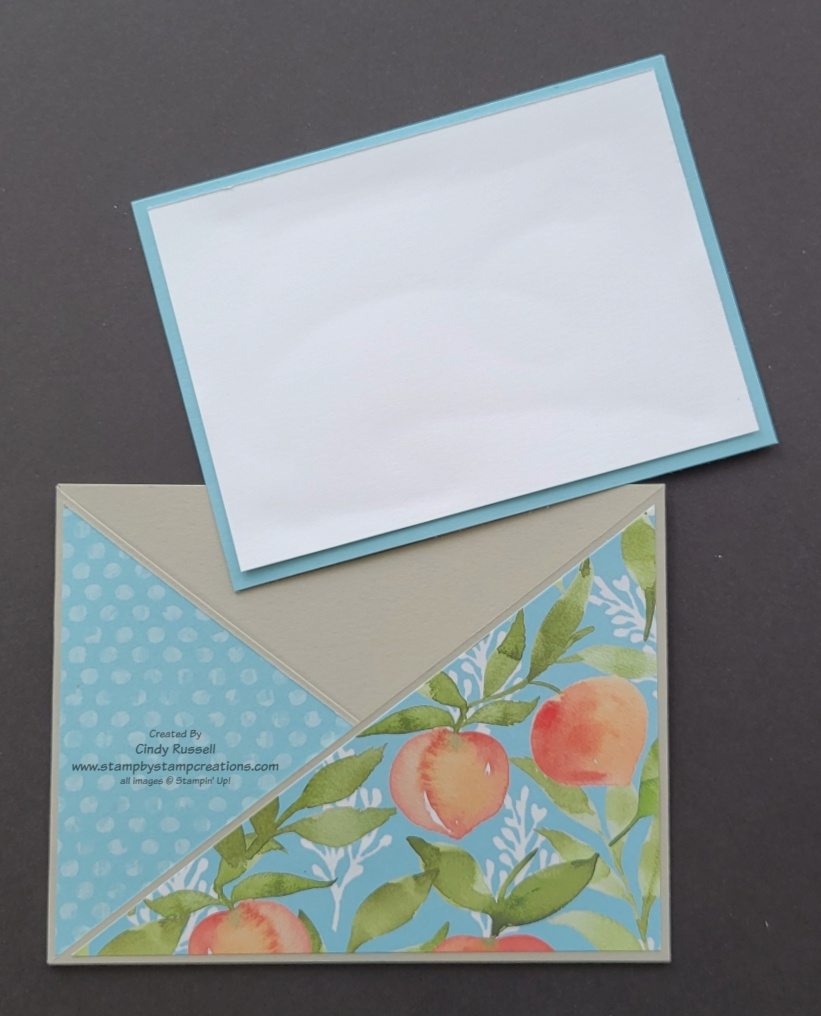
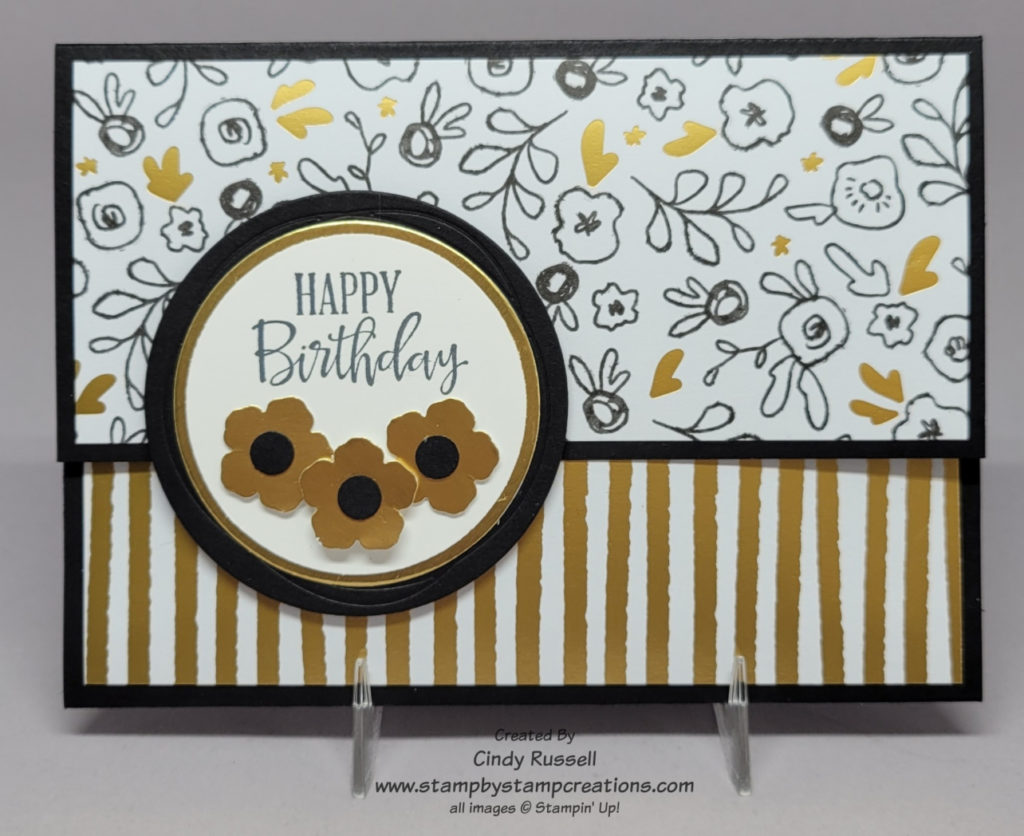
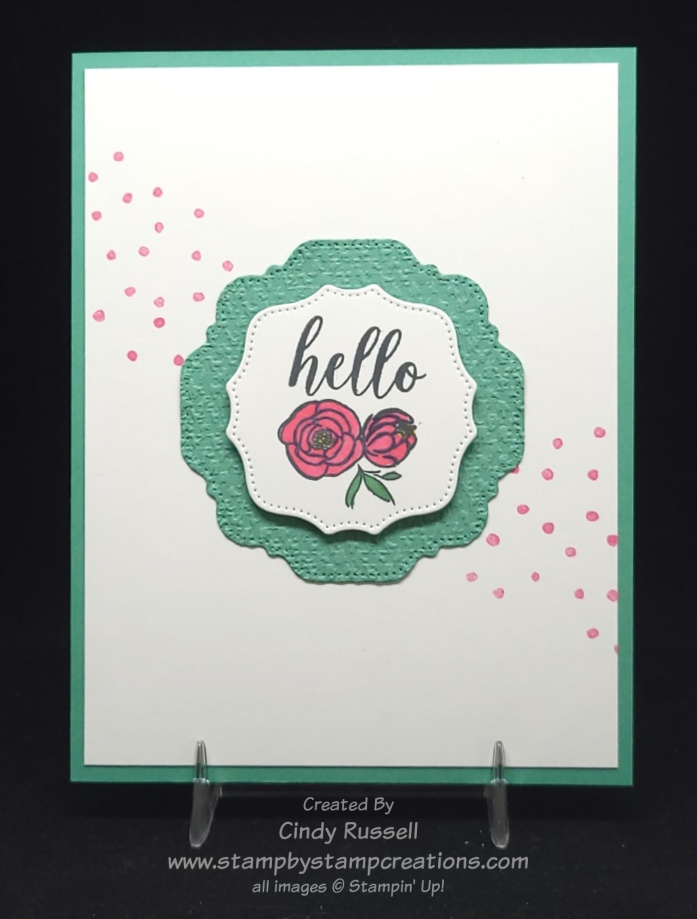
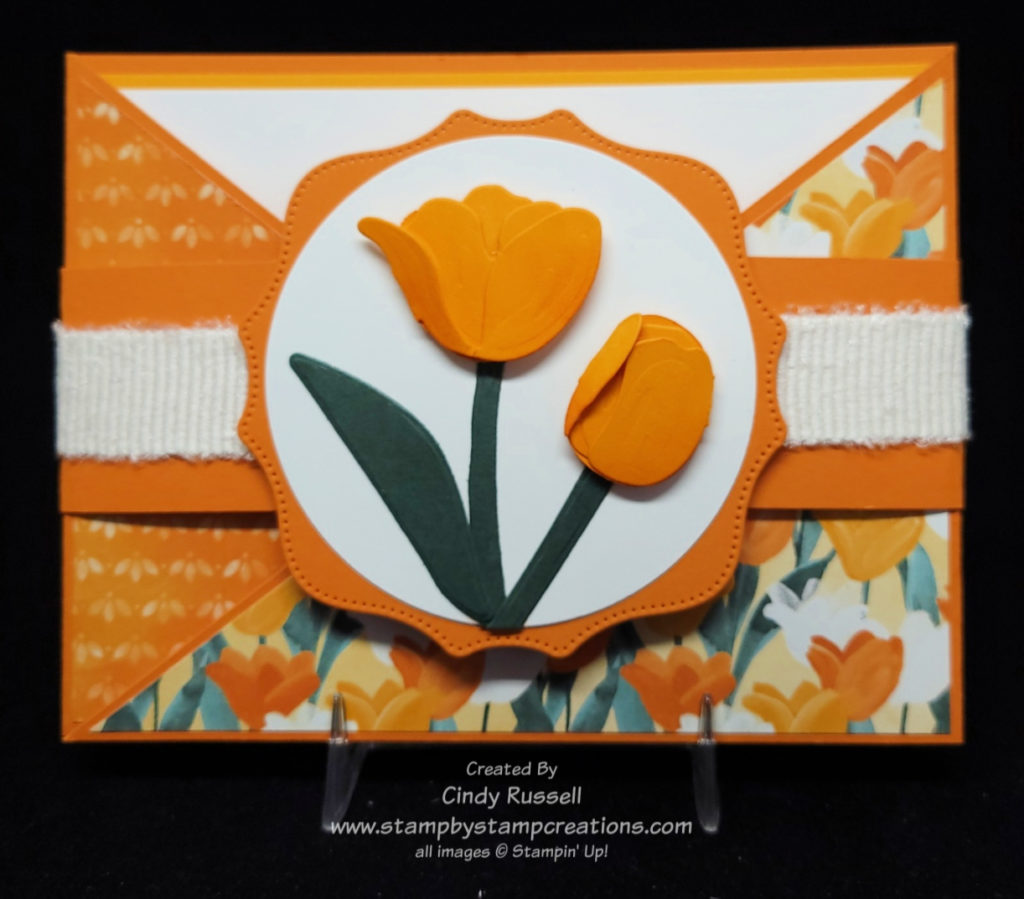
I love the way this card turned out. It screams “Spring!”. Just like on last week’s Angled Pocket Card (see link above), I wanted to find a piece of designer paper that I could use both sides. Flowering Fields Designer Paper to the rescue! Since I was using the tulip designer paper, I decided to try my hand with the Tulip Dies. Instead of trying to figure out what dies I needed to use to make the different tulips I did a little search online and found a chart. Thank you Lisa Schmid!
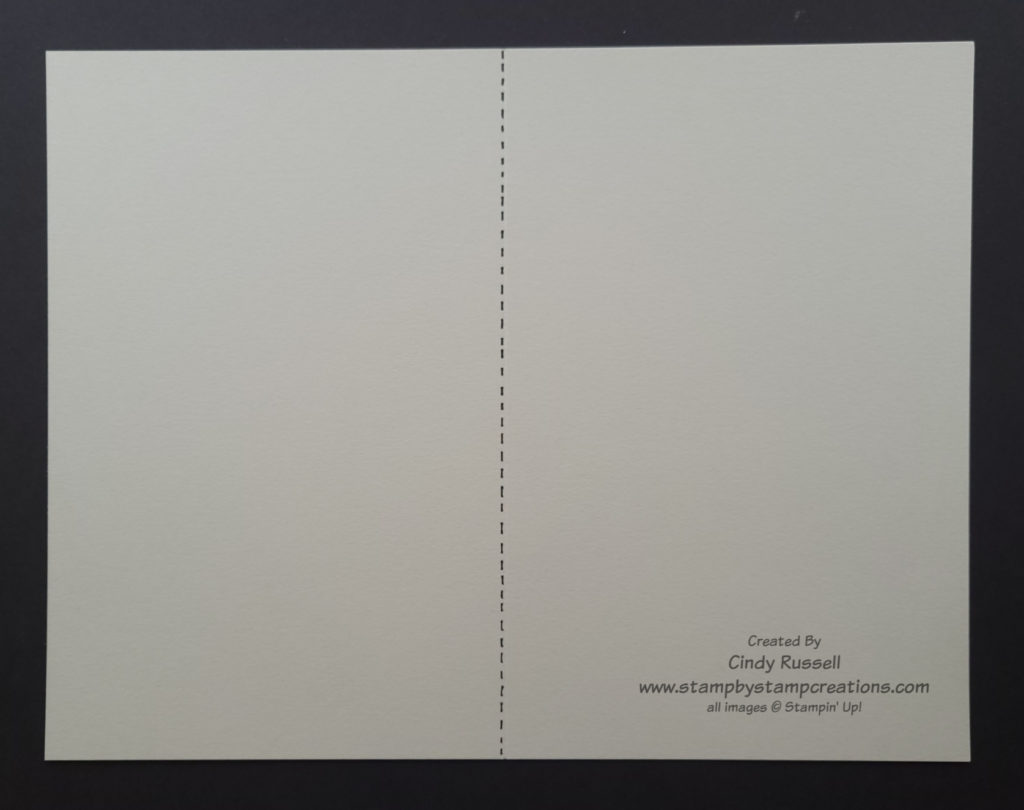
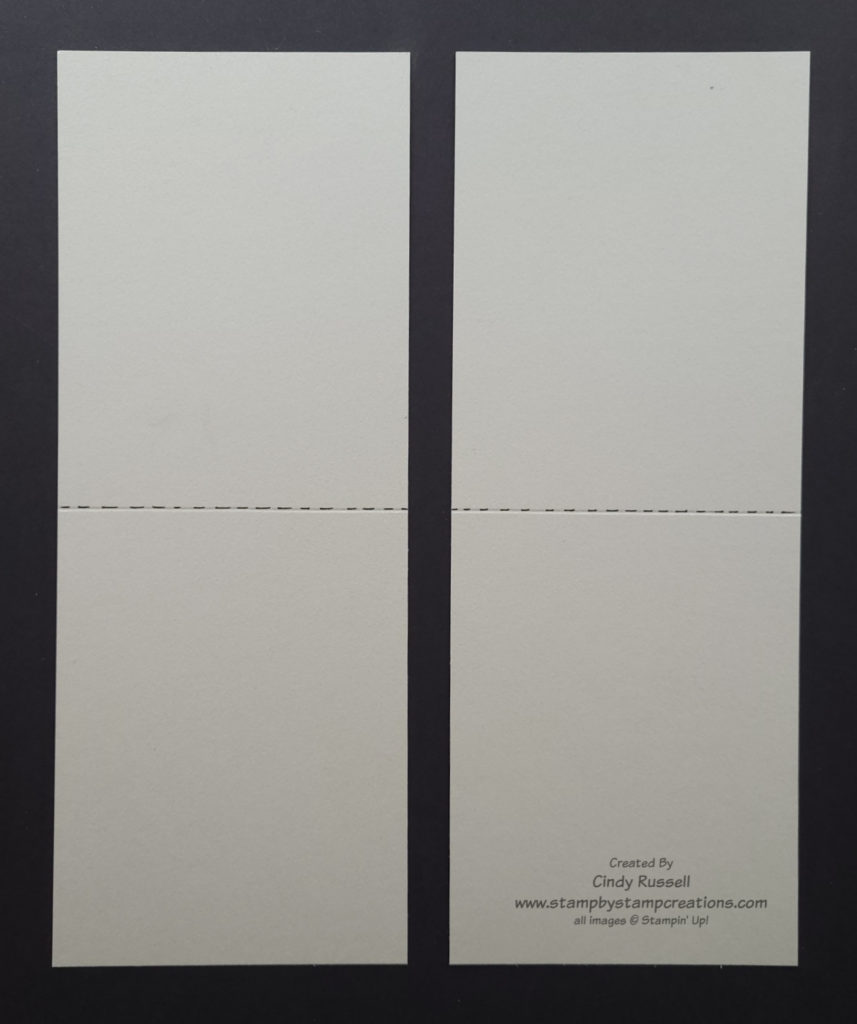
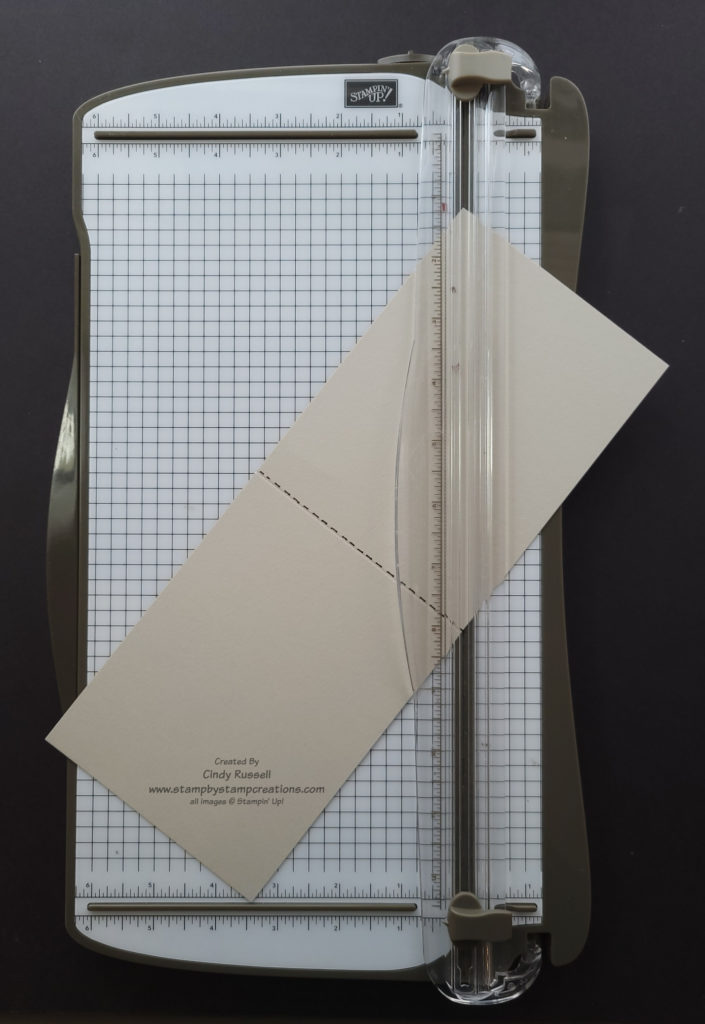
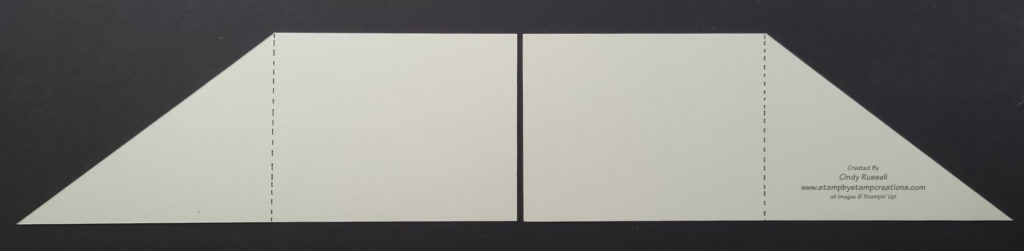
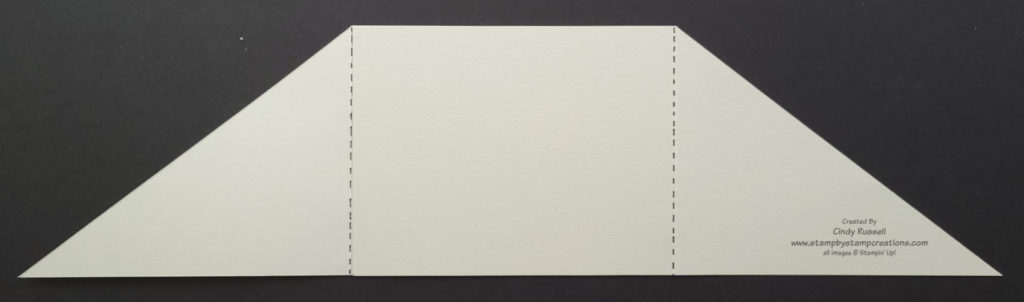
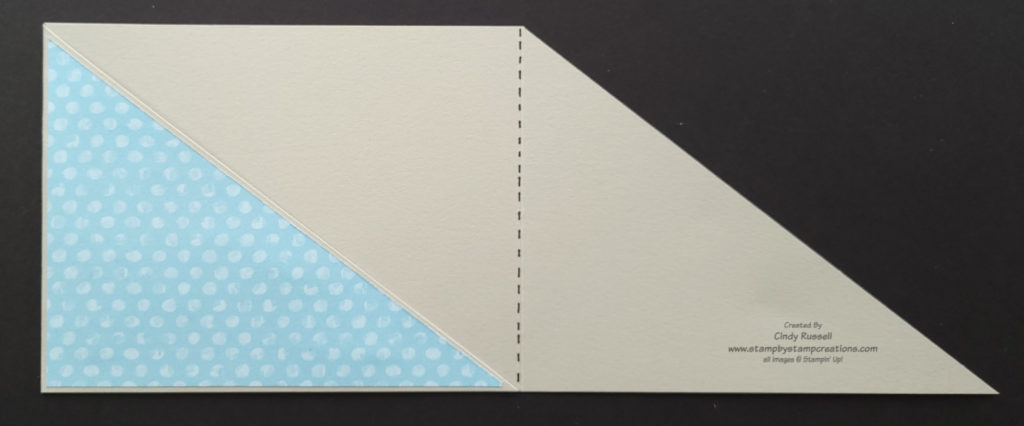
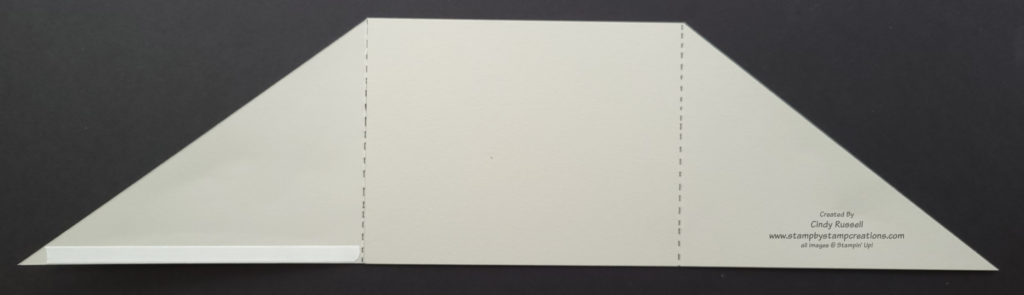
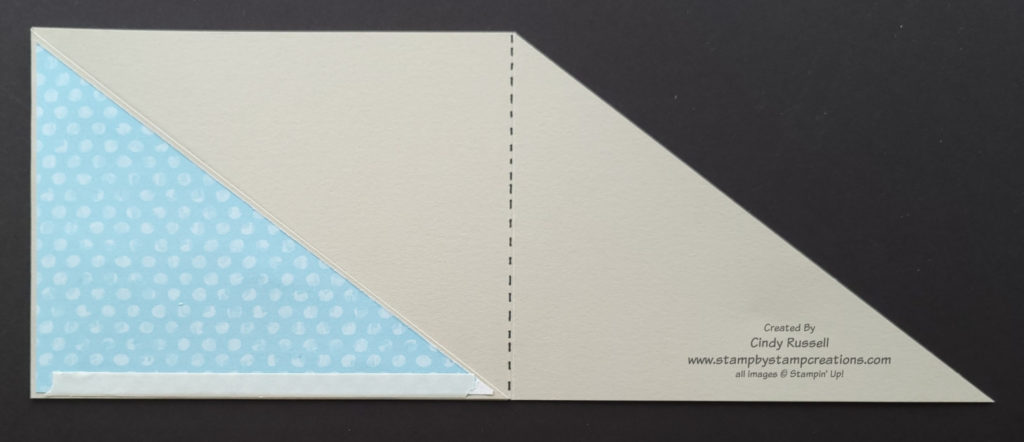
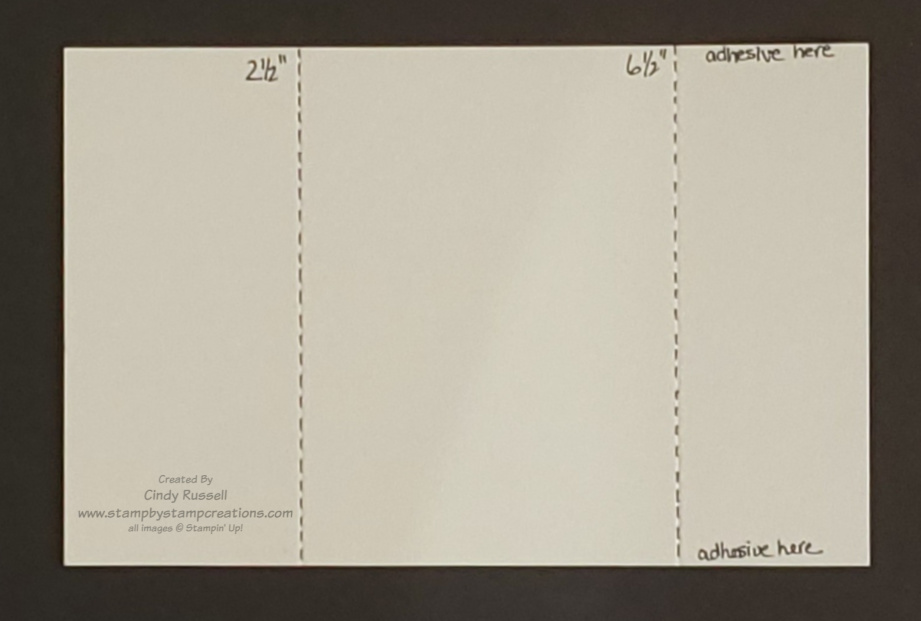
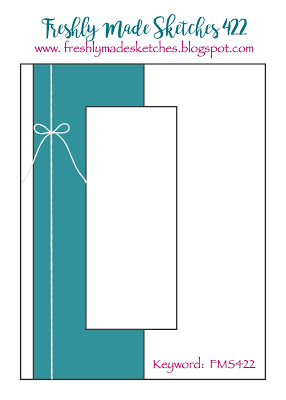
The base of the card is made just like last week’s Angled Pocket Card. The only difference is that you don’t make the pocket. Stop before you reach that point. Then you need to make a belly band and a focal point.
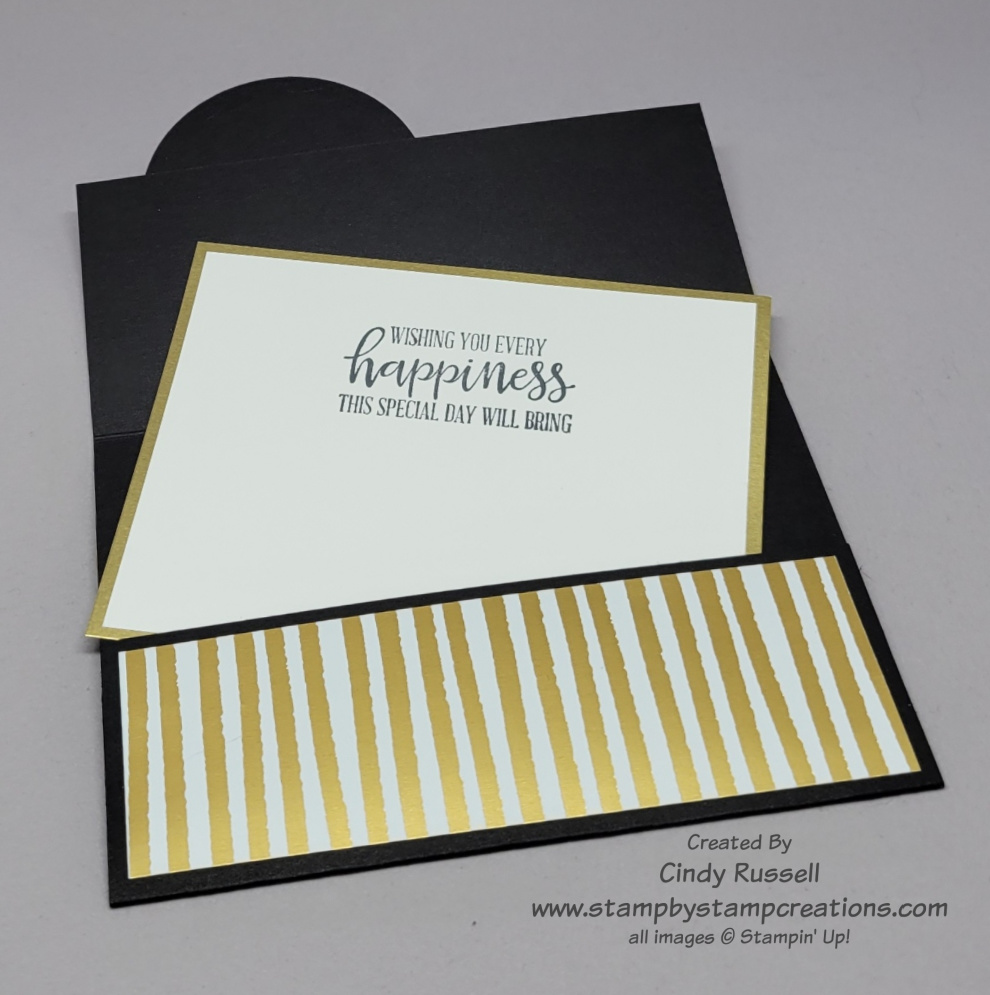
For the belly band I used 2 pieces of 6 ½” x 1 ½” pieces of Pumpkin Pie cardstock. I adhered the pieces together by overlapping the pieces by about 1/2” or so. With the card base closed and laying on top of the belly band (seam centered) I carefully wrapped the belly band around the card. It should be snug but not too tight. I then adhered the two ends together. You should use a strong adhesive like SEAL + or Tear & Tape to make the belly band.
The focal point of my card started with a die from the Hippo & Friends Dies (which is retiring). The tulips are added to the largest Layering Circles die. So fun!
To add a little texture to my die-cut tulips I used a Blending Brush to add a little Pumpkin Pie ink to the Mango Melody pieces before assembling them. I think this softened the Mango Melody cardstock a little.
The Flowering Tulips stamp set and the Tulips Dies are both continuing into the upcoming 2022-2023 Annual Catalog. However, the Flowering Fields Designer Paper is not.
I hope you enjoyed this lovely, springtime fun fold card! Have a great day. Take care and Happy Stamping!