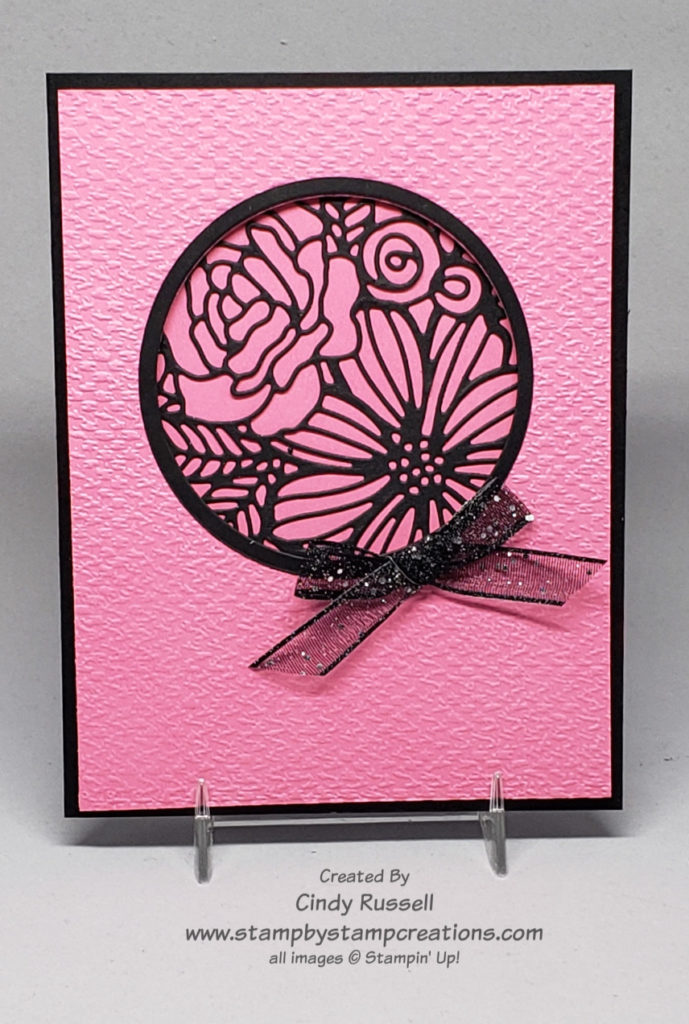
It’s all about the candy, right? I’m talking about Valentines Day. Where would Valentine’s day be with out the heart shaped box of chocolates or the fun little pink and red treats?

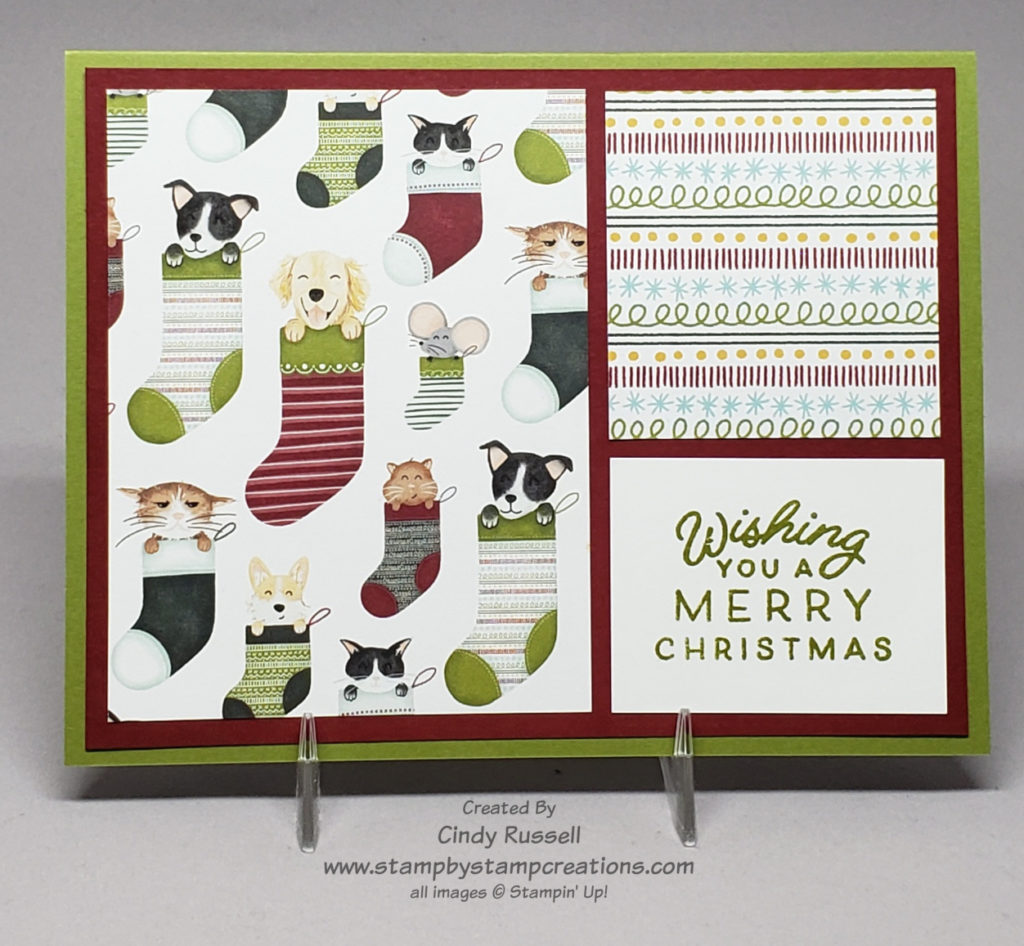
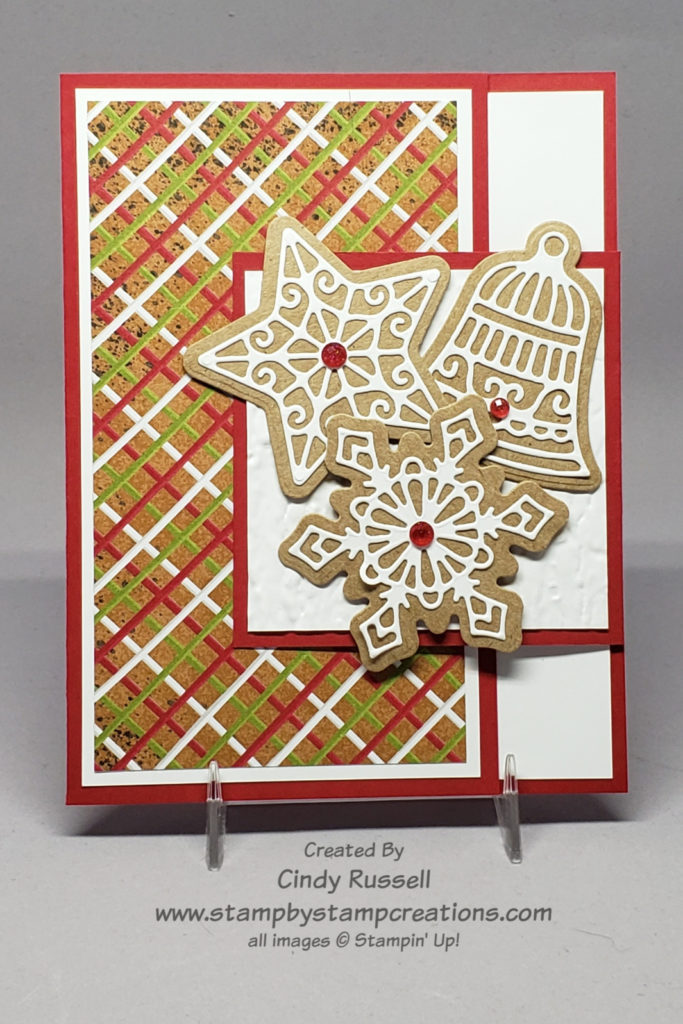
Valentines Day may be all about candy but so is this sheet of Stampin’ Up!’s Sweet Talk Designer Series Paper. This sheet of paper is perfect for this easy-peasy Fun Fold!
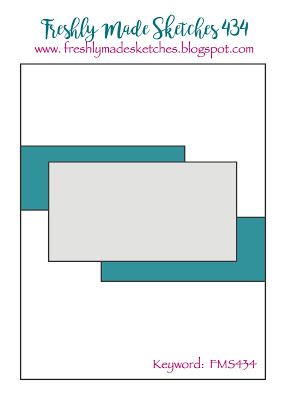
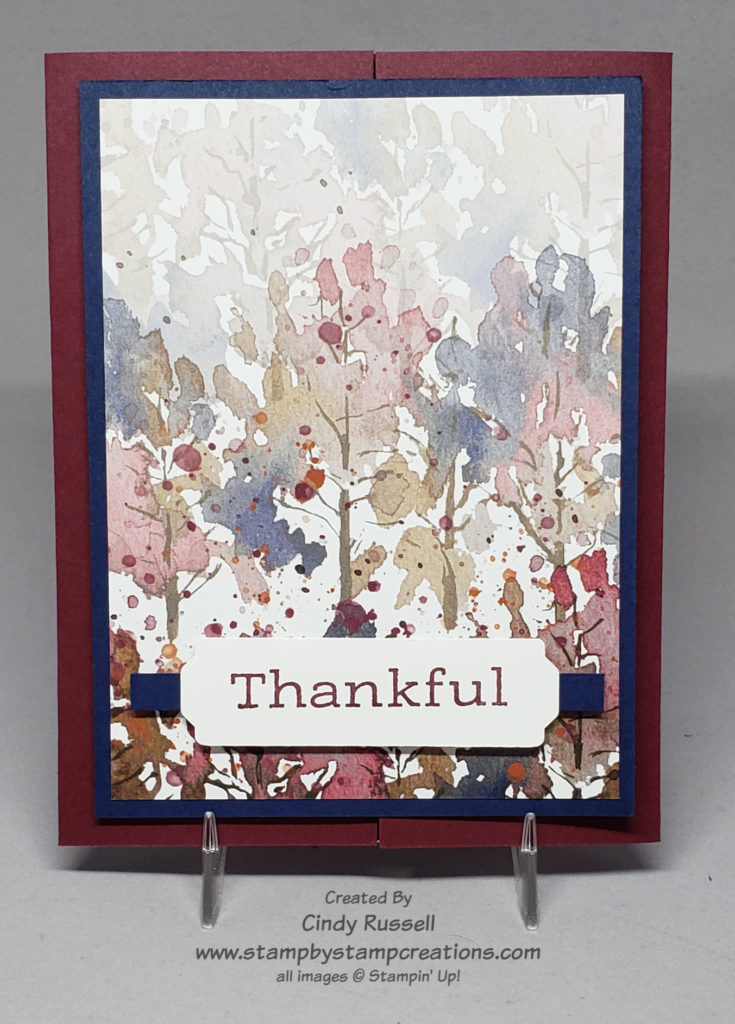
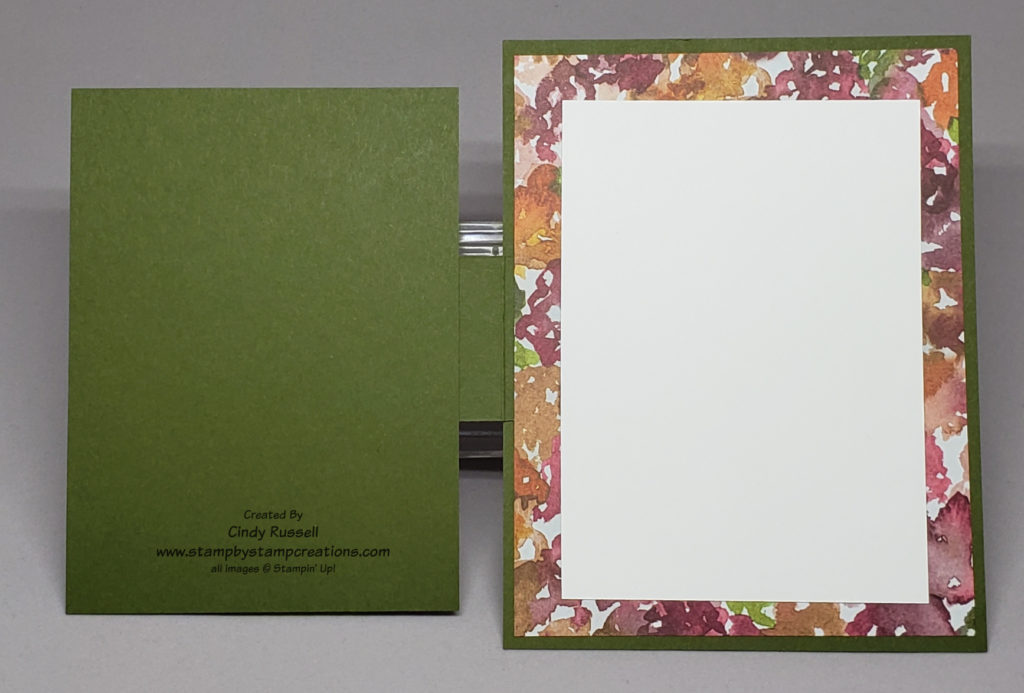
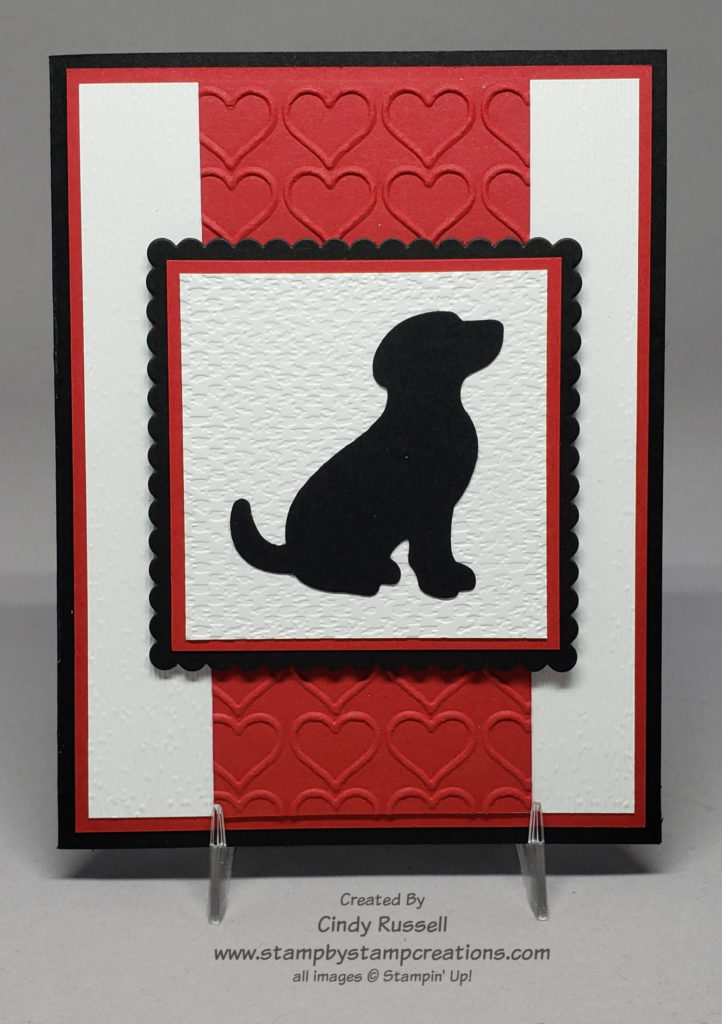
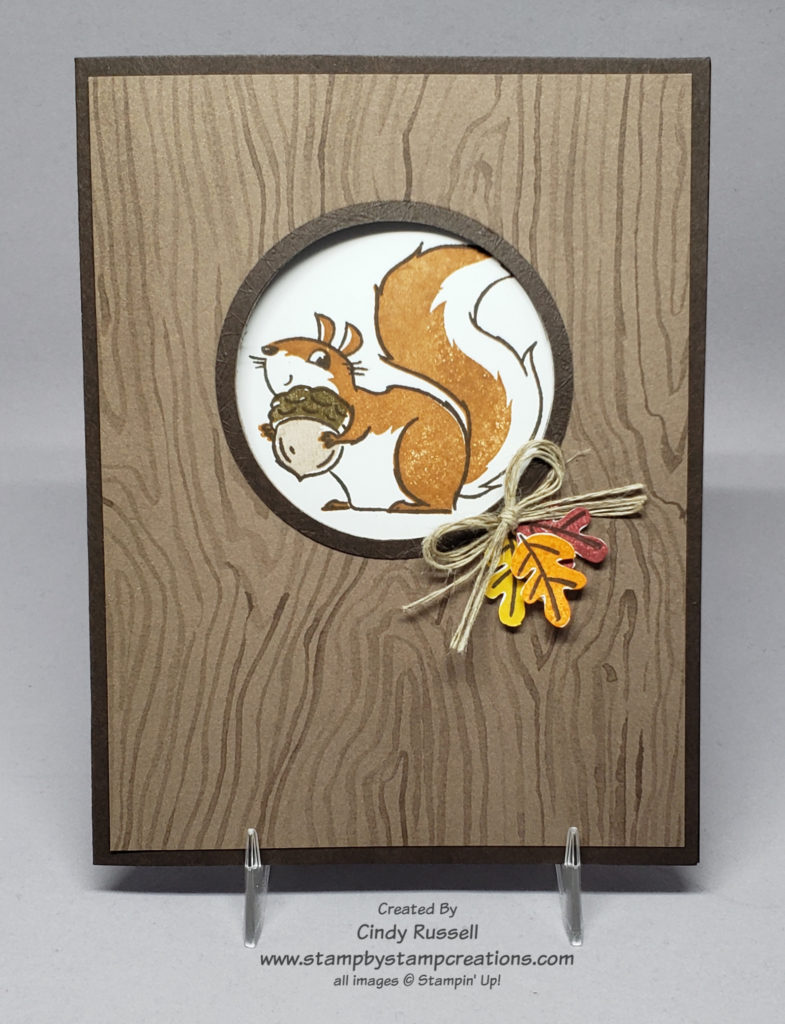
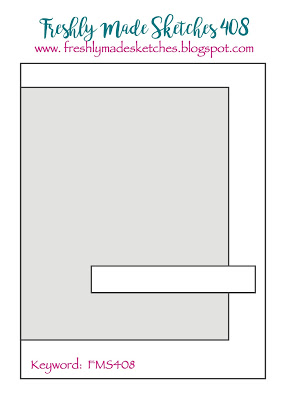
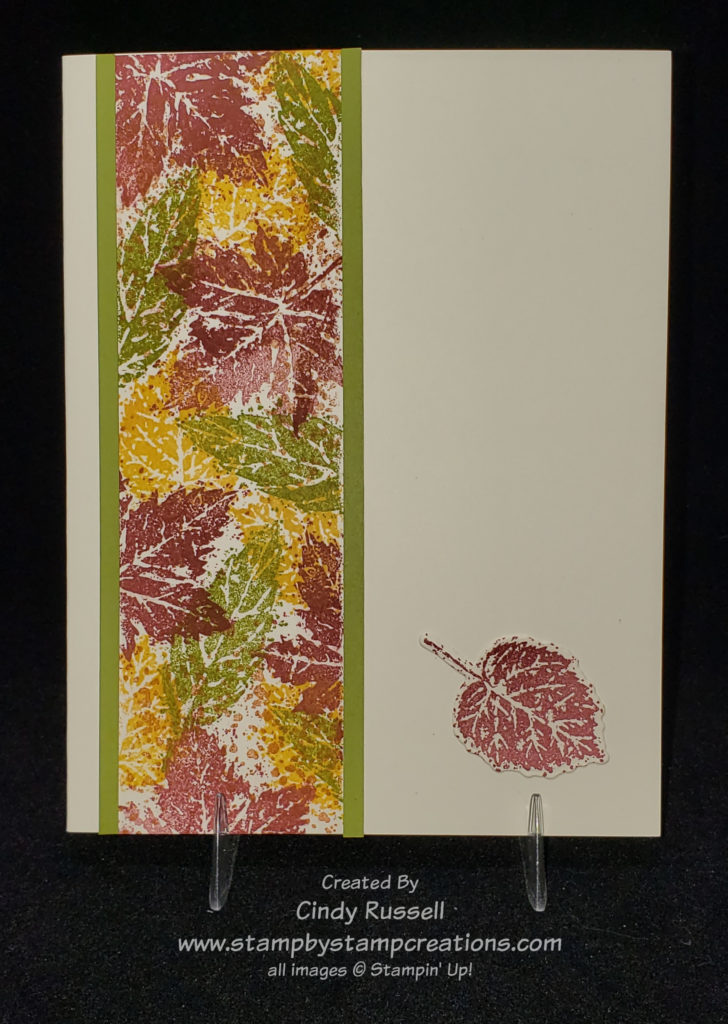
This card isn’t so much a Fun Fold as it is a unique card design. The cardstock portion of the card isn’t the usual 5 1/2″ x 8 1/2″ scored at 4 1/4″. The cardstock portion of this card is 5 1/2″ x 5 1/4″ with the score mark at 1″ on the 5 1/4″ edge.
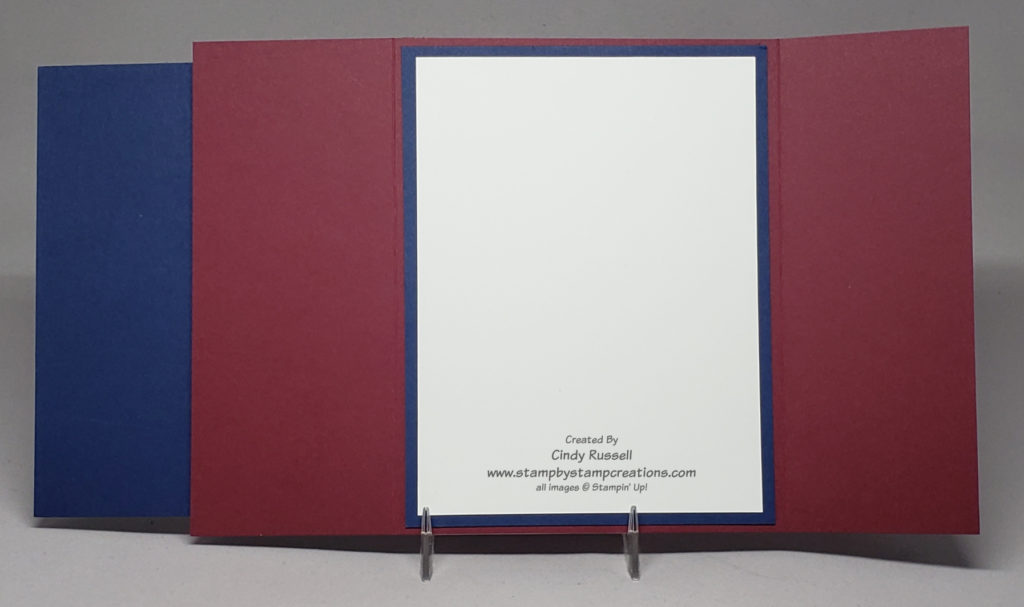
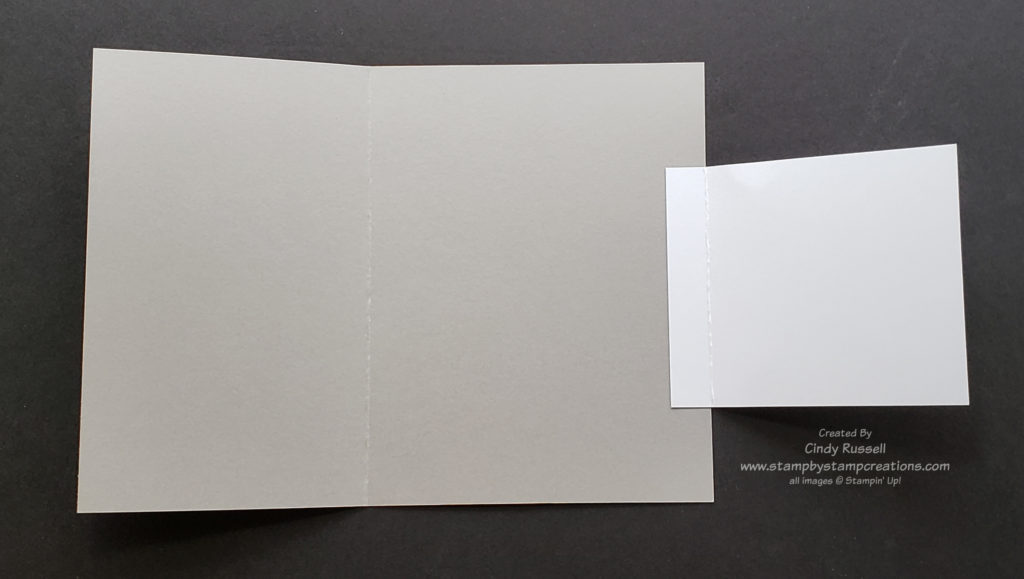
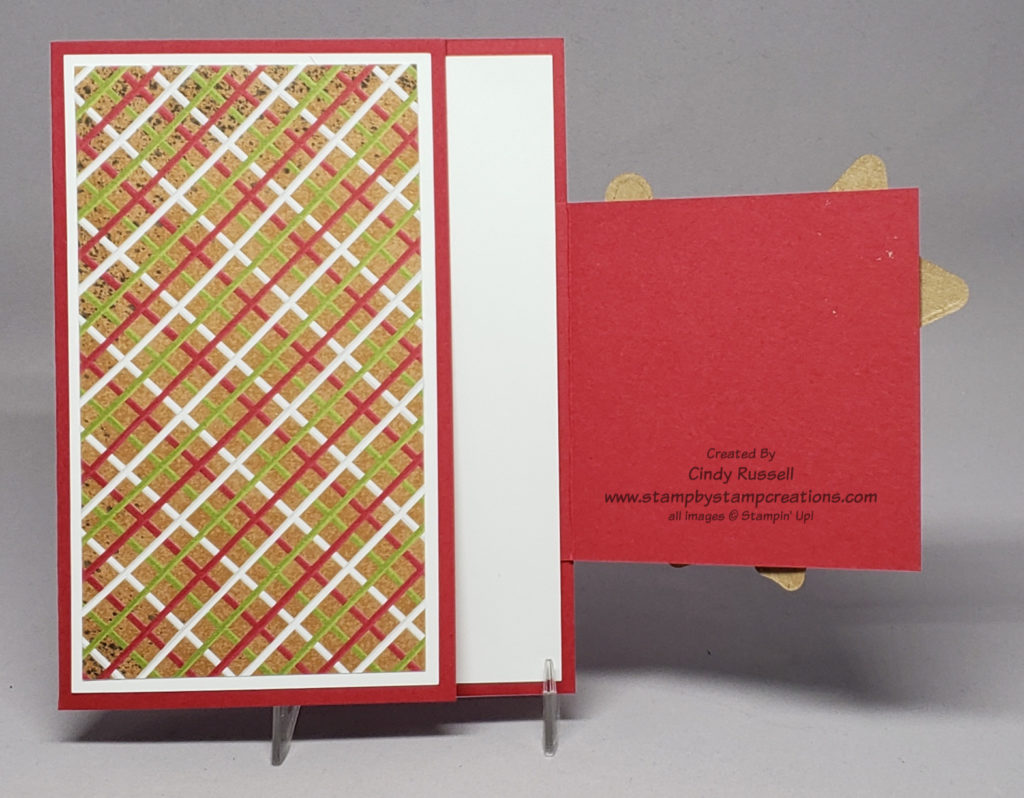
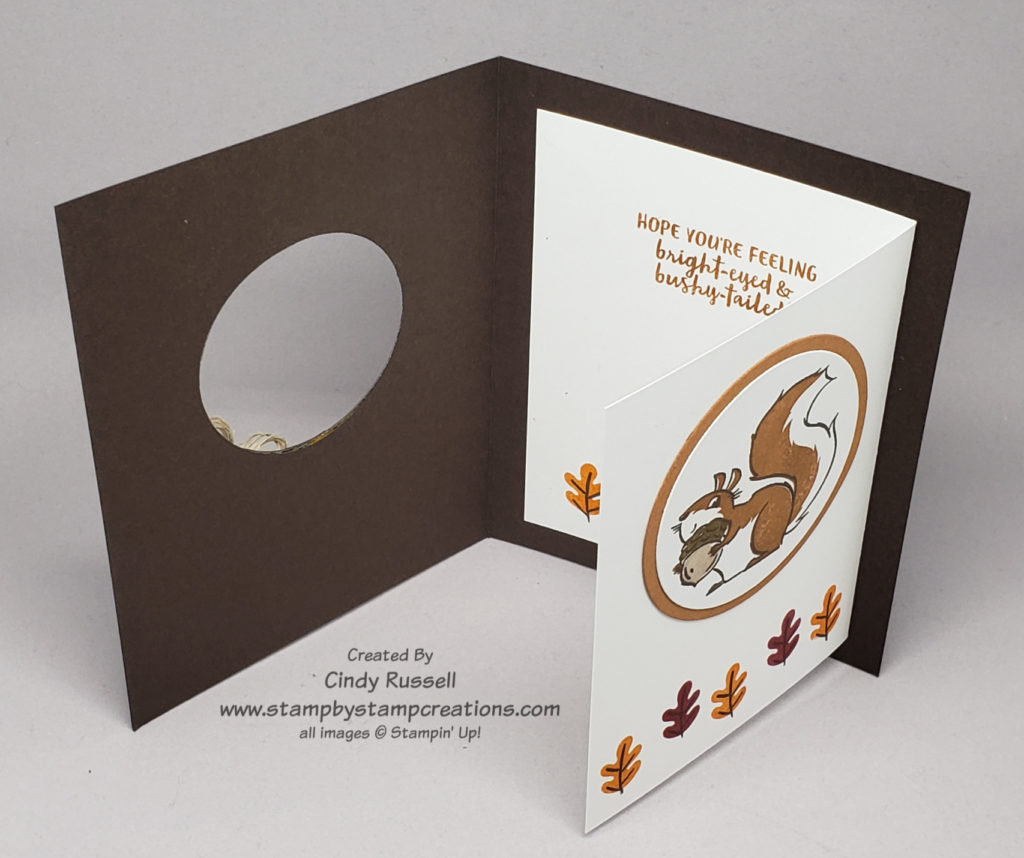
The designer paper is cut at 5 1/4″ x 4″ and adhered to the 1″ flap of the cardstock. In the second photo that I’ve posted here you can see that the designer paper is not butted up against the fold of the cardstock. To get the designer paper lined up properly, I opened the cardstock and centered the designer paper on the large section. I placed my adhesive on the 1″ flap (being careful not to get it too close to the center fold) and then closed the cardstock so the adhesive adhered to the designer paper.
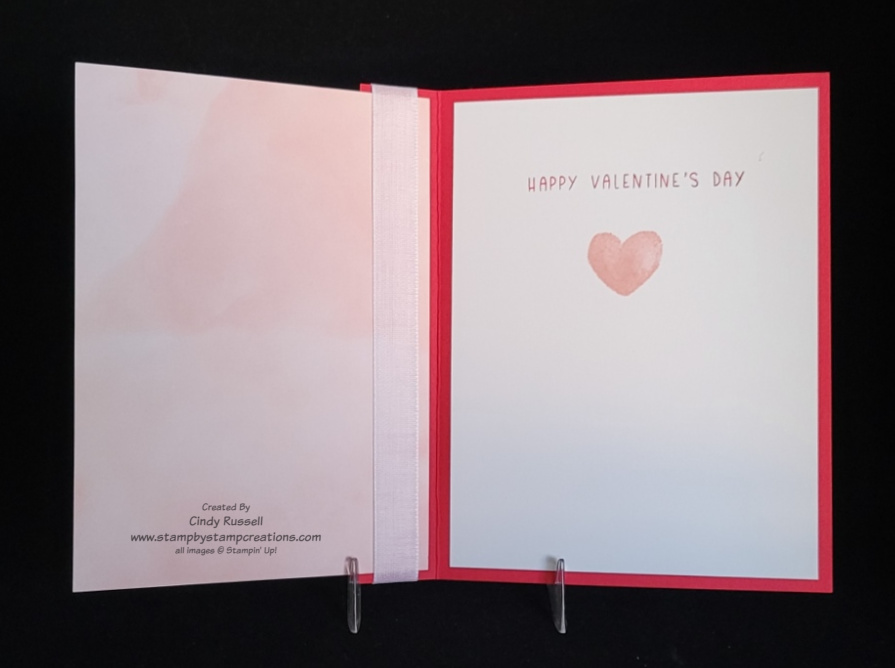
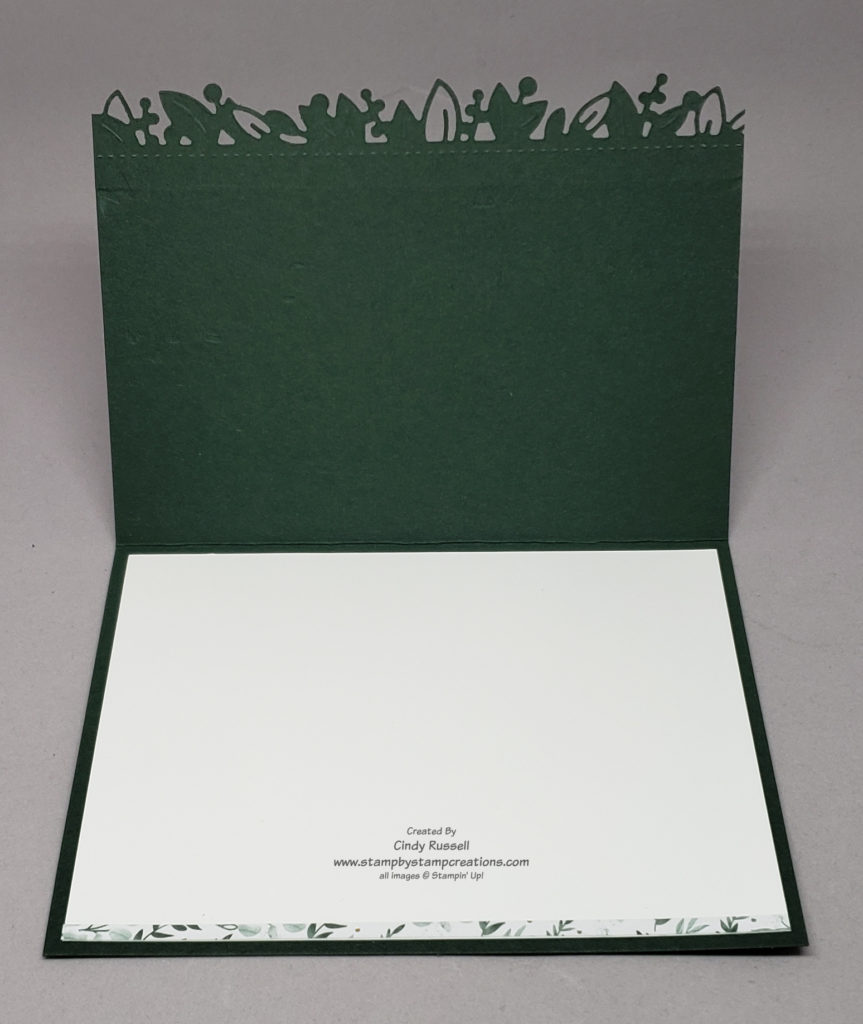
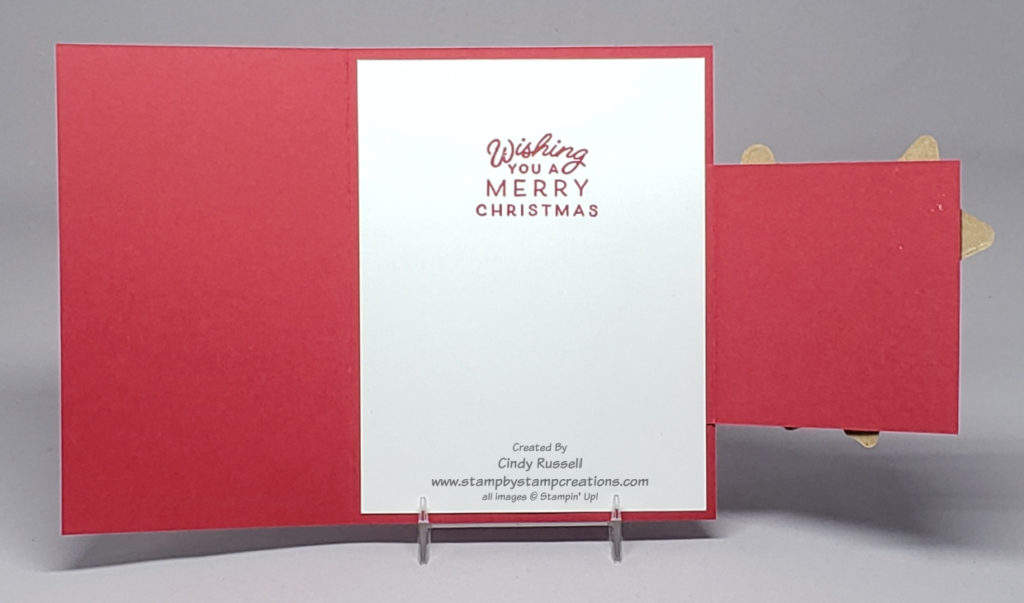
There are a couple of things you want to remember when working with the white insert for your card. First of all want to cut it slightly smaller than 5 1/4″ x 4″. You do this to make sure that none of the white shows when the card is closed.
The second thing to note is that you’re not going to just place adhesive on the back of the white cardstock and adhere it to the inside of the card. You’re going to place the adhesive on the back of the white cardstock and then center the front of the white cardstock on the backside of the designer paper. Once you have the white cardstock centered, you will close the card and your white cardstock should be perfectly centered on the inside of the card.
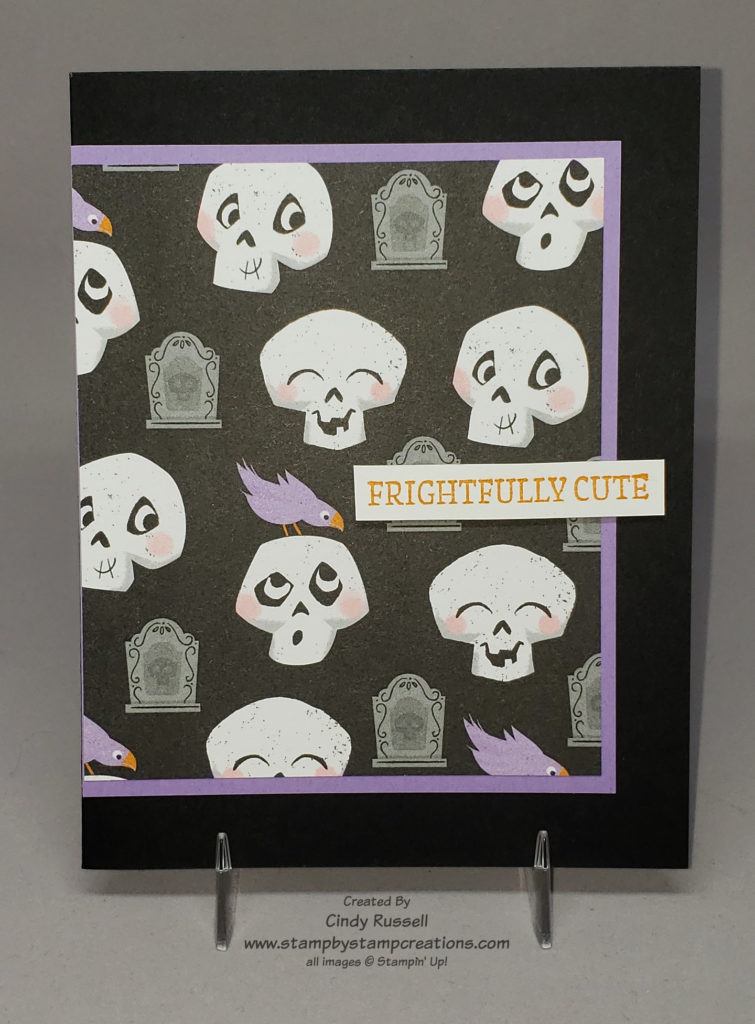
This card design will work for any of your favorite patterned papers. I’ve written up step-by-step directions for this card which include dimensions and supplies. You can view them here. Have fun creating your own Designer Paper Card Front Fun Fold card! Have a great day! Take care and Happy Stamping!