Tools of the Trade: “Other” Adhesives

Mini Glue Dots

It’s the last week of talking about adhesives.  This is the post that will talk about all of Stampin’ Up!’s Adhesives that don’t fit our previous categories of Glues, Tapes or Foam Adhesives.

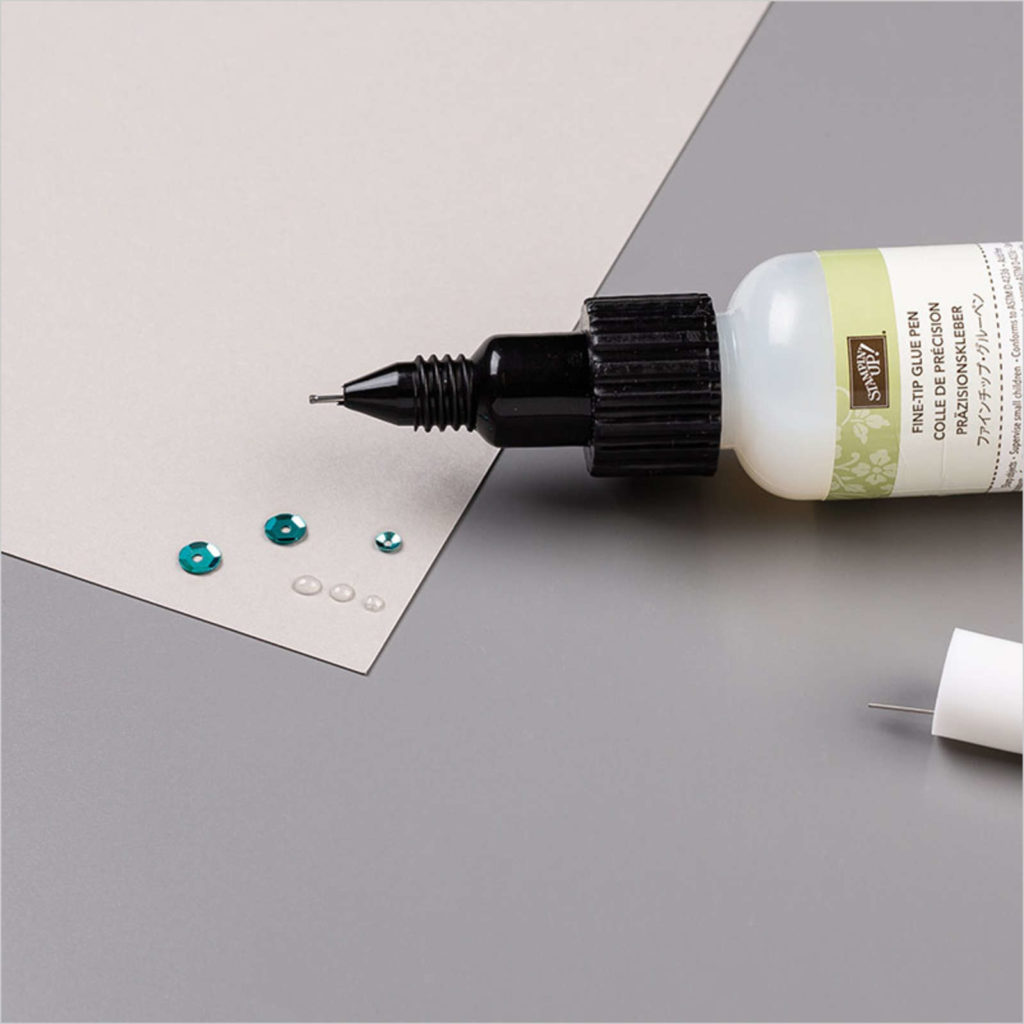
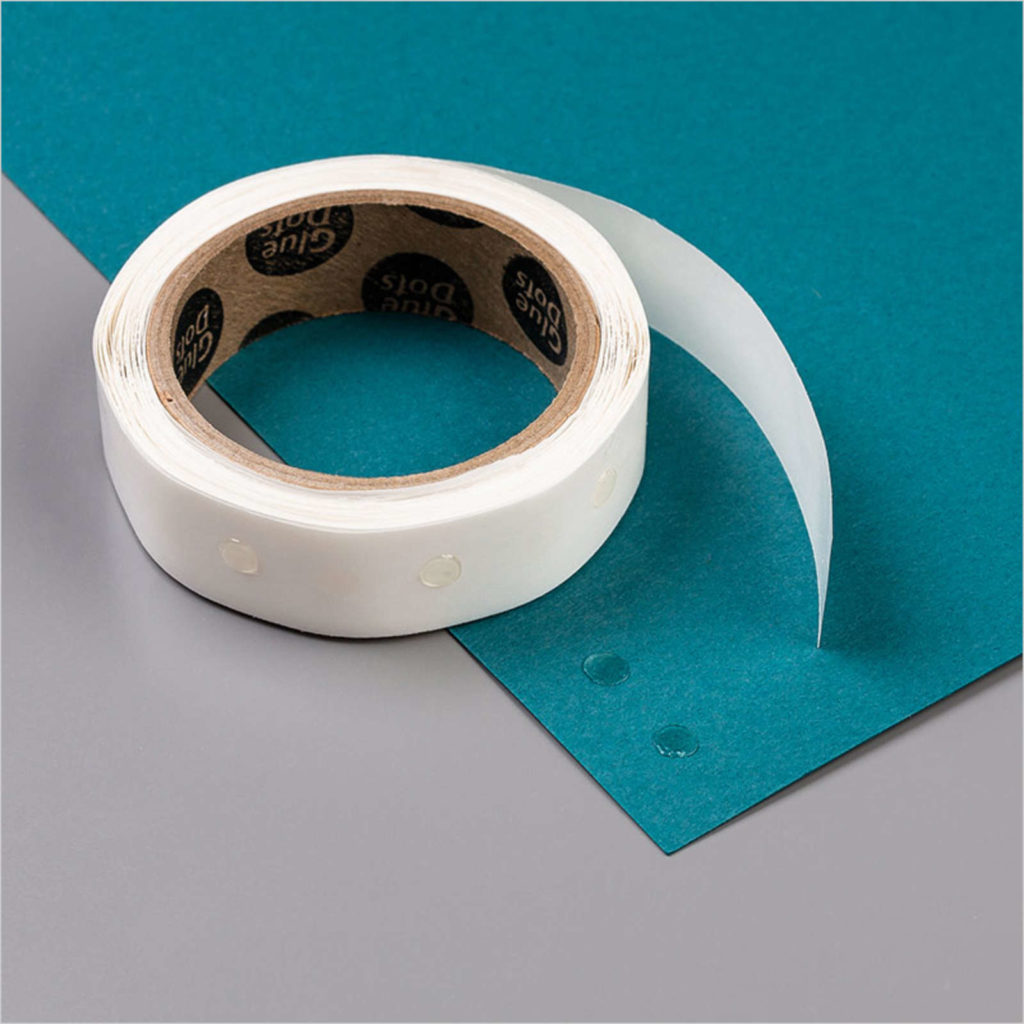
Let’s talk about Mini Glue Dots. These little dots of glue have so many uses. In Stampin’ Up!’s Online Store they list Mini Glue Dots as an adhesive for embellishments. In their catalog they say that Mini Glue Dots will “hold heavier embellishments, ribbon cardstock and detailed die cuts.

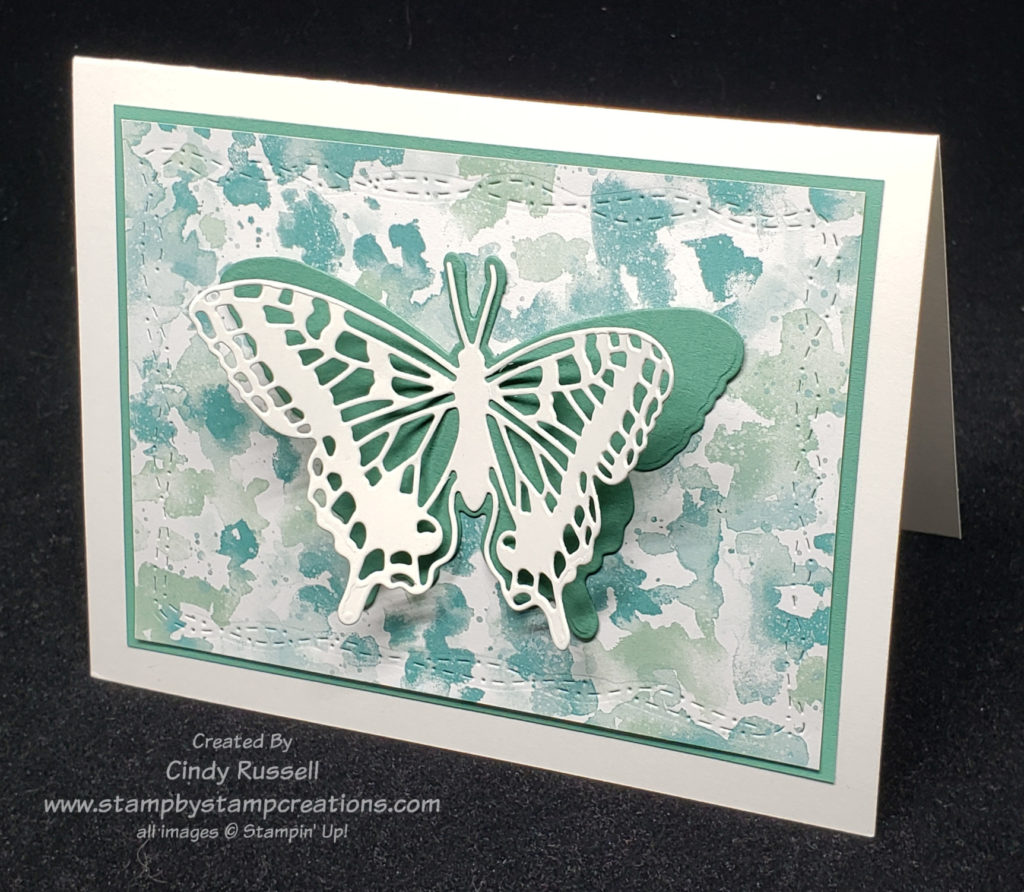
When I’m layering die cuts or cut out items on my project I like to use Stampin’ Dimensionals for the layer I want popped up the most, glue or Stampin’ Seal for the layer I want right on my card and Mini Glue Dots to raise a layer just a little bit. I also like to use Mini Glue Dots to adhere bows to my projects.

Adhesive Sheets

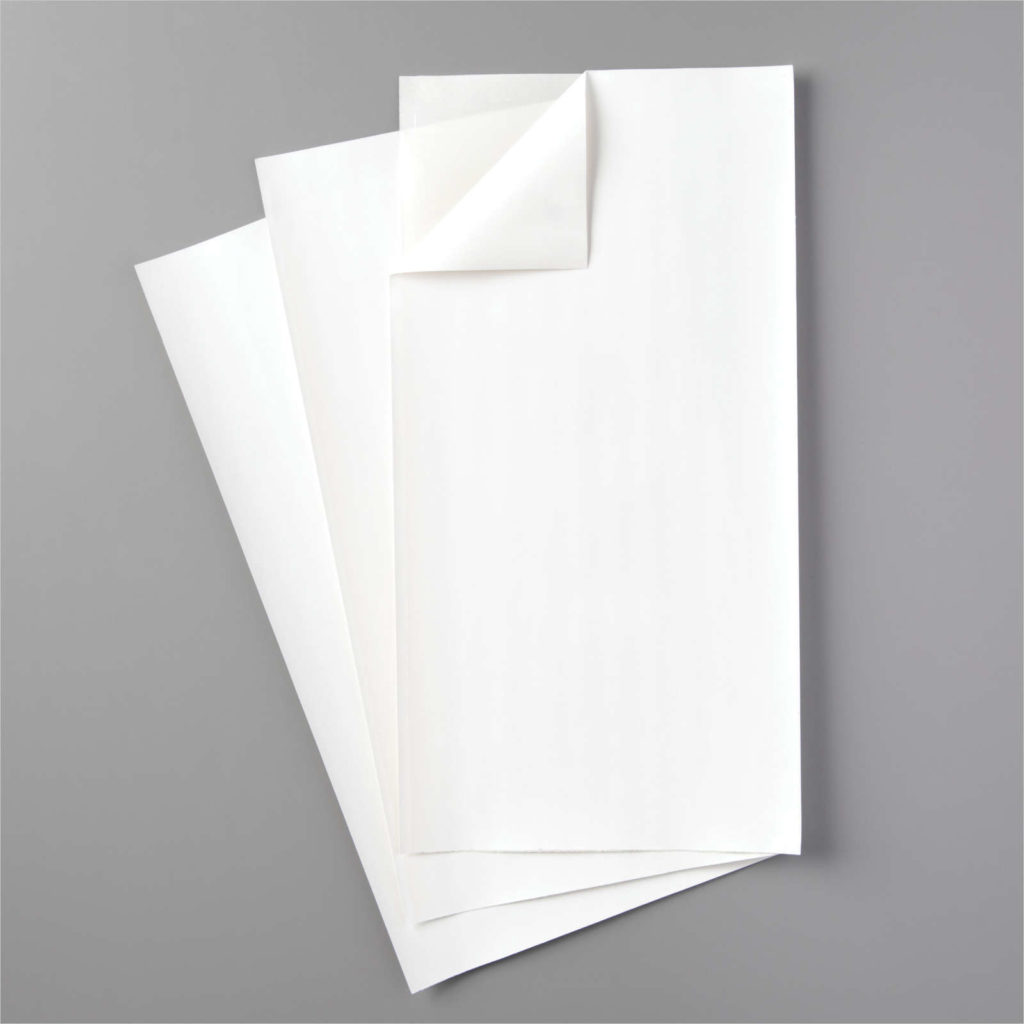
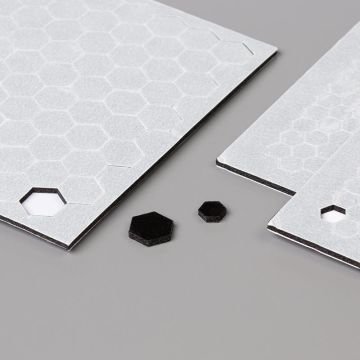
If you own a die-cutting machine you definitely need adhesive sheets! They are the perfect adhesive for adhering die cut images to any project. They make adhering small/intricate die-cut images so easy!

Adhesive Sheets are 6″ x 12″ and there are 12 sheets in a package. Each Adhesive Sheet is double-sided. To use adhesive sheets first start with the piece of paper that you’re going to die cut. Now cut a piece of Adhesive Sheet slightly smaller than your paper. Remove the backing of the Adhesive Sheet and adhere it to your paper. Die cut your image. You may have to run the die through a couple of times to make sure that you cut through the paper and the adhesive sheet, especially if you’re die cutting an intricate design. Once you’re done die cutting, remove the backing on the adhesive sheet and adhere the die to your project.

Cling Adhesive

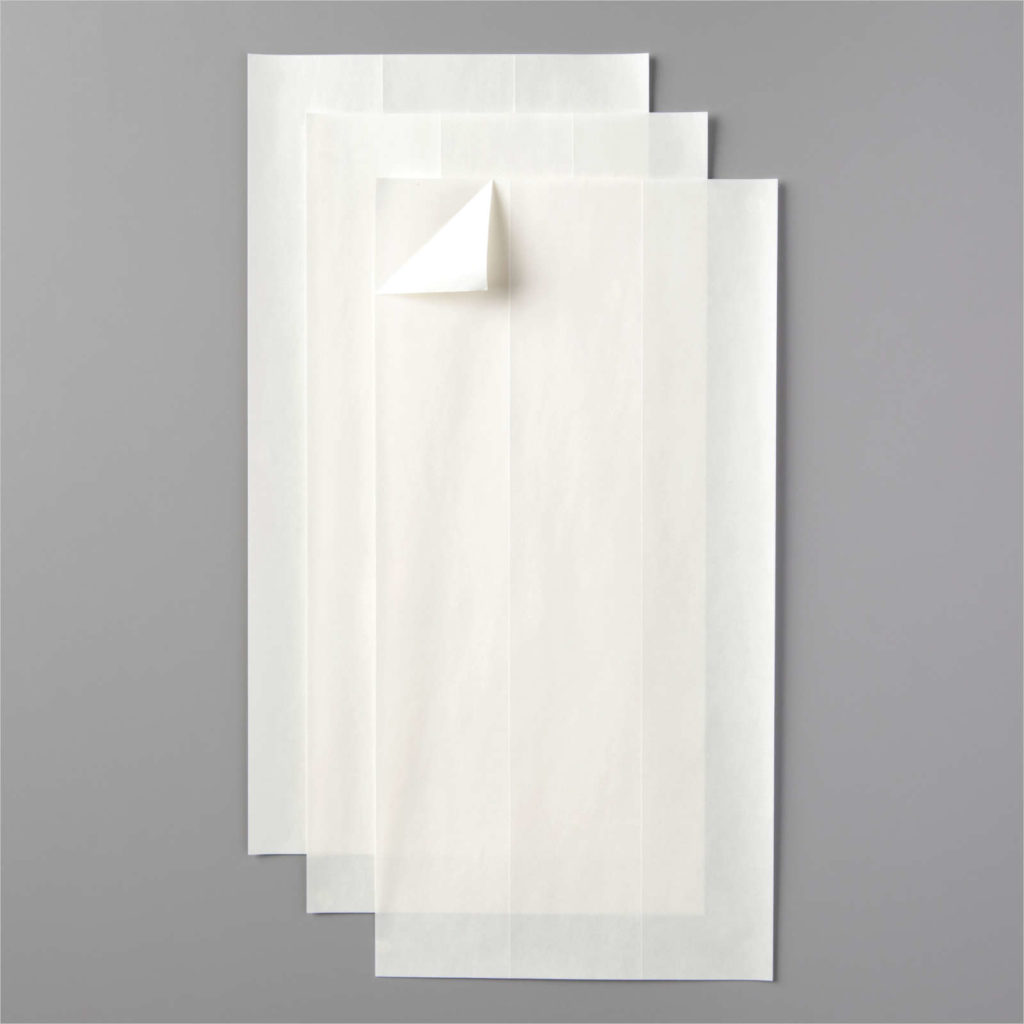
Cling Adhesive is very similar to Adhesive Sheets but it has a totally different use. Cling Adhesive is designed to make your old red rubber stamps into Cling Stamps. Cling Adhesive is just like the label sheets that come with Cling Stamps and is used in the same way.

One side of a Cling Adhesive sheet is sectioned into rectangles. Peel the paper backing off one of the sections, place your stamp over the section of adhesive with the rubber facing up, press down to adhere the adhesive to the stamp and lift! Easy Peasy. There are even instructions on the back of the cardboard insert that tells you exactly how to use the Cling Adhesive!

This completes my overview of Stampin’ Up! Adhesives. I hope I’ve given you some new information that you may not have know. Next week I’ll move on to a new type of Tool of the Trade. Have a great day! Take care and Happy Stamping!

Tools of the Trade: Foam Adhesives

Do you love adding some dimension to your craft projects?  I definitely do.  Foam adhesives are the way we papercrafters add dimension to our projects.  Stampin’ Up! carries five different foam adhesives:  Stampin’ Dimensionals, Mini Stampin’ Dimensionals, Black Stampin’ Dimensionals, Foam Adhesive Strips and Foam Adhesive Sheets.

All of these foam adhesives are double sided.  To use them you peel them off the waxy sheet they come on, adhere them to the piece you want to pop-up on your project, remove the backing and adhere to your project. 

Stampin’ Dimensionals

Stampin’ Dimensionals are the hexagon-shaped disks of foam that you are probably most familiar with.  They come in white and black as well as regular size and mini. The regular sized Stampin’ Dimensionals (both white and black) are about 3/8” wide and about 1/16” thick.  The Mini Stampin’ Dimensionals (both white and black) are a little less than ¼” wide and the same thickness.

Foam Adhesive Sheets are 4 ½” x 4 5/16” pieces of foam that are about 1/16” thick.  Adhesive sheets can be cut with scissors or die cut with open dies (dies that outline something).  They don’t work with intricate dies (I’ve tried…).

Foam Adhesive Strips

Foam Adhesive Strips are perfect for making shaker cards.  These strips are 9” long, 1/8” wide and have a thickness of 1/8”.  They also work well when making cards/projects that have pieces that slide.

You shouldn’t have a problem adding dimension to any of your projects with all of these different choices of foam adhesives. 

The important thing to remember is this:  you are not a true crafter until you find the backing pieces from Stampin’ Dimensionals all over your home in the most unusual places.  Sometimes I just need to start laughing! Once I found one on my Pilates mat AT the studio.  It must have been stuck to my sock or pants.  Another time I found one at our family cabin in Canada when I didn’t have any crafting supplies with me!  Crazy!  Where is the oddest place that you’ve found the backing to a Stampin’ Dimensional?  I’d love to know!

Have a great day! Take care and Happy Stamping!

Tools of the Trade: Tape Adhesives

There are so many different types of tape and many different uses for tape.  Today we’re going to talk about double-sided tape, especially those that Stampin’ Up! carries. 

As paper crafters we are most familiar with and mostly use double-sided tape.  We use it to adhere the different layers of our projects together.  Stampin’ Up! carries three different types of double-sided adhesives.  Stampin’ Seal, Stampin’ Seal +, and Tear & Tape.

Stampin’ Up!’s Stampin’ Seal Tape Adhesive

Stampin’ Seal is the new basic tape adhesive that replaces SNAIL adheisive. Stampin’ Seal is a double-sided tape that comes on a cartridge in it’s own dispenser.  When the tape runs out you can replace the cartridge simply by opening the dispenser and dropping in the new cartridge.  The catalog description of Stampin’ Seal says that it’s an instant-bond, permanent adhesive. 

I like using Stampin’ Seal.  I have to disagree with the “instant-bond” part of the description though.  When I’m adhering two things together and haven’t got them quite straight I’ve found that as long as I haven’t pressed the two things together real hard I can carefully separate them and realign them.  I find this to work at least 80% of the time.  It’s one of my favorite things about this adhesive!

Stampin’ Seal is also easy to use.  You just place the end of the dispenser on to your paper, pull to adhere the tape and then lift up.  Once in a awhile when you pull to adhere the tape it won’t work but then you just move the wheel on the end of the dispenser with your finger until you feel the adhesive.  If you’re in the middle of placing the tape on the paper and it stops you can also just place the end of the dispenser on a section that already has tape on it and start from there.  This get the adhesive rolling on the wheel again.

Stampin’ Up!’s Stampin’ Seal +

There is also a Stampin’ Seal + adhesive.  Stampin’ Seal + adhesive has a stronger bond than regular Stampin’ Seal adhesive.  You would use it on 3D projects or on heavier layers such as Foil Sheets or Glimmer Paper.

Stampin’ Seal + is similar to Stampin’ Seal in that it comes on a replaceable cartridge in it’s own dispenser.  The dispensers for both of the adhesives are exactly the same.  The cartridges of the two adhesives are the same size but different colors.  The Stampin’ Seal + cartridge is a dark blue while the cartridge for the Stampin’ Seal is a light blue.  This makes it easy to distinguish between the two.

Stampin’ Up!’s Tear & Tape

The last type of tape that Stampin’ Up! carries is Tear & Tape.  This used to be the only strong tape adhesive that Stampin’ Up! carried.  You would use Tear & Tape in the same situations that you would use Stampin’ Seal +.  Tear & Tape is “a strong adhesive with tearable paper backing for easy sticking”. 

To use, you tear a length of Tear & Tape off the roll, adhere it to your paper, remove the backing and adhere the paper where you want it.

Each type of tape has it’s own uses.  Of course I have all three in my craft room.  Do you?

Have a great day!  Take care and Happy Stamping!

Tools of the Trade: Liquid Glue

Adhesives are definitely a must-have tool for any craft room.  How else are we going to stick our projects together?  There are so many adhesives for crafters to choose from.  How do you decide which one to use?

Over the next few weeks I’m going to talk about adhesives.  I’ll cover the different types and when to use them.  The type of adhesive you use is definitely a personal choice.  I’ll be talking about the adhesives that Stampin’ Up! carries.

Multipurpose Liquid Glue

The first type of adhesive we’re going to talk about is liquid glue.  Liquid glue goes on wet and dries clear.  Liquid glue works well to adhere paper to paper as well as embellishment to paper.  I actually use a little drop of liquid glue when adhering any small embellishment to my project, even when they’re self-adhesive.  Better to be safe than sorry.  Liquid glue works well on cards and smaller 3D projects.  I don’t think it’s a good adhesive for scrapbooks though.  You’d hate to ruin your photos.  Stampin’ Up! carries two different types of liquid glue:  Mulitpurpose Liquid Glue and the Fine-Tip Glue Pen. 

Stampin’ Up!’s Fine-Tip Glue Pen

In the past I didn’t use liquid glue much.  Yes, it has it’s purpose but I found it to be a little messy.  I was always getting it in places it shouldn’t be, including my fingers.  (Ok…it may have been operator error…)  I have started using liquid glue more though.  I like the fact that it needs a little time to dry so you’re able to wiggle things around a bit if they’re not straight.  If you’re careful, liquid glue is perfect for adhering small intricate designs.  The Fine-Tip Glue Pen is especially great for intricate designs and small areas.

If the die pieces are especially small and you don’t want to use the Fine-Tip Glue Pen there is an easy way to use the Multipurpose Liquid Glue without putting little dots of glue all over the back.  Simply squirt a little glue on to your Silicone Mat or a paper plate.  Then dab your Stampin’ Sponge in the glue  making sure not to get too much glue on the sponge.  Once you have some glue on the sponge lightly dab the glue onto the back of the die.  This puts a light coat of glue on the whole die.

Did you get my weekly email on Tuesday?  (If not, enter your information in the box at the right.)  In my email I shared this card with you.  To adhere the more intricate butterfly I used liquid glue only on the butterfly’s body and then I bent the wings up a little to give it some dimension.  This would have been a little harder to do with a tape type of adhesive.

As the name says, multipurpose liquid glue is….multipurpose!  It’s a great option for all sorts of projects and situations.  It’s not the go-to adhesive in my craft room but it does have it’s purposes and I’ve been using it more and more. Face it…it’s hard to make craft projects without adhesive!

Have a great day! Take care and Happy Stamping!