It’s the last week of talking about adhesives. This is the post that will talk about all of Stampin’ Up!’s Adhesives that don’t fit our previous categories of Glues, Tapes or Foam Adhesives.
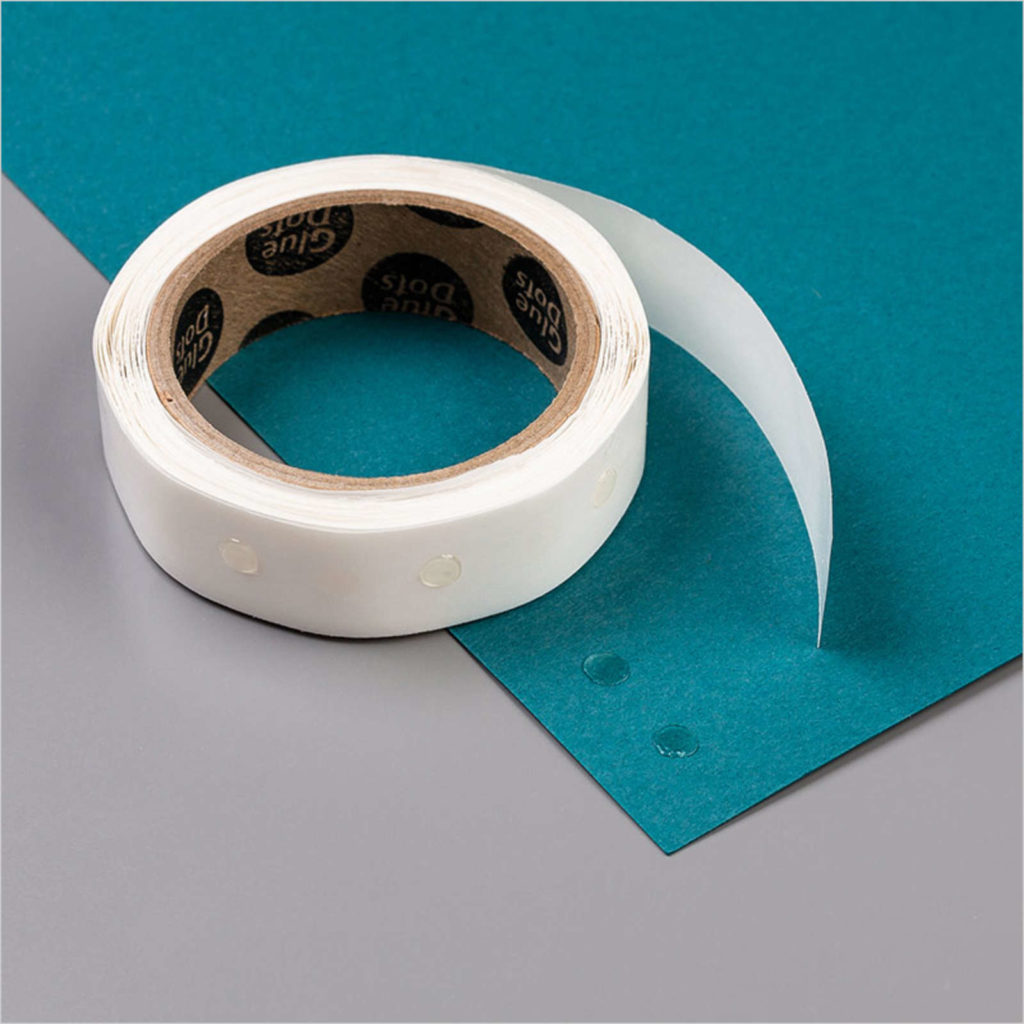
Let’s talk about Mini Glue Dots. These little dots of glue have so many uses. In Stampin’ Up!’s Online Store they list Mini Glue Dots as an adhesive for embellishments. In their catalog they say that Mini Glue Dots will “hold heavier embellishments, ribbon cardstock and detailed die cuts.
When I’m layering die cuts or cut out items on my project I like to use Stampin’ Dimensionals for the layer I want popped up the most, glue or Stampin’ Seal for the layer I want right on my card and Mini Glue Dots to raise a layer just a little bit. I also like to use Mini Glue Dots to adhere bows to my projects.

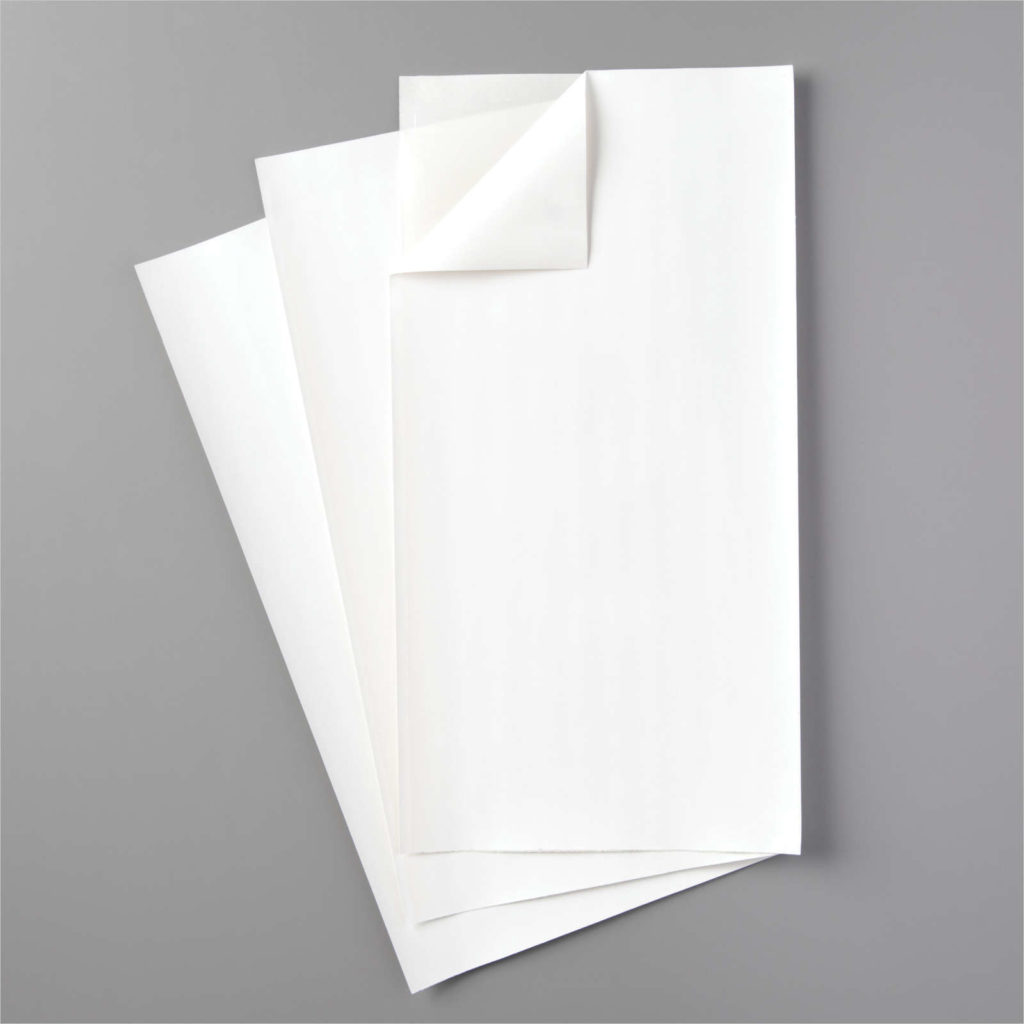
If you own a die-cutting machine you definitely need adhesive sheets! They are the perfect adhesive for adhering die cut images to any project. They make adhering small/intricate die-cut images so easy!
Adhesive Sheets are 6″ x 12″ and there are 12 sheets in a package. Each Adhesive Sheet is double-sided. To use adhesive sheets first start with the piece of paper that you’re going to die cut. Now cut a piece of Adhesive Sheet slightly smaller than your paper. Remove the backing of the Adhesive Sheet and adhere it to your paper. Die cut your image. You may have to run the die through a couple of times to make sure that you cut through the paper and the adhesive sheet, especially if you’re die cutting an intricate design. Once you’re done die cutting, remove the backing on the adhesive sheet and adhere the die to your project.

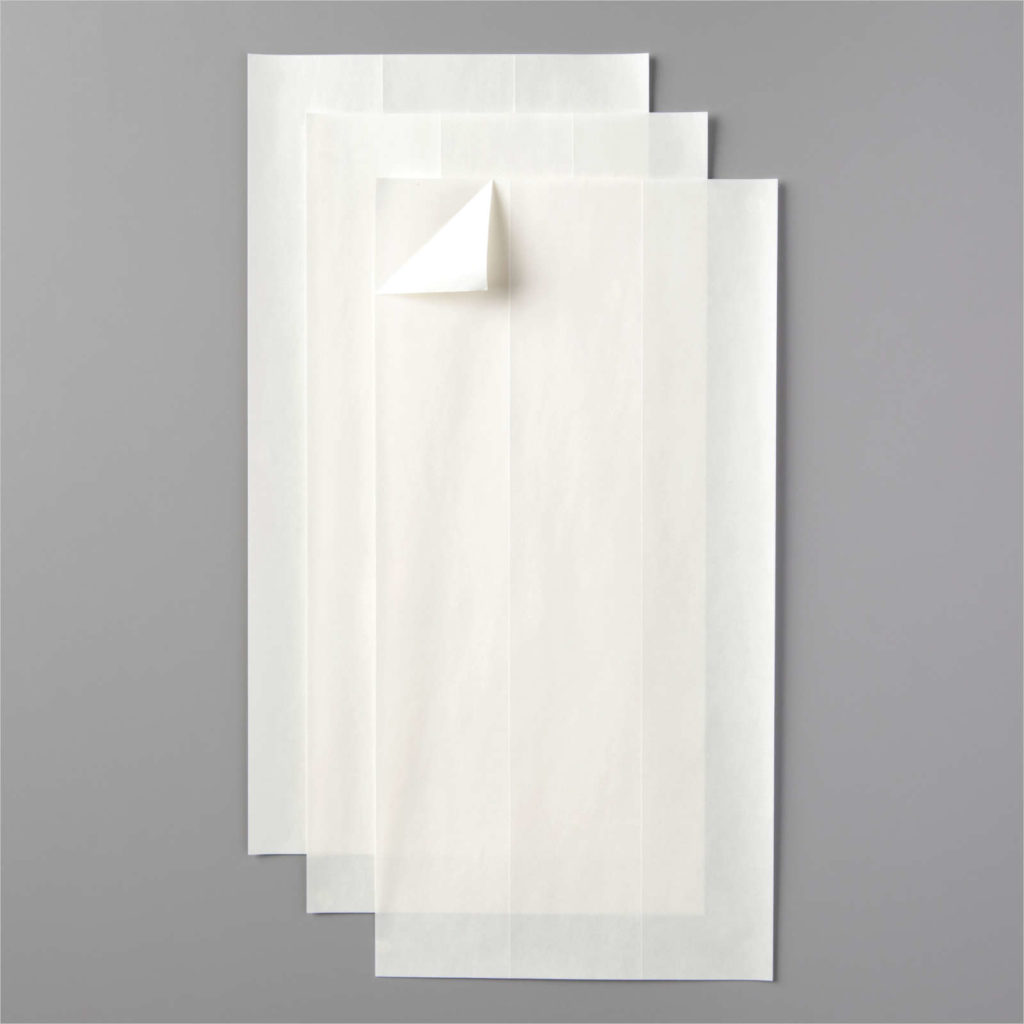
Cling Adhesive is very similar to Adhesive Sheets but it has a totally different use. Cling Adhesive is designed to make your old red rubber stamps into Cling Stamps. Cling Adhesive is just like the label sheets that come with Cling Stamps and is used in the same way.
One side of a Cling Adhesive sheet is sectioned into rectangles. Peel the paper backing off one of the sections, place your stamp over the section of adhesive with the rubber facing up, press down to adhere the adhesive to the stamp and lift! Easy Peasy. There are even instructions on the back of the cardboard insert that tells you exactly how to use the Cling Adhesive!
This completes my overview of Stampin’ Up! Adhesives. I hope I’ve given you some new information that you may not have know. Next week I’ll move on to a new type of Tool of the Trade. Have a great day! Take care and Happy Stamping!
