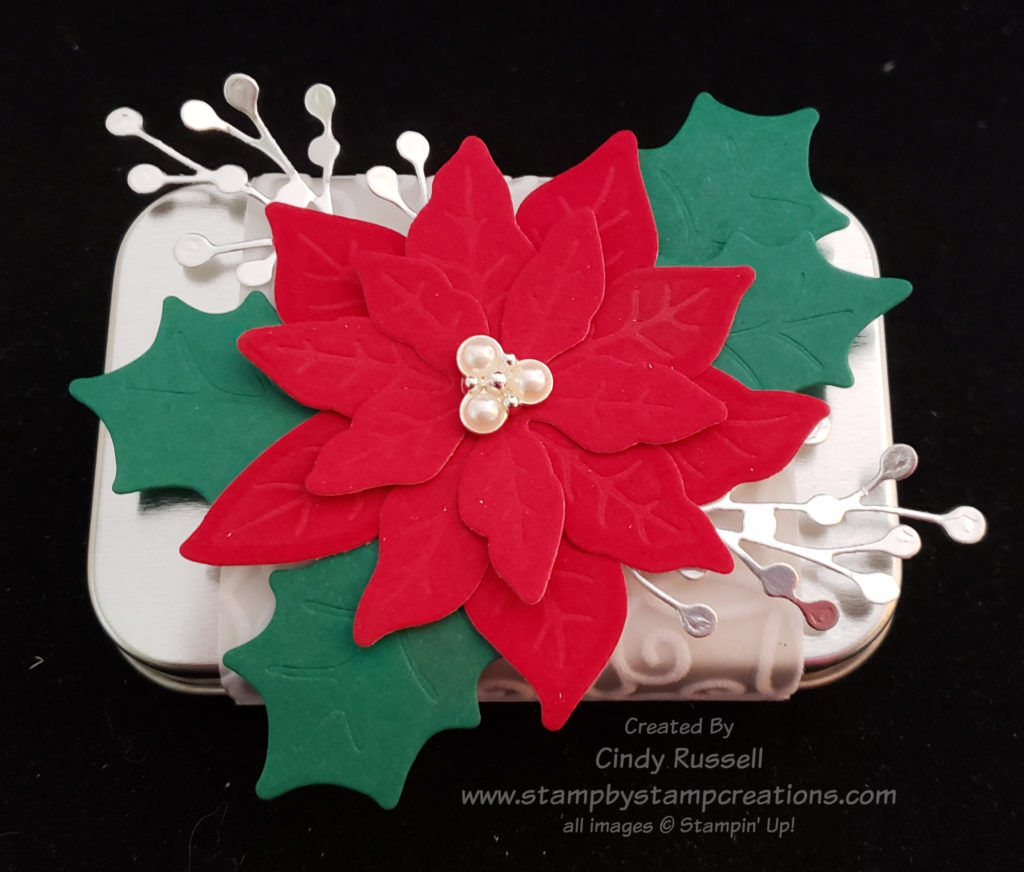
It’s Week 7 already of my 12 Weeks of Christmas! Today I have a fun little Poinsettia Tin to share with you. Have you seen the tins in Stampin’ Up!’s Aug-Dec Mini Catalog? There are rectangular tins like the one I’m showing you today on page 55 and there are round tins with a clear lid on page 68. Be sure to check them out!
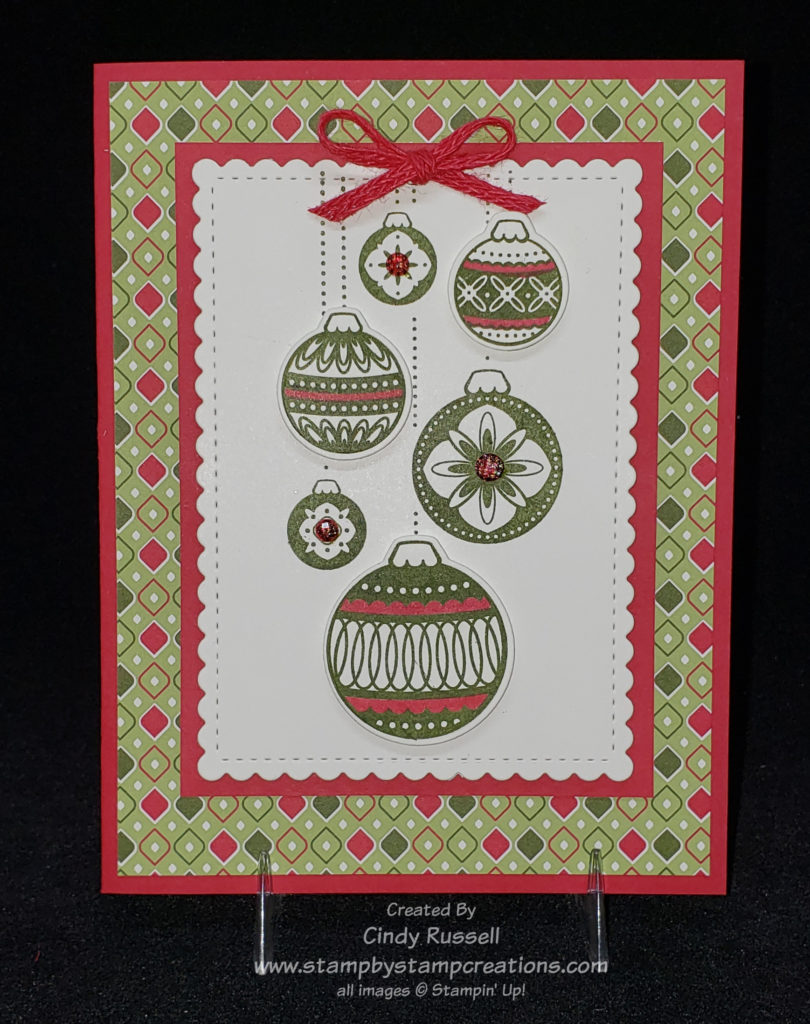
I was pretty excited with the way this tin turned out. Actually, I shouldn’t have been surprised because I copied the design from one of the cards I made for my Stamp Club this month. 🙂
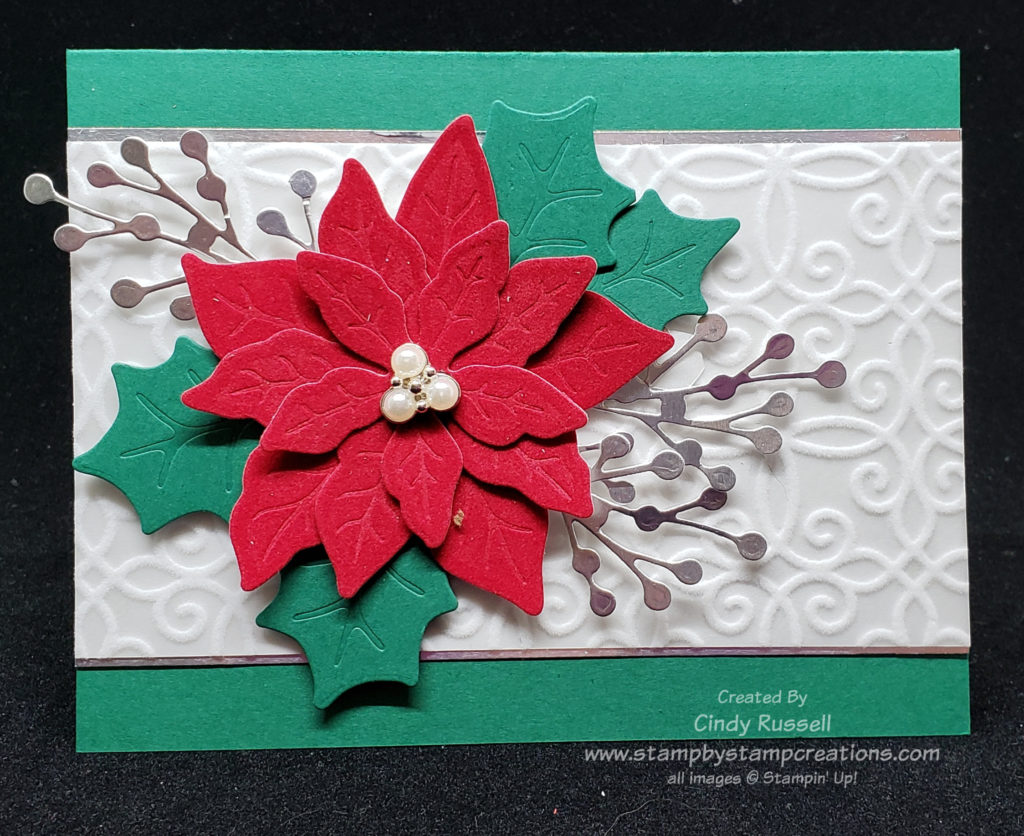
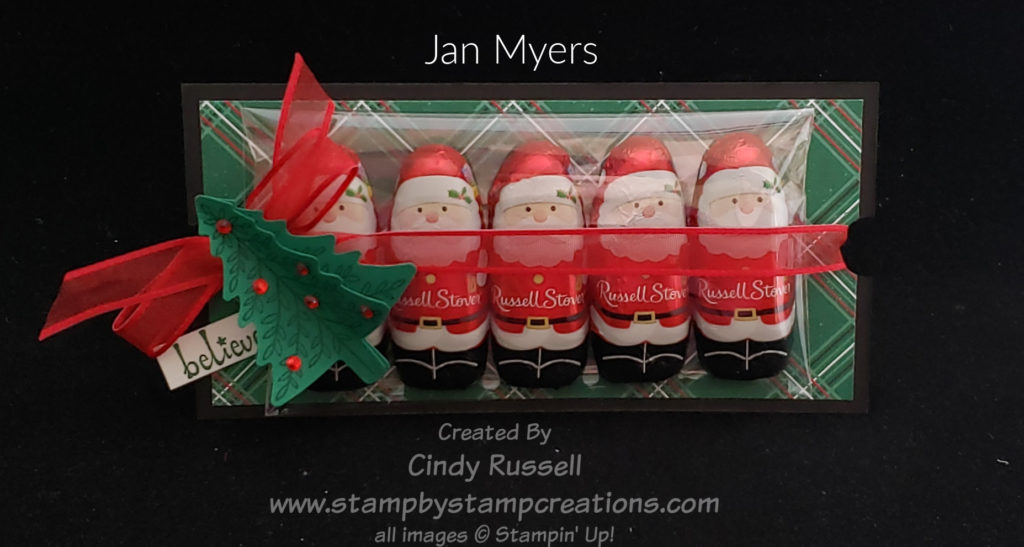
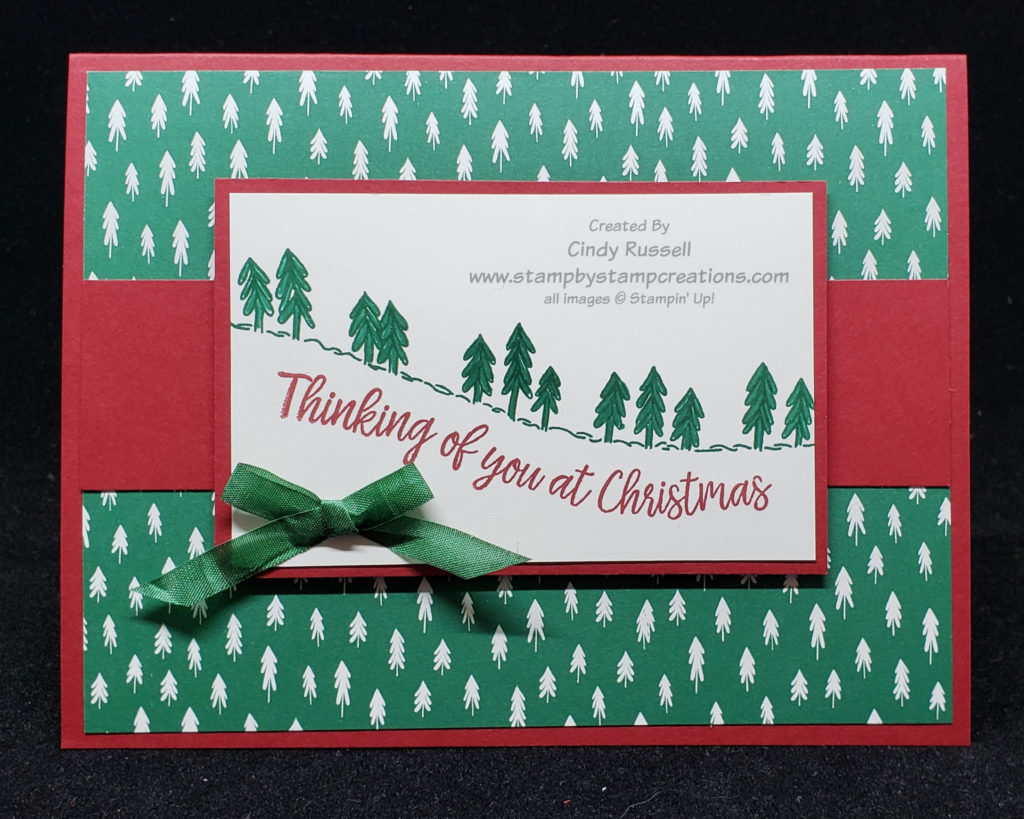
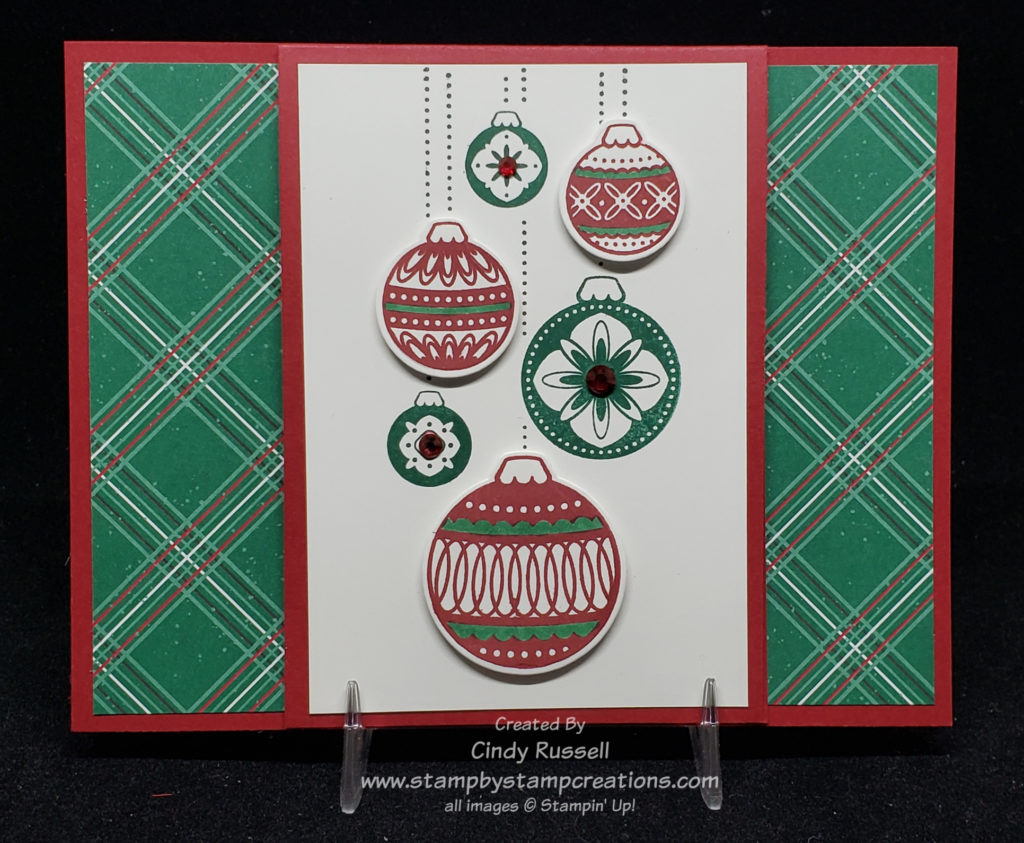
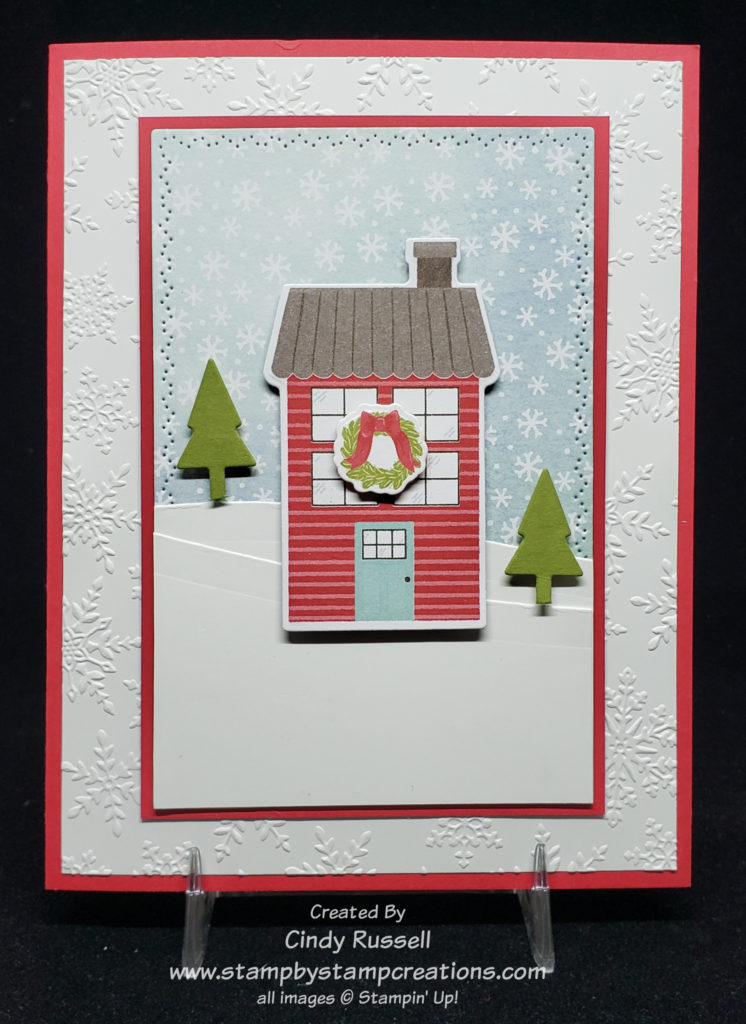
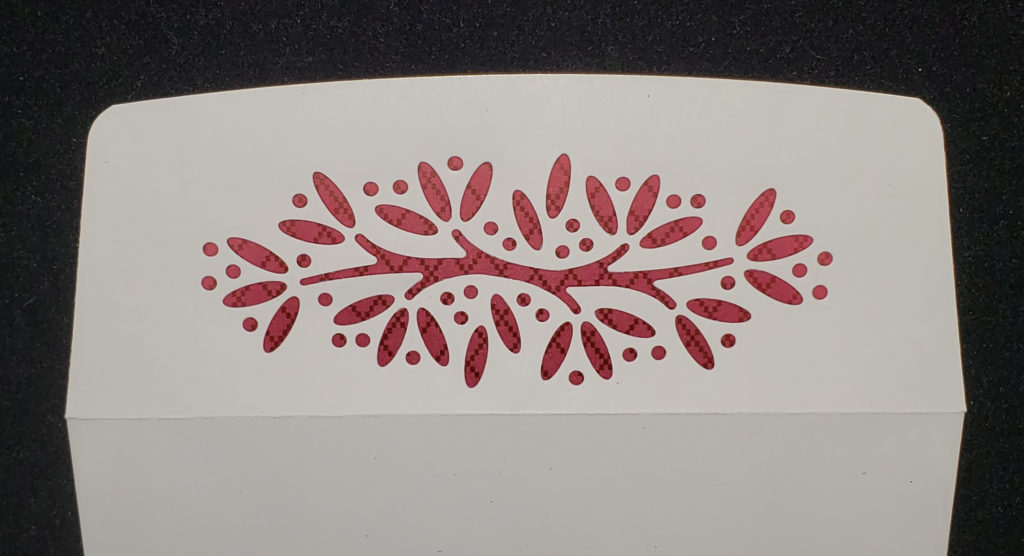
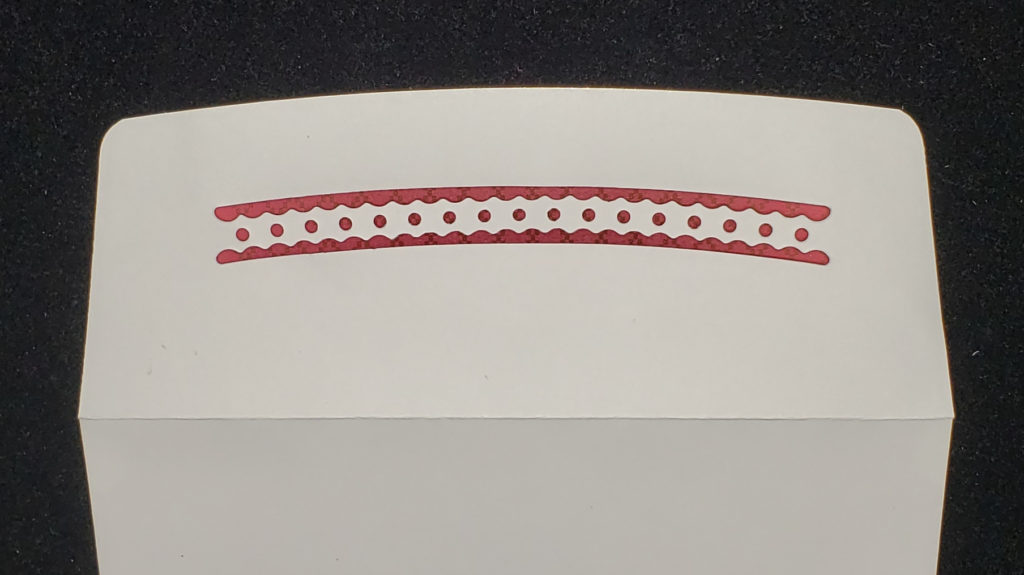
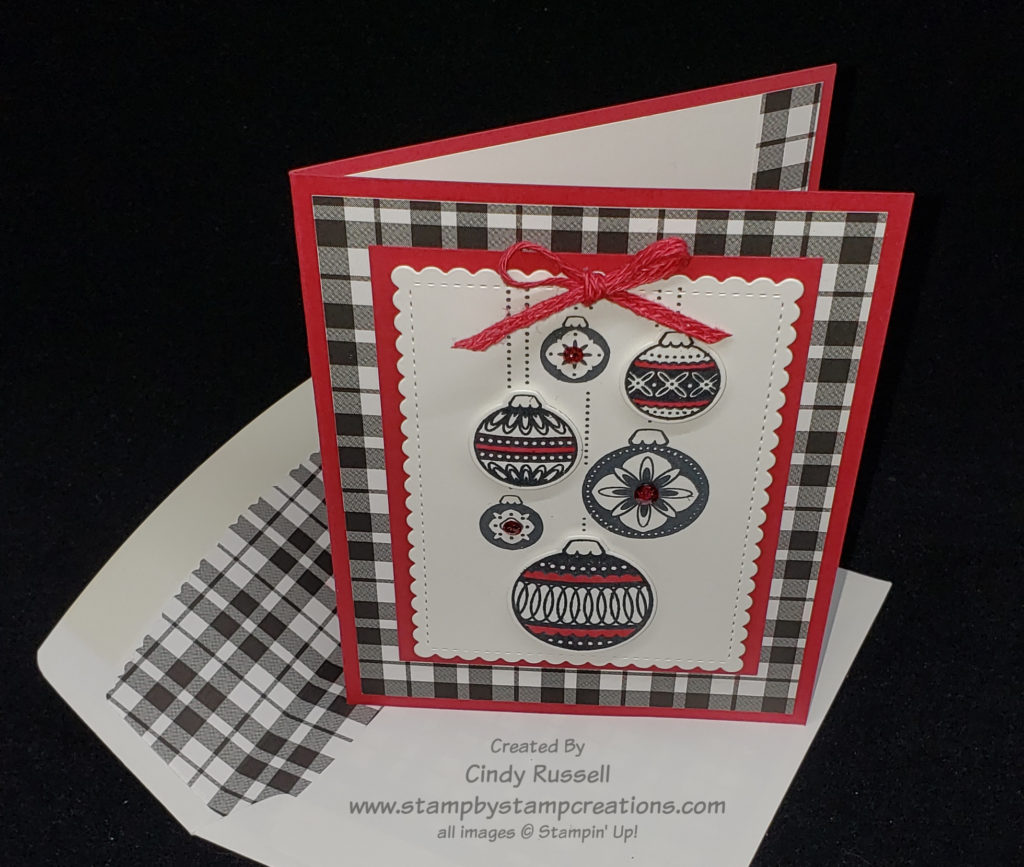
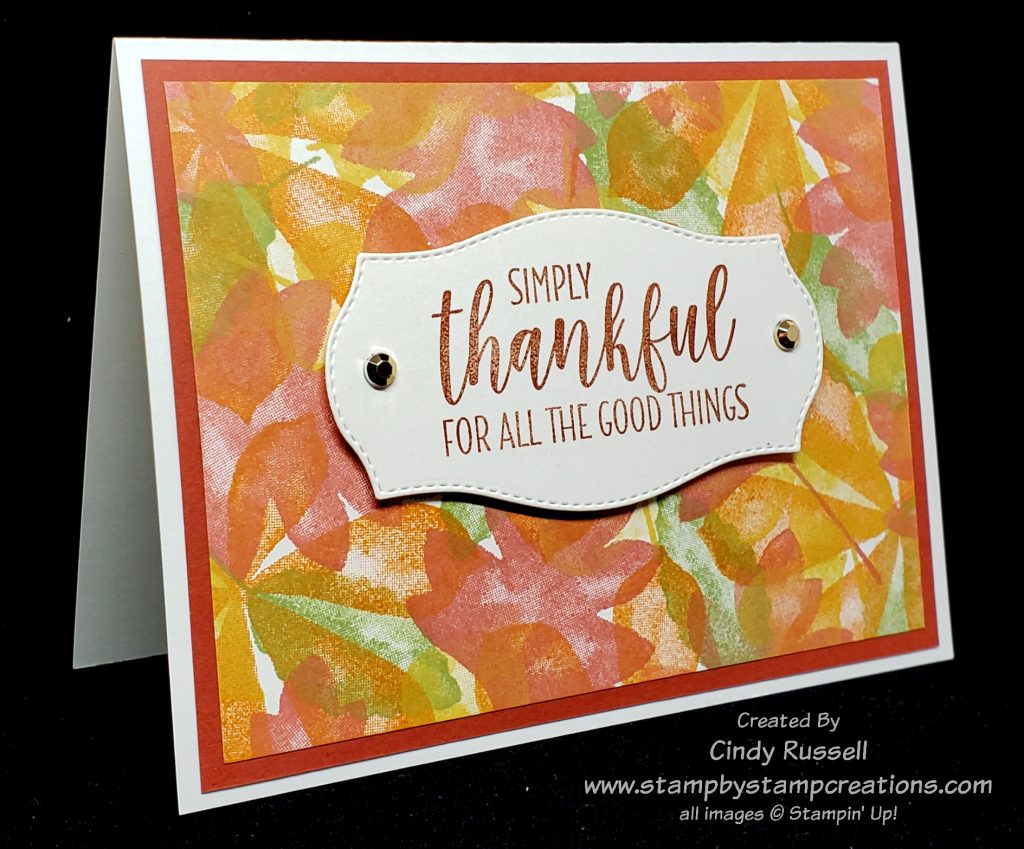
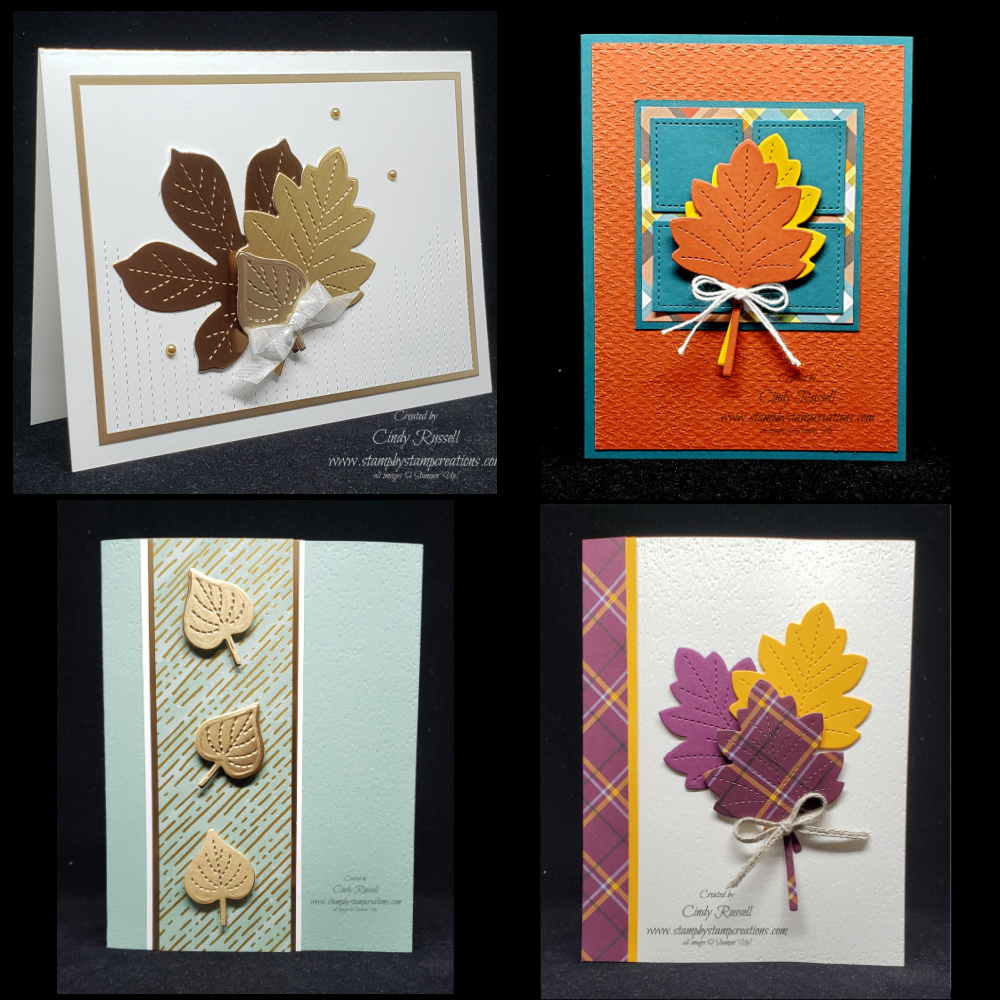
As you can see, the elements are exactly the same on the card and the tin! On the card, I overlaid the Plush Poinsettia Paper on to a Silver Foil sheet and on the card I made a belly band and wrapped it around the silver tin.
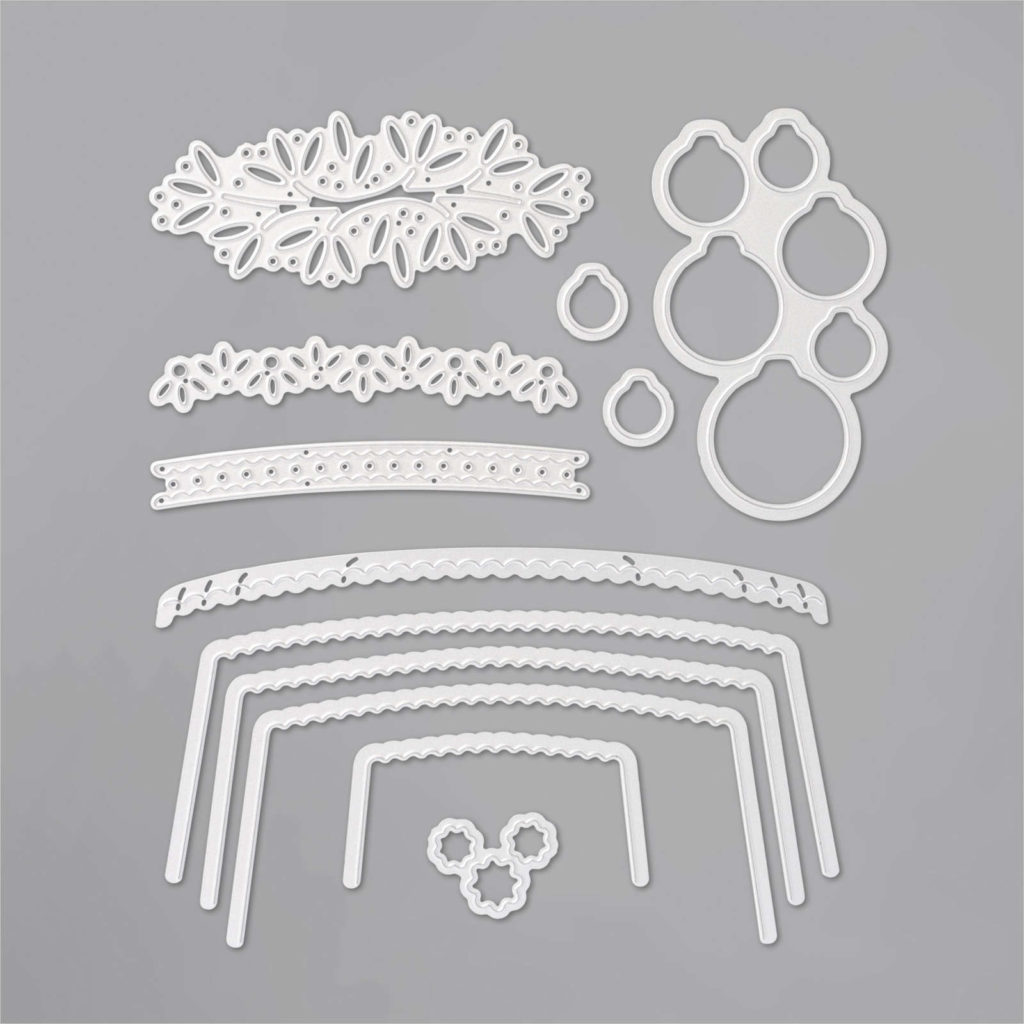
The poinsettia on both projects was made using the fun Red Velvet Paper which coordinates perfectly with the Plush Poinsettia Paper! Both of these specialty papers are fun to use and give your projects great texture.
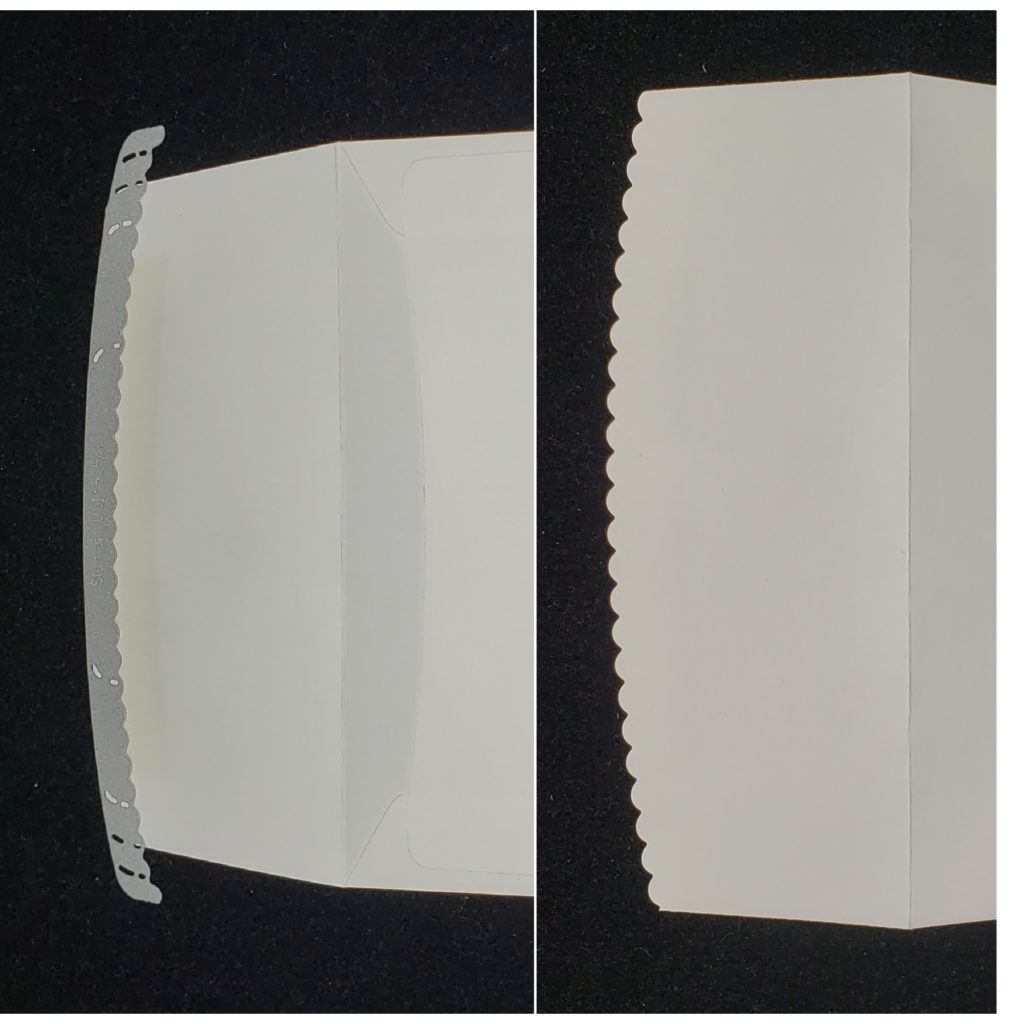
When making a belly band that wraps around something, you want to be sure not to get it too tight. It’s a fine line because you don’t want it too tight that you can’t get it off but you don’t want it too loose so that it falls off the project. When I make a belly band I like to to pull it nice and snug when I wrap it but then before I adhere the ends together I loosen it just a little bit. You can have the seam of the belly band either on the bottom of the tin or the top. If you have the seam on the top, you’ll want to make sure that you cover it with the poinsettia so that you can’t see it.
You can find out how to make this lovely little project right here along with a little tip on using foil sheets with dies that are a little smaller and detailed.