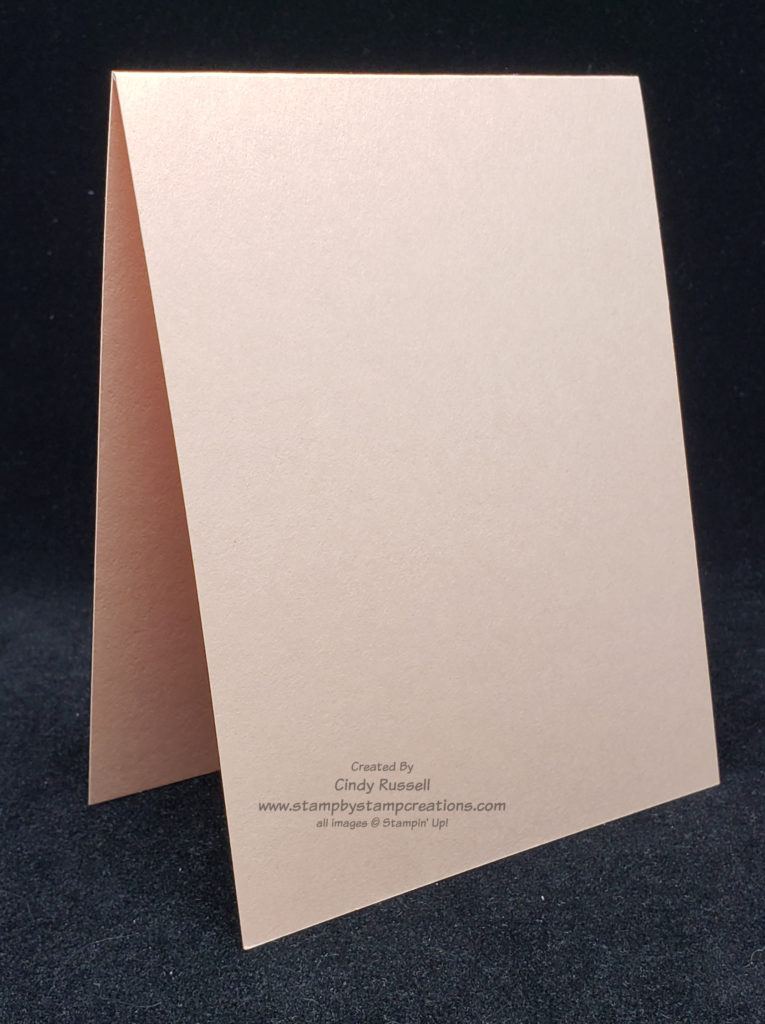
The basic Z-Fold card is fun and pretty easy to make. It’s called Z-fold because….it looks like a Z when folded!
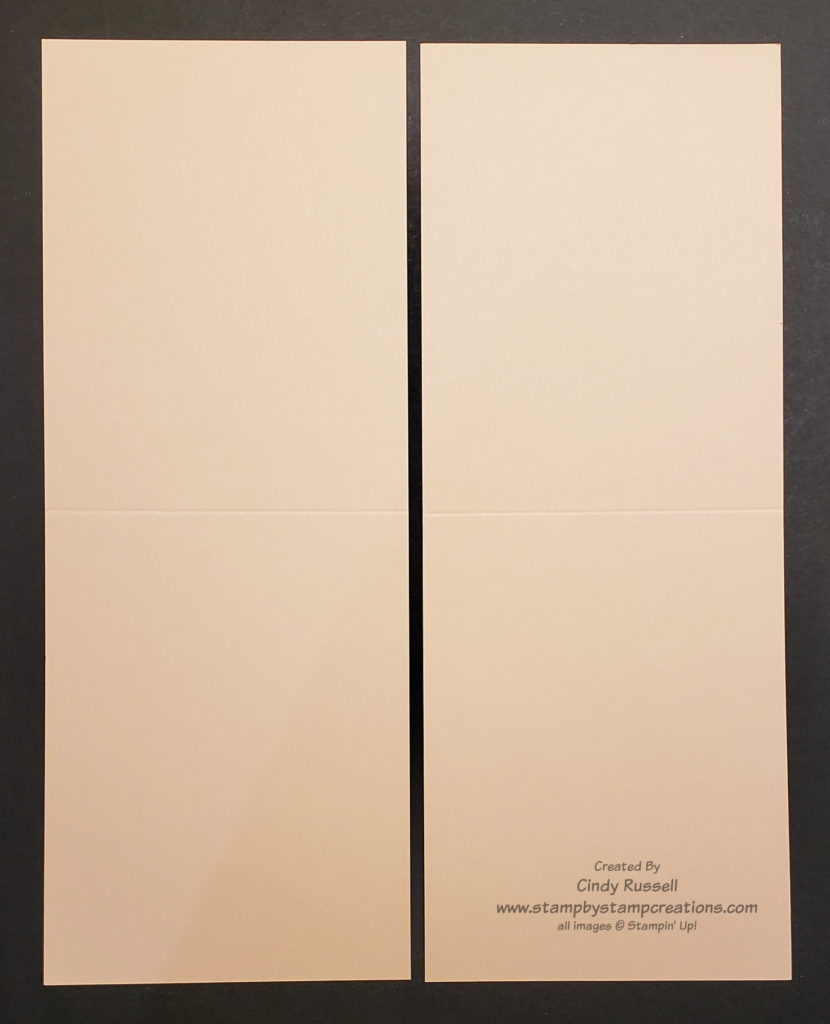
When making a Z-fold card you can start with a 4 1/4″ x 11″ piece of cardstock like I did in the adjacent picture or you can start with a 5 1/2″ x 8 1/2″ piece of cardstock. Whichever size of cardstock you start with you’re going to make your Z-fold card the same.
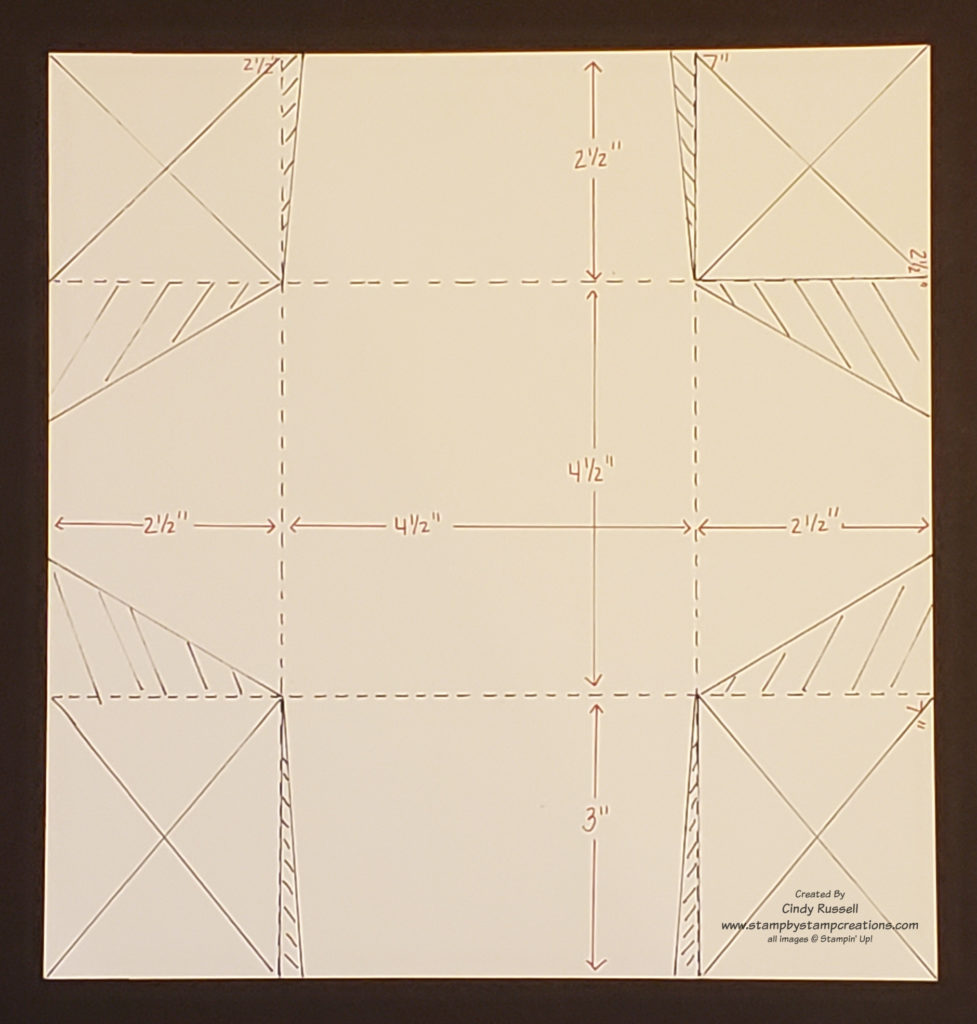
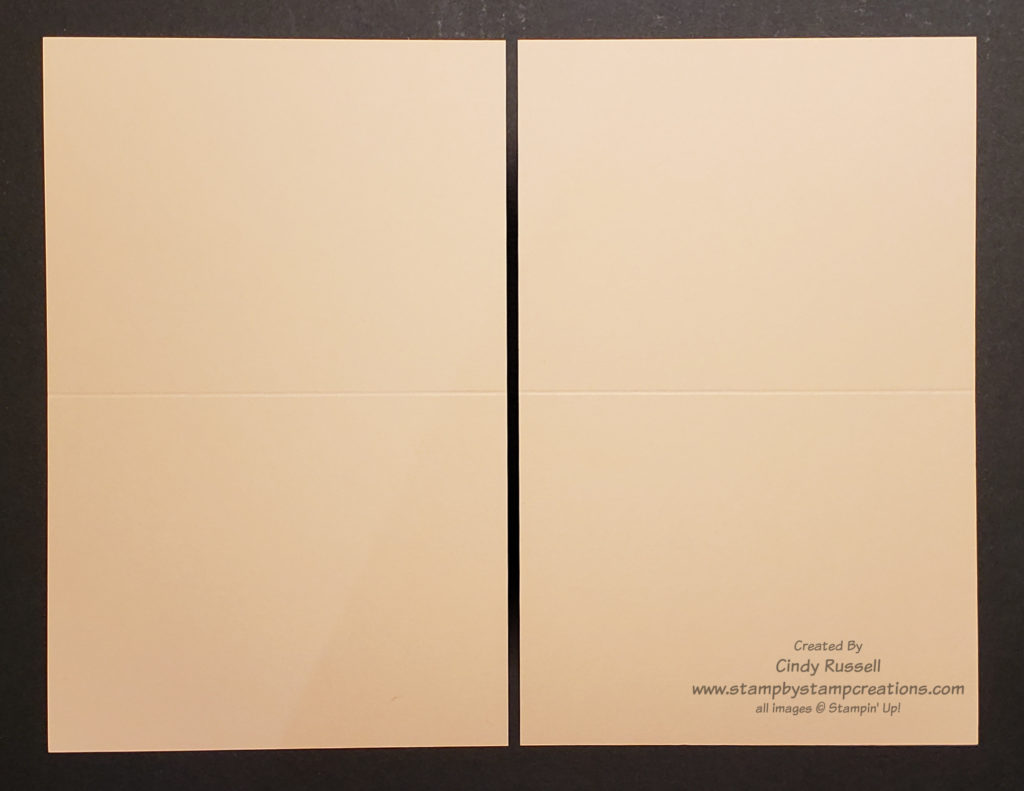
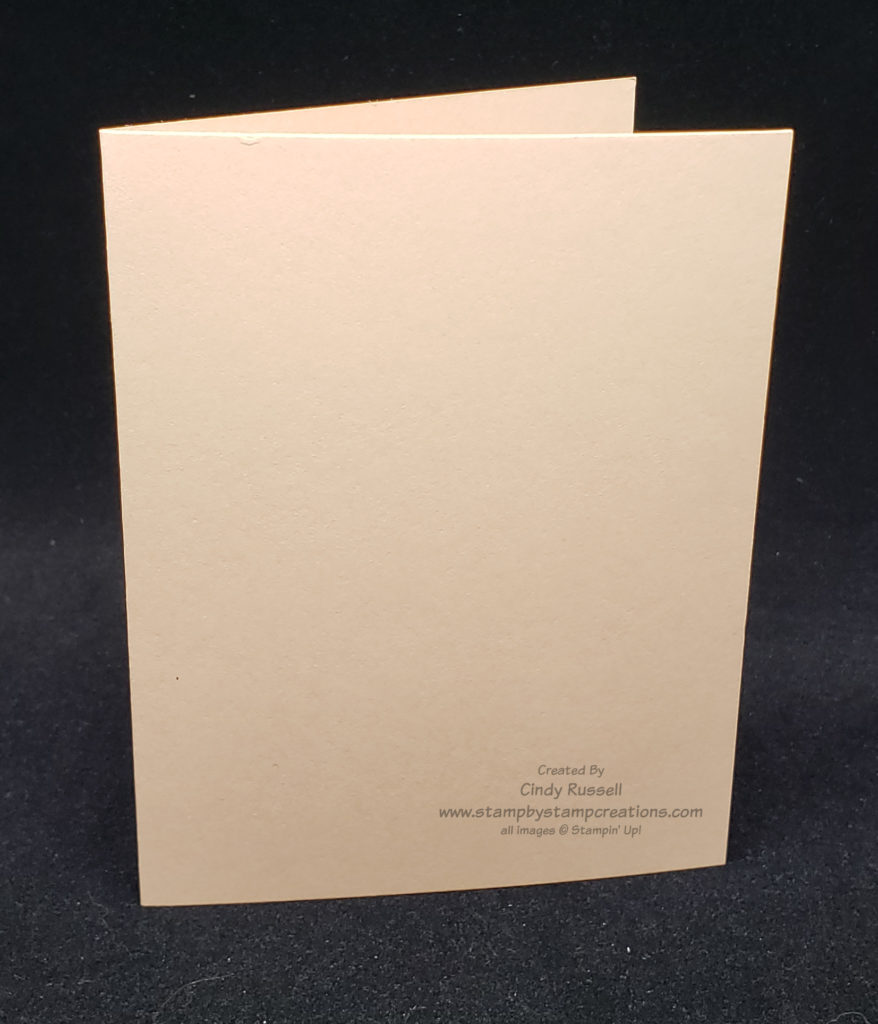
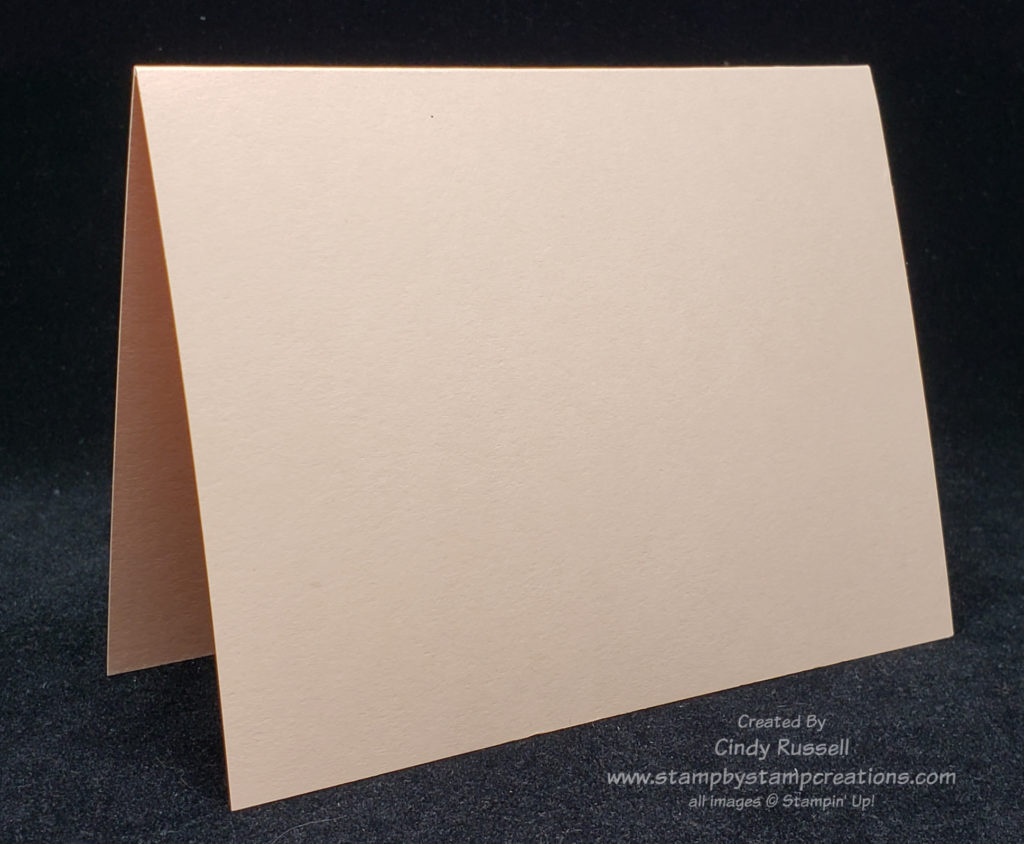
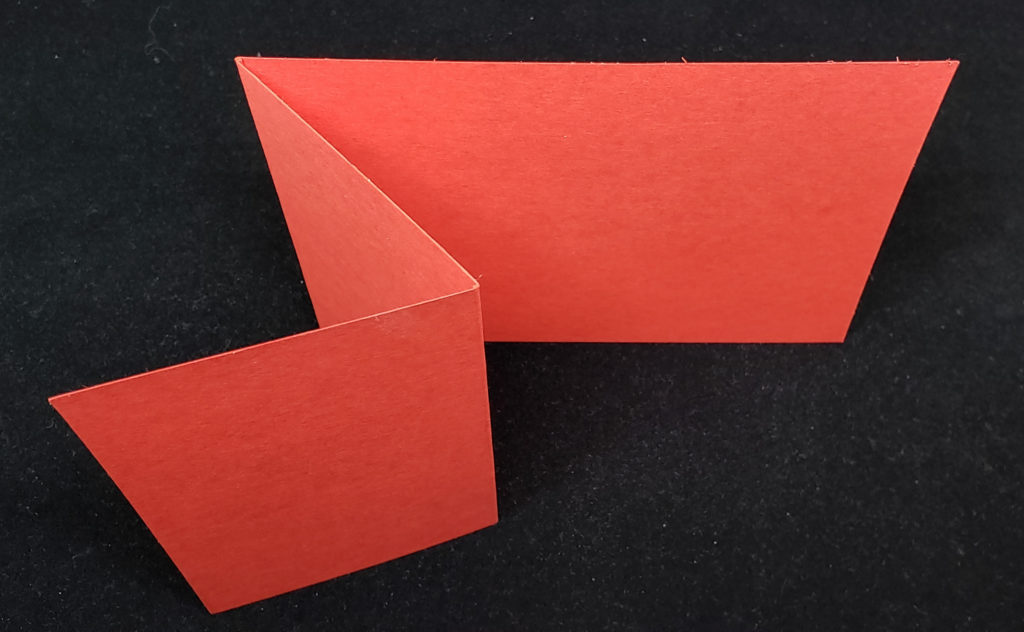
First of all you want to score and fold your card base in half. In the photo above I scored my 4 1/4″ x 11″ piece of cardstock at 5 1/2″. To make the Z I then scored the front of the card in half again at 2 3/4″ and folded it towards the fold. Easy Peasy.
In the photo to the left I started with a 5 1/2″ x 8 1/2″ piece of cardstock. I first scored it in half at 4 1/4″ then the second score mark and fold were at 2 1/8″.
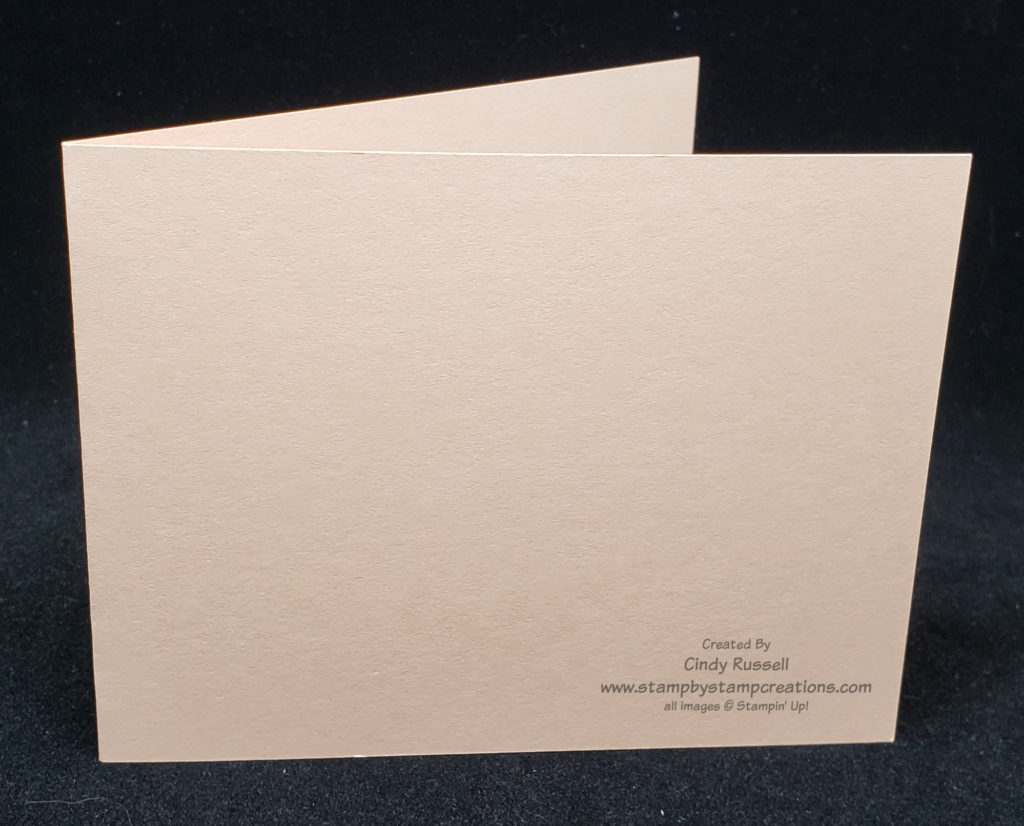
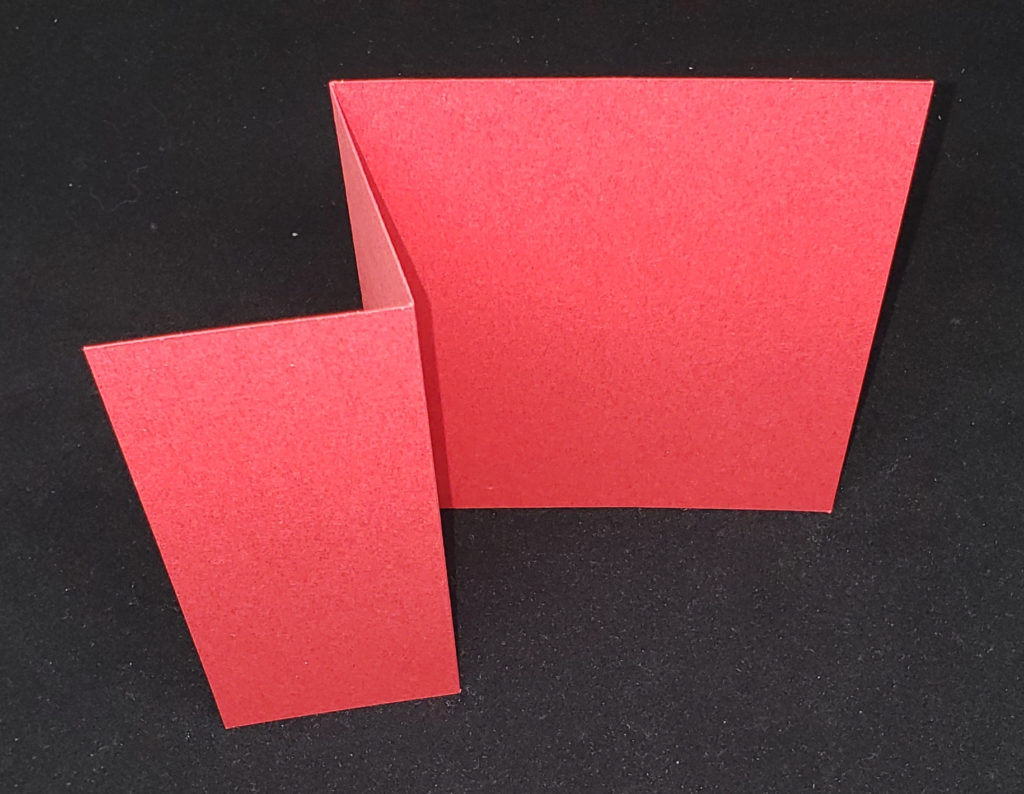
Once you have the Z-fold card base formed you need to decorate and embellish your card. You will usually adhere a panel to the smaller, folded over front panel that will overlap the back base of the card.
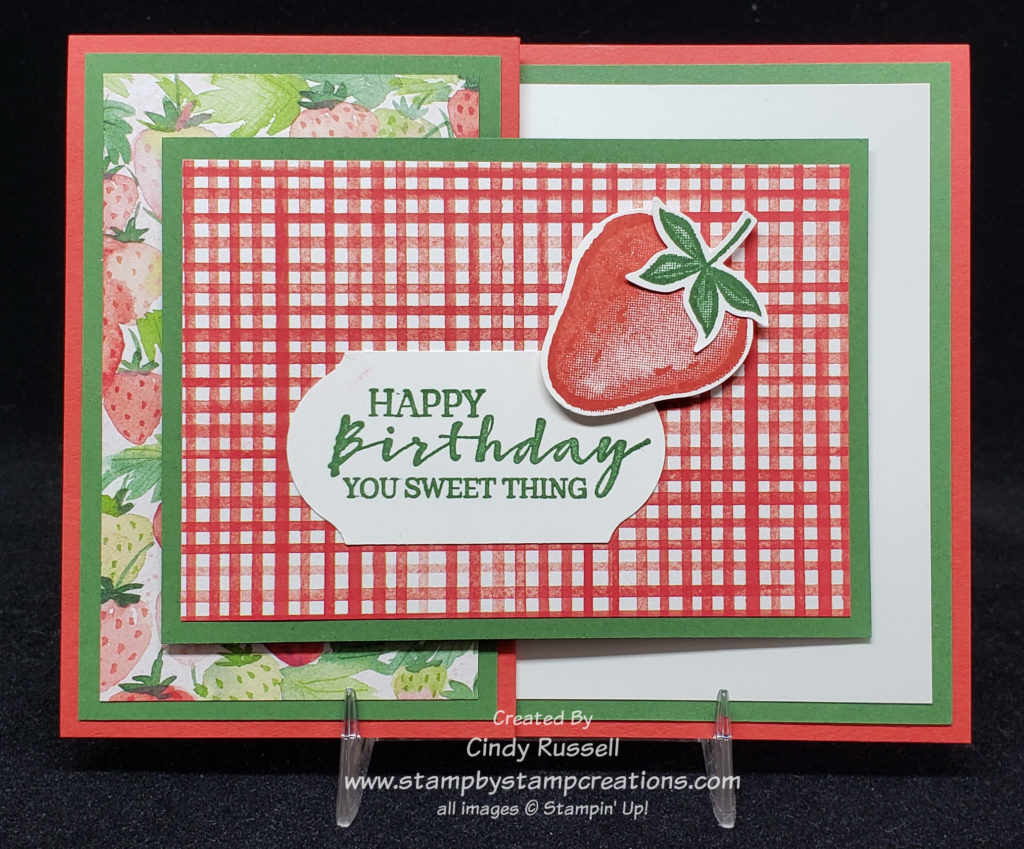
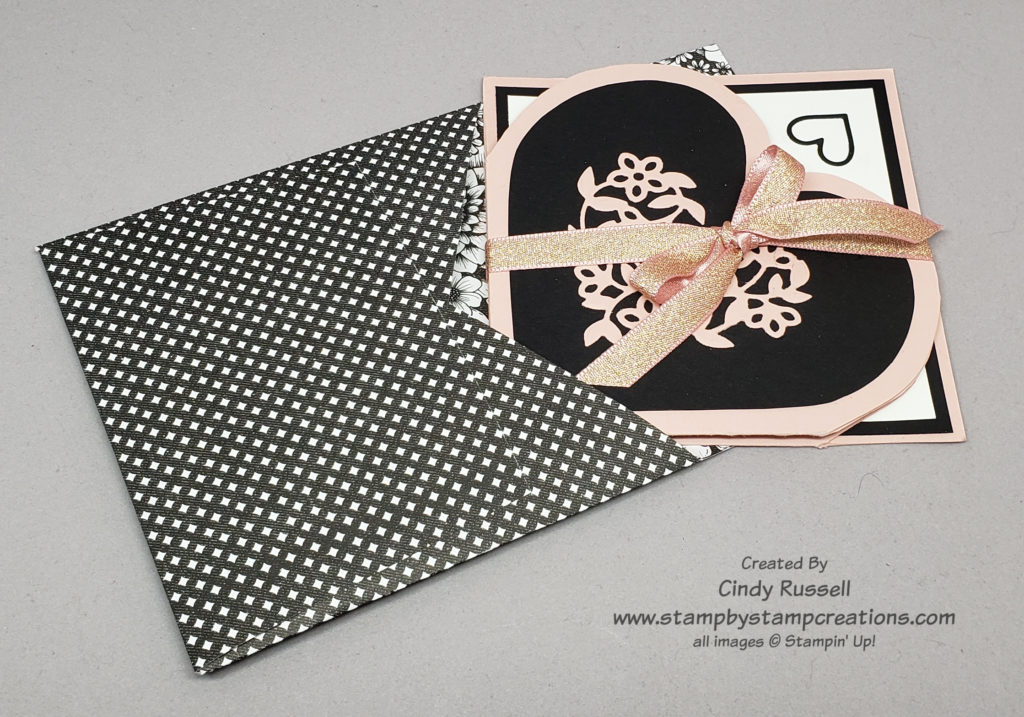
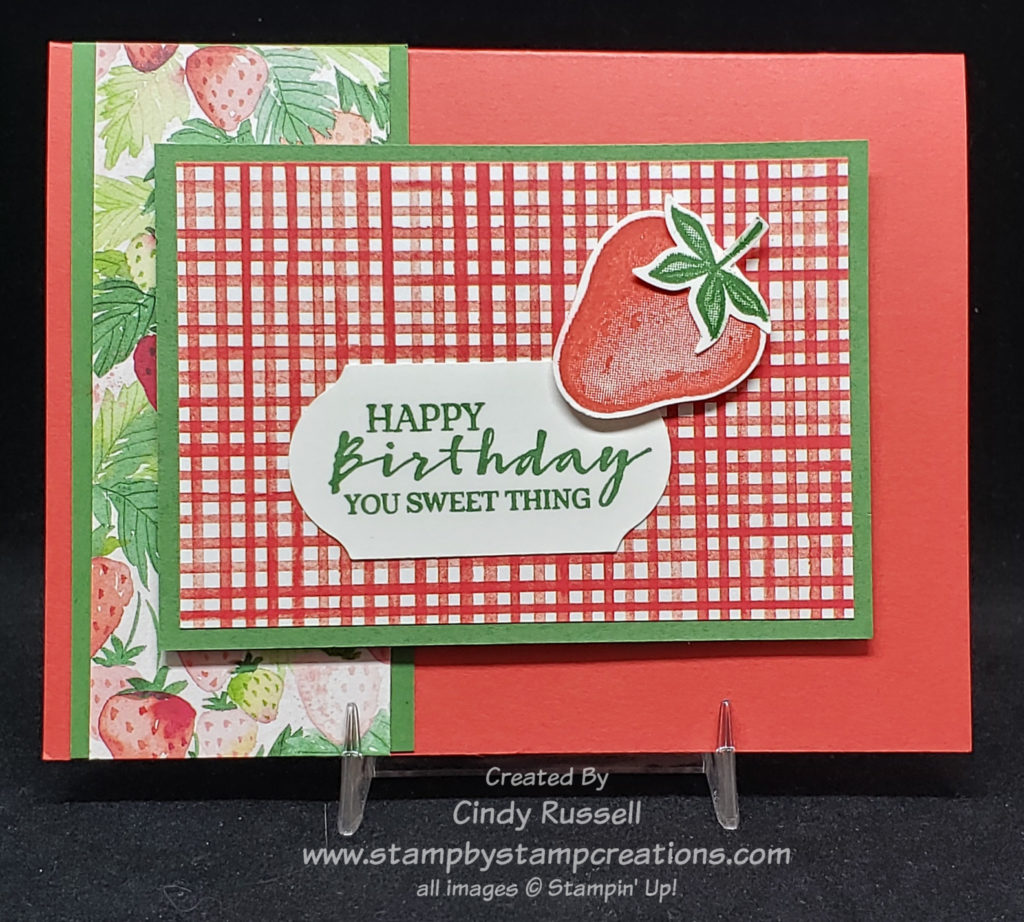
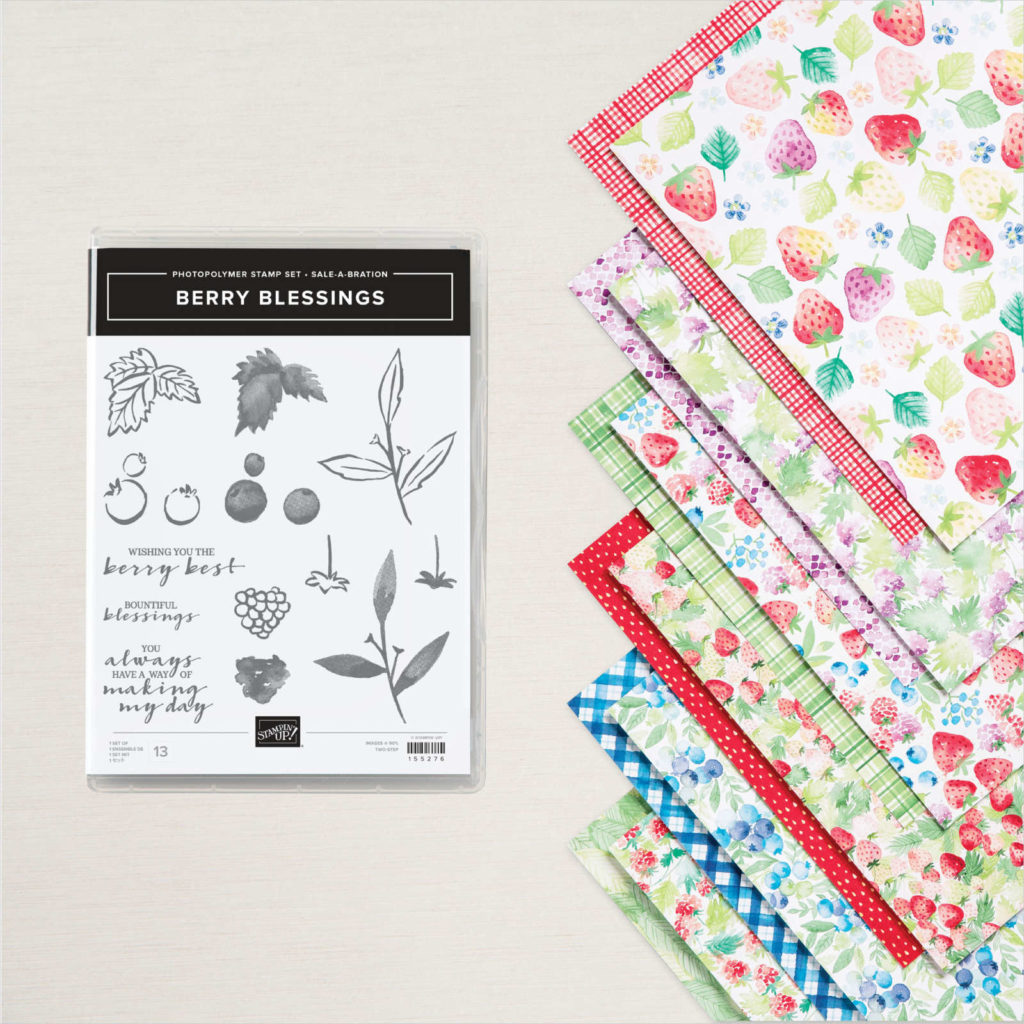
Back on January 18th I shared a card with you that looked a lot like the card you see on the left. It was a regular card made with The Sweet Strawberry stamp set. Once I had completed that card I realized how cute it would be as a Z-Fold card which brings us to today’s project.
In the photo you can see how the “front of the card” in Real Red is only have the size of the Real Red base. This is because I folded over half of the front to form my Z-fold. The checked designer paper with the strawberry on it is the decorative panel that completes the card.
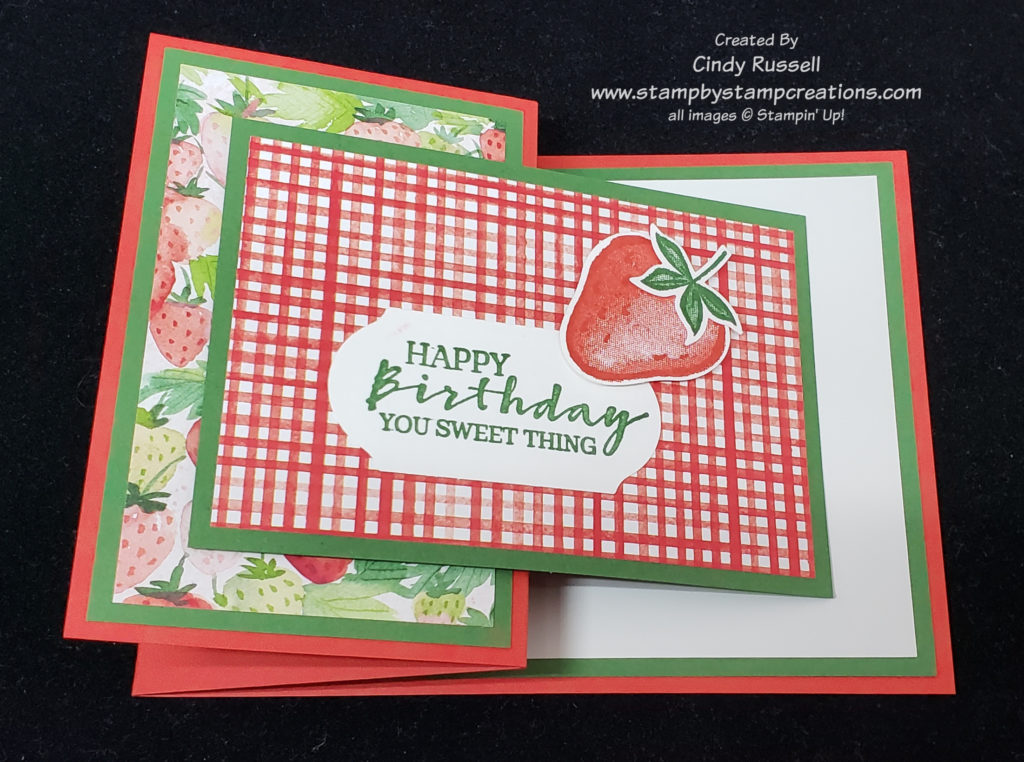
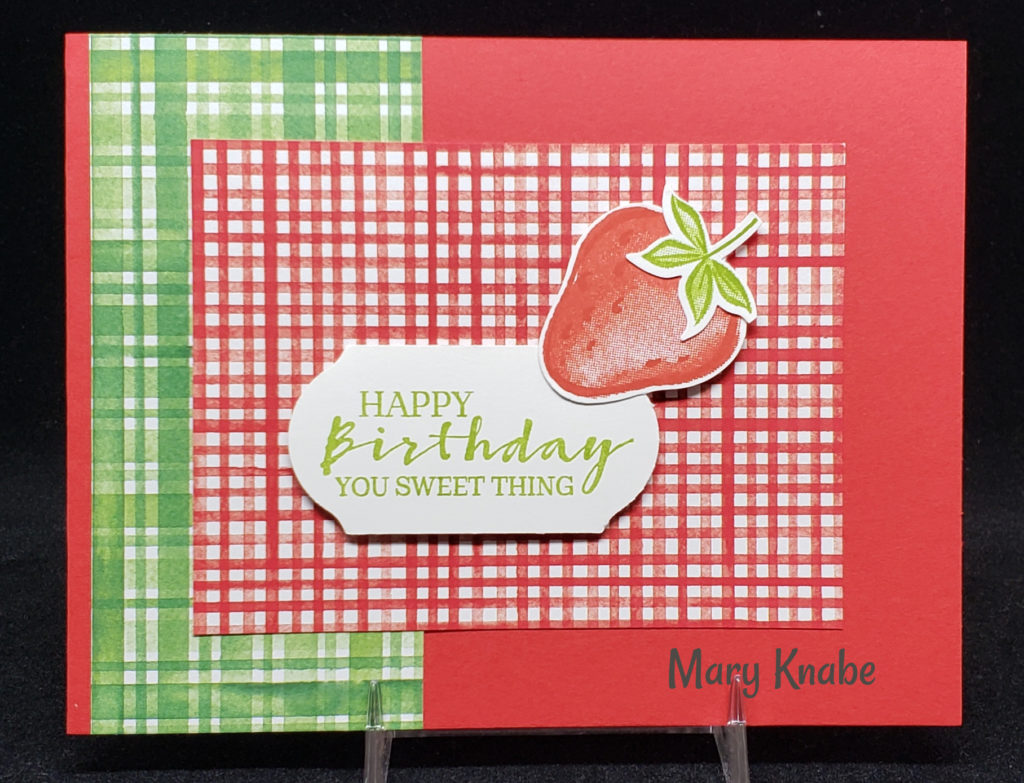
In this second picture you can see the “Z” and how the card is actually put together. I used Stampin’ Dimensionals on the left, back side of the piece with the checked background and strawberry. It’s important to remember to only put Stampin’ Dimensionals on the portion of the paper that will actually get attached to that front side or you won’t be able to open your card. Oops! (Not that I’ve ever done that. Ha!)
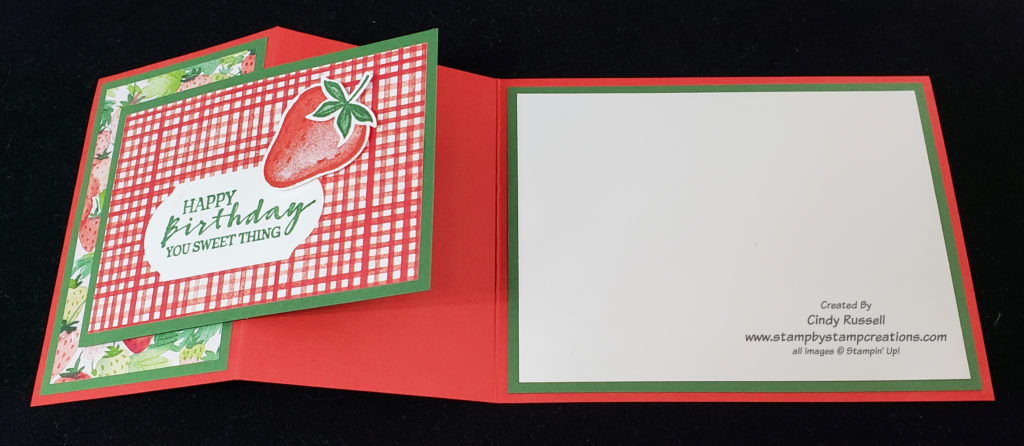
You can see how the card looks when it’s open in the photo above. Z-Fold cards are fun to make. They’re pretty much my go-to fun fold when I want to add a little more pizzazz to card.
Give the Z-fold Fun Fold card a try. I’d love to see your samples! Have a great day! Take care and Happy Stamping!