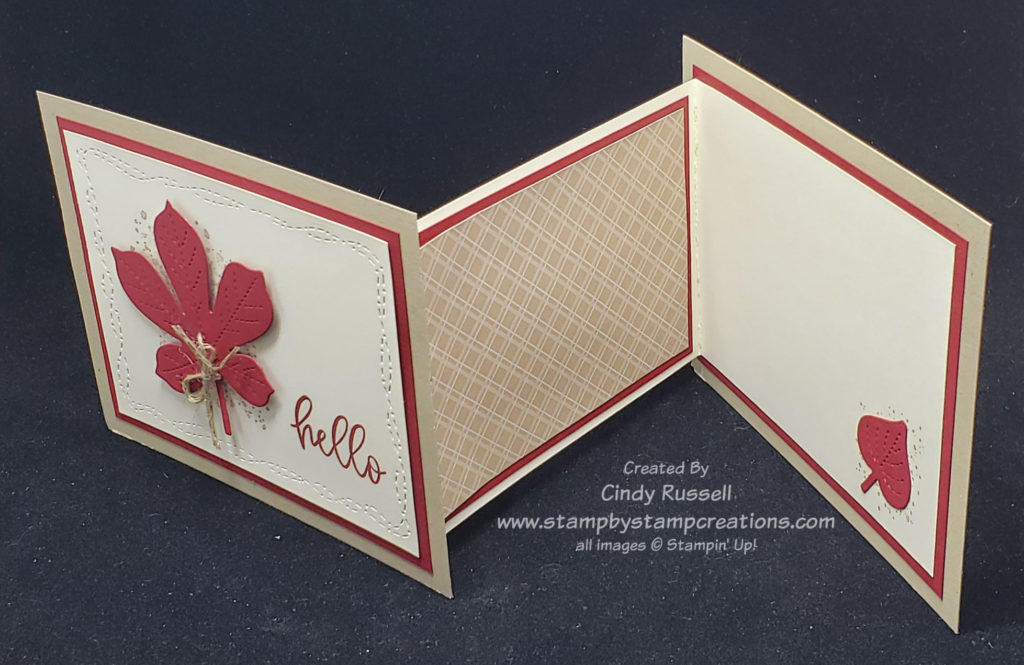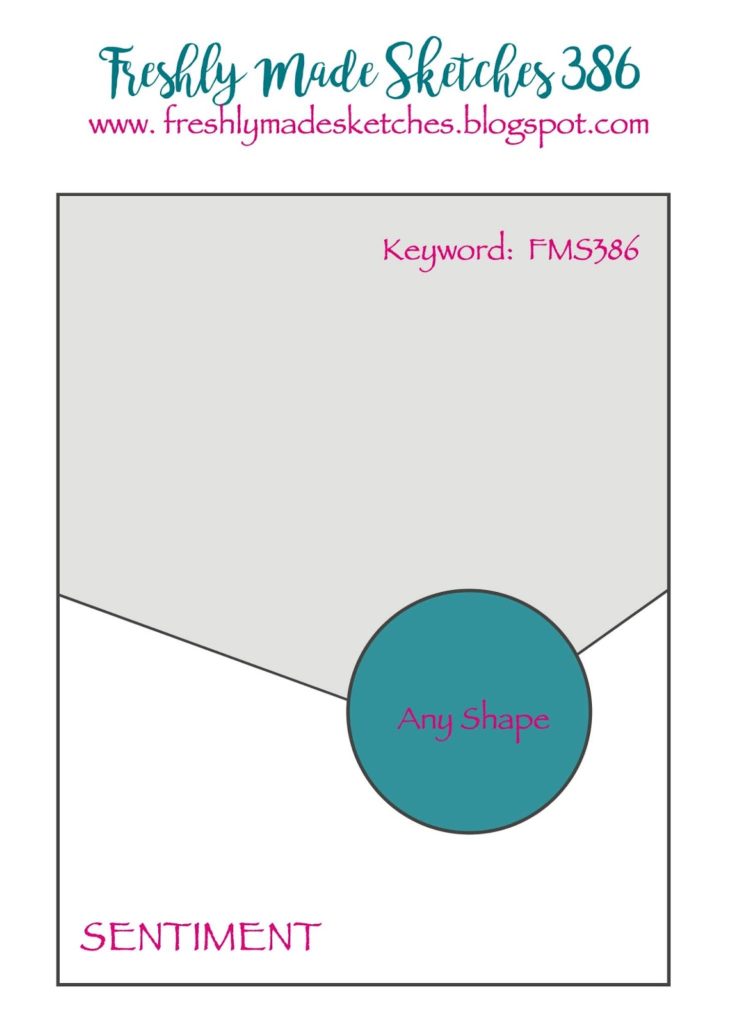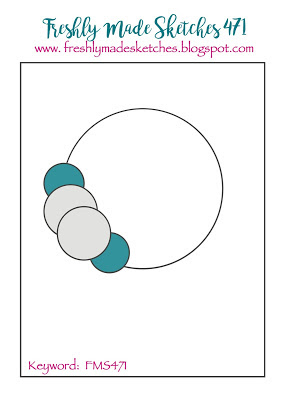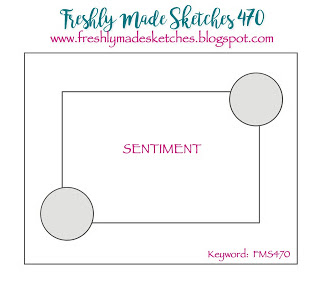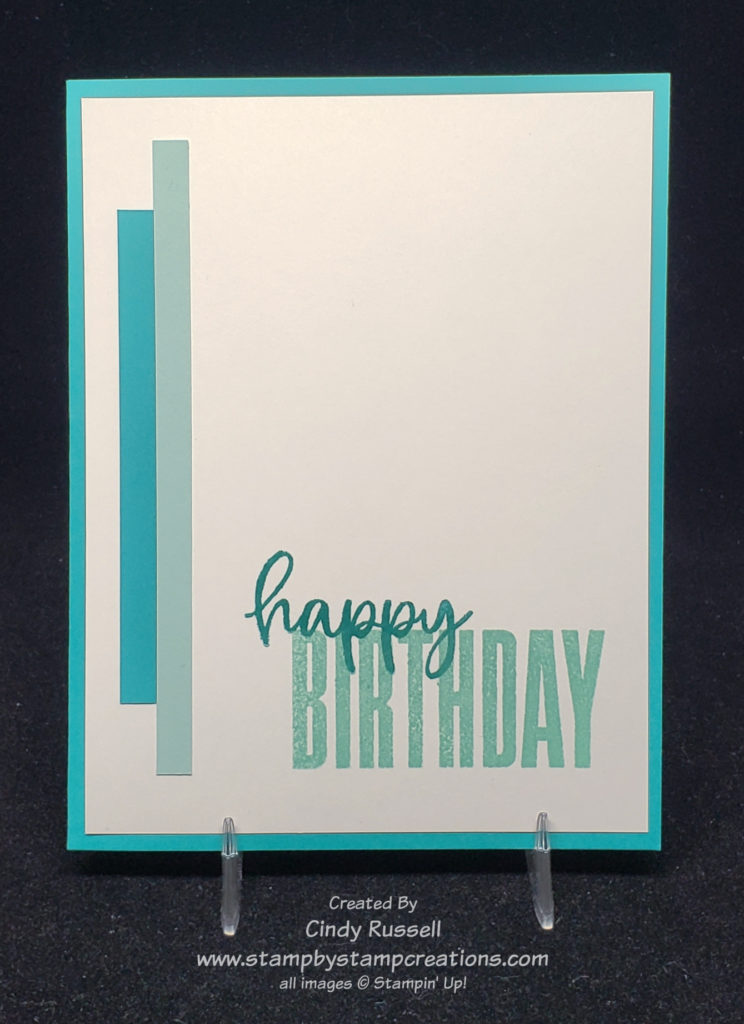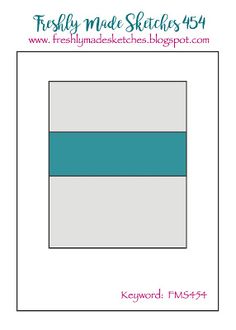
Here is today’s card sketch. I think I did pretty good on this one. Just a few additions, right? Naturally I had to add another layer….
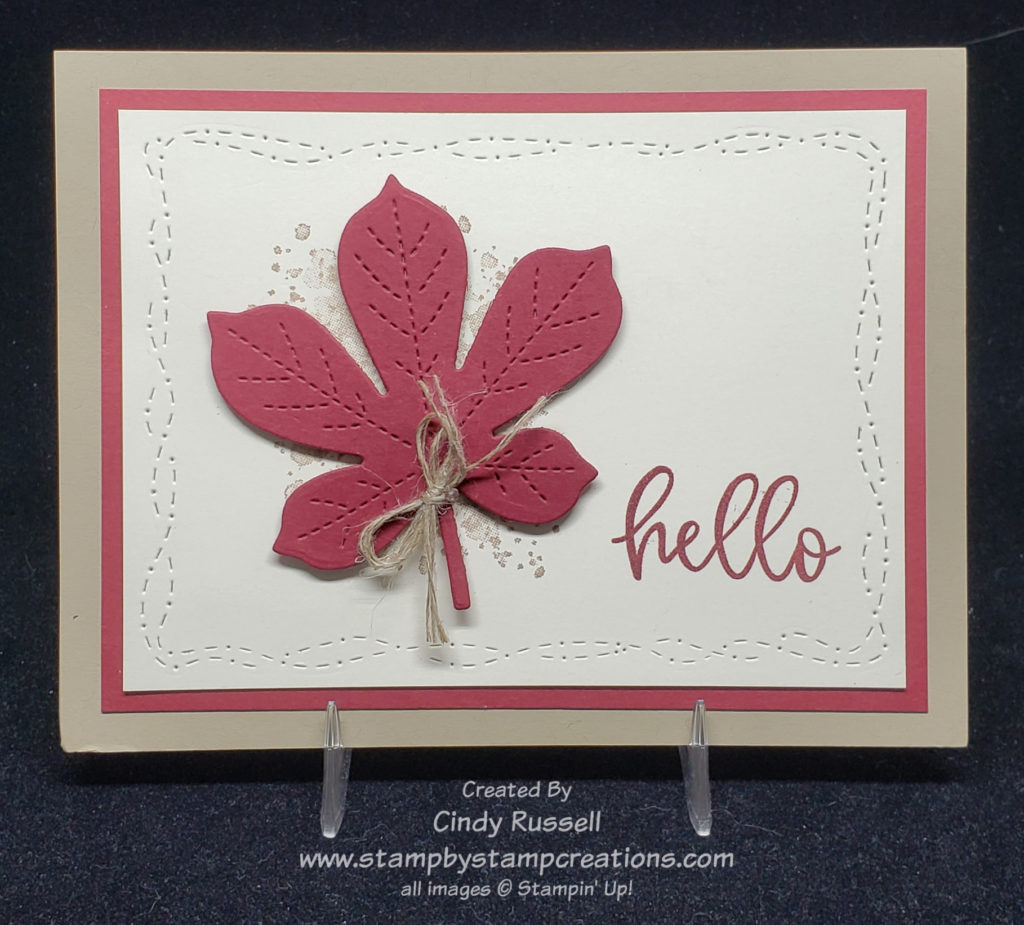
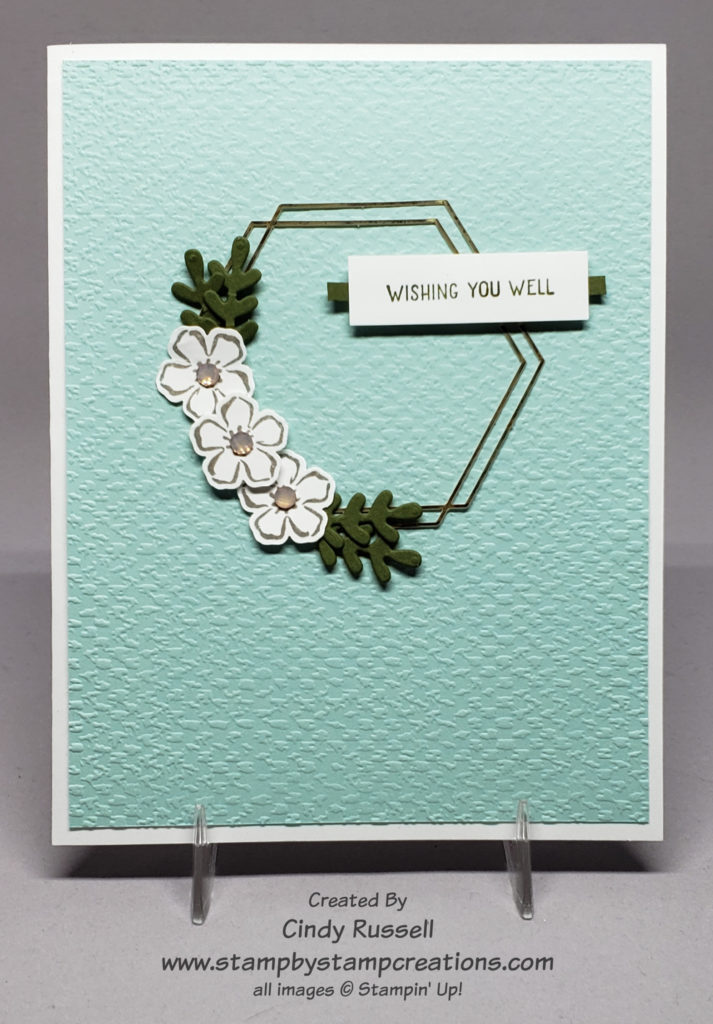
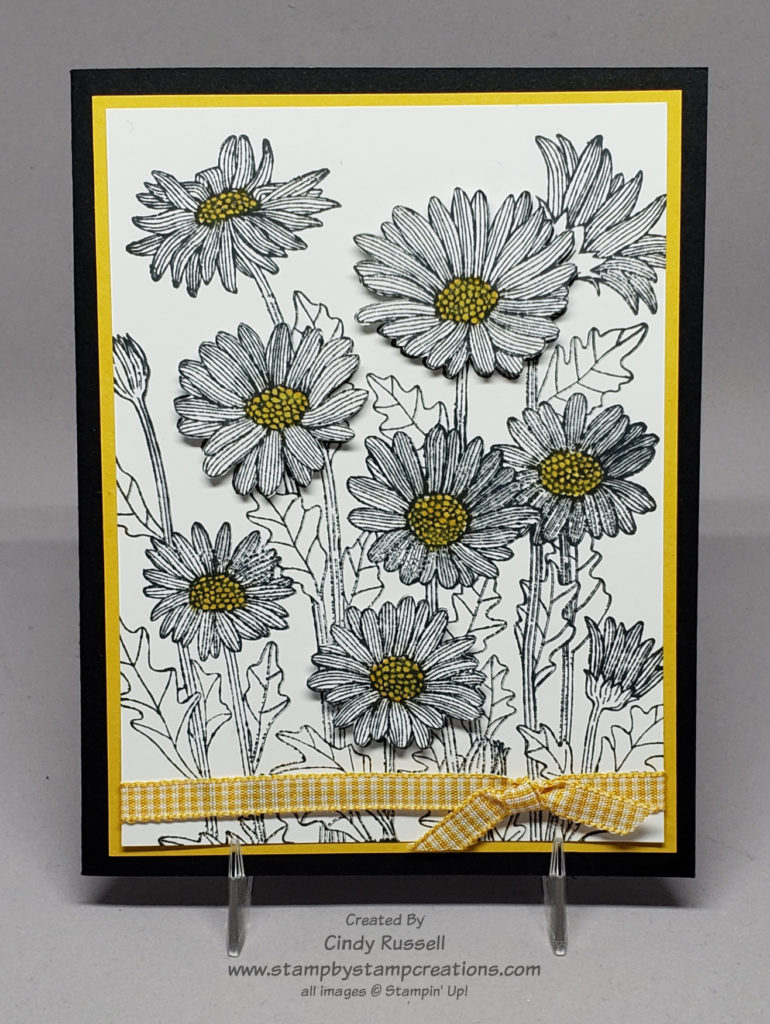
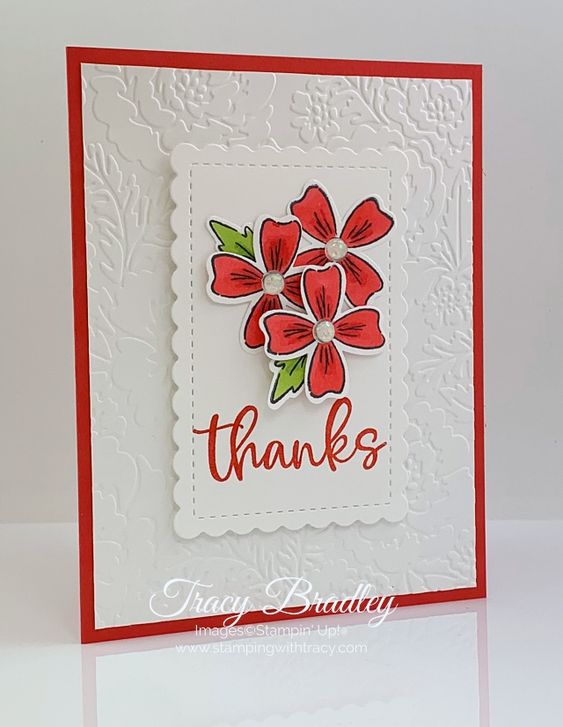
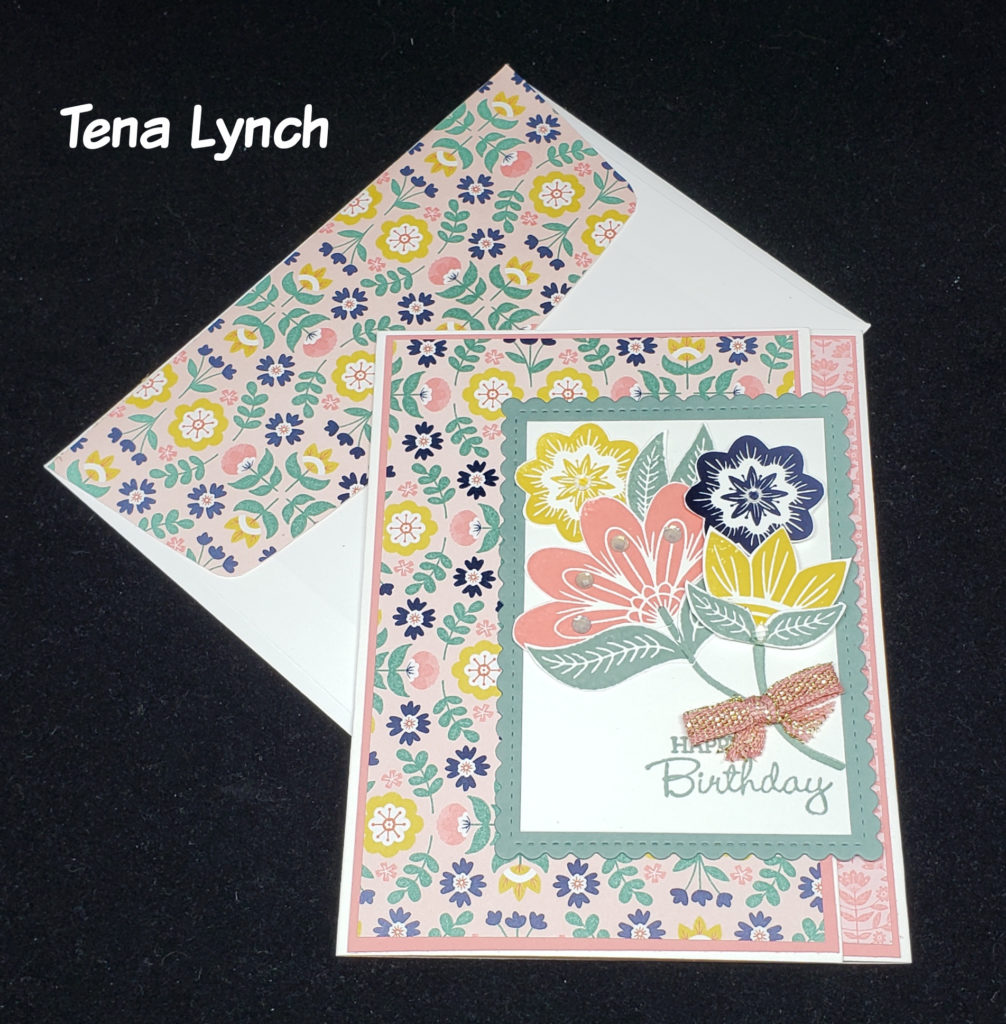
I used Stampin’ Up!’s gorgeous Expressions in Ink Specialty Designer Series paper as the focal point for my card. This paper is so beautiful! The sentiment is from the Artistically Inked stamp set which also is part of the Expressions in Ink Suite of products that can be found on pages 96-97 of Stampin’ Up!’s Annual Catalog. “thanks” is heated embossed with Gold Embossing Powder .
Did you notice how I used the “Rule of 3” with the gold? There is gold in the designer paper, the sentiment is embossed in gold and my added layer is gold. If you don’t remember what the Rule of 3 is it is this: when things are used in threes they are more pleasing to the eye. You may use this when creating your projects and not even realize that you’re using the “Rule of 3”.
Once again, I’m going to encourage you to try creating with card sketches. Whether you get your sketches from Freshly Made Sketches where I’ve been finding mine or some other source, card sketches are a great way to start the creative process.
Have a great day! Take care and Happy Stamping!