Fun Fold: Twisted Gate Fold Card

Twisted Gate Fold Card

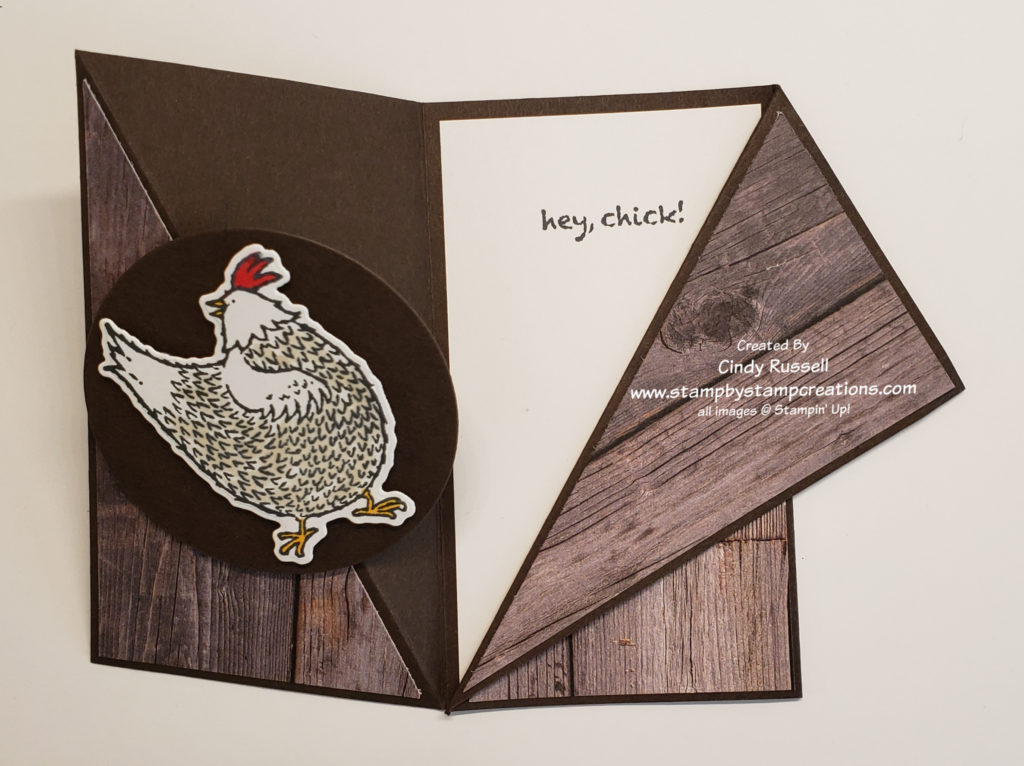
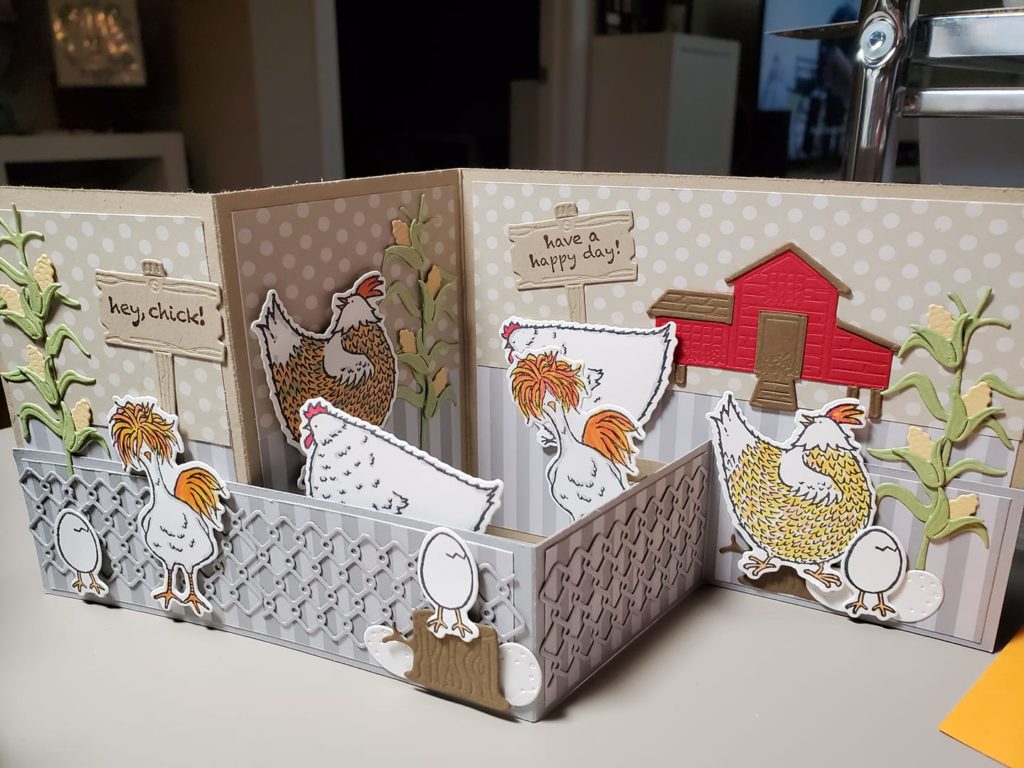
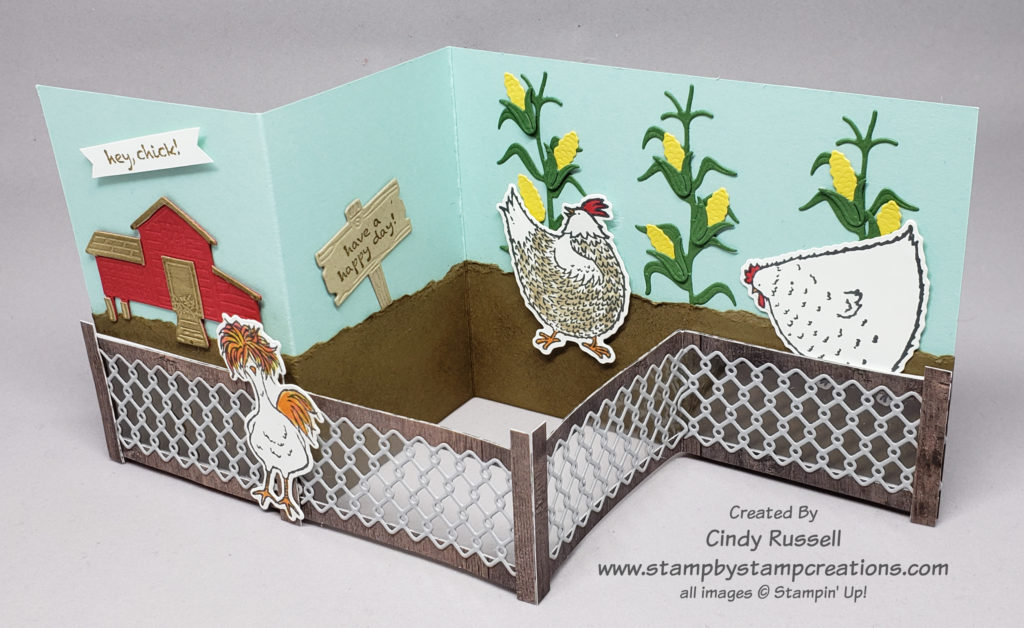
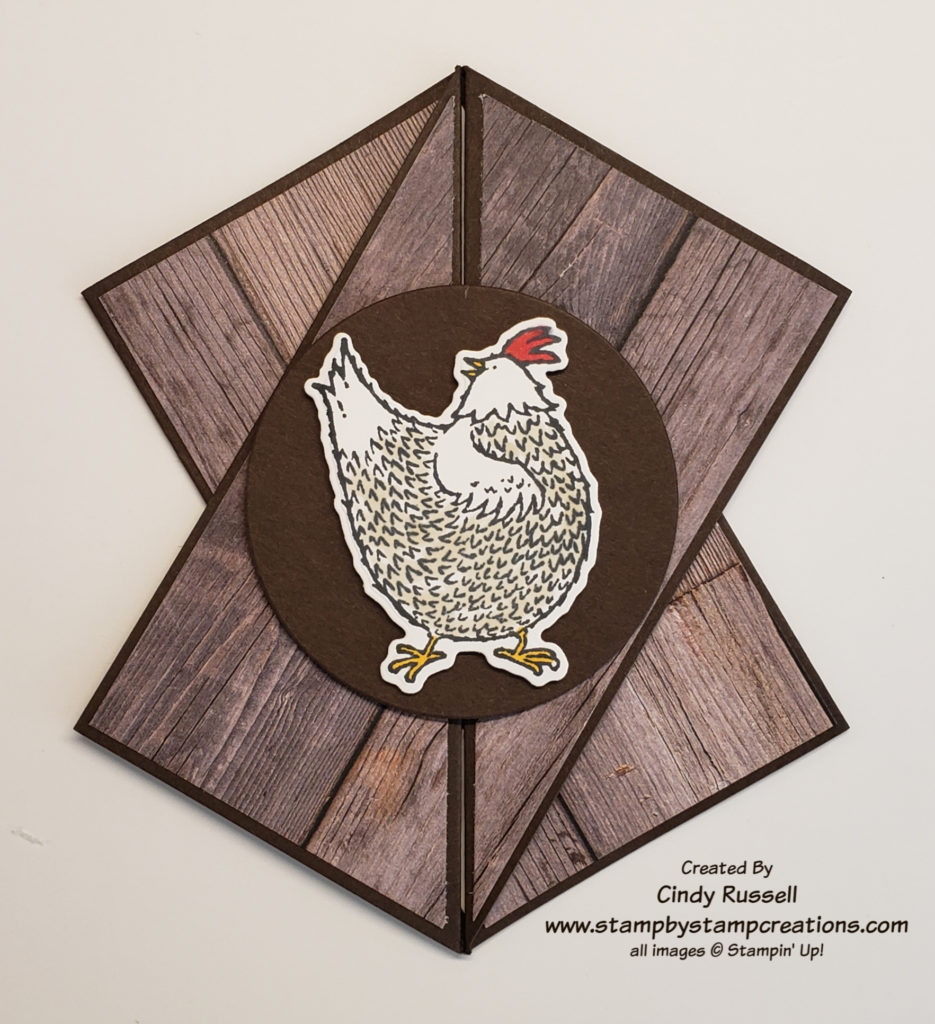
Today’s Fun Fold is the Twisted Gate Fold or Diagonal Gate Fold card.  This unique fold is a lot easier to make than it looks.  I would almost call it the Twisted Double-Flap Gate Fold because like the regular Double-Flap Gate Fold card that I showed you a few weeks ago, you fold the front panels back on themselves. In this fun fold though you fold the front panels back on the diagonal.

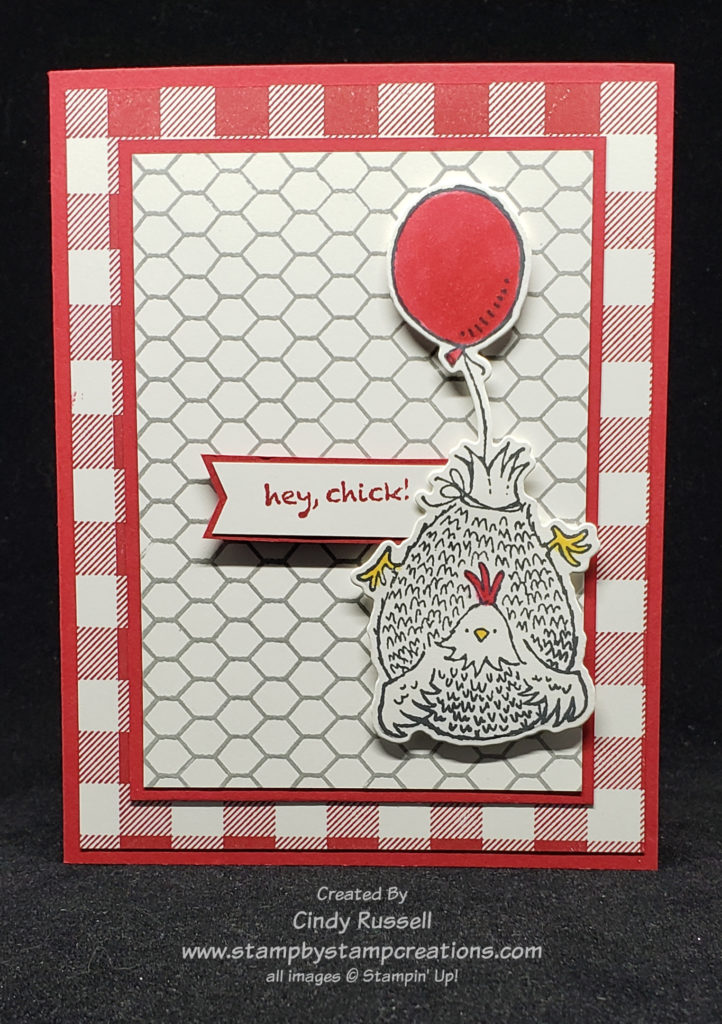
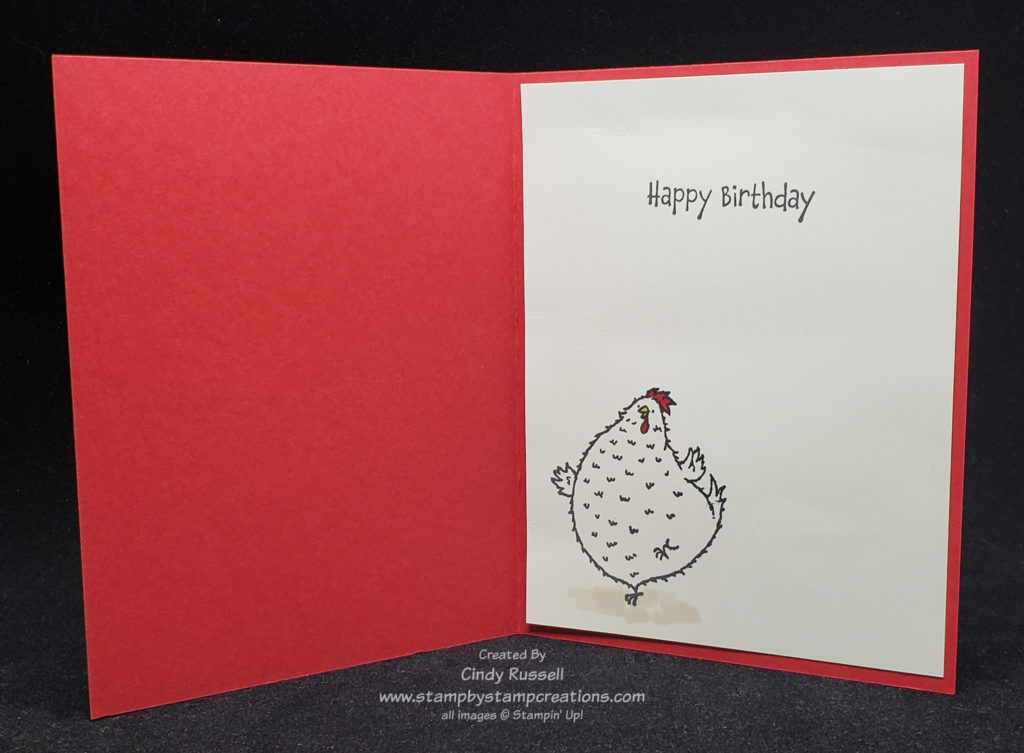
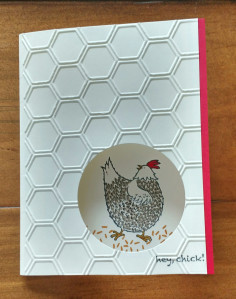
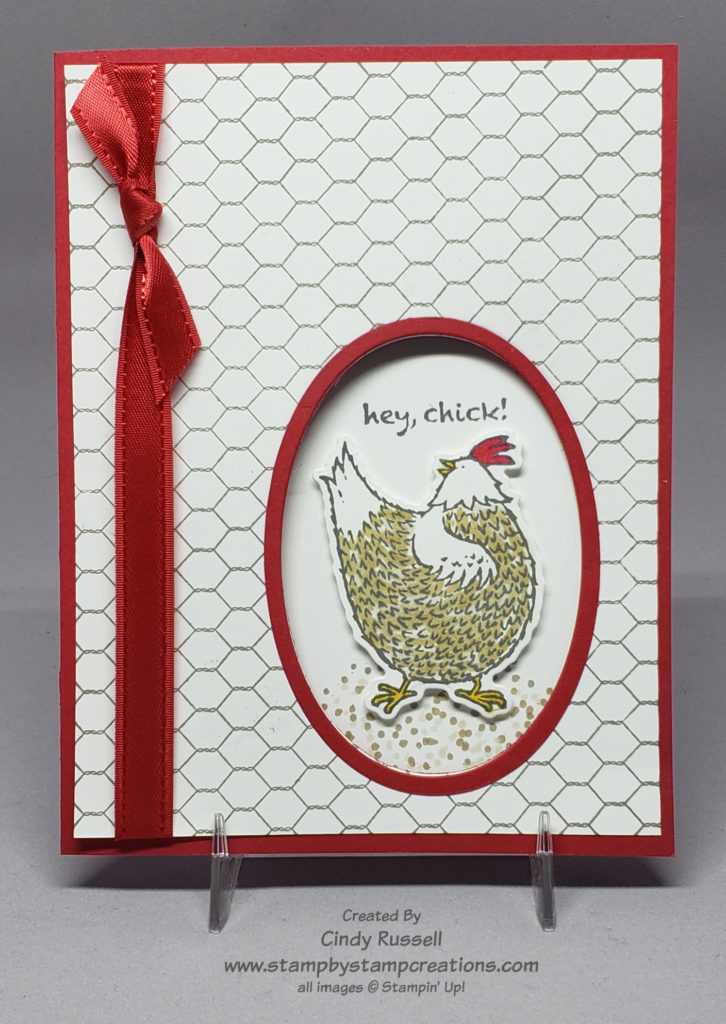
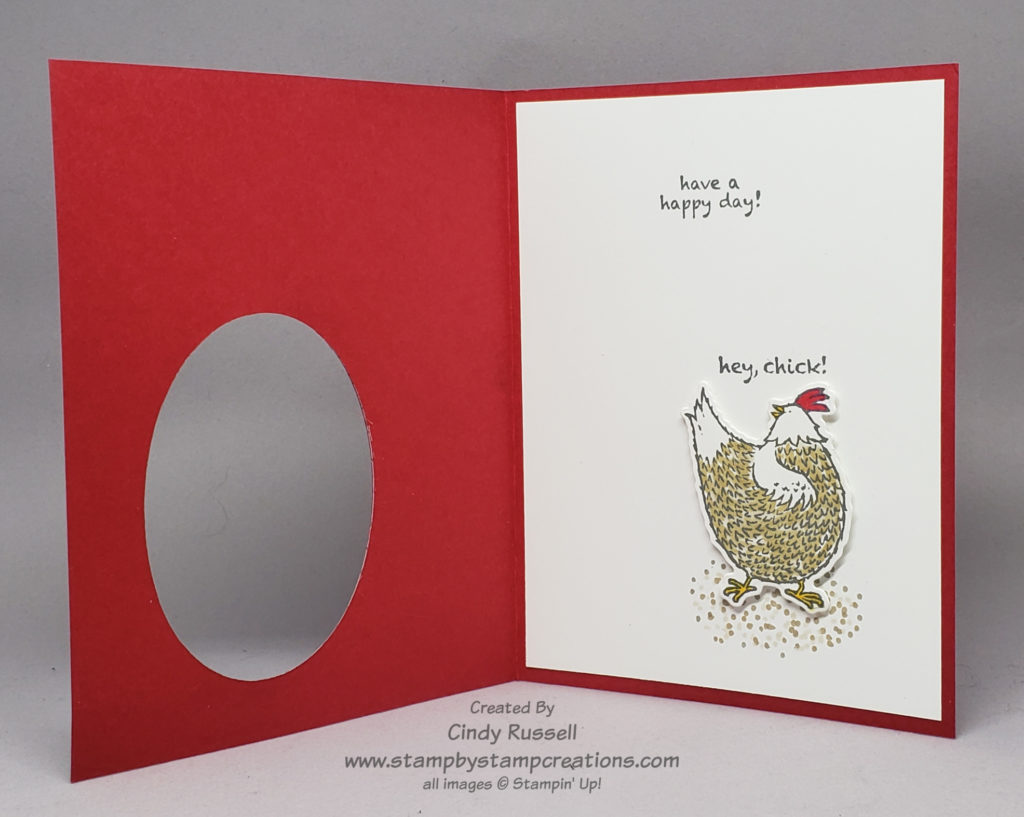
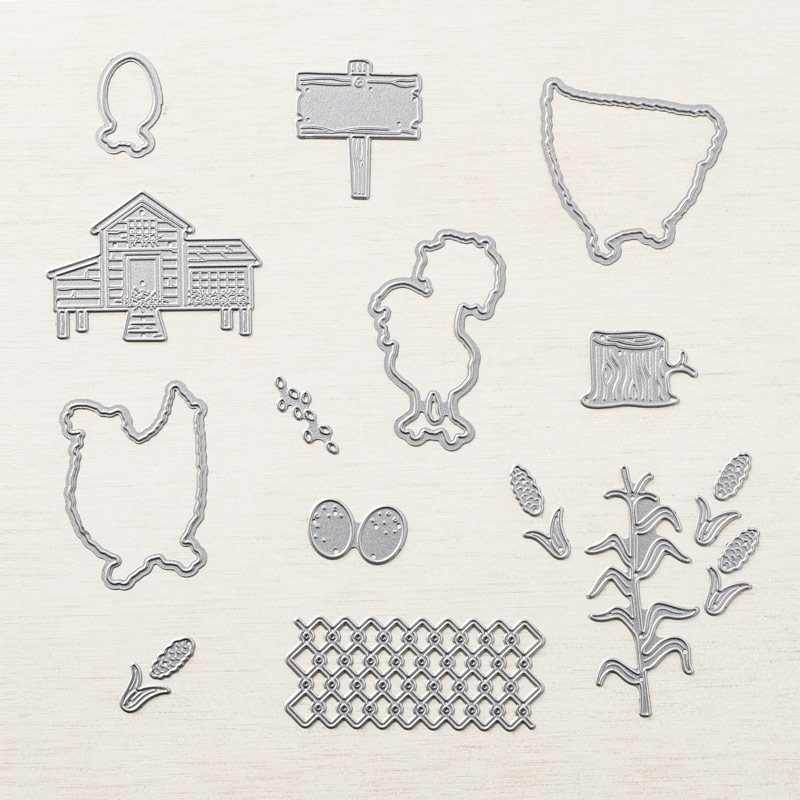
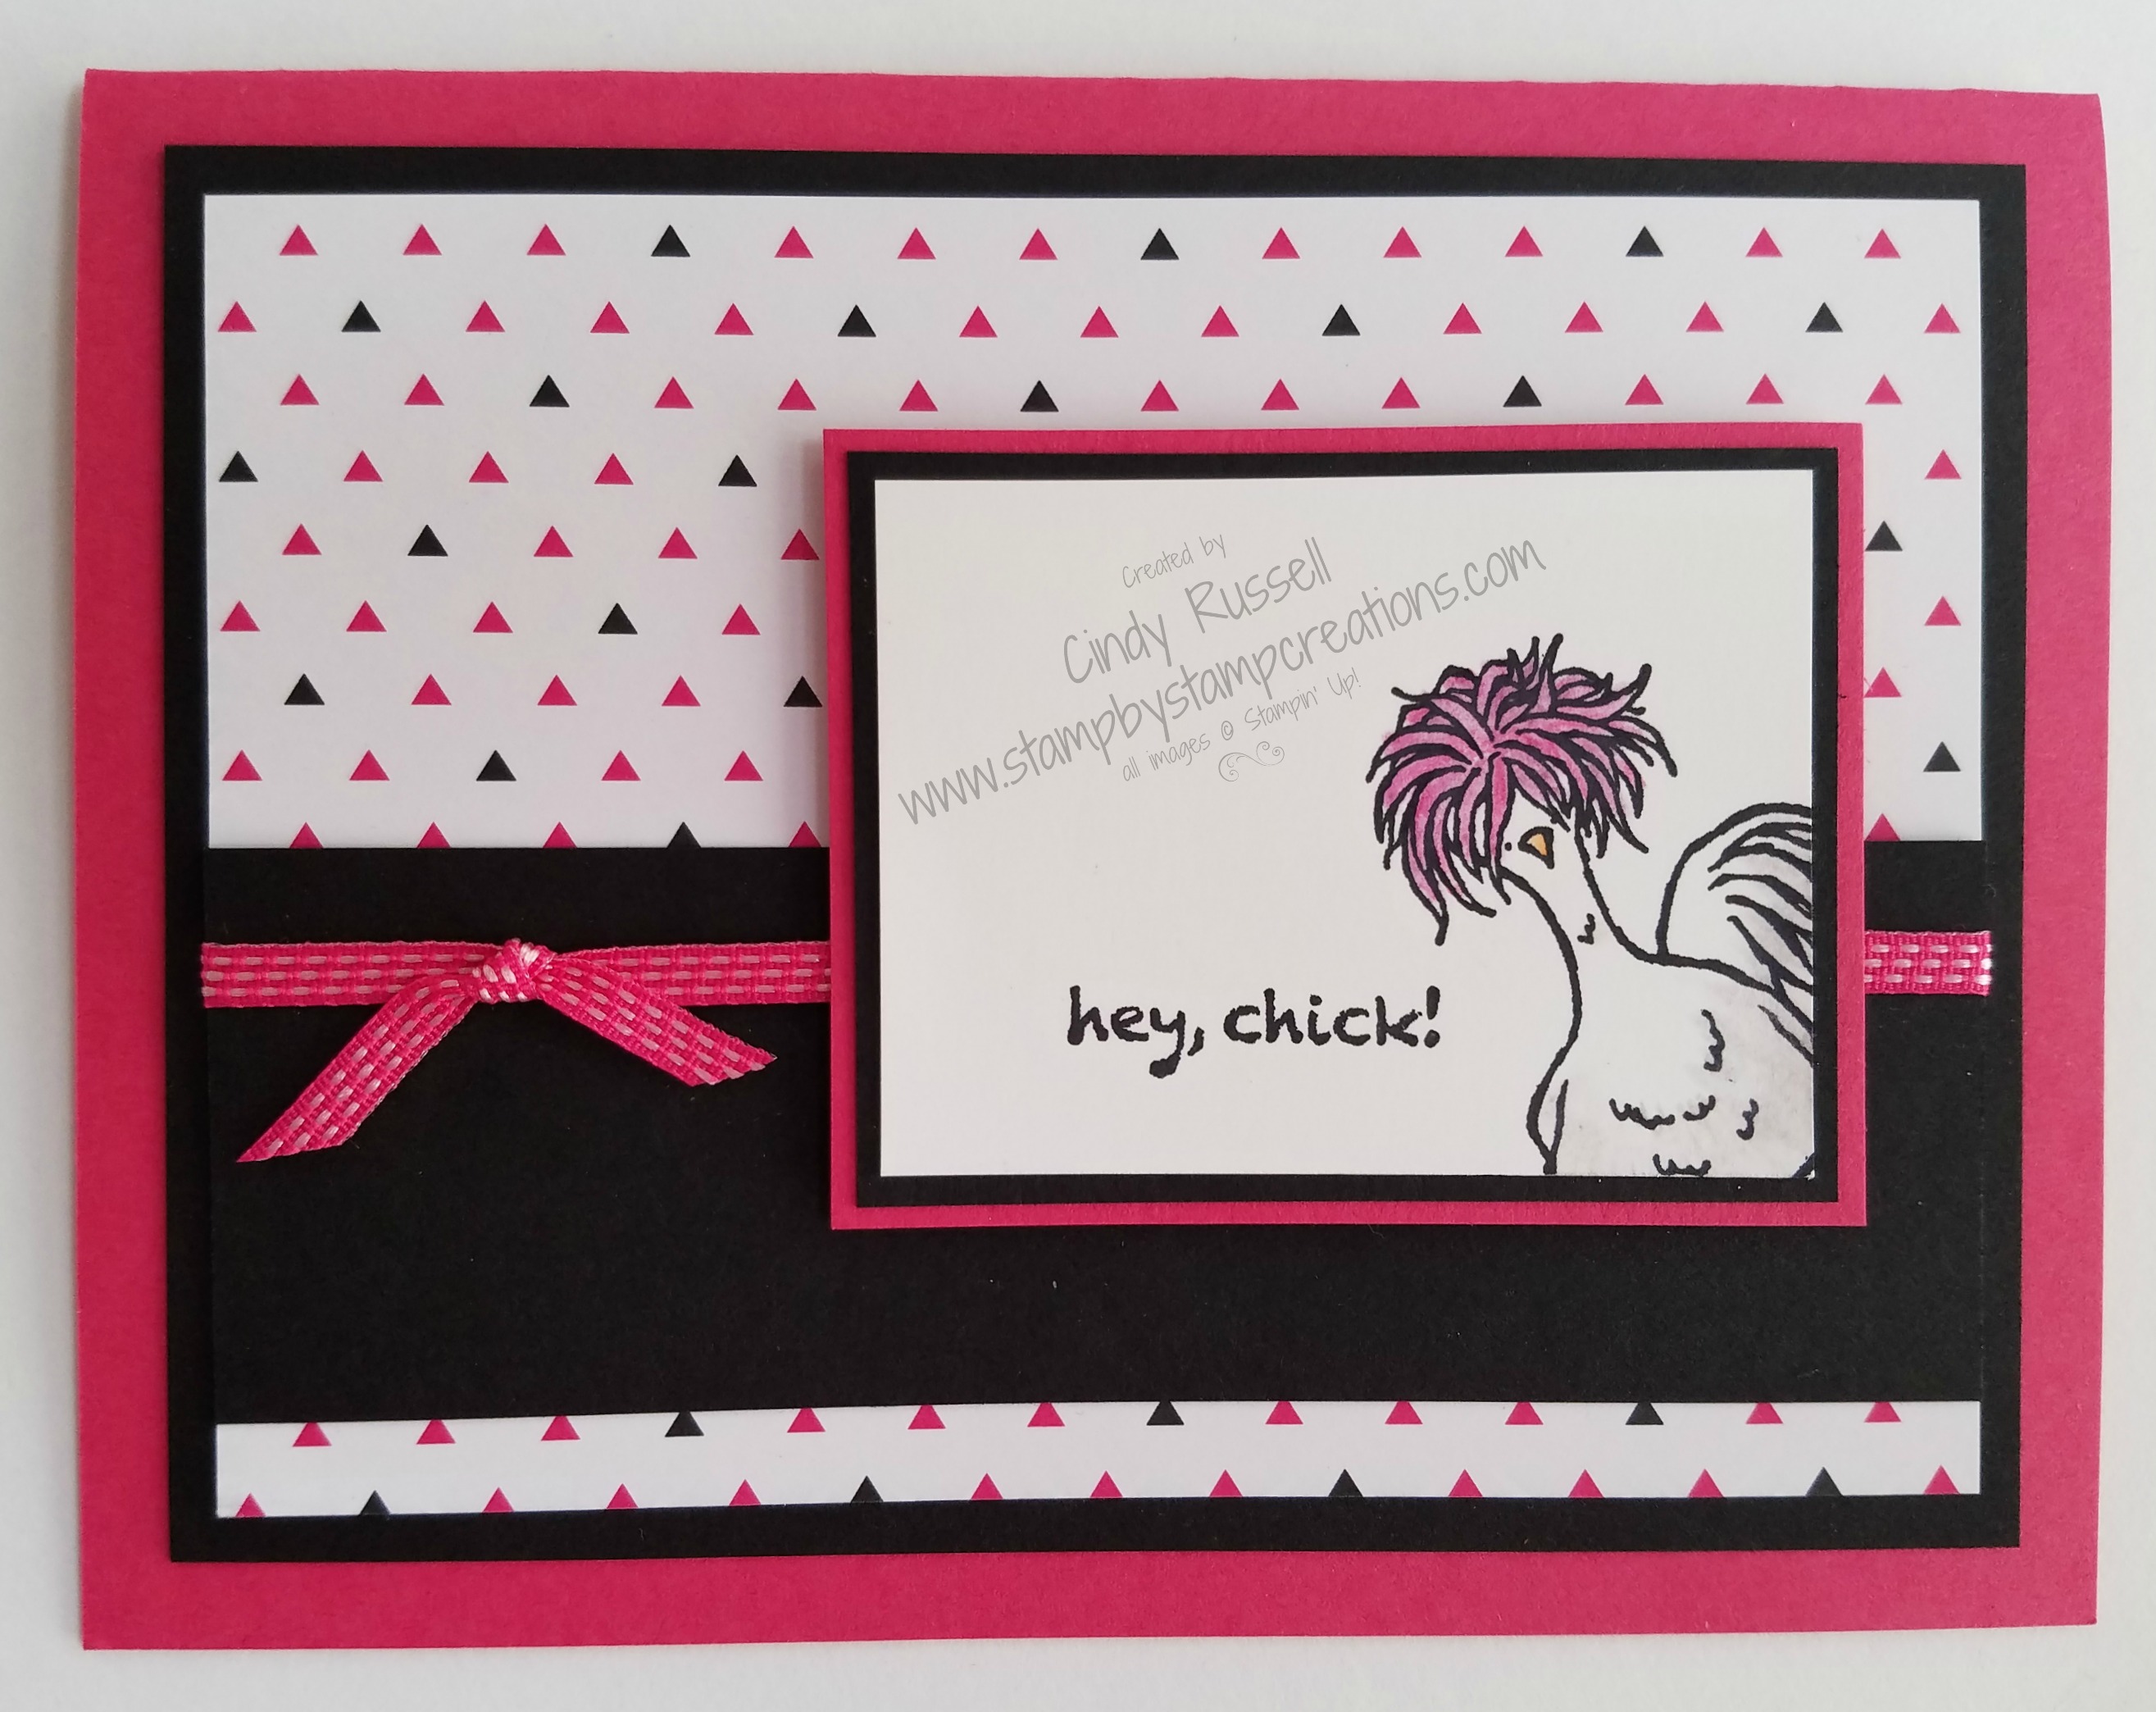
I just had to use the Hey Chick stamp set again before it is gone for good. It’s only available until June 30th or until supplies last and that goes for the fabulous coordinating dies. If you love them as much as I do be sure to get them while you can!

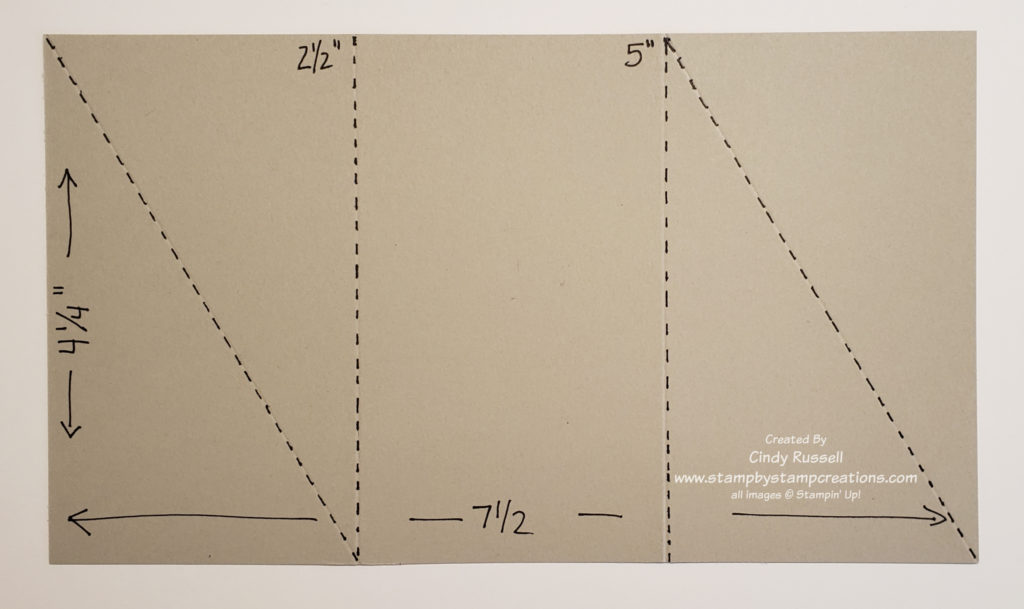
Here is the template for the base of the card. The dimensions are 7 1/2″ x 4 1/4″. Score along the long side at 2 1/2″ and 5″. Then score diagonally as shown on the template.

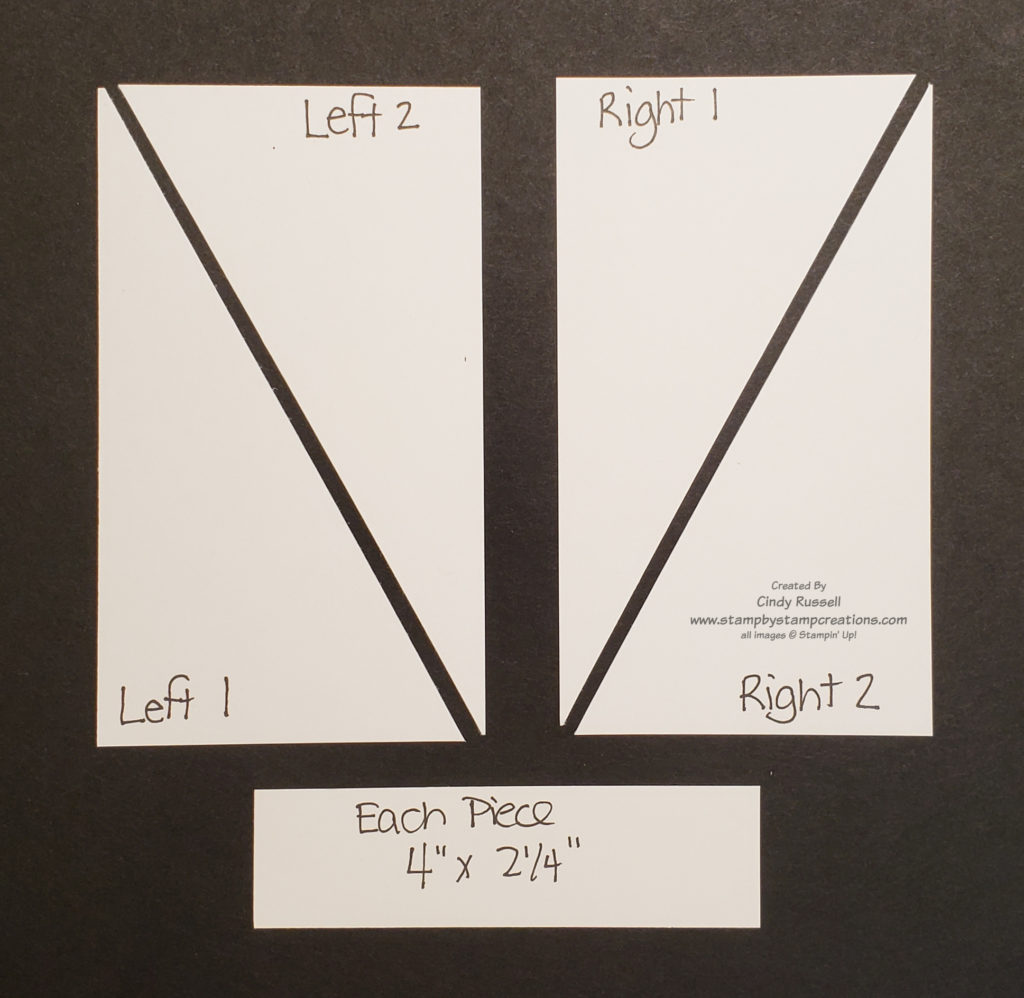
These are the two decorative pieces of designer paper. They both measure 4″ x 2 1/4 and are cut on the diagonal but one is cut from the upper left to the lower right and the other is cut from the upper right to the lower left.

The four triangles are labeled for you in this photo and the photo below shows where to adhere them on the card. I found it was easier to figure out where to place them while I had the card closed. I’ve labeled the pieces here so you can see where I placed them on the card below.

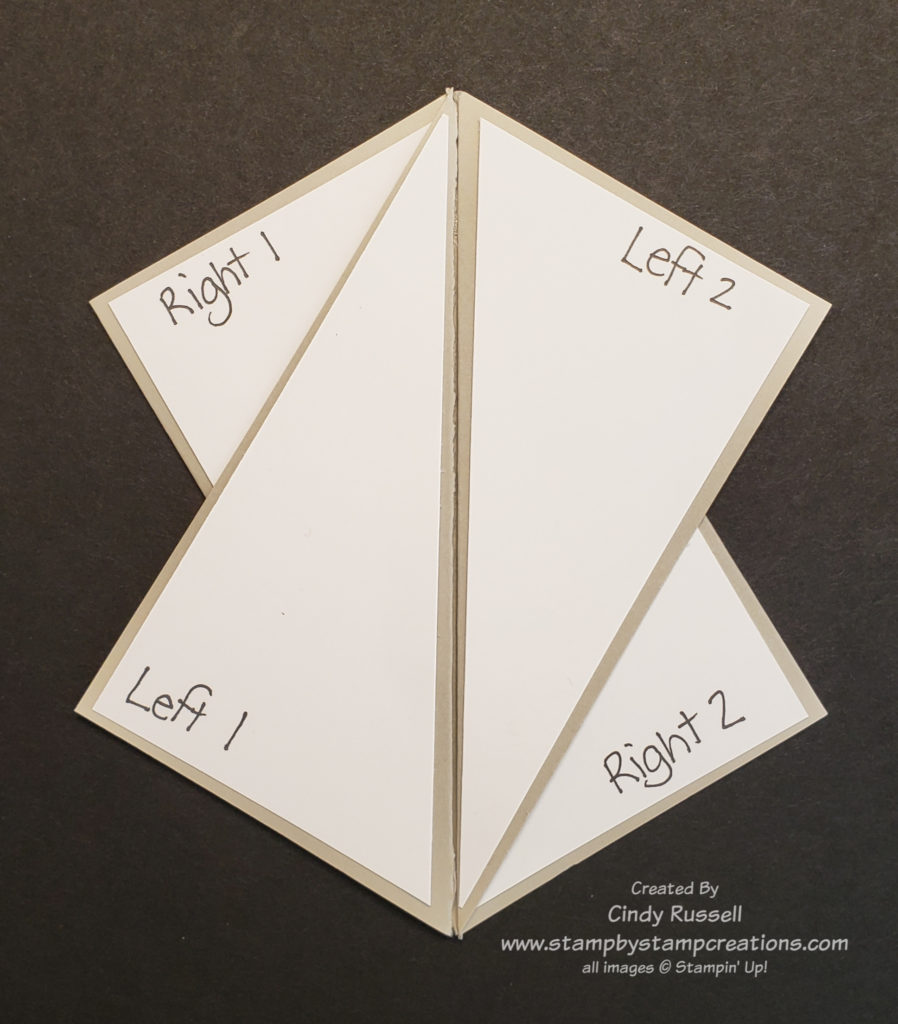
Honestly, figuring out where to put these four decorative pieces was the hardest part of making the card. When you are adhering your focal point to the front of the card you need to make sure you only adhere it to the L1 piece or you won’t be able to open the card.

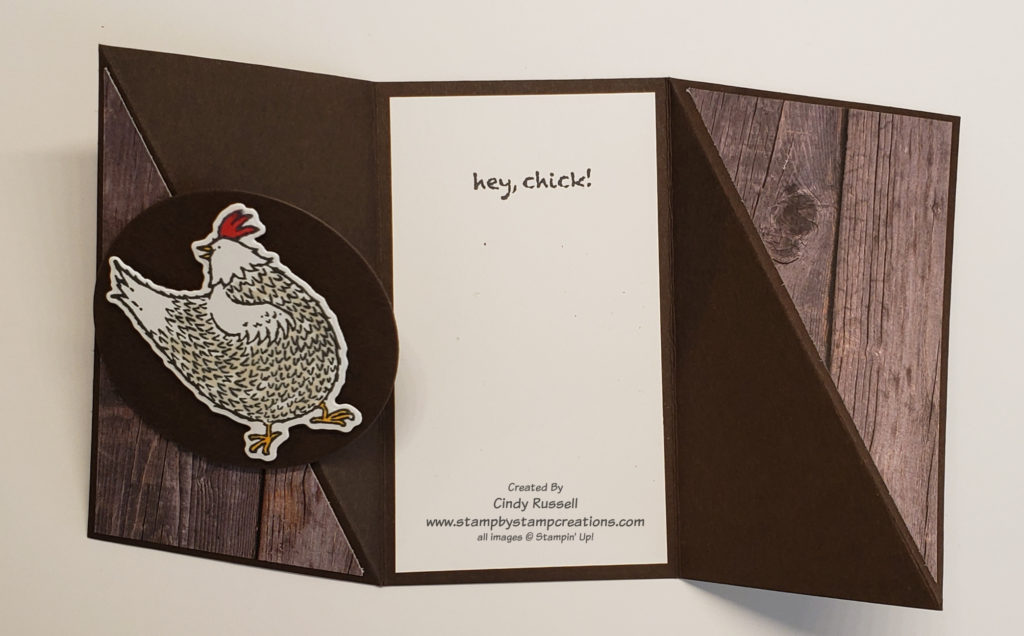
I’ve attached a couple more photos of the card below so you can see it both fully open and partially open. It really is a fun fold and it will fit into a regular-sized envelope.

Have a great day! Take care and Happy Stamping

Make It Mine Monday: Hey Birthday Chick!

Hey Birthday Chick card

I can’t say it enough….I love the Hey Chick and the Hey Birthday Chick stamp sets (and of course the coordinating dies!)! TSC…Too Stinkin’ Cute!

Now pair those adorable chickens with red plaid and chicken wire and you have the perfect combination! Right?!

I got the inspiration for my card from a card by Karen Day that I saw posted online. (You can see her card below.) It was definitely the red Buffalo Check background that caught my eye. I knew I wanted to use the All Wired Up background stamp too. I mean why wouldn’t you use a chicken wire background if your’e stamping chickens! Ha!

card by Karen Day

I started with the chubby dancing chicken on my card but it just didn’t seem to fit with the banner I had made. Then I grabbed the chicken floating with the balloon and tada! my card was complete!

Sometimes you just have to keep playing around. You may have a vague vision in your head of what you want but you just need to keep shuffling things around until it comes together.

Even when you’re copying someone’s card exactly this may happen. You’re cutting and gluing things together and all of the sudden….”OOO, what if I change this or add this…”. Be open to change.

I love browsing Pinterest and the Facebook page just for Stampin’ Up! Demonstrators that have SO many ideas! I may see a card that I want to copy exactly but in the end I usually end up changing up a little something.

Happy Birthday Chick card – inside

Don’t forget that if you’re going to all the trouble to make the outside of your card adorable you should add a little bit of that to the inside of the card (and envelope) too! I may not have used the chubby dancing chicken on the outside of my card but she definitely made it on the inside. I’m pretty sure she’ll be on the envelope too!

Have a great day! Take care and Happy Stamping!

Make It Mine Monday: Hey Chick Double Z-Fold

Hey Chick Double Z-Fold by Patti Bagin

Check out this fun Hey Chick Double Z-Fold card by my fellow demonstrator Patti Bagin! There’s so much happening and so many chickens! When I first saw this card I knew that I wanted to give it a try. But to make it my own I had to figure out where to start.

I couldn’t just copy Patti’s card because to start with I didn’t have the designer paper that she used. I did love how Patti made a fence and used that as the second Z of her Double Z-Fold. If you’re not sure what I’m talking about when I say “Double Z-Fold” check out my blog post from Friday. It’s all about the Double Z-Fold.

My Hey Chick Double Z-Fold Card

My card began with the fence. I knew I wanted to use the chicken wire on my fence but since I didn’t have the gray designer paper I had to come up with another option. I decided to a strip of clear Window Sheet and adhere by chicken wire to that. I then needed to add fence posts! The fence turned out just how I wanted it to. The only probably with it is that the Window Sheet doesn’t fold very easily. If I ever mail this card I’m going to have to probably put it in a larger envelope and pay extra postage.

I didn’t want to adhere my fence directly to the card so I used the foam adhesive strips that you’d use when making a shaker card. They worked perfectly! To get the two-tone chicken coop I die cut one from Real Red cardstock and one from Crumb Cake cardstock. I then cut out the tiny pieces from the Crumb Cake chicken coop and adhered them to the red one.

My tip when die cutting the corn stalks and the ears of corn is to to use Adhesive sheets. These pieces are so thin and so small it would be difficult to get adhesive on the back of them.

I didn’t include quite as many chickens on my version of this card as Patti did but I’m pleased with the results. Too fun!

Have a great day! Take care and Happy Stamping!

Make-It-Mine Monday: Hey Chick!

Hey Chick!  I love this stamp set!  The images are SO adorable!  Tomorrow is the big day when you can order this stamp set and the coordinating dies for it!  If you didn’t get this stamp set a few years back when it was a Sale-a-bration item you’re going to want to get now!

I knew I wanted to make a card using this adorable stamp set for today so I had to search for a card to copy.  I found this fun card on Pinterest.  Unfortunately there wasn’t a watermark on the photo so I don’t know who to thank for the inspiration.  This card was made when the stamp set was first available in 2017 and also used the chicken wire embossing folder that was available at that time. I’m going to have to check my stash to see if I had this embossing folder and saved it. I did save my Hey Chick stamp set from back then so you never know.

Hey Chick!

I wasn’t able to use the chicken wire embossing folder but I was lucky enough to be reminded that there is a chicken wire background stamp in Stampin’ Up!’s current Annual Catalog called All Wired Up.  It was perfect for the front of my card.

On my card I was able to die cut the stamped chicken since there are now coordinating dies.  You know how much I love coordination!  I made the red frame on the front of the card by using two different sizes of the Layering Ovals dies.  I die cut the smaller one first and then fit the larger oval around the opening. I found that it was easier to do it this way than die cutting the larger one first and fitting the smaller one inside.

Hey Chick card – inside

I had a lot of fun making this card and I can’t wait to play with these new products again. Don’t forget that you too can purchase these fun products starting tomorrow. The Chick Dies not only cut out the images from the stamp set but they also cut out some other fun images that you can see in the image below.

  • Hey Chick Bundle (#158627 $44)
  • Hey Chick Cling Stamp Set (#158190 $17)
  • Chick Dies (#158199 $32)
Chick Dies

These fun, coordinating products will be available until June 30th. You have plenty of time to order them but why wait? 🙂

Have a great day! Take care and Happy Stamping!

Sale-a-bration Sneak Peek: Hey, Chick

hey-chick-1216This 2017 Sale-a-bration stamp set has got to be one of the cutest stamp sets EVER!!!!  OMG!  I’m in love!

This stamp set has three different chickens, a little egg with feet and three sentiments.  Have I mentioned that I LOVE it?!!!

This little chicken with the crazy hair is probably my favorite.  I can’t wait to play with this stamp set some more.

I designed this adorable (if I do say so myself!) card for my team holiday gathering last Saturday.  We had brunch, chatted and made three different cards.  This one was my favorite by far.  How can you not fall in love with this chick?  🙂

This stamp set will be available starting January 4th.  It can be yours for FREE with a $50 purchase!  Sale-a-bration:  a stamper’s favorite time of year.  Purchase the products you love and get FREE products!  Woo Hoo!  FREE stuff!  It doesn’t get any better!  Are you ready for Sale-a-bration and the new Occasions Catalog?  I sure am!

Have a great day!  Take care and Happy Stamping!