Tools of the Trade: Clear Blocks

Today I want to talk about Clear Blocks.  Wait!  Don’t stop reading!  I think you’ll want to continue reading to the end of this post.  You just may learn something or be reminded of what exactly you can do with your blocks besides mount your stamps on them.

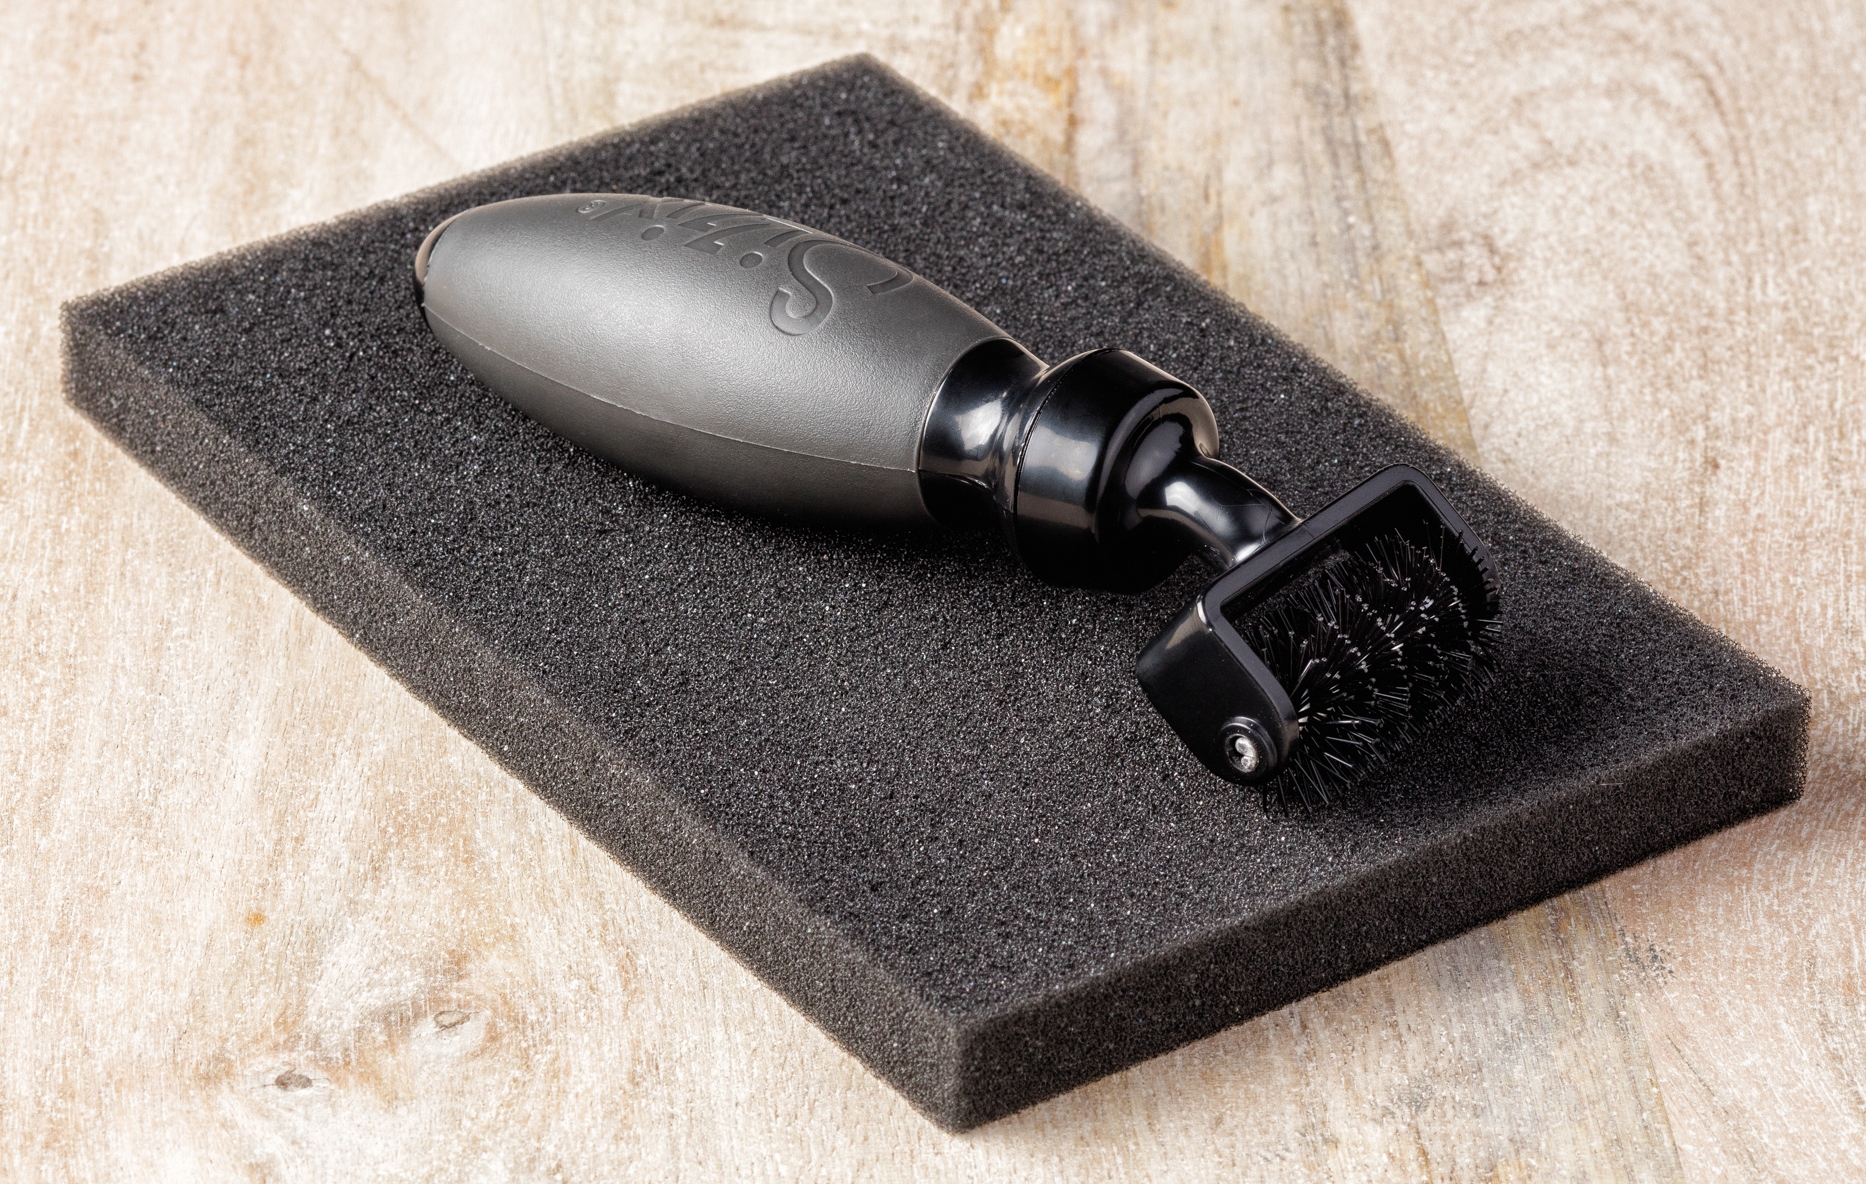
Clear Blocks seem an obvious Tool of the Trade because with Cling and/or Photopolymer stamps we need the Clear Blocks in order to use our stamps. It gets a little messy if we’re trying to pick up a stamp with our fingers, ink it up and then try to stamp the image on our cardstock.  Yep, we definitely need Clear Blocks!

Stampin’ Up!’s Clear Block Set

Stampin’ Up! carries Clear Blocks in all different sizes.  Nine different sizes in fact.  I love this because there’s nothing worse than using a teeny-tiny stamp on a huge block.  Yes, it can be done but if you’re not careful you’ll get too much ink on the stamp or you’ll rock the block and get ink on it that can transfer to your cardstock.  I like to use blocks as close to the size of the stamp as possible.

Stampin’ Up! Clear Blocks are nice because they’re thick and all of the edges are rounded for an easy grip.  The sizes range from 1-3/16” x 1-1/4” for the tiniest images to 4-7/8” x 6” for a background stamp. Stampin’ Up!’s Clear Blocks can be purchased individually or in a set like you see here in the photo. They even sell a case in which you can store the blocks. Nice!

Multiple stamps on Clear Block

Clear Blocks aren’t just for single images though.  You can make your own background by placing multiple stamps on a block and stamping them all at the same time.  This makes stamping a background so much faster than stamping each image separately multiple times. Personally, I have trouble stamping “randomly” for a background. With this technique I don’t have to “think too hard”! You can use this “background” image as the background for your card or even the focal point.

Multiple stamp images on one block
Using a Clear Block as a stamp.

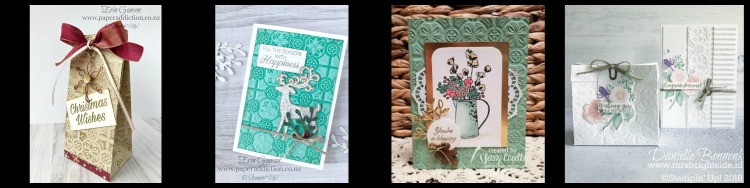
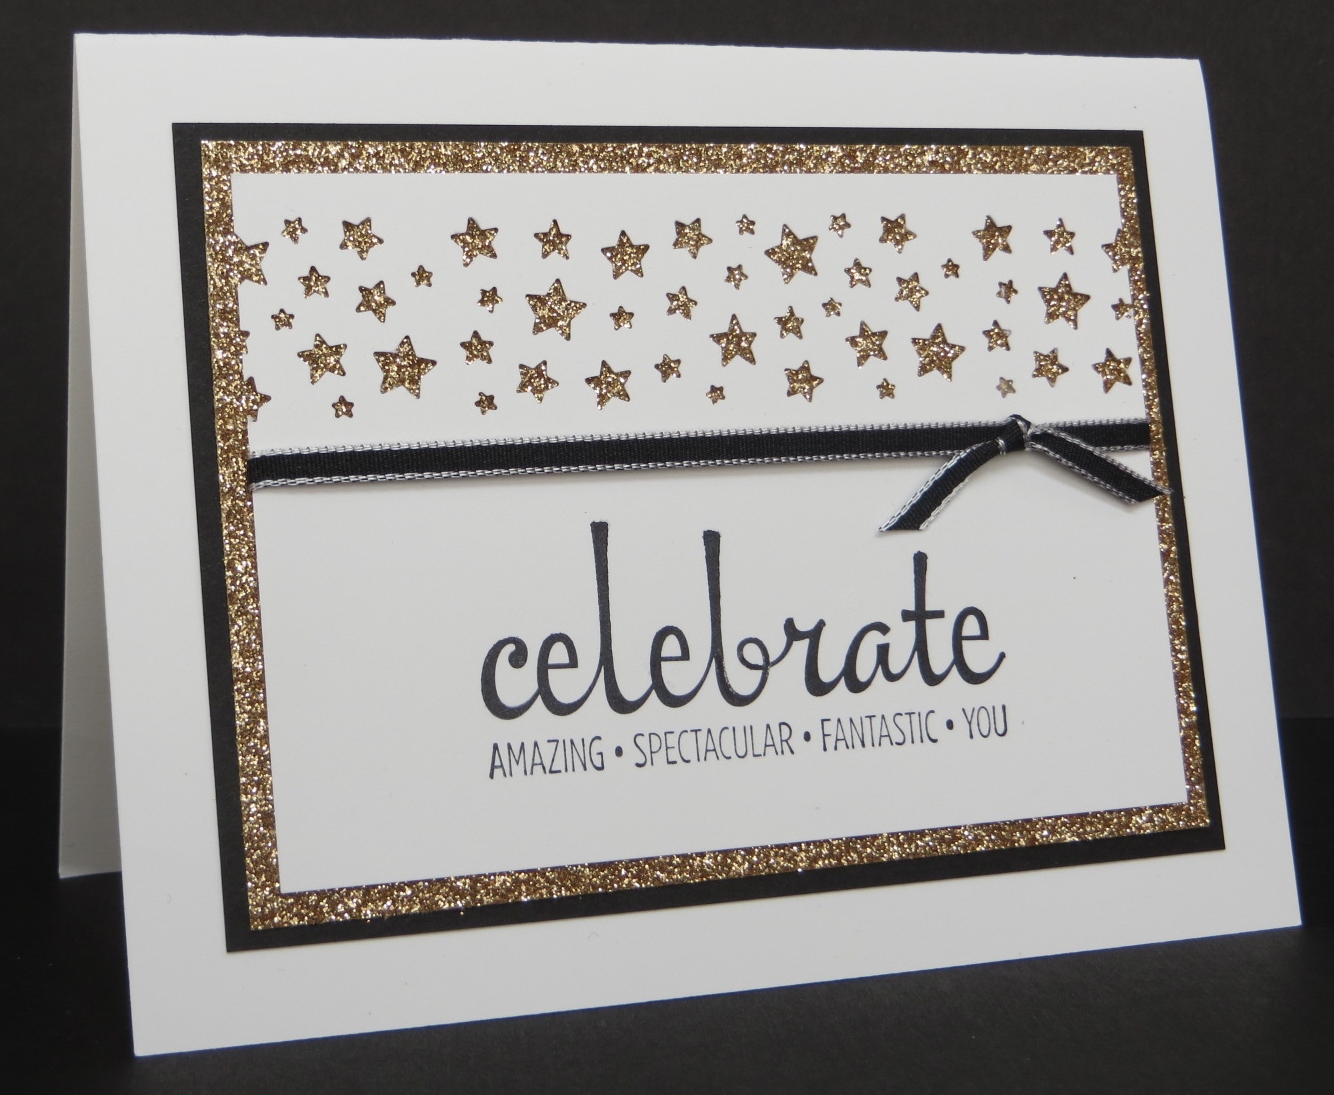
What else can you use Clear Blocks for?  Well, you can actually use them as stamps!  Check out the card I made here.  I inked up Stampin’ Up!’s “I” block and then stamped it on the white cardstock.  I then stamped my image over it.  Striking, isn’t it?  It’s the perfect technique to us when you want just a little pop of color on your card.

Clear Block Stamp
Use a Clear Block as an ink palette while water coloring

Clear Blocks make the perfect palette when you are water coloring with either your Water Painters or Blender pens.  Just place a few drops of the ink colors you are using on the block and then pick up with color from the block.  When you’re done with your project just wipe off the ink.

As you can see, Clear (or acrylic) Blocks are a definite must for any craft room. If you know of any other uses for Clear Blocks please let me know! Have a great day! Take care and Happy Stamping!

Tools of the Trade: Scissors!

Stampin’ Up! Paper Snips

It’s time for another episode of Tools of the Trade. Today we’re going to talk about one of the most basic tools that a paper crafter needs….scissors! We use scissors to snip things, cut ribbon or twine and of course “fussy cut”. “Fussy Cutting” is when you don’t have a die for an image or shape and you have to cut it out by hand. Most of us do not like to fussy cut. But when you do need to fussy cut something a good pair of scissors is a must.

I own quite a few pairs of scissors. How about you? One of my favorite pairs is Stampin’ Up!’s Paper Snips. They are small at an overall length of 5″. They’re the perfect size for traveling. They even come with a little guard for the blades.

These little scissors can cut your ribbon as well as the most intricate of fussy cuts. A little tip I want to share with you about scissors is that you want to have a different pairs of scissors for cutting different mediums. Don’t use the same pair of scissors to cut ribbon/fabric as you do to cut paper. That is why quilters and others that work with fabric will be very possessive of their scissors. Paper and other non-fabric mediums may dull the blades so that you don’t get a clean cut on fabric/ribbon. That is why I have a separate pair of scissors in my craft room to cut ribbon and twine.

I also like to use my Paper Snips to pick up self-adhesive jewels and such. I open the blades just a tiny bit and slide the tip of the blades under the jewel making sure to pick up the adhesive and then place the jewel on my project. It works pretty slick.

I have a confession to make. I actually own about 6 pairs of Stampin’ Up! Paper Snips. I always seem to misplace them. I don’t think I’m going to admit how many pairs of other scissors I own. Let’s just say….alot!

How many of you own (or used to own) multiple pairs of the scissors with decorative edges? I used to have quite a few of them when I started scrapbooking years ago.

We’ll leave today’s episode of Tools of the Trade with this thought….you can never have too many pairs of scissors. 🙂

Have a great day! Take care and Happy Stamping!

Tools of the Trade: Die-Cutting Machine

I want to go on record saying that I think every craft room needs a die-cutting machine of some sort. It’s really hard for me to make a card without my Stampin’ Cut & Emboss Machine by Stampin’ Up!. If I haven’t used die cut shapes on my card I’ve embossed the background or some portion of my card.

Die-cutting and embossing can add so much to card They will take your card from basic to WOW with just a crank or two of the handle. Why use your scissors to cut out an image if you can die cut it? I had a customer who would always ask “Isn’t there a die for this” whenever we had to “fussy cut” an image for a card during class. If a stamp set comes with coordinating dies I’m going to buy them!

Stampin’ Up!’s Stampin’ Cut & Emboss Machine

As I mentioned above, I love my Stampin’ Cut & Emboss Machine and couldn’t create without it. The platform base where the dies and embossing folders go through is about 6 1/2″ wide platform area which gives your plates plenty of room to roll through. This is great for crafters like me who don’t always get things lined up perfectly straight when running them through. Each side of the platform folds up to save space for storage. I haven’t got around to trying out that feature though as I’m always using the machine!

The machine comes with 1 Base Plate, 1 Die Plate, 2 Cutting Plates, and 1 Specialty Plate. What’s great is that all of these accessories are numbered which comes in handy because the Base Plate and the Die Plate have pictures with numbers on them telling you how to layer your “sandwiches” of plates, dies and embossing folders! I love this feature! No more guessing!

Stampin’ Up!’s Mini Stampin’ Cut & Emboss Machine

DId you know that the Stampin’ Cut & Emboss Machine had a little sibling? Check out the Mini Stampin’ Cut & Emboss Machine. It’s just like the big one only…mini! The platform on this cute little machine is only 3 1/2″ wide so not all dies or embossing folders will go through it. Stampin’ Up! has designed some narrow embossing folders that will work perfectly in it.

Like it’s bigger sibling, both sides of the platform fold up for easy storage. This little machine come with 1 Mini Base Plate, 2 Mini Cutting Plates, 1 Mini Embossing Plate, and 1 Mini 3D Embossing Plate. All these pieces are numbered also to help you get the right “sandwich” to run through.

Here’s the question of the day: Do you have a die-cutting machine in your craft room? If not, head on over to my on-line store and check out the Stampin’ Cut & Emboss Machine.

Have a great day! Take care and Happy Stamping!

Tools of the Trade: Simply Scored

Simply Scored Scoring Tool

In my first Tools of the Trade post that I shared with you last week I talked about Paper Trimmers. I mentioned how the ones (like Stampin’ Up!’s) that have sliding cutting blades also may come with a scoring blade.

These type of paper trimmers with the scoring blades are great but when I want accurate score lines and need to make multiple score lines on the same piece of cardstock my go to is Stampin’ Up!’s Simply Scored.

To use a scoring board like this you just butt your cardstock in the upper left corner, find the mark on the ruler at the top, place the scoring tool in the corresponding grove and score down!

The little tool that you use to make your score marks comes with two tips, one slightly larger than the other. You want to make sure to use the larger end when using a lighter piece of paper like patterned paper so you don’t go through the paper. You also may want to use a light touch when scoring a lighter paper.

Stampin’ Up!’s Simply Scored also comes with little markers that you can use on the ruler at the top to mark your measurements if you’d like. There’s also a little storage compartment on the back for these little markers and your scoring tool.

I love my Simply Scored tool. I use it every time I make a card to give me the perfect fold in my card. I like to use the Simply Scored over the Paper Trimmer when I’m making the fold in my card because as long as I butt the paper in the upper left corner before scoring I know that my card will be scored in half perfectly. Whereas if I’m using the paper trimmer I could be off a little depending on where I line up the paper on the ruler.

I would definitely recommend a Simply Scored tool. You can check it out in my online store if you’re interested.

Have a great day! Take care and Happy Stamping!

Tools of the Trade: Paper Cutter

Welcome to my new series of posts called Tools of the Trade. In this series I will be sharing with you must-have tools for your craft room. You’ll be able to find this series here on my blog as well as on Facebook.

The first tool I want to share with you is one that you can’t do without if you are a paper crafter. This must-have tool is a Paper Cutter or Trimmer. You can’t cut your card bases and layers without one. I guess you could use scissors but then your lines may not be too straight…..I know that would be my problem! 🙂

There are three main types of Paper Cutters on the market for paper crafters.

  • Rotating Blade Cutters have a small rotating blade that you slide along a track. They allow you to maneuver the paper in multiple positions. They are very light weight and usually have a grid pattern on them to help you line up your paper.
  • Sliding Blade Cutters are similar to the rotating blade cutters except instead of rotating blade you have a single blade that slides up and down the track. Most of these type of paper cutters also have a scoring blade.
  • Guillotine Cutters have one long blade that you slice down to cut the paper. These type of cutters are great for cutting multiple pieces of paper as well as thicker pieces of paper.

All three of these types of cutters work great for card making and paper crafting. The type you get is dependent on you. As a Stampin’ Up! Demonstrator I cut a LOT of cardstock so I prefer a durable cutter that can cut more than one piece of paper. Stampin’ Up! used to have a guillotine cutter that I love and still use today. I do have their sliding blade cutter which is perfect for smaller jobs and great for cutting smaller pieces of paper.

I like to use my sliding blade paper cutter when I have to cut and score things at an angle or when I am working with a small piece of paper.

Stampin’ Up!’s Paper Trimmer

If you’re a newbie to paper crafting or just looking for a new cutter I would definitely invest in Stampin’ Up!’s Paper Trimmer. At only $25 the price is right. It comes with both a cutting and scoring blade and has an arm that folds out so it can accommodate a 12″ x 12″ piece of paper. The best part is that you don’t lose any of the measurements on the top grid when you fold out the arm which happens on many paper cutters of this type! The ruler and the grid are covered by durable plastic so they don’t wear off.

I hope I’ve given you a little information on Paper Cutters/Trimmers. This item is a definite must for any paper crafter. Click here if you’d like a little more information on Stampin’ Up!’s Paper Trimmer.

Have a great day! Take care and Happy Stamping!

Tuesday’s Tool of the Day: Black Stampin’ Dimensionals

It’s Tuesday! Time for a tip or talking about a tool. One of my favorite new products in Stampin’ Up!’s Catalog is the Black Stampin’ Dimensionals. I’m going to classify them as a tool since they’re a type of adhesive and you use them to make your projects.

Anyway, these Black Stampin’ Dimensionals are perfect for your Halloween projects or any project that you use dark colored cardstock on.

Black Stampin’ Dimensionals

These dimensionals come in a combination pack with both regular size and mini size dimensionals. Did you notice them on page 55 of the Holiday Catalog or did you miss them like I did the first time I looked through the catalog? 🙂

Spooktacular Bash

Of course I couldn’t talk about the new Black Stampin’ Dimensionals without sharing a project with you! Here is another fun Halloween card that I made for my Fall and Halloween Card Buffet a few weeks ago.

Isn’t this little Dracula adorable? I guess “adorable” really isn’t the word you would normally use to describe something like Dracula but this little one is SO cute!

I used the Black Dimensionals to adhere the coffin to the card and also to adhere the frame to the coffin. I used the fun Coffin Treat Boxes as a template for the coffin on my card. It’s hard to tell but I also ran the coffin through the Big Shot with my favorite Subtle Embossing Folder to add a little texture. Too fun!

Have a fun and spooky day! There’s still time to order those supplies for your Halloween cards and projects!

The Basic Tools

Wow!  There is only a little over a week left of Sale-a-bration 2019!  How did that happen?

Is there still a Sale-a-bration item or two that you have your eye on but have no idea what you want (need?) to purchase to get to that $50 (or $100) threshold?  What are the items you use all the time when you’re making projects?  What items would you like to add to your projects that you haven’t before?  Get that roll of ribbon that you’re in love with or that package of designer paper that you’ve had your eye on.

Better yet…stock up on the Basics or if you’re new to paper crafting stock up on some of the tools that you’ll use all the time.  Check out my photo below.  These are some of the items that I use all the time and couldn’t craft without.

Basic Tool CollageMost of my cards have white in them so I am always in need of Whisper White cardstock and Whisper White envelope.  It’s pretty hard to send a card without an envelope!

I love my Paper Snips!  I think I have at least 6 pair lying around (and can never find any when I need them!)

The Stampin’ Trimmer is perfect for individual projects…especially when you need to cut AND score!

My Paper Piercing Tool gets used a lot.  I like to use it for placing jewels and other small embellishments on my project.  I also use it sometimes to help get intricate die cuts out of the die.

I would be lost without my SNAIL adhesive and my Stampin’ Dimensionals!  How else am I going to adhere my projects together?

If I need a little bling on my project I head for my Basic Rhinestone Jewels or Pearls.  The great thing about these little beauties is that you can color them with your Stampin’ Blends to match almost any project!  Woo Hoo!

What items are on your favorites list?  Have you stocked up on them yet during Sale-a-bration?  Don’t wait!  Sale-a-bration 2019 is almost over!

Cling Stamps: They’re Coming!

Woo Hoo!  Stampin’ Up! is getting Cling Stamps!  Look for them in the 2019 Occasions catalog that comes out in January!  Here’s how Stampin’ Up! describes them:

“Our die-cut, cling stamps are made of high-quality red rubber. They come with a strong image label that clings like crazy to our clear blocks or Stamparatus plates for easy stamping. Stamp, then remove the stamp for space-saving storage. (Clear blocks and Stamparatus are sold separately.)”

These amazing stamps were demonstrated at the recent On Stage event that I attended earlier this month and we got to play with them a bit.  They really stick!

There are some important tips to remember when using Cling Stamps.  First of all, when cleaning your Cling Stamps don’t use alcohol based cleaners (StazOn Cleaner) or wipes of any type.  The fibers from the wipes can stick to the sticky label and then it won’t stick to your block.  When removing the stamp from your block don’t just yank it off.  You’ll tear the foam.  You need to grasp the stamp near the label, maybe even get your fingernail under the label a little to pull the stamp off.

I haven’t really had a chance to play with the cling stamps at home yet but I’m looking forward to it!  I just counted and there are 27 Cling Stamp sets in the upcoming 2019 Occasions Catalog and 5 in the 2019 Sale-a-bration Brochure!  Woo Hoo!

I’ll give you more info and my “expert” opinion of these once I really start playing with them.  Have a great day!  Take care and Happy Stamping!


Tools & Inks On Sale Now!

OnlineEx3a.1118The last of this year’s Online Extravaganza’s mini sales is on!  It’s time to purchase your favorite tools and inks.  Don’t miss out!  Order early!  This is a great way to get some more of the new ink pads and the new colors.  I need to figure out which ones I’m going to purchase.

This week is “All About the Stamps” and today we’ll talk about the one and only, original, Wood Block stamps.  If you watched the video I shared yesterday you heard that the wood blocks themselves are made of solid maple.  These blocks are sturdy and easy to hold on to.

Wood Block stamps have always been a favorite of mine because once you mount the stamp on the block you are good to go….always.  Once you stick that stamp on the block it’s there for good.  I like this when I’m designing because I can just open the stamp case, grab my stamp, ink it and stamp!  No messing around with finding the correct block size for the stamp.  I also like the fact that my stamp doesn’t fall off the block when I’m inking it up or stamping an image.  Yes, Wood Block stamps have always been a favorite of mine.

Ok…the joke’s on me right now.  I was all set to tell you that if you’re concerned about lining your image up straight when stamping with the wood blocks you should grab your Stamp-a-ma-jig found on page xxx in the Annual Catalog but it’s not in the current Annual Catalog.  Sheesh!  You’d think I could keep on top of these things!  Luckily you can still find them on Amazon.com if you don’t have one.

What I can tell you for a fact though is that when the new 2019 Annual Catalog comes out in June you won’t be able to purchase Wood Block stamps (except for Background Stamps).  So, if you really like Wood Block stamps you may want to purchase them before June.  We were a little shocked at On Stage in Orlando when they announced this because our CEO and Founder, Shelli Gardner,  always said we’d never get rid of them.  Well, times do change.

Are you wondering if something is replacing Wood Block stamps?  Well….tune back in on Friday…..  🙂

Have a great day!  Take care and Happy Stamping!

Take Your Pick Tool

Take Your Pick ToolToday’s highlighted product isn’t found in the Joyous Noel Suite but it is found in that section of the Holiday Catalog.  Page 30 to be exact. You may have missed it in the catalog but you definitely need to check it out!   This tool is pretty amazing.  You can do SO many different things with it.  Stampin’ Up! says this “multipurpose pickup and precision tool simplifies meticulous tasks”.

There’s a putty tip, a mini spatula, a paper piercing tool and a stylus.  So useful for all those little items and things you want to add to your card.  Check out the video below to see how versatile this little tool really is.  I know you’re going to want to add one to your next order!

I love when Stampin’ Up! comes out with new products that make my crafting a little easier!  Don’t you?  Have a great day!  Take care and Happy Stamping!

Tin Tile Embossing Folder

You may miss it if you don’t look close.  This amazing product in the Country Lane Suite is easy to miss….unless you look at all of the fabulous samples made using it!

PicMonkey Image.countrylane

Look how versatile this embossing folder is!  You can use it on all sorts of projects!  If you want to see some of these samples a little closer I will be posting them on my Facebook Page later today so jump on over there.

Are you looking for some tips for using this folder?  Take a look at this video.  Stampin’ Up! has done a great job of telling you some great ideas and tips on using this folder.

Leave me a comment and let me know what you’ve thought of the Country Lane Suite.  Are you adding some of these amazing products to your order?  Be sure to head on over to my online store and get that order placed.  Don’t forget to use October’s Hostess Code to receive your free gift from me.

Have a great day!  Take care and Happy Stamping!


Big Shot Die Brush

130658_big_shot_die_brush (2)It’s Tool Time Saturday!  Yep.  I just started a new trend.  My goal is to introduce you to or tell you more about some of the fabulous tools Stampin’ Up! offers in my Saturday posts or at least most of my Saturday posts.  I hope that you’ll enjoy them.

My first Tool Time post is about one of my favorite new tools:  the Big Shot Die Brush.  This tool is a must have for those intricate dies like the Bloomin’ Heart Thinlits Die in the new Occasions Catalog or the Delicate Ornaments Thinlits Die that was in the recent Holiday Catalog.

There are two items in the package with your Big Shot Die Brush.  You’ll have the brush which is a roller of stiff bristles.  Along with that comes a foam pad.  You need the foam pad!  It’s not just extra packing material!  Hang on to it.

In my past yesterday’s post you can see just how intricate the Bloomin’ Heart Thinlits.  Lots of teeny tiny pieces to cut out.  You’ll want to use the Precision Base Plate with your intricate dies.  The base plate will give you a nice clean cut but those pesky little pieces will still be “stuck” in your die cut image.  This is where the Big Shot Die Brush comes in.

Once you’ve die cut your image using the Precision Base Plate you’ll take the die and your die-cut card stock and place them on your foam pad.  Your card stock may or may not stick in the die.  If it does, don’t worry.  The brush will get it out.  If your card stock does pop out of the die you’ll want to place it back in the die before placing the die on the foam pad.

So, after die cutting, place the die with the card stock on your foam pad.  Now roll the brush back and forth over the die making sure that you roll it over all areas of the die.  Now when you remove the die the majority of those little pieces should be on the foam pad.  You make have to poke one or two of them out with a Paper Piercing Tool but the hard part is done!

I know you’re going to LOVE this tool as much as I do.  Click on the image below to purchase yours!  Have a great day!  Take care and Happy Stamping.

Built for Free Using: My Stampin Blog

Happy New Year!

Wow!  2015 has arrived!  Are you ready!  I am!  Have you made any resolutions?  I’ve made the usual of not eating so much, exercising more and organizing my house.  You’ll be happy to know that I’m also going to try extra-hard to keep current on my blog posts!  Yikes!

074I designed today’s card for a birthday card Stamp-a-Stack class but you could definitely use it today to celebrate the New Year.  Just leave off the words under “celebrate”.

It’s a fun and sparkly card.  I used the new Confetti Stars Border Punch from the Holiday Catalog.  Don’t fret….you’ll find it again in the upcoming Occasions Catalog as it’s perfect for celebrations like birthdays and graduations.  After I punched my stars, stamped my sentiment (from the Fabulous Four stamp set) and added my ribbon I layered the Whisper White card stock over a piece of Gold Glimmer Paper.  That way all those sparkly stars I punched out showed through.  🙂

Speaking of the Holiday Catalog….don’t forget that Monday, January 5th is the last day to order from it.  Monday is also the last day of the Year-End Clearance.  Boy….there are some really good deals to be found there!  There are even some items from the Holiday Catalog on clearance.  Check it out here and place your order today!  Don’t miss out!

Happy New Year!

Hello, Sailor and the Adorable Whale!

019I am in love with whales.  Not sure why.  I live in land-locked Colorado.  We don’t have many whales here.  I think it started the movie Star Trek IV:  The Voyage Home.  I am a Sci-Fi geek along with the rest of my family.  There are humpback whales in the movie and the combination of whales and Star Trek fueled my love affair for the critters.  Back in 2003 my family took a trip to Hawaii during Spring Break and I got to see whales every day as they migrated north.  I was in heaven!  I wouldn’t let my family go get breakfast until I saw a whale in the morning!

Anyway, once I saw this cute little whale in the Occasions Catalog I knew that I’d be eventually purchasing the Hello, Sailor stamp set.  Once I had the stamp set I was on a mission to make a card using the adorable whale.  I did CASE this card and added my own twist to it.  I loved the idea of using the Simply Scored Borders Plate to make the little waves on the bottom of the card.  Too fun!  I’m going to admit right now that I’ve had this accessory to the Simply Scored since it came out and this is the first time I’ve used it….Yikes!  I will be using it more often now though since it really adds to the card.

I made the little banner pieces with the fun Banner Punch that was in the Sale-a-bration Brochure and the High Tide Designer Series Paper.  Don’t worry if you didn’t get the Banner Punch during Sale-a-bration…..it will be in the new 2014-2015 Catalog!  I die cut the large “ahoy” banner with the Banners Framelits.

I just have to say it….this card is TSC!  Too Stinkin’ Cute!  It has to be….it has a whale on it!  🙂

Have a great day!  Take care and Happy Staming!


Backyard Basics Easter Eggs!

006Yes, sometimes there are really stamp sets (and coordinating framelits!) that I don’t think I need.  I know you’re confused….I usually love everything and have to have everything but Backyard Basics just didn’t do it for me.  I saw no reason that I needed a bee stamp, another flower stamp, another butterfly stamp, a bird stamp or an egg stamp for heavens sake!  Who stamps an egg?!

Well, I didn’t stamp an egg but I sure do love the egg framelit!  Woo Hoo!  Once I saw this card online I knew I was going to end up purchasing the Backyard Framelits….and if you’re going to have the framelits you really need the stamp set!  🙂  Anyway, a girl has to have an Easter Egg!  Don’t worry….I’ll show you another card using this stamp set in a few days.  I am getting my money’s worth!  🙂

This was a quick and adorable card that we made in classes last week.  Stamp the sentiment (from Delightful Dozen) on the Whisper White card stock and then run it through the Big Shot with my new favorite Embossing Folder, Decorative Dots.  You have to do your stamping first or it’s really hard to get a clean image with all those dots in the way!  Ha!

Die cut two eggs with the (now) fabulous Backyard Framelits, cut some grass with your Stampin’ Up! Fringe Scissors and you have an adorable card for Easter!  Have you played with the Fringe Scissors?  They’re pretty neat.  One of these days I’ll have to show you how to make a really cool flower using them.

If you’re wondering about the pretty designer paper I used, don’t.  You missed it.  It was the Sweet Sorbet Designer Paper from Sale-a-bration which ended Monday.  I hope you got a package if you wanted one.  There were some beautiful designs in it.

Have a great day!  Take care and Happy Stamping!