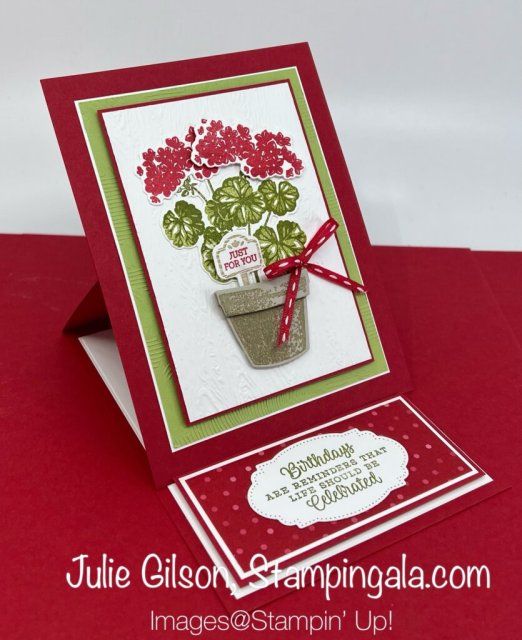
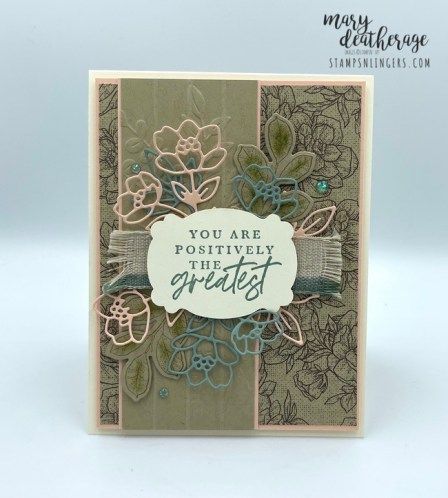
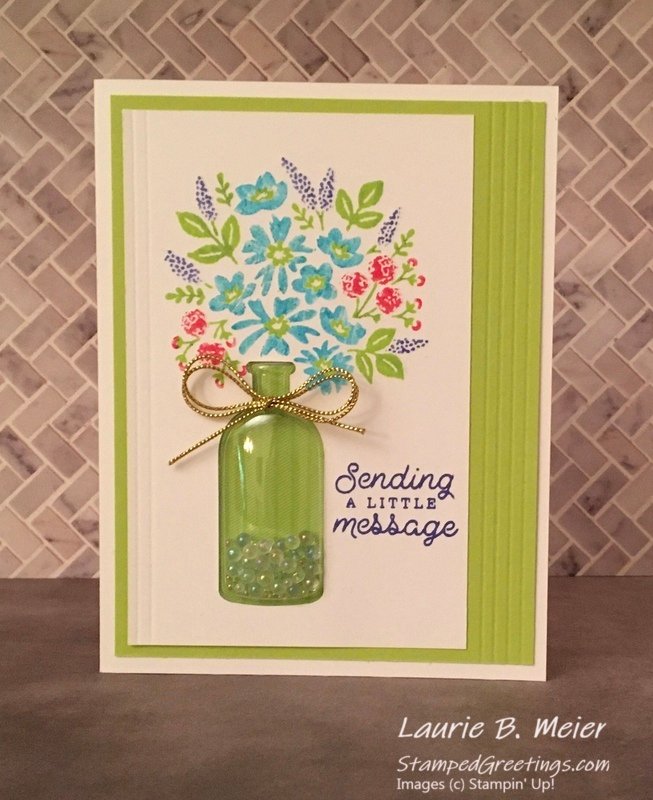
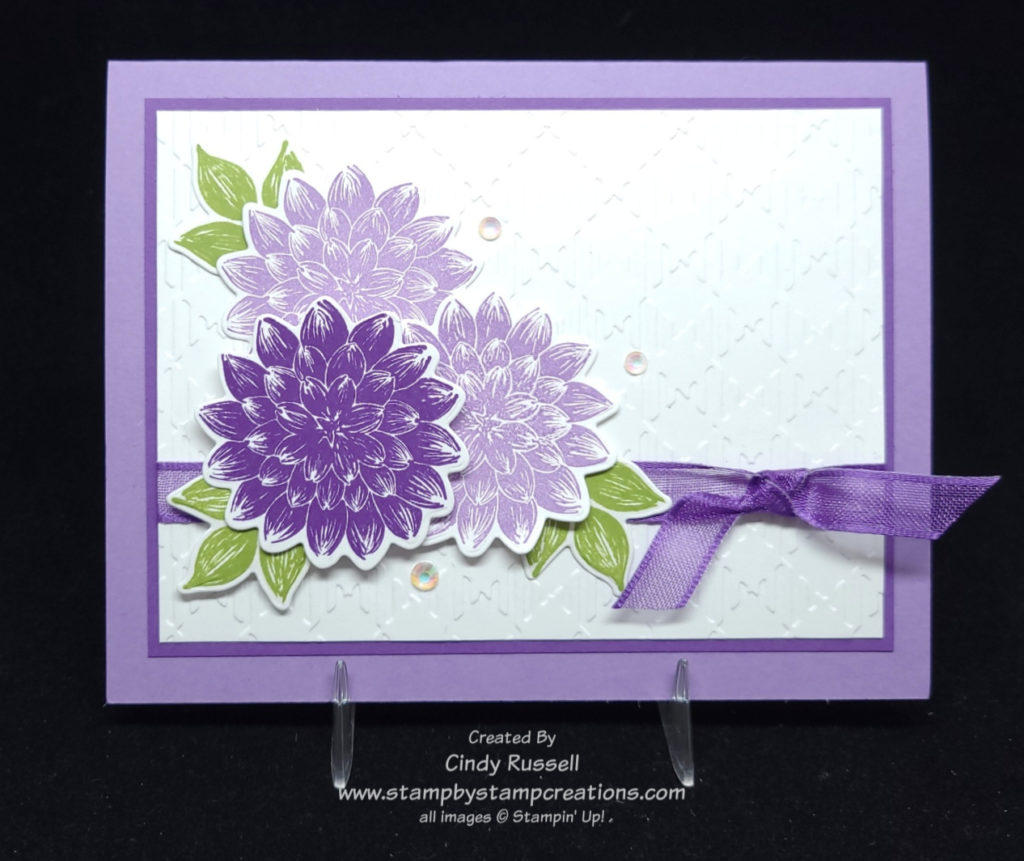
Day 12 of 30 Days of the New Catalog brings another beautiful floral card. This card was made using the gorgeous Awash In Beauty in Suite of products found on pages 66-67 in Stampin’ Up!’s new annual catalog.
I think my favorite part of this suite is the lattice die from the Organic Beauty Dies that you can see on the background of this card. So pretty!
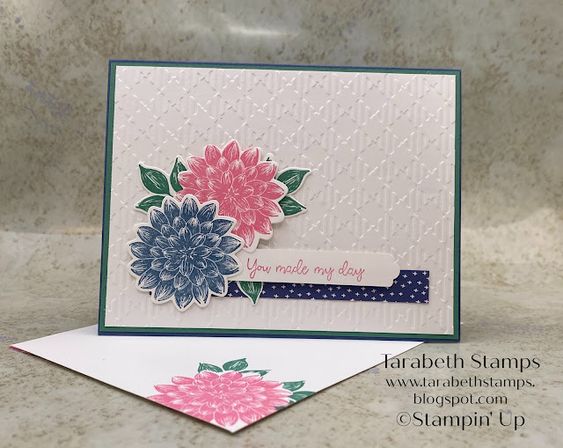
The True Beauty stamp set has lovely soft flowers and four different sentiments in a beautiful font.
Thank you Julie Gilson (again) for the gorgeous card. I shared one of Julie’s cards yesterday. (Apparently I really like her style!) 🙂
I do have the Awash in Beauty Designer Paper (which is gorgeous!), but I think I’m going to have to add this bundle to my wish list. Hmmm…this wish list of mine is getting rather long…..
Have a great day! Take care and Happy Stamping!