Home for Christmas Designer Paper Card

IMG_7321
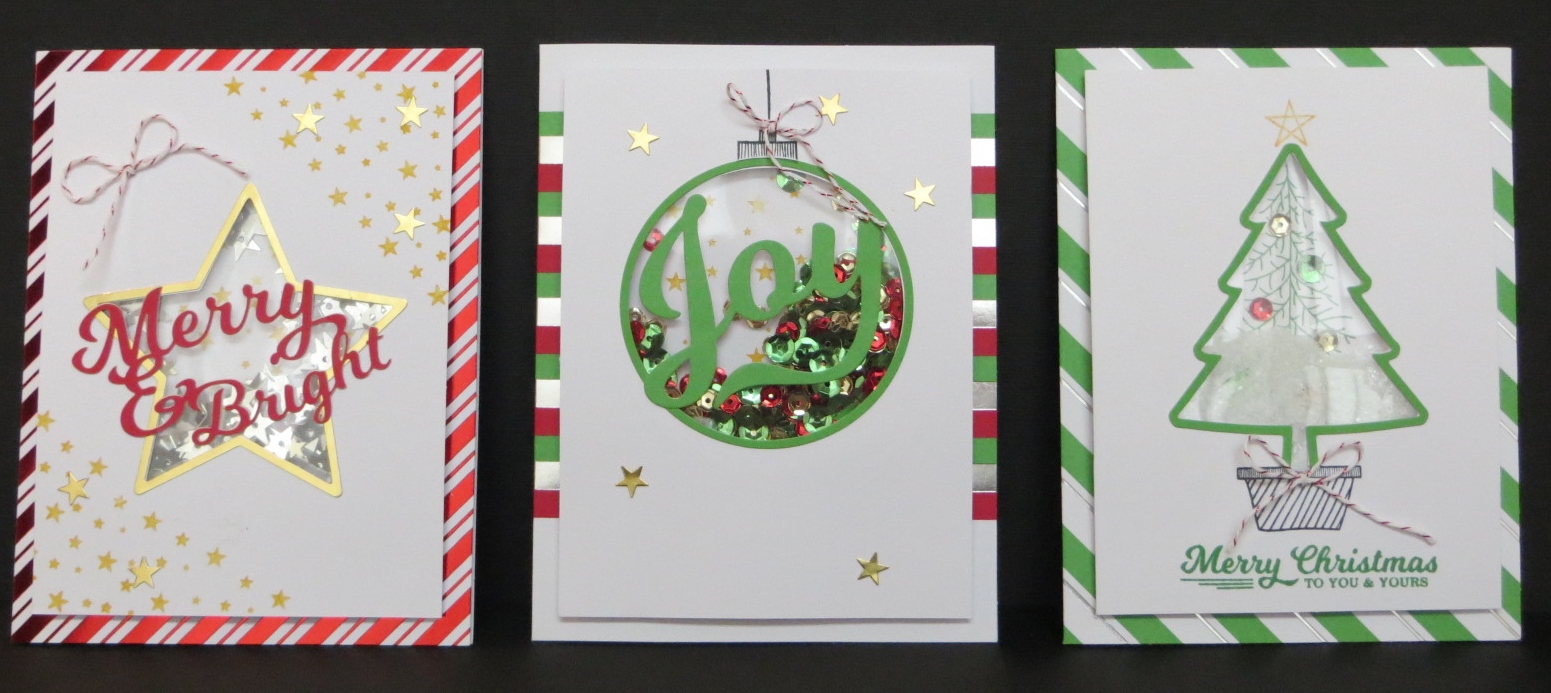
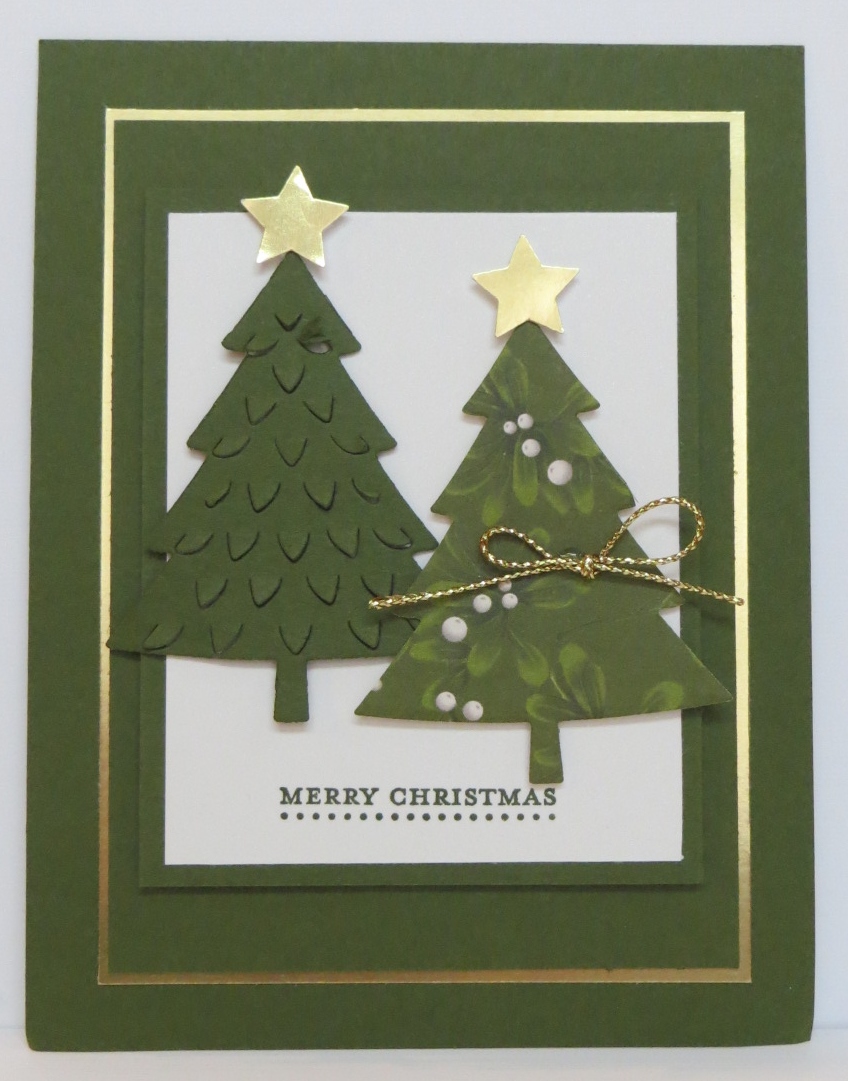
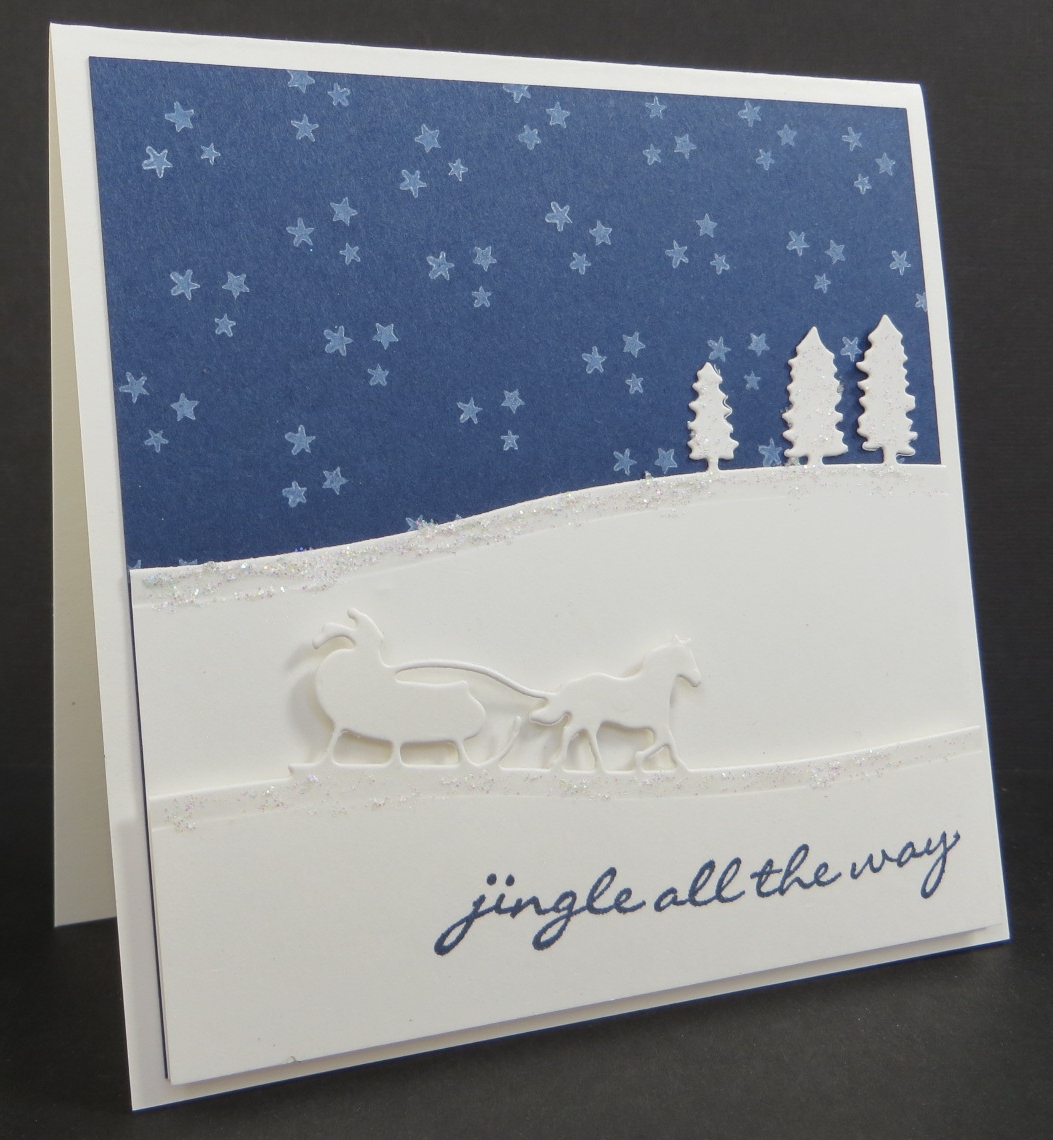
This is a swap I received in Dallas.  The images are all from the Home for Christmas Designer Series Paper.  I’m going to admit this….I do not like this paper.  It’s a bit old fashioned for me.  I do however like this card which is why I’m sharing it with you.

This card must have been a lot of work.  All of the images had to be cut out by hand….fussy cutting at it’s best (worst).  The little reindeer is pretty cute but definitely not my style.

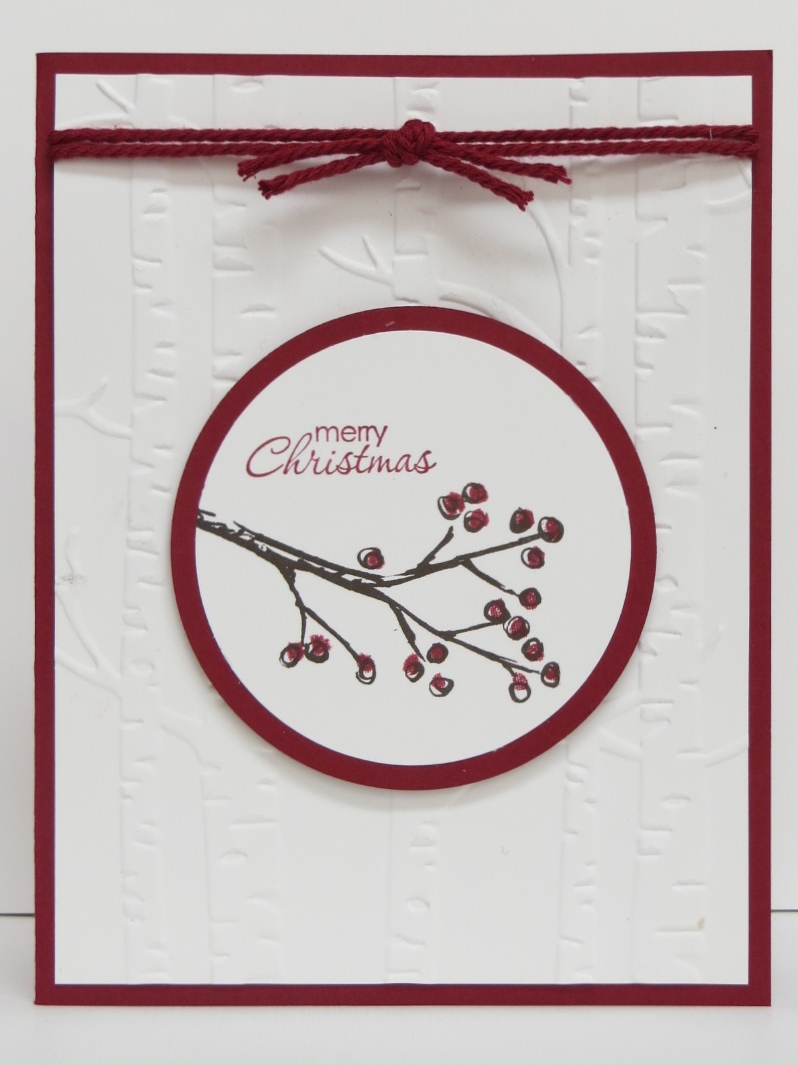
I like how the designer used the starburst from the Kinda Eclectic stamp set underneath the focal point to add a little more pizzazz to the card and then of course the Red Foil Sheet “merry” makes everything pop.

Today’s the last day of the Online Extravaganza.  Get your shopping done here!  It’s also the last day of November which means I really need to start thinking about Christmas.  I did get all of my Thanksgiving items put away but now I need to start the Christmas decorating.  I know a number of people who already have their trees up and decorated.  Are you one of them?  🙂

Have a great day!  Take care and Happy Stamping!

Sparkly Flurry of Wishes

IMG_7319It’s a chilly and overcast day here in CO so I thought some sparkly snowflakes would cheer us up!  🙂

This card was designed by my friend Glenda who joined Jan and I in Dallas for Stampin’ Up!’s On Stage event earlier this month.  Isn’t it pretty?  All of the snowflakes are embossed.  The silver foil sheet and the jewels add that sparkle I am in need of today.

I’m still recovering for food overload.  We had a little over 20 people for Thanksgiving dinner the other day and then 12 of them returned last night for our annual “Leftover Night”.  Yep….in our neighborhood we kind of have two Thanksgiving dinners.  It’s a tradition we started when we first started celebrating Thanksgiving together almost 20 years ago.  Next year will be 20 years exactly so we may have to think of something special to help us celebrate.

What do you all do for Thanksgiving?  Family?  Friends?  Both?  My mom and dad joined us from the MN Homeland this year.  That was pretty nice.  I tell you though…I’m still exhausted….my mom doesn’t stop.  She’s kind of like the Energizer Bunny.  She keeps going and going and going.  We did get a chance to play a couple of games together though so that was nice.  She even joined my church choir for the service Tuesday night and sang with us.  Mom and Dad haven’t been out here to CO since my son got married 2 years ago.  They were do and they’re lucky to be healthy enough to do it.

I hope you all had a wonderful Thanksgiving however you celebrated.  Take care and Happy First Day of Advent……Christmas is coming!

P.S.  Don’t forget that tomorrow is the last day of Stampin’ Up!’s Online Extravaganza!  Get those deals while you can!

Grateful Tic Tac Holder

IMG_7023Sorry I missed a few days but my parents are in town and we’ve been visiting and running around.  It’s great to have them visit.  They haven’t been here since my son got married two years ago.  Of course we get to the Minnesota Homeland at least 2-3 times a year so it’s not like we haven’t seen them.  They had an uneventful flight.  They are a little nervous about how crowded the airport might be on Friday when they head back home but I assured them we can get them to the airport as early as they’d like.

My son and his wife arrived in town from California last night.  So we will have a lovely Thanksgiving tomorrow.  We host every year.  It starts with the neighbors who aren’t traveling and grows from there.  This year we’re up to about 28 people or so.  Should be fun!

IMG_7024This little treat holder is what I made for my friends that I went to Stampin’ Up!’s On Stage event in Dallas with.  It’s a fun and easy treat holder for regular size Tic Tacs.  Oooo…that reminds me….we’re making a Christmas one in class next week and I still need to get the Tic Tacs!

The original idea I saw for this project used a miniature little Tic Tac box from the dollar store.  Since I didn’t want to run around looking for little ones I just designed my holder around a regular size box of Tic Tacs.  Stampin’ Up!’s wide striped ribbon is the perfect size!

These treat holders are so easy.  I’ll give you directions and dimensions when I post the Christmas one…probably next week.  If I forget to post again tomorrow have a wonderful and peaceful Thanksgiving!

Take care and Happy Stamping!

To You & Yours Shaker Card Kit

IMG_7314I was finally able to hold my Shaker Card Kit classes this week.  This kit has been so popular that it’s been on backorder forever!  They’re finally in stock!  Woo Hoo!

With this kit you make 6 each of these three different designs.  They’re really fun to make and shaker cards just make a person smile!  🙂

You do need the coordinating stamp set and three different ink pads along with liquid glue and mini glue dots to complete the kit.   Everything else needed for the cards is included.

Everyone in class had a fun time making them.  I would definitely make them again.  Hmmm….maybe I should order another kit…

Have a great day!  Take care and Happy Stamping!

Built for Free Using: My Stampin Blog

Coming Soon….Online Extravaganza!

Ecard_OnlineX_demo_11.23.15_ENGIt’s coming!  It’s coming!  Stampin’ Up!’s Annual Online Extravaganza!  The week of Thanksgiving is always a fun one at Stampin’ Up!.  They don’t want to be left out of all the great deals surrounding Black Friday and Cyber Monday so they’ve come up with their own sale!

They have TONS of great deals for you to choose from next week.  Most of the items will be on sale all week but there will be a few Door Busters on Monday November 23rd and some more Door Busters on Monday November 30th.  These Door Busters are only good on those days.

You can check out the list of items that will be on sale here.  Please note that under page number if “online” is listed you can look up the stamp set by name here.  These are photopolymer stamp sets that Stampin’ Up! sells separately and that aren’t in any of the catalogs.  They are pretty darn cute so be sure to check them out.  If items are listed in bundles these bundles are only available during the sale.

There are also Paper Pumpkin items available for purchase during the sale.  Be sure to note that if there is an asterisk (*) after the name this is just a refill for the kit and it doesn’t come with stamps or ink.  The refill kit only comes with the consumables:  paper, ribbon, etc..

For the first Door Buster on Monday November 23rd the designer papers are “Buy 3, Get 1 Free”.  This deal only applies to the designer papers listed for the sale.  It does not include any of the papers in the Holiday catalog or any other papers in the main catalog.

Starting Monday November 30th you can shop HERE!  Don’t miss out on these fabulous deals!  Make that wish list NOW!  🙂

Take care and Happy Stamping!

Perfect Pines Framelit Swap Card

IMG_7331One of the fun parts of Stampin’ Up! events is the swapping.  This is where you make a bunch of cards (or just the front) and then trade or swap them with other demonstrators for their cards.  It’s a fun and easy way to get new ideas.

This card is my friend Jan’s swap card.  She’s the one I traveled with and hung out with last week.  Jan used the Perfect Pines Framelits on this card.  The great thing about this framelit set is that it COORDINATES with the Peaceful Pines stamp set!  I love when Stampin’ Up! makes my life easier!  🙂

Don’t you love the way that the tree on the left looks 3D?  The “pine boughs” were made with a framelit!  You die cut the tree from your card stock and then you run the die cut tree through the Big Shot again with another die that makes the “boughs”.  Amazing!  🙂

Jan and I left for Dallas last Wednesday even though the event wasn’t until Saturday.  We wanted to do a little site-seeing as well as just relax.  Since we knew we’d have plenty of down time we decided to work on our swap cards in Dallas.  We did all of the stamping and cutting and home but put our cards together in Dallas.  A nice and relaxing time.

Have a great day!  Take care and Happy Stamping!

Built for Free Using: My Stampin Blog

Dallas!

dallas.1.1115I’m back from Dallas and ready to get back to work.  Stampin’ Up’s On Stage event was wonderful!  I got some great ideas for projects and for running my business.  I can’t wait to get to work!

I went to Dallas with my friend Jan and we had a wonderful time.  We visited the site of JFK’s assassination and the museum.  Very dallas.2.1115informative.  That was the big tourist thing we did.  Other than that we just wandered a little and relaxed.  We didn’t bring our swim suits but we did check out the hotel pool.  Very classy!  🙂

At the event on Saturday we got sneak peeks at both the upcoming Occasions Catalog and the upcoming Sale-a-bration Brochure.  All I prizepatrol.1115can say is that you won’t be disappointed by either!  There are some fabulous new products coming!  As at all Stampin’ Up! events there were door prizes and I won a VERY cute stamp set.  Unfortunately I can’t show it to you yet.

Stampin’ Up! events are great.  You get to hang out with old friends, meet new friends, get motivated and win prizes!  The next On Stage events will be in April.  Wouldn’t you love to join me?  I know I’d love to have you come to Salt Lake City with me.  To attend you just need to be a demonstrator.  Contact me today to find out how to sign up or simply check out my website.

Thanks Dallas for a wonderful visit!  Have a great day!  Take care and Happy Stamping!


November Valentine!

IMG_7013What?  A valentine in November?  What am I thinking?

Well, if you’ve been following my recent posts you know that I’m in Dallas for a Stampin’ Up! event.  We demonstrators like to exchange ideas at these events by making cards that we share with each other.  This is the card I’m swapping.  Do you like it?  🙂

I was having a hard time deciding on what type of card to swap at this event.  There’s still plenty of time until Christmas so I could have used any of the fun Christmas products in the Holiday Catalog but I wanted something a little different.  I looked through the main catalog and at all of the stamp sets sitting on my shelves but nothing jumped out and grabbed me.  Then I happened to see the Red Foil Sheets in my stamp room and inspiration hit!  A Valentine!  Not just any valentine.  This valentine uses three products from the Holiday Catalog.  Yep.  Three!  Can you spot them?

Well, the first is my new favorite embossing folder:  Softly Falling.  The next is one I’ve already mentioned:  the Red Foil Sheets.  The final one is the new Curvy Corner Trio Punch.  If you haven’t played with this punch you need to give it a try.  Three punches in one!  All of this goodness in my favorite size card!

I’ll definitely share some of the fun I’ve had today over the next few days so stay tuned.  Don’t forget that you can check my Facebook page also to see what I’ve been up to!

Have a great day!  Take care and Happy Stamping!

Built for Free Using: My Stampin Blog

Lighthearted Leaves Squared

IMG_7009I’ve been showing you Christmas cards for over a week straight and then I go and throw another fall card at you!  Ha!  I just want to keep you on your toes!  🙂

I just can’t seem to get enough of these square cards.  4 1/4″ x 4 1/4″.  Definitely my new favorite size card.

This card is one that I was going to make for my swap at the Stampin’ Up! event in Dallas until I made the valentine that I’ll share with you tomorrow.  I had made little 3″ x 3″ thank you notes for my customers using this little colored leaf.  I liked it so much I thought I should try it on a larger card.  I first tried it on a regular size card but it just didn’t look right.  Then the light bulb went off above my head (don’t you love when that happens?!) and I put the leaf on my favorite size card!  Ta-da!  A swap-worthy card!

Of course, after all that thinking and designing I decided not to use it for my swap.  I won’t even mention that I had actually cut all the card stock and THEN decided not to use it.  Yikes!  I really like the card I’ll show you tomorrow though.  Definitely worth putting this one aside.

I love the when the leaves in this stamp set are colored in.  They turn out so nice.  When I was working on this card I couldn’t decide how to color it in.  When I used markers for both colors it was just too overwhelming and if I used a blender pen and ink it looked too washed out.  So I compromised!  I used the Cajun Craze marker and the Delightful Dijon ink with a Blender Pen.  Perfect!

Have a great day!  Take care and Happy Stamping!

Built for Free Using: My Stampin Blog

Joyful Season

IMG_6997Here’s a Christmas card that you can easily change the sentiment to make it a card for any occasion.  Yes, the red berries do kind of make you think Christmas but you could have a “thinking of you” or something on the card.

I saw a card similar to this on Pinterest and thought it would make a good card for class.  It’s fairly easy (after I did the embossing and die cutting for everyone!) and just a nice card for the holidays.  This is another one of the Stamp-a-Stack cards that needed embossing.  I couldn’t stand the look of plain white card stock so I got out my Woodland Embossing Folder.  Don’t you love how the embossed trees COORDINATE with the stamped tree branch?  Ha!  Sometimes I scare myself when I notice these things!  🙂

I do want to get this stamp set out again soon and play with it.  The cute cardinal in it is just screaming to be stamped!  Unfortunately I haven’t had a lot of time to play this fall.  Hopefully I can play a little with my stamps when I return from Dallas.  Of course by then I’ll be all excited by the new Occasions Catalog that I’ll have a peek at……

Have a great day!  Take care and Happy Stamping!

Built for Free Using: My Stampin Blog

Among the Branches Christmas

IMG_6996Today I’m off to Dallas for one of Stampin’ Up!’s On Stage Local events.  It’s their first event of this kind so it will be fun to see what they have in store for us.  The event is on Saturday but my friend Jan and I are going on Wednesday to hang out and do a little site-seeing.  Be sure to follow me on Facebook to see what I’m up to and what Stampin’ Up! has in store for us.

Today’s card is the first of the cards I designed for my Stamp-a-stack class.  Those gals that came to the class made 15 cards (3 each of 5 different designs).  The cards are fairly easy so they can get them all done.  In a Stamp-a-stack I usually don’t have any Big Shot work on the card.  However….some of the cards, like this one, just screamed to have the Softly Falling embossing folder used on them.  So…I did all the embossing for everyone.  Yes, it was a lot of cranking on the old Big Shot but it wasn’t too bad because I did it last week on Halloween while I was waiting for the munchkins to show up.

Are you getting tired of hearing me say how much I like my cards?  Well, here’s another one.  This card is just plain pretty.  I especially like the little “bow”.  Yes, I saw it on Pinterest!  Where else would I get an idea?  🙂

Have a wonderful day!  Take care and Happy Stamping!

Built for Free Using: My Stampin Blog

Shiny Embellished Ornaments

IMG_6977Yesterday’s card was sparkly, today’s is shiny.

I’m loving the Red Foil Sheets.  Gorgeous!  I’ve used the silver and gold foil sheets in the past and liked them but there’s something about the red.  Love it!  I’ve actually designed a valentine card using the red foil that I’ll share with you later this week.  I know….it’s not even Thanksgiving and I’m talking about valentines!  Well, on Wednesday I’m heading to Dallas for a Stampin’ Up! event and the valentine is my swap card.  I could have designed a swap using one of the stamp sets in the Holiday Catalog but I just wanted to do something a bit different.

So, I love this card too, just not as much as yesterday’s card.  I’ll be making some of these for my Christmas cards too.  Isn’t this detailed ornament beautiful?  So intricate.  This card really wasn’t difficult.  I die cut the ornament directly out of the piece of Whisper White that has the sentiment on it.  That sheet is adhered to the red foil with Stampin’ Dimensionals.  Then I adhered the ornament directly to the foil so it looks set it in.

So, how do you die cut the ornament without having to poke out all of those little bitty pieces?  Here’s my secret….dryer sheets.  Yep.  Dryer sheets.  Regular old dryer sheets.  Here’s the order of all the pieces and parts:  1.  magnetic platform  2.  cutting pad  3.  dryer sheet  4.  card stock  5.  wax paper  6.  die  7.  cutting pad.

This technique is great.  Most of the little bitty pieces stick to the dryer sheet and the wax paper prevents the ornament itself from sticking in the die.  You really need to try this.  It works great!

Have you started your Christmas cards yet?  What stamp set are you using?

Have a great day!  Take care and Happy Stamping!

Built for Free Using: My Stampin Blog

Sparkly Wonderland

IMG_6971I.  LOVE.  THIS.  CARD!

Yep, this is one of my Christmas cards this year.  As soon as I finished the sample I knew it was “THE” card.  In fact, I’ve already made over 20 of them.

The title of this post says sparkly and I’m sure you’re wondering where the sparkles are.  First of all I started with Shimmery White card stock.  Then I used my Dazzling Details again to add sparkle to the edge of “snow bank”.  I also used it lightly on the trees.  Of course the Gold Foil Sheet and the gold ribbon add a little  shimmer too.  If I do say so myself, this card is gorgeous!  You do have to see it in person to catch all the shimmer and shine.

I am going to admit that I got the general idea for this card from my favorite source…Pinterest!  I did have to add a few more layers and such though….you know me!  🙂

Where do you get the ideas for your projects (other than my blog of course!)?  Let me know.  I’d love to hear from you.

Have a great day!  Take care and Happy Stamping!

Built for Free Using: My Stampin Blog

Saturday Share: Snow Place

IMG_1239 (2)Adorable!!!!!  I saw this card on Pinterest yesterday and it was too adorable not to share.  I don’t usually post something I haven’t made myself (or at least attempted to make!) but why reinvent the wheel?  Doesn’t this card just make you smile?

A big thank you to Cindy Baughman for this fabulous card!  Wouldn’t you love to get this in the mail?

Have you made anything with the Snow Place stamp set yet?  I just recently got it and started playing with it yesterday (which is why I was on Pinterest looking for ideas!).  It’s a pretty fun stamp set with the little snowmen and of course this adorable penguin.  Best of all…..wait for it…..it’s got COORDINATING framelits!  Woo Hoo!  So far I’ve come up with a couple of cuter 3D items using the stamp set and can’t wait to play with it a little more today.

What would you make using this fun stamp set and framelits?  Send me a picture at cindy@stampbystampcreations.com.  I’d love to see it!

Have a great day!  Take care and Happy Stamping!

Jingle All The Way

IMG_6983These Sleigh Ride Edgelits are SO fun!  You can make all sorts of scenes with them.  For my “fancy” card class I decided to go with your basic  snowy scene.  I wanted to use my favorite 4 1/4″ x 4 1/4″ card size because I didn’t have too much white space on my card and I just like that size of card!  Ha!

It’s a little hard to see in the picture but I used my Dazzling Diamonds to create a line of sparkly snow along the top edge of the white pieces.  It really adds some pizzazz to the card.  Who doesn’t love a little pizzazz?  🙂

I’m having a fun time creating projects for my 3D Holiday Class.  We’ll be making things like gift card holders, tags, etc.  I’m still trying to decided on projects…there’s so many cute ideas out there!  Right now I have a list of 8 possible projects for the 5 project class.  Too bad we won’t have time to make them all!

More errands this morning and then it’s off to lunch with a friend!  Have a great day!  Take care and Happy Stamping!

Built for Free Using: My Stampin Blog