Friendly Bloomin’ Heart

IMG_7457Hearts aren’t just for valentines.  Send one to someone just to show you care.  We all have that special friend who means a lot to us.  They’re always there for us even if we don’t see them or talk to them often.  This is the perfect card for that friend.

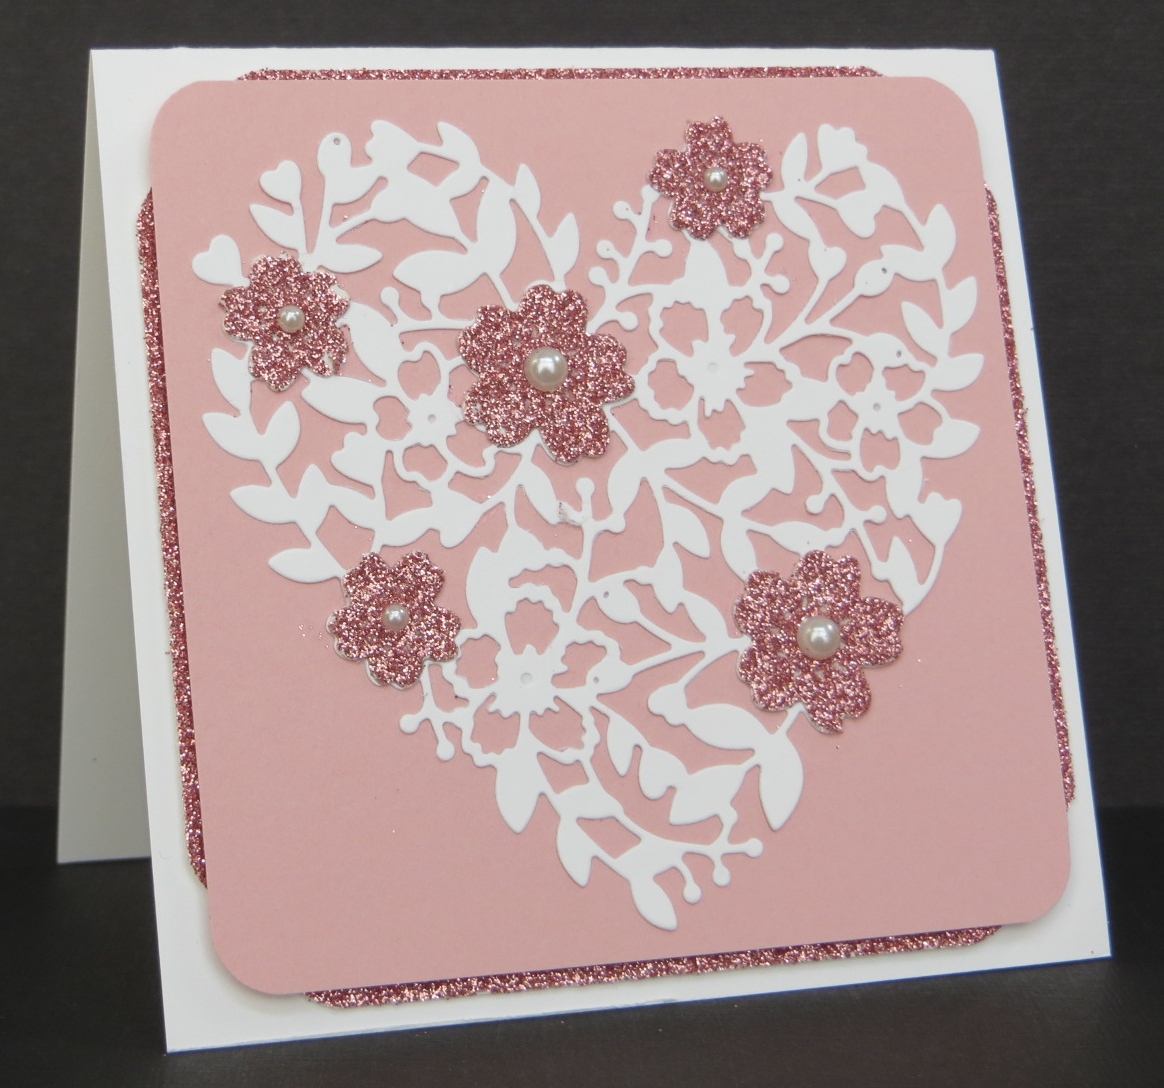
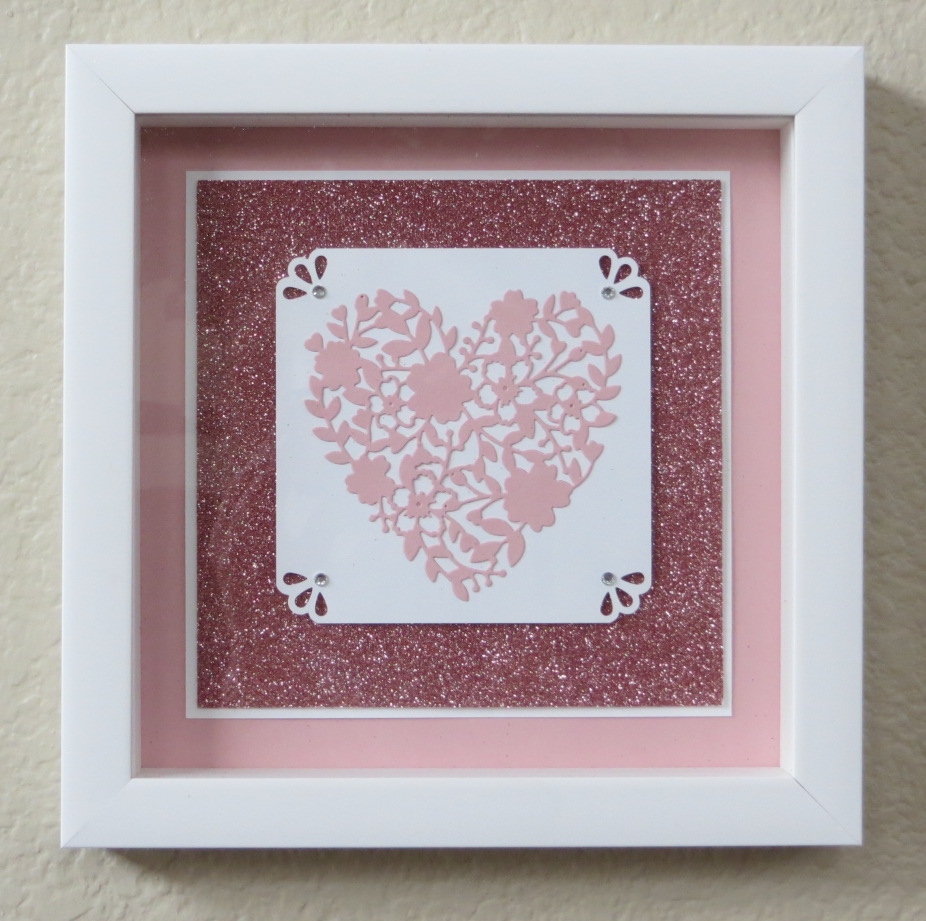
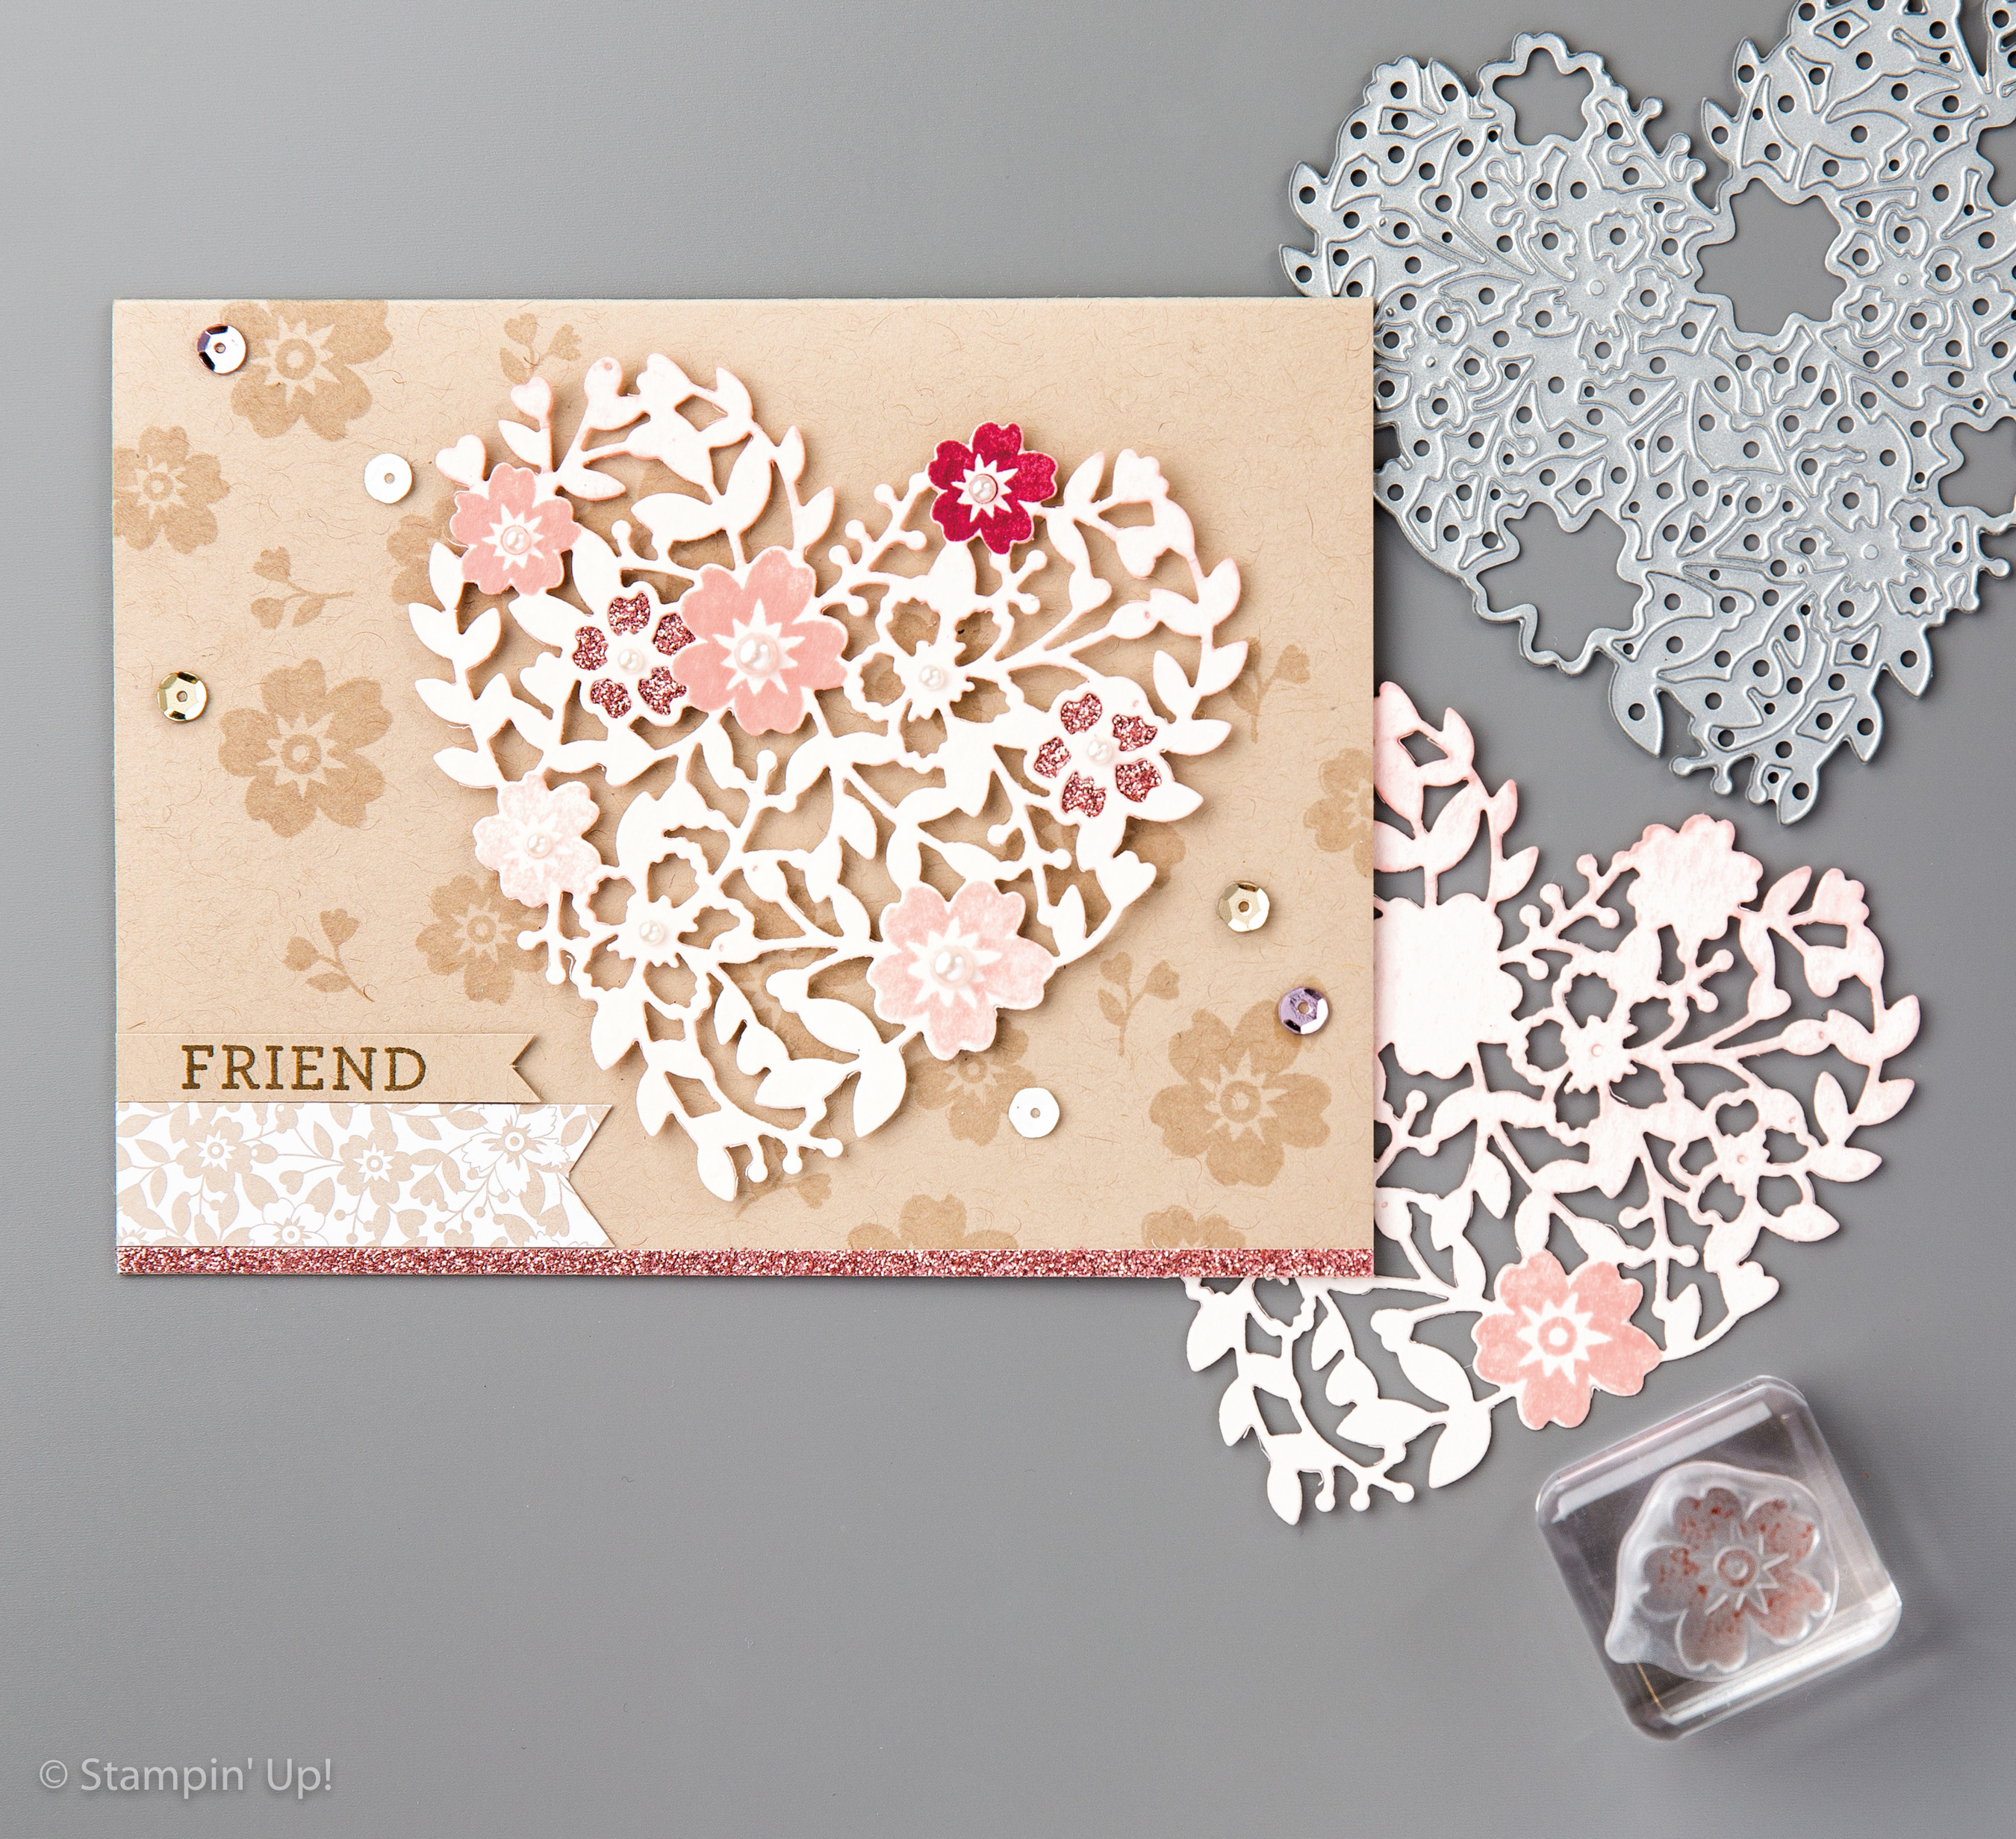
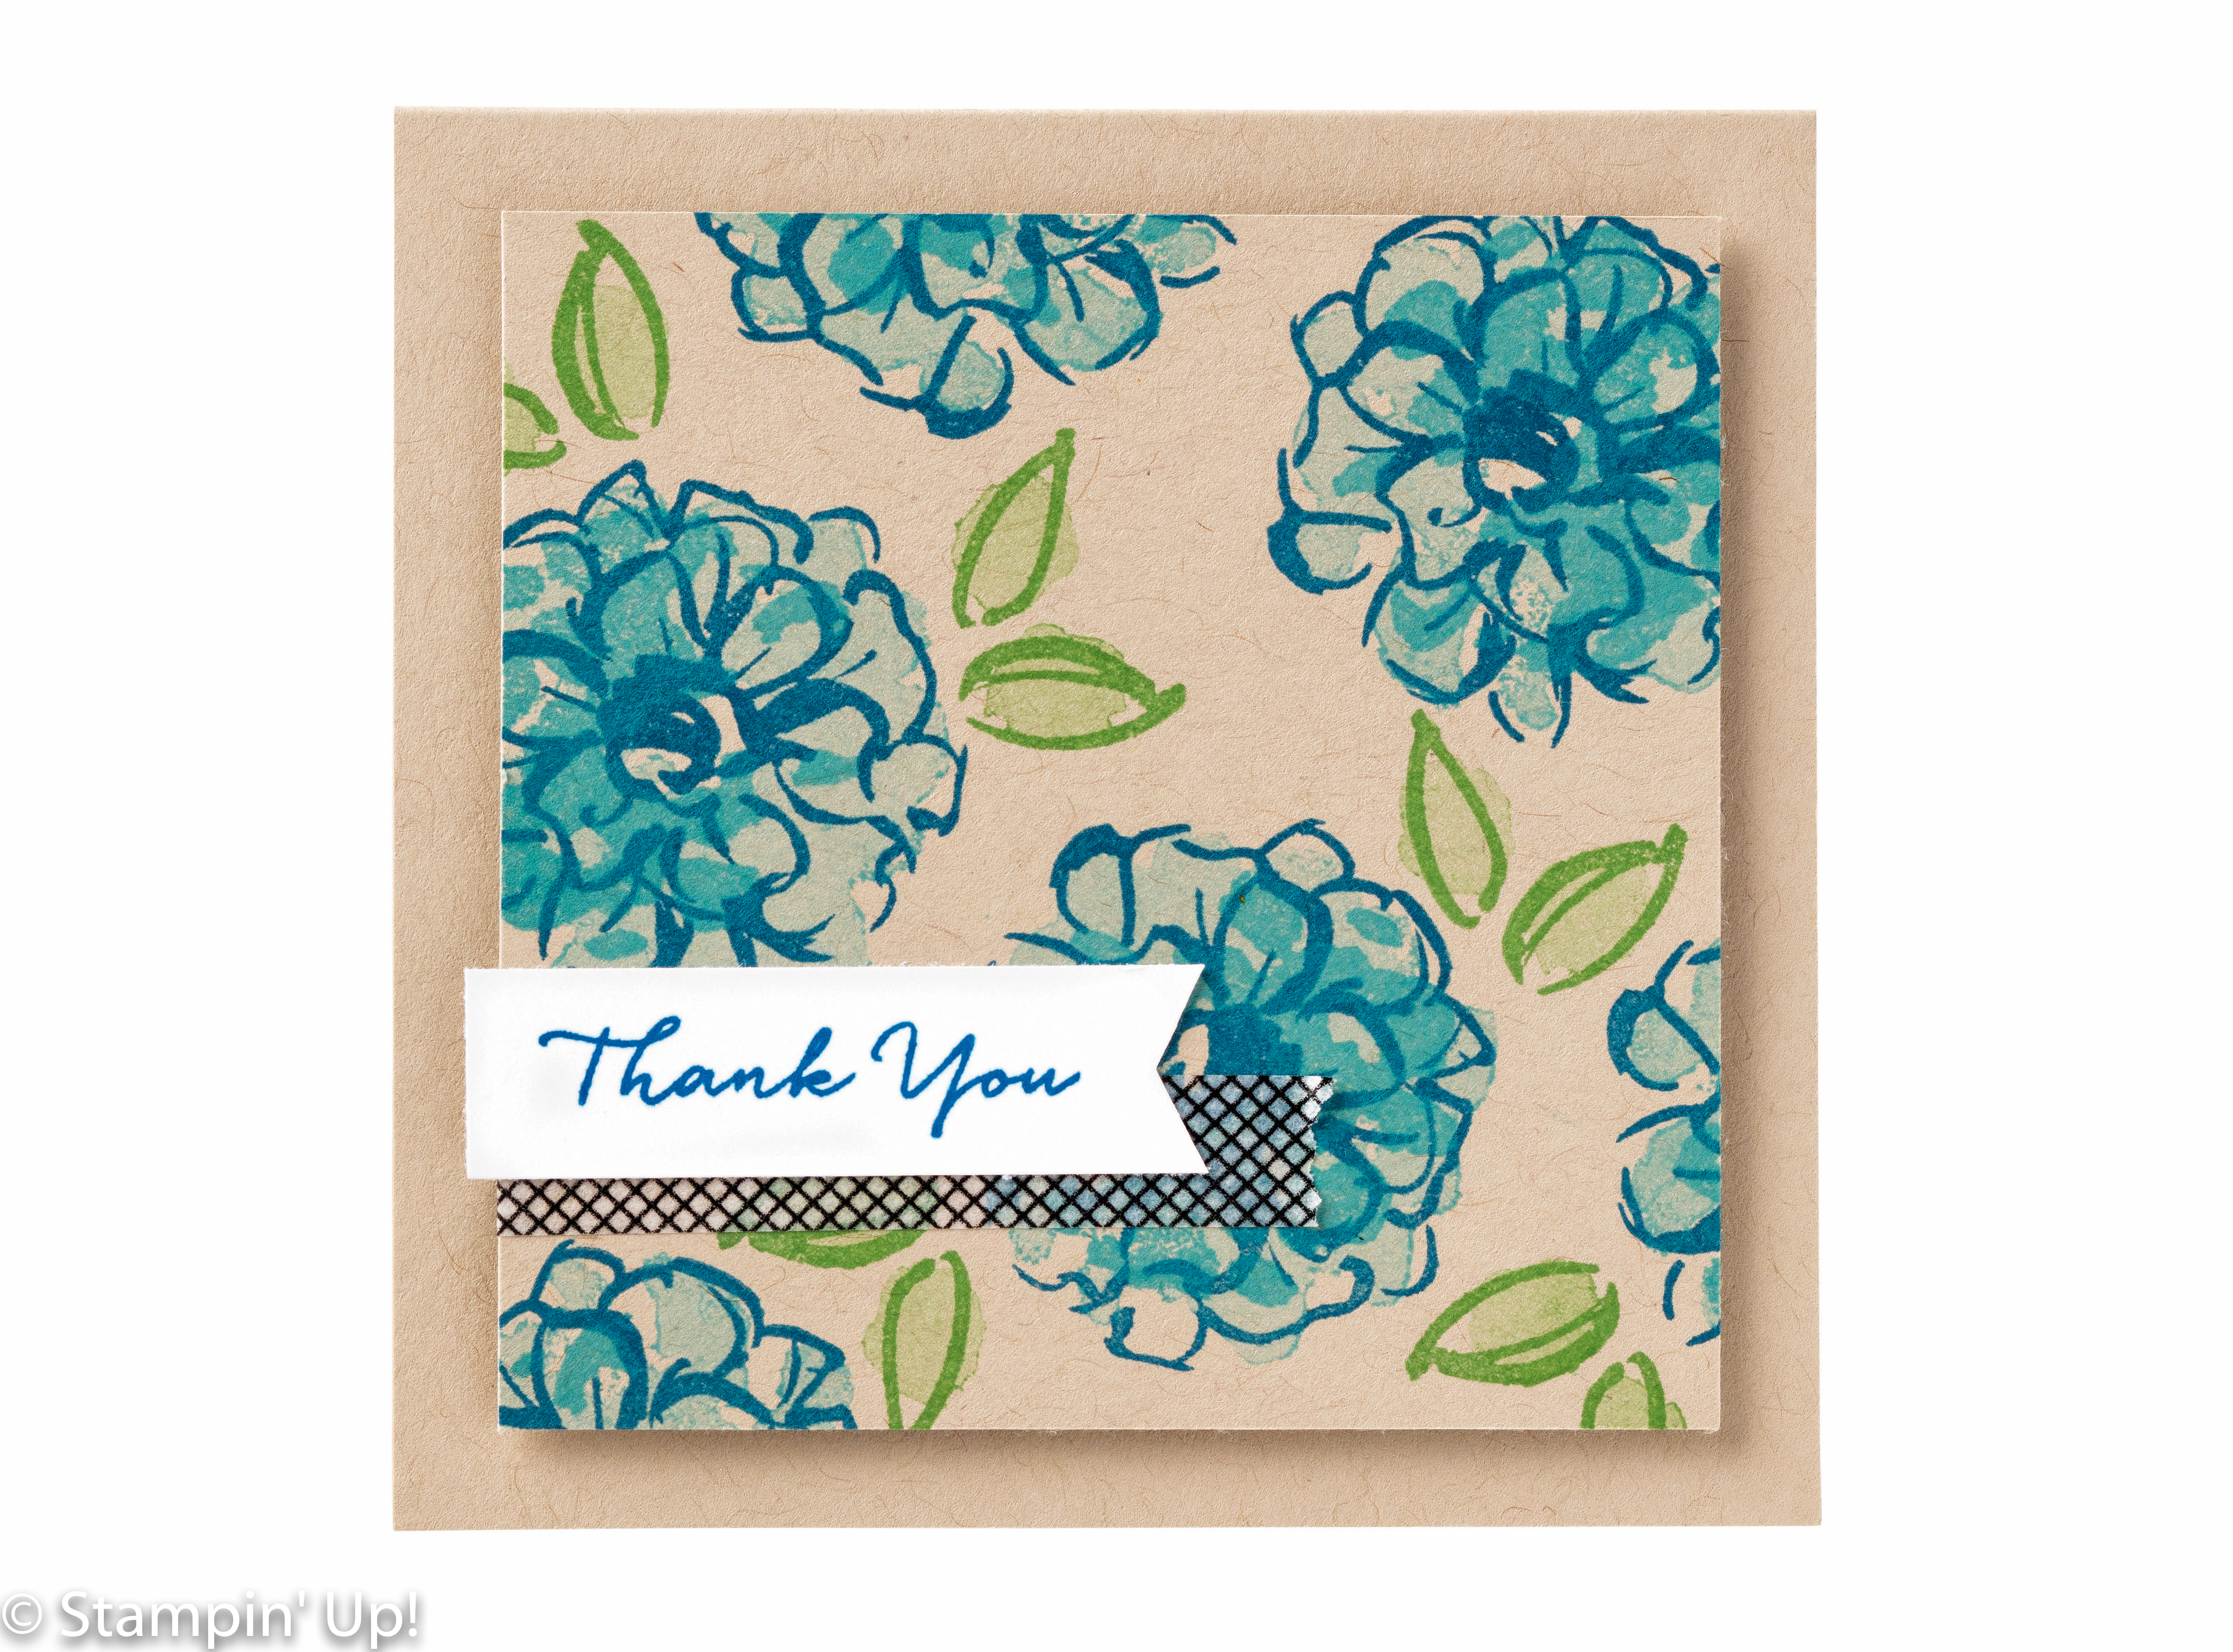
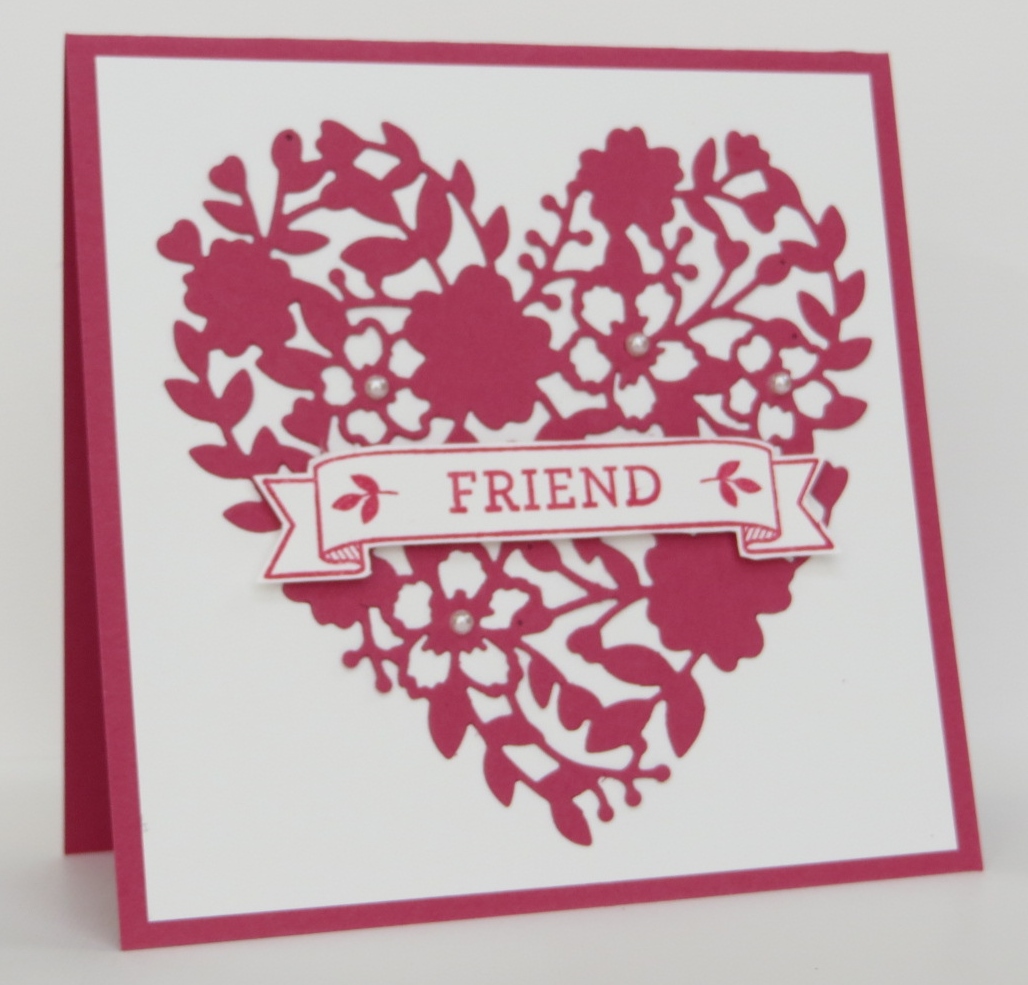
When I was trying to design a card using this fabulous Bloomin’ Heart Thinlit I was having a hard time.  I was trying to put it on a regular size card and I just wasn’t liking it.  So of course I went to my new favorite size card……4 1/4″ x 4 1/4″.  If you don’t believe it’s my favorite card size you should have been at one of my classes last week.  Three of the five cards that we made were this size!  🙂

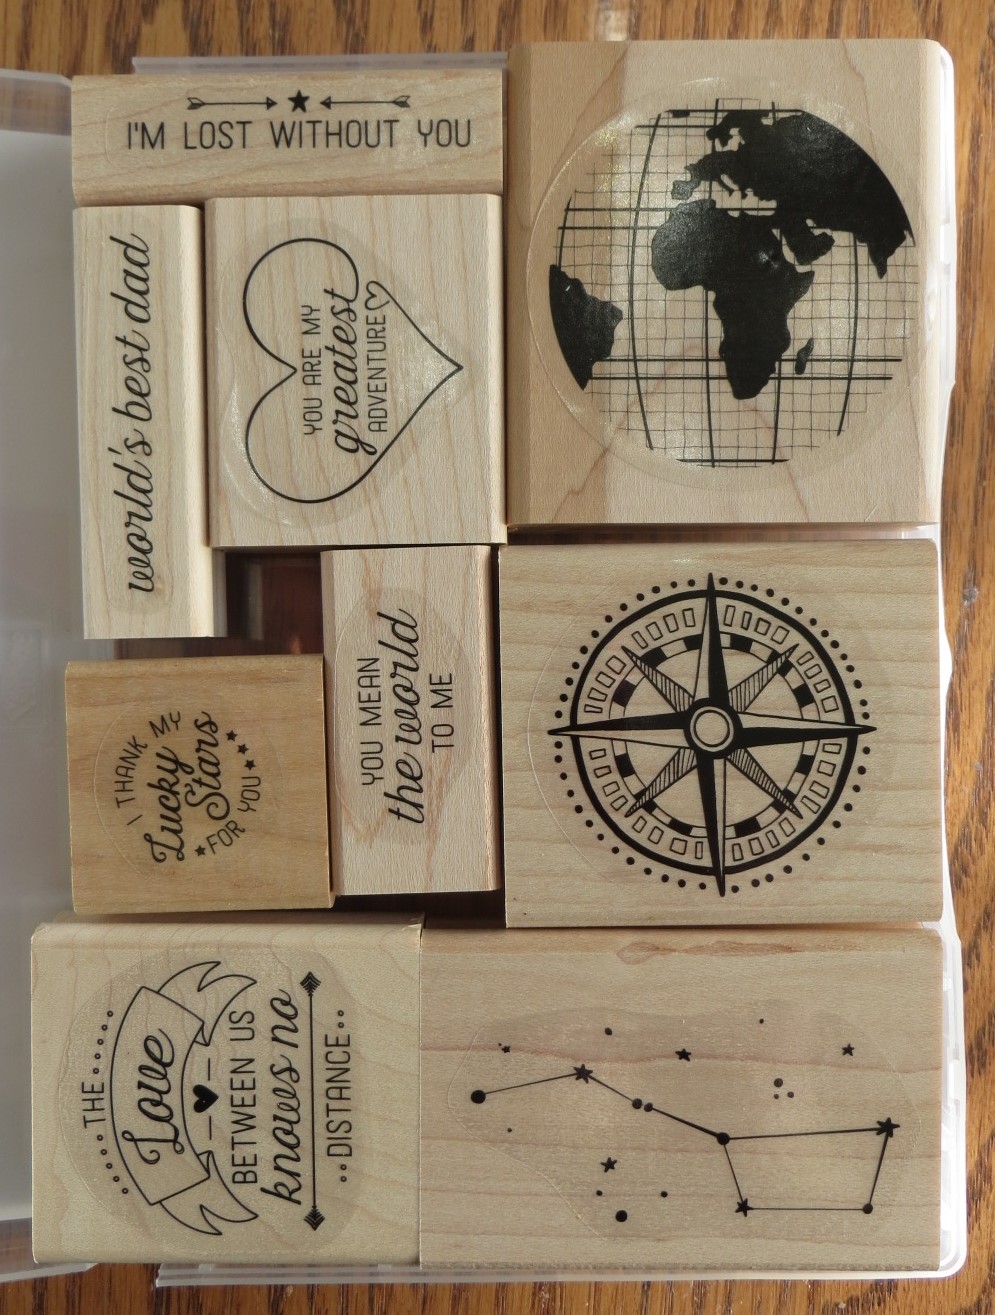
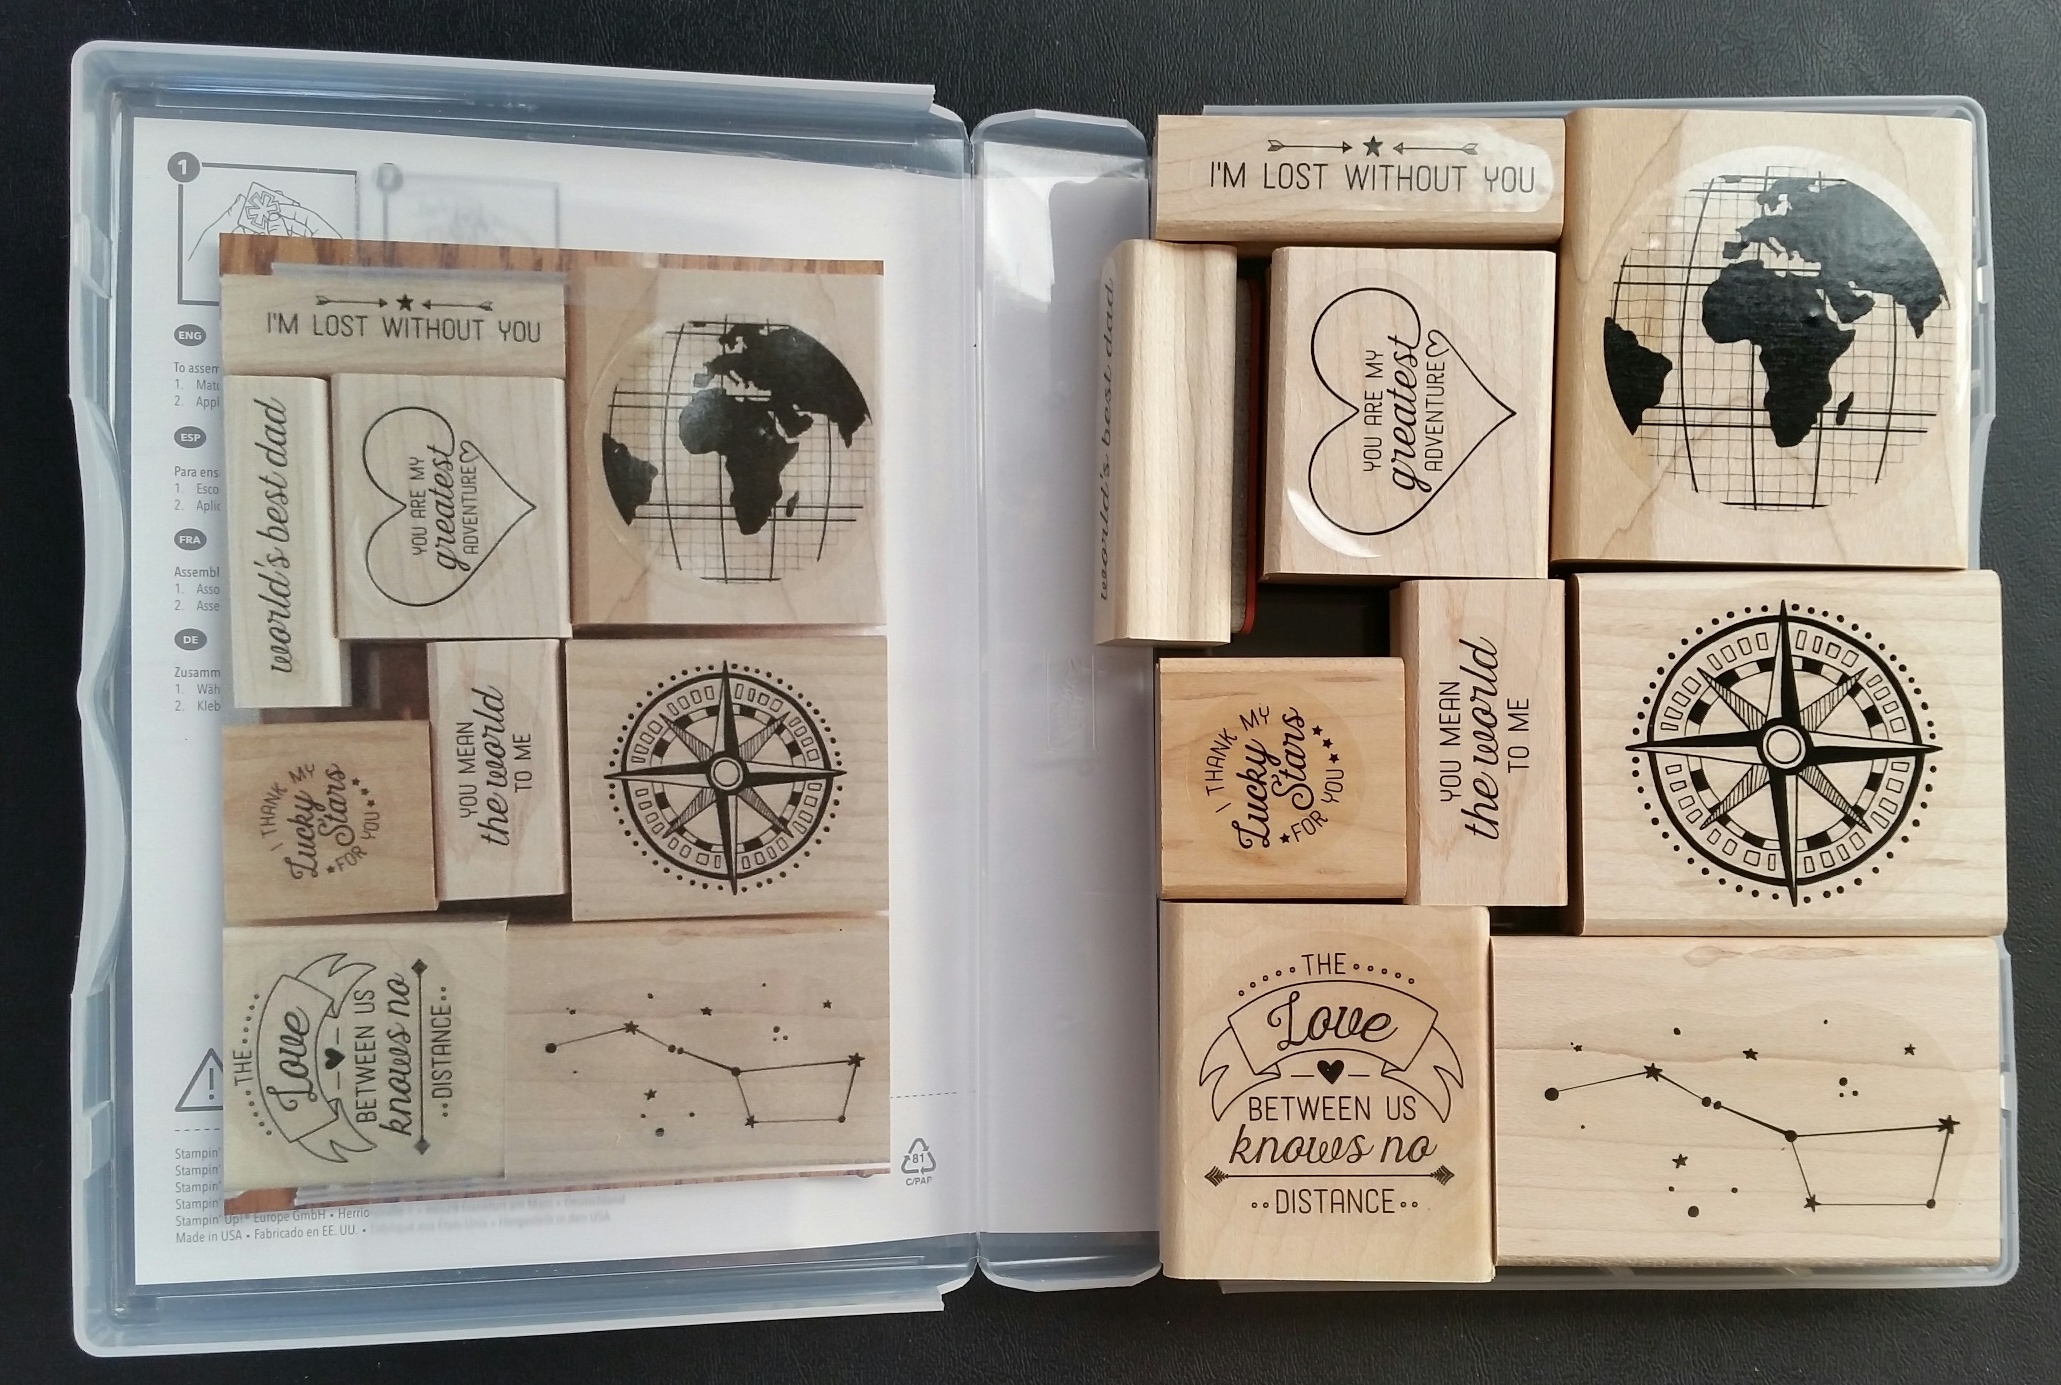
The card itself is pretty simple.  Just a few layers, the heart, the banner and a few pearls.  The banner stamp is in the Bloomin’ Love stamp set but the framelit for isn’t with the Bloomin’ Heart Thinlit.  It’s actually in the Large Numbers Framelits set.

I actually used Rose Red on this card.  I can’t remember the last time I used Rose Red.  It’s not a color that jumps out and grabs me and it’s definitely not one of my go-to colors.  It works perfectly on this card.  What color have you used lately that you usually don’t use?  Leave me a comment and let me know.

Have a great day!  Take care and Happy Stamping!

Built for Free Using: My Stampin Blog

Archival Ink Pads

140931_140928_140932_140929_archival_ink_black_grayIt’s another episode of  Tool Time Saturday!  I bet you didn’t think I could actually do it two weeks in a row!  Ha!

I have to admit that I was pretty baffled last spring when I first saw the new 2015-2016 Catalog.  There wasn’t any Basic Black or Basic Gray ink in it.  Hmmm….I knew that Stampin’ Up! was having troubles with the Basic Black ink but I hadn’t heard anything about Basic Gray.  I was curious but after time I kind of forgot about these missing inks.  I just used the Black StazOn or the Memento Black ink that were in the catalog.

Then the 2015 Holiday Catalog came out and everything became clear.  Stampin’ Up! came out with a Basic Black Archival Ink Pad and a Basic Gray Archival Ink Pad!  Have you tried them?  They’re WONDERFUL!  These ink pads are permanent and acid free.  They’re perfect for watercoloring.  I’m going to go out on a limb and say I like them better than StazOn.  (The two ink pads are basically the same.)  The reason I like the Stampin’ Up! pads is that when I’ve stamped with StazOn using the photopolymer stamps the stamps will stick to the card stock and actually tear the paper when you try to remove them.  It’s kind of weird but it’s happened.

These archival ink pads ink your stamps nicely and produce a crisp, clean image.  Who doesn’t want that when they’re stamping!  If you haven’t tried these new pads now is the time.  I know that you’ll like them as much as I do.

Have a great day!  Take care and Happy Stamping!

Built for Free Using: My Stampin Blog

Going Global

IMG_7463Who needs cards for guys?  I do!  I do!  Sometimes it’s really hard to come up with a card for a guy.  Not any more.  The new Going Places Suite in the Occasions Catalog (pg. 38) is perfect for guy cards!  I’ve used the Going Global stamp set and the World Traveler embossing folder here.

This card could be used for many occasions.  You could use it for birthday, valentine or just a thinking of you card.  The important thing to note though is that it is perfect for a guy.   You actually could send it to either a guy or a gal!  🙂

This was a popular card in classes this week.  Everyone really like the World Traveler embossing folder.  I guess I’ll have to come up with some more class projects using it.  What would you do with this embossing folder?  I’d love to see your projects.

Have a great day!  Take care and Happy Stamping!


Need a Hug?

IMG_7436 I am a hugger.  I love to give hugs.  When we go back to the MN Homeland all of the nieces and nephews know that crazy Aunt Cindy needs to give them a hug.  Sometimes they try to run but they can’t hide.  🙂

I am in LOVE with this bear from the Bear Hugs stamp set!  TSC!  Too Stinkin’ Cute!  I was lucky enough to win this stamp set at Stampin’ Up!’s On Stage Event in Dallas in November.   Lucky me!  There’s also a little baby bear in the set along with a bunch of accessories and sayings.  This would have been the first stamp set out of the Occasions Catalog that I purchased if I hadn’t have won it.

IMG_7438
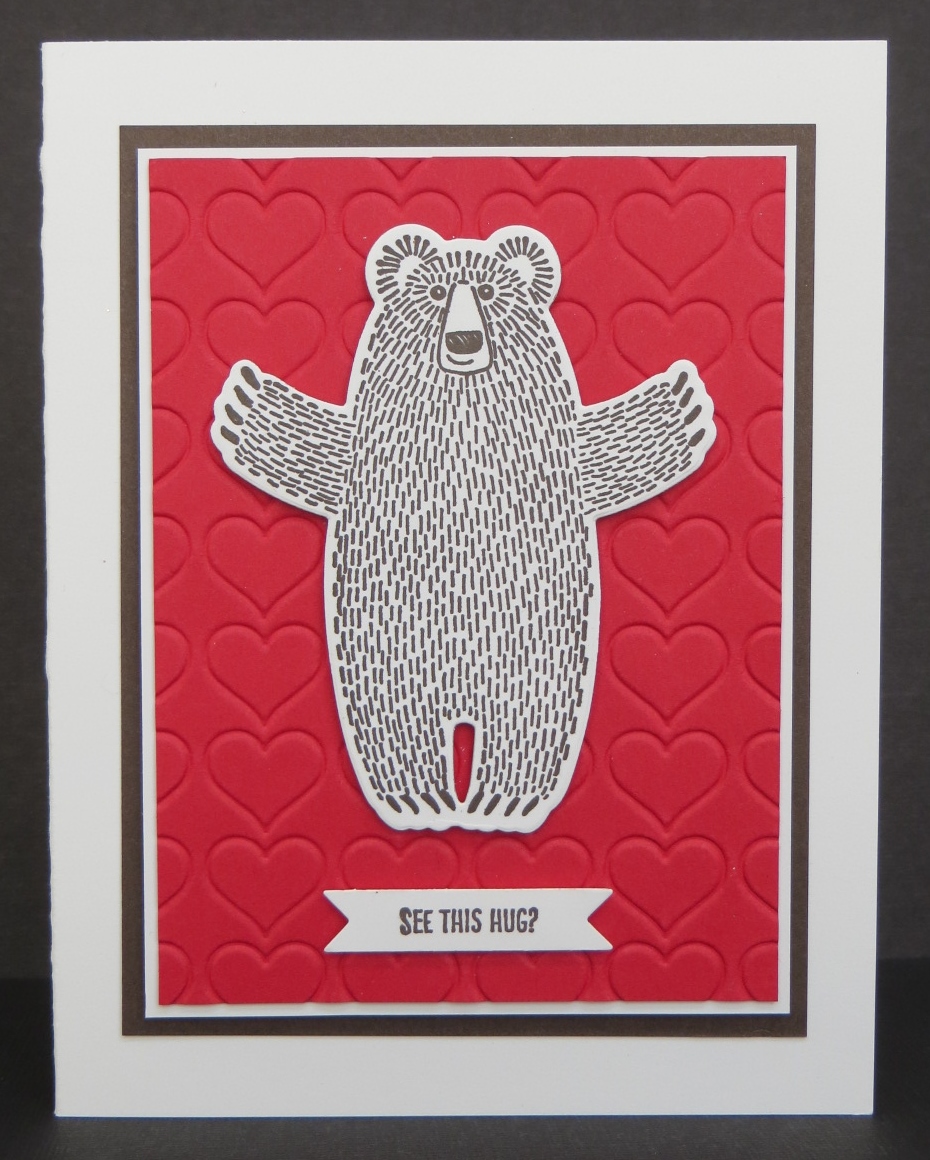
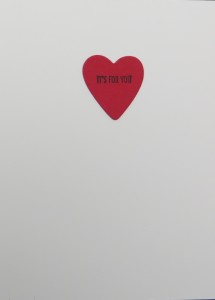
Do you know someone who need’s a hug?  This is the perfect card for them.   If the font is a little small on these pictures let me help you out.  The little banner on the front of the card says “See This Hug?”.  then the saying on the heart on the inside of the card says “It’s for You”.  You could brighten anyone’s day with this.

We’re making this card in class today.  I made sure to cut extras because I know I want to actually send this one out to people.  I know, you’re thinking “why would someone who makes card want to send them?”  Ha!  That’s the story of my life!  I make all sorts of cards but they rarely make it to the mailbox.  Sheesh!

I hope you’re better at sending cards than I am.  Send someone a hug!  You can see all the supplies needed for this card below.  Have a great day!  Take care and Happy Stamping!

Built for Free Using: My Stampin Blog

Tuesday Tip: Wood Mount Stamp Puzzle

IMG_7430Like Stampin’ Up! founder and CEO Shelli Gardner, I love my wood stamps.  I love being able to just open the case, grab the stamp I want and stamp away.  Yes, they take up a little more room on the shelf but they’re my favorite.

Some of the new stamp sets have a lot of images and this can be a problem with wooden stamps because you have to work out the puzzle of getting them all back in the case.

Today’s tip is a very SIMPLE solution to this little problem.  As I’m mounting the stamps onto the wood blocks I only take out one block at a time, mount the rubber on the block, put the label on the other side and put it back right where I got it!

20160110_153856_resized (2)Now here’s the big tip….after you have all of the pieces back in the box take a picture of the blocks in the box.  Print your picture, trim it down and tape it to the inside cover of the stamp box.  Woo Hoo!  You’ll never have trouble putting those stamps back in the box again!  Woo Hoo!

Did you like today’s tip?  Leave a comment and let me know!

Have a great day!  Take care and Happy Stamping!

Sale-a-bration 2016: What I Love

What I Love.1215I think that the What I Love stamp set is my favorite Sale-a-bration item in this year’s Sale-a-bration Brochure.  These flowers are so cute!

We’re making this card in classes this week.  If the basic design looks a little familiar it should.  I got the idea for it right from page 7 of the Sale-a-bration Brochure.  You can also see my inspiration card on last Tuesday’s post.

These days I’m trying hard not to “reinvent the wheel”.  People share their ideas for a reason.  Why not use them!  🙂

I liked the card in the Sale-a-bration Brochure but wanted to try something a little different.  That led me to coming up with a different color combination which led to this card.  Much easier than starting from scratch!  I hope you use my samples as inspiration for your cards.

What’s your favorite Sale-a-bration item this year?  Leave me a comment and let me know.

Have a great day!  Take care and Happy Stamping!

Built for Free Using: My Stampin Blog

Bloomin’ Heart Valentine

Bloomin' Heart.1215Hello on a chilly morning.  It may be chilly here but I sure am glad I’m not in the MN Homeland anymore.  It’s BELOW zero there.  BRRRR!   Stay warm my Homeland friends!  🙂

Here’s a little card I made that didn’t make the cut for this week’s Love & Friendship class.  Actually, looking at it now I’m not sure why it didn’t make the cut but it didn’t.  Hmmm….

The thought behind this cute little card was that I wanted to use the fabulous Blushing Bride Glimmer Paper.  LOVE IT!  <3

How can you go wrong using glimmer paper on your card?  I’m a little sad that the Black Glimmer Paper from the Holiday Catalog is no longer available.  I really liked that as you can see from my Christmas post.  I did buy a few extra packages before they were gone.  🙂

Apparently one of my favorite new tools is the Curvy Corny Trio Punch.  I notice that I’m using it a lot lately.  I used it on the glimmer paper on this card.  The corners were punched with the Project Life Corner Punch.  The flowers are die cut.  The flower dies come with the Bloomin’ Heart Die and of course they fit the flowers on the heart perfectly.   Gotta love that!

Have a warm an snuggly day!  I’m getting ready to watch my Vikings (yes, I like the Vikings AND the Broncos!) beat Seattle in a VERY cold outdoor football.  Since I’m back in Colorado I get to do it from the warmth of my own home.

Take care and Happy Stamping!

Built for Free Using: My Stampin Blog

Big Shot Die Brush

130658_big_shot_die_brush (2)It’s Tool Time Saturday!  Yep.  I just started a new trend.  My goal is to introduce you to or tell you more about some of the fabulous tools Stampin’ Up! offers in my Saturday posts or at least most of my Saturday posts.  I hope that you’ll enjoy them.

My first Tool Time post is about one of my favorite new tools:  the Big Shot Die Brush.  This tool is a must have for those intricate dies like the Bloomin’ Heart Thinlits Die in the new Occasions Catalog or the Delicate Ornaments Thinlits Die that was in the recent Holiday Catalog.

There are two items in the package with your Big Shot Die Brush.  You’ll have the brush which is a roller of stiff bristles.  Along with that comes a foam pad.  You need the foam pad!  It’s not just extra packing material!  Hang on to it.

In my past yesterday’s post you can see just how intricate the Bloomin’ Heart Thinlits.  Lots of teeny tiny pieces to cut out.  You’ll want to use the Precision Base Plate with your intricate dies.  The base plate will give you a nice clean cut but those pesky little pieces will still be “stuck” in your die cut image.  This is where the Big Shot Die Brush comes in.

Once you’ve die cut your image using the Precision Base Plate you’ll take the die and your die-cut card stock and place them on your foam pad.  Your card stock may or may not stick in the die.  If it does, don’t worry.  The brush will get it out.  If your card stock does pop out of the die you’ll want to place it back in the die before placing the die on the foam pad.

So, after die cutting, place the die with the card stock on your foam pad.  Now roll the brush back and forth over the die making sure that you roll it over all areas of the die.  Now when you remove the die the majority of those little pieces should be on the foam pad.  You make have to poke one or two of them out with a Paper Piercing Tool but the hard part is done!

I know you’re going to LOVE this tool as much as I do.  Click on the image below to purchase yours!  Have a great day!  Take care and Happy Stamping.

Built for Free Using: My Stampin Blog

Bloomin’ Heart Thinlit Frame

Bloomin' Love.1215Hello!  Once again I’m back from the MN Homeland.   We had nice visits with family and friends but are now ready to get 2016 rolling.

Today’s project is one I made for a  gift exchange at our team gathering in December.  It turned out pretty cute if I do say so myself!  🙂

I used a couple brand new products as well as a product that was new to the Holiday Catalog.  Many of you know that PINK is my favorite color….especially Melon Mambo.  Soft pinks are nice but give me a bright bold one!  However….when I saw this Blushing Bride Glimmer Paper I did fall in love.  It’s so sparkly!

The Bloomin’ Heart Thinlit Die is very intricate but oh, so beautiful!  With an intricate die like this there are definitely two products that will make your life a lot easier.  The first is the Precision Base Plate and the brand new Big Shot Die Brush.  Yes, I know that I didn’t like the Precision Base Plate when I first used it but it works so well with the Big Shot Die Brush.  I’m not going to say a lot more about the Big Shot Die Brush because that’s going to be tomorrow’s post!  Tune in then to get the scoop on this FABULOUS new tool!  You’re definitely going to want one!

I love the way the white background piece makes my Bloomin’ Heart pop.  I don’t think it would have had quite the impact without using the Curvy Corner Trio Punch on the corners (or the Rhinestone Jewels!).

I was actually looking for a 6″ x 6″ frame for this project but ended up with an 8″ x 8″.  It worked out well because it gave me more room for the Glimmer Paper!  🙂

Have a great day!  Take care and Happy Stamping!

Built for Free Using: My Stampin Blog

Today’s the Day!

Yep!  Today’s the Day!  It’s Sale-a-bration Time and the Occasions Catalog is Live!  Woo Hoo!  If you haven’t seen either of these publications yet you’re in for a treat.  You can view the Occasions Catalog here and the Sale-a-bration Brochure here!  They’re fabulous!

Love BlossomsSuite.0116The items in the picture here are from the Love Blossoms Suite from the Occasions Catalog.  We’ll be using some of these items in my very first classes of 2016 next week.  The theme of our classes is “Love & Friendship”.  I can’t wait to share these products!  If you’d like a closer view of this suite in the Occasions Catalog check out pages 16 & 17.  There are definitely some fun products.  One of my favorites is the intricate Occasions16_p16bBloomin’ Heart Thinlits Die which you can see on the large card in the background and in the friend card.  It’s gorgeous!

Don’t be scared off by this die.  Stay tuned in for a post about a fabulous new tool that you will definitely want to use with this die.  It makes using this die EASY!  🙂

20150130_161408_resizedOne of my favorite items from the Sale-a-bration Brochure is the “What I Love” stamp set.  It’s a three step stamp set meaning it takes three different stamps to make the full flower.  Isn’t this card pretty?  I used this card as a starting point for a card we’re making next week in class.  Be sure to check back next week to see what I came up with.

The great thing about this pretty little stamp set is that you can get it for FREE simply by making a $50 purchase.  You can reach this by purchasing the items used on the friend card above:

  • Bloomin’ Love Stamp Set + Bloomin’ Heart Thinlits Die Bundle  (#140818 $35.50)
  • Blushing Bride Glimmer Paper (#140550 $5)
  • Love Blossoms Cardstock Pack (#140549 $7)
  • Love Blossoms Designer Series Paper Stack (#140548 $8)
These four items come to $55.50 so you’d be able to  get the beautiful “What I Love” Sale-a-bration stamp set for FREE!!!  Woo Hoo!  See how easy it is to get FREE stuff!  🙂
Have a great day!  Take care and Happy Stamping!

Sale-a-bration 2016 Starts Tomorrow!

SAB16Cover_Core_eng-USIt’s almost here!  Sale-a-bration 2016 starts TOMORROW!  Are you ready?!  Have you made those wish lists?

Shop.  Host.  Join.  These are the three different ways you can earn FREE products.  It’s a stamper’s happiest time of the year!

SHOP.  The benefit we all know and love about Sale-a-bration is that for every $50 we spend on Stampin’ Up! products during Sale-a-bration we get to choose one FREE item from the Sale-a-bration brochure.  The best part is that there’s no limit on Sale-a-bration items.  The more you spend, the more free items you can choose!  Woo Hoo!  FREE stuff!
HOST.  Have a stamping party with your friends!  Gather your friends and we’ll do some stamping.  You choose the type of projects you want to create and I’ll do the designing, bring all the supplies and help you and your friends create!  With party sales of at least $250 you will earn an extra $50 in Stampin’ Rewards!  Woo Hoo!  More FREE stuff!
JOIN.  Sale-a-bration is the perfect time to become a Stampin’ Up! Demonstrator!  Whether you want to join just for the discount on those fabulous Stampin’ Up! products or possibly earn some extra cash for your family or that tropical vacation, Sale-a-bration is the time to join.  Starter Kits are $99.  Usually you get to choose $125 in merchandise for your $99 but during Sale-a-bration you get to choose and extra $30 in merchandise!  Yes!  $155 of Stampin’ Up! merchandise for only $99!  Woo Hoo!  You can choose your merchandise from both the regular catalog and the Occasions Catalog.  It’s a win-win!  I’d love to have you join my team!  Contact me today with any questions you may have!
Most of the items in the Sale-a-bration brochure are available January 5th – March 31st.  However, three of the items are only available until February 15th.  Then Stampin’ Up! will come out with a few new Sale-a-bration items that will be available from February 16th – March 31st.  How fun!  A Sale-a-bration surprise!  🙂
I hope you have a chance to take advantage of at least one of these Sale-a-bration opportunities.  Be sure to contact me with any questions you may have.
Have a great day!  Take care and Happy Stamping!


Have You Made Your Wish List Yet?

Occasions_Toolkit-2_12.29.2015_USThere are only a few days left before you can order from the new Occasions Catalog.  Are you ready?

I hope you have your wish list in order.  If you’re like me you’re going to want just about EVERYTHING in it!  This catalog is fantastic!

The items pictured here are from one of my favorite suites (groupings) in the Occasions Catalog….the Botanical Gardens Suite.  There is a fun floral stamp set with COORDINATING framelits, washi tape, floral embellishments and gorgeous designer paper.  Wow!

You are definitely going to want to at least take a look at this gorgeous grouping of products.  I can’t wait to play with it some more.  I have designed a few projects using the items but there’s so much more I can do with it!

Get those wish lists started!  Remember that January 5th is also the start of Sale-a-bration!  During Sale-a-bration you get to choose a Sale-a-bration item for every $50 you spend!  It’s a stamper’s favorite time of the year.  Stay tuned for more information on some of the other fabulous benefits of Sale-a-bration.  You’re not going to want to miss out!

Happy New Year!  Take care and Happy Stamping!

Merry Christmas!

WonderlandFrame.1215Merry Christmas!  I know you’re thinking that you’ve seen this before…..you haven’t.  You’ve seen the card that gave me the inspiration for this but not this actual project.

I just had to smile when I finished this.  It turned out just like I had hoped and if I must say….it’s GORGEOUS!  Yep.  It’s simply stunning up close and personal.  The Gold Foil makes it shine and the Black Glimmer Paper makes it shimmer.  What more can you want for Christmas than shimmer and shine?  🙂

Don’t forget the Dazzling Details on the trees and the “snow bank”!   I make this for a gift but I’m definitely going to have to make one for myself now that I’ve seen the finished results.

If you’re thinking of recreating this gorgeous framed piece you’re going to want to place an order prior to January 5th to get the Black Glimmer Paper, the Wonderland stamp set and the 1/8″ Gold Ribbon.  All three of these items are going away with the end of the Holiday Catalog.  You can check out all of the items I used on this card (other than the frame) here.

Christmas Blessings!  I wish you all peace and happiness in 2016.  Take care!

Sneak Peek: Going Global

IMG_7466Here’s another sneak peek from Stampin’ Up!’s On Stage event.  This fun new stamp set is called Going Global and it’s perfect for those masculine cards.

We used three brand new products on this card.  We used the Going Global stamp set, The World Traveler Embossing Folder and the Going Places Designer Series Paper Stack.

The globe on the card is an image that we stamped directly on designer series paper for that fun multi-color look.   We made the background using the embossing folder but we didn’t emboss it!  We inked up the raised design, put our card stock in the folder, closed the folder and then gently rubbed with a little pressure over the enter folder.  A pretty fun techinique.

I don’t know about you but I’m feeling a little stressed today.  Too much to do, too little time.  Christmas Eve is tomorrow and I’m NOT ready!  I went to the grocery store last night after choir rehearsal (so I didn’t have to face the crowds today) and they were completely out of a number of items that I wanted.  That means that today I’m going to have to run to a number of other grocery stores to see if they might have what I need.  BUMMER!  Oh, well.

So here’s a funny story for you…..yesterday I got up, got ready and headed out to my hair appointment.  Well, I was a few minutes early and when Vanessa finished with the gal she was working on she comes out, looks me in the eye and says “Can you check your calendar, I think your appointment is tomorrow”.  I didn’t doubt her for a minute…..it doesn’t surprise me at all when I do things like that.  The funny thing was that the night before I had checked my calendar to make sure my appointment was at 9:30 and not 9 but I didn’t bother looking at what day the appointment was penciled in on.  In my defense, I usually go on Thursdays so this different day just kind of threw me off a little.  Ha!  Probably the worst part of this happening is that I hadn’t really “done” my hair before heading out since Vanessa would be making me beautiful soon.  Well, I still had errands to run so I had to do them with “un-done” hair.  Needless to say I felt a little weird but hey….no one probably cared but me!  🙂

Have a wonderful, stress-free day!  Take care and Happy Stamping!

Snow Place Treats

IMG_7016Tell me that this penguin isn’t adorable!  I dare you!  Ha!  TSC!  Too Stinkin’ Cute!

These little treat holders are made using the Ornate Tag Topper Punch.  They are the perfect size for Ghirardelli Minis.  I have the Peppermint Bark candies in my treat holders.  Perfect for the Christmas table.

Start with a piece of card stock that’s 2″ x 7 1/8″.  Score at 3 3/8″ and 3 5/8″.  Punch each end with the Ornate Tag Topper Punch.  Fold along the score lines, run card stock through the Big Shot, add your ribbon and decorate.  That’s it!  I used a Mini Glue Dot to hold the candy to the back of the treat holder.

You can decorate these any way you’d like for any occasion!  The snowman would have looked cute on these but like I mentioned yesterday, I’m rather partial to this little penguin.  🙂

Now that I have treat holders for the Christmas table I need to figure out what to make for Christmas dinner.  Actually, we’re heading over to the neighbor’s for dinner.  I’m bringing a potato dish and dessert.  Now I just need to peruse Pinterest and find the perfect recipes.   Maybe I’ll look for a festive cocktail recipe too….

Have a great day!  Take care and Happy Stamping!

Built for Free Using: My Stampin Blog