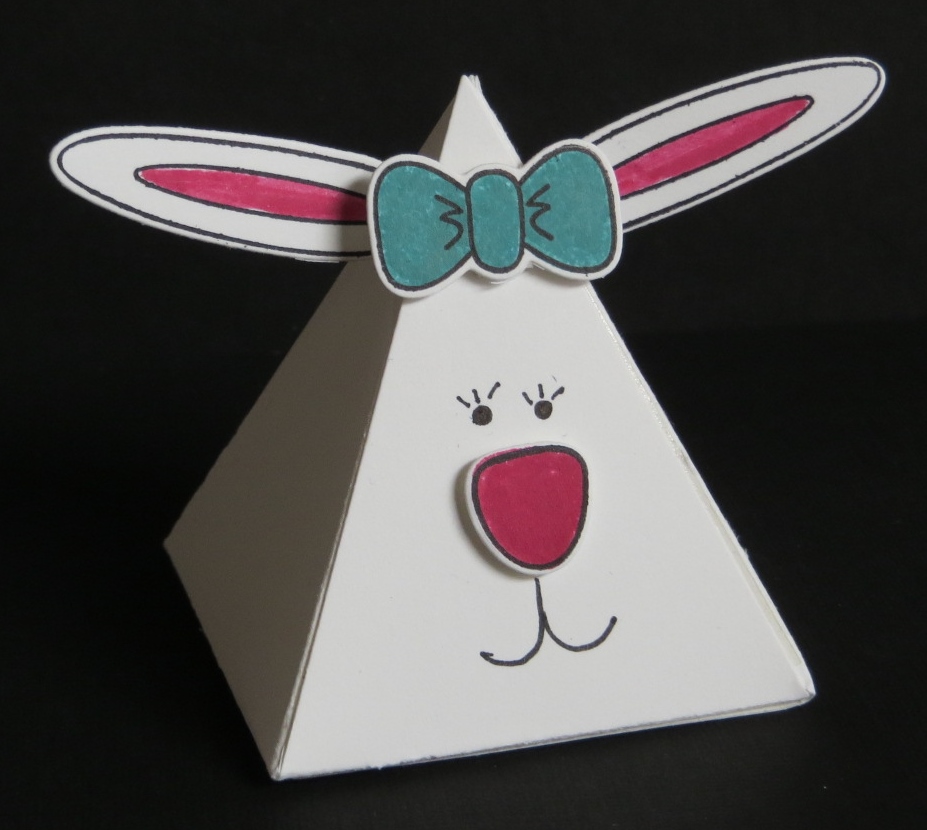
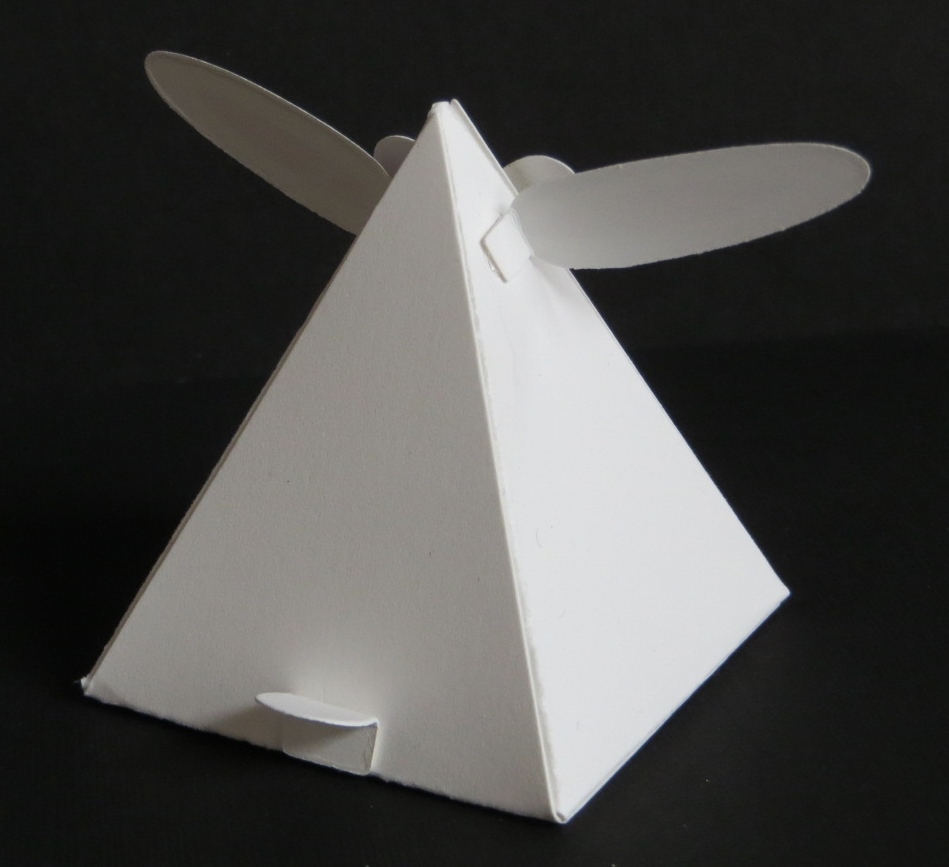
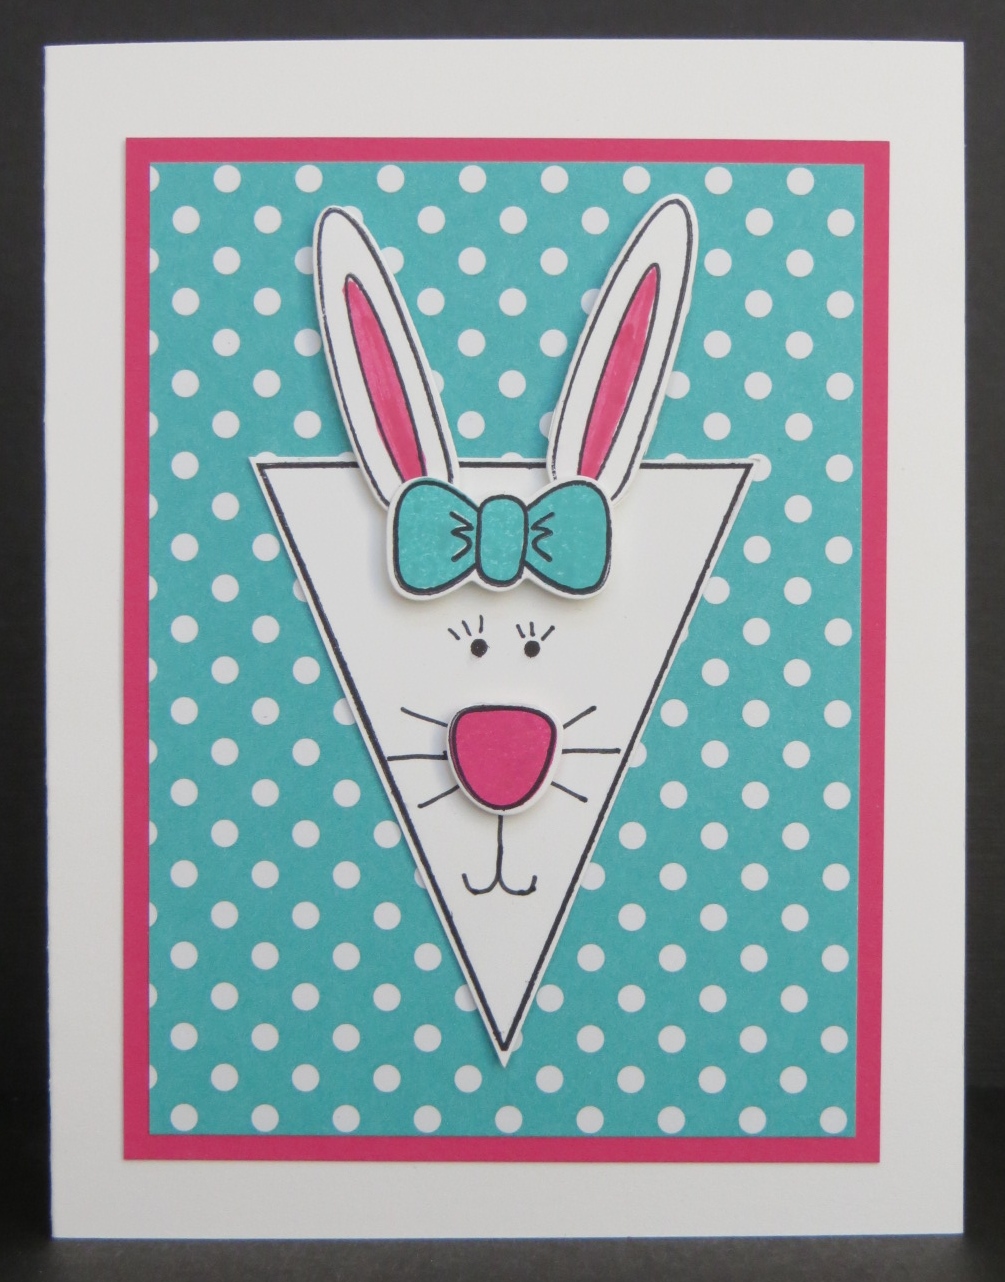
We are the Sassy Stampers and we would love for you to join our team! Yes, we are sassy but the SAS in sassy stands for Seriously Addicted to Stamping (or as we like to call ourselves, Smart-Ass Stampers). However you choose to describe us we LOVE to stamp.
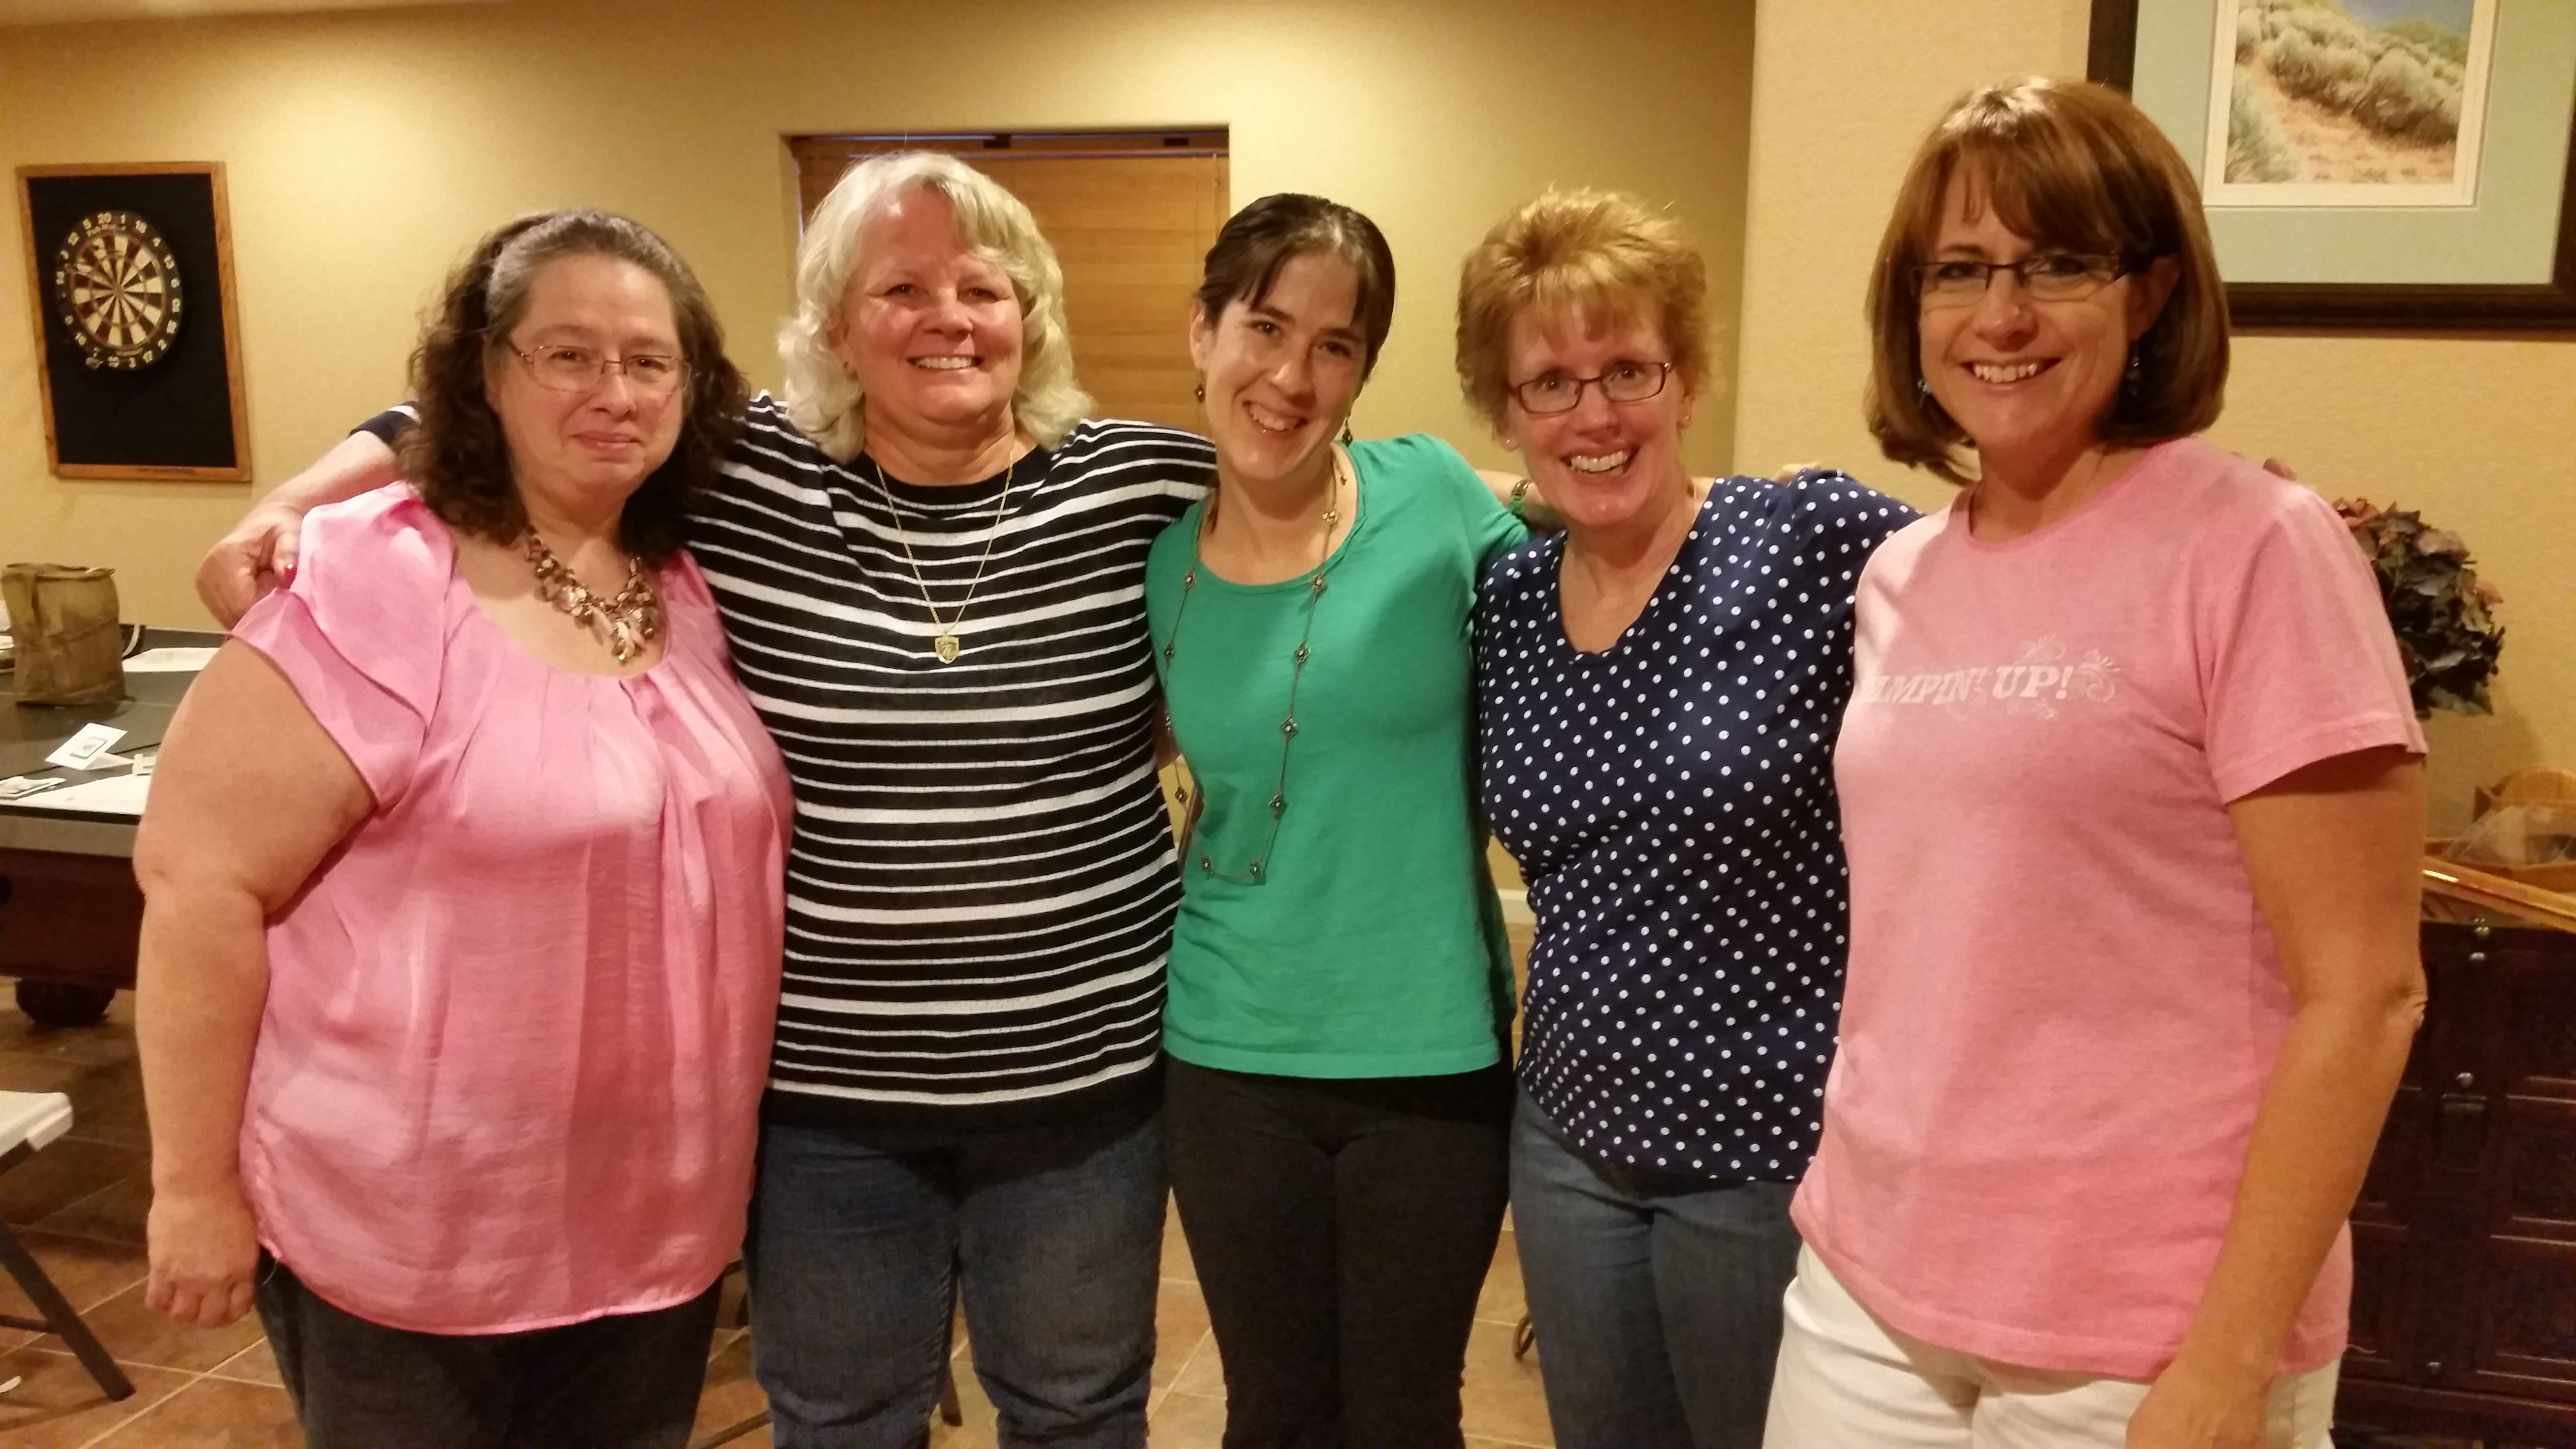
I have met some of my dearest friends through stamping and Stampin’ Up! and I can’t imagine my life without them. The picture here is one “branch” of my team. On the right you have my upline, Tara, me, my direct downline Andrea, her downline Janet and then Janet’s downline Angela. We were all together at an event.
The friendships are definitely at the top of the list of why I love being a Stampin’ Up! Demonstrator but there are many items on my list.
20% Discount on Stampin’ Up! products. Woo Hoo! I love my discount! Many people become demonstrator just for the discount. You don’t have to have a team or have a gazillion dollars in sales to be a demonstrator. As long as you have sales (and yes, whatever you purchase for yourself is included in your sales) of $300 per quarter you will remain an active demonstrator. This discount is the main reason that many people become demonstrators. In fact, most everyone on my team are demonstrators only for the discount. They don’t hold classes, they don’t have parties, they just buy fabulous Stampin’ Up! products for themselves and maybe sell to a few friends. That’s the beauty of being a Stampin’ Up! demonstrator. You can do things YOUR way! You can be involved as much as or as little as you’d like. If you love Stampin’ Up! products and would love that 20% discount….let’s talk. I’d love to have you join my team. Contact me today!
Stampin’ Up! Events. I love Stampin’ Up! events. I love the excitement. I love the sneak peek at new products, I love all the samples and ideas I come home with. I love hanging out with my friends away from home!
Extra Income. I love the extra income I can earn by being a demonstrator. I love being able to support my stamping habit as well as having a little extra to spend on me, my family or on whatever I want!
Starter Kit. Did you know that when you sign up to become a demonstrator and purchase the Starter Kit you get to choose EVERYTHING in it? Yep! Everything! All $155 in merchandise in the kit is what you want, not what someone else thinks you should have. How great is that? You also get $50 in business supplies. A value of $205 for only $99. Woo Hoo!
If you’re thinking “I can’t believe I haven’t done this yet!” you can just
click right here and sign up right now! If you’re not quite ready, give me a call or send me an email with any questions you may have. Who doesn’t want to save 20% on all Stampin’ Up! products! 🙂
Do you live outside the Denver area? You can still be part of our team. With cell phones, Skype, FaceTime and social media, keeping in touch and helping each other out is EASY! Join us today! I’m here for you with any questions you may have.
Take care and Happy Stamping!

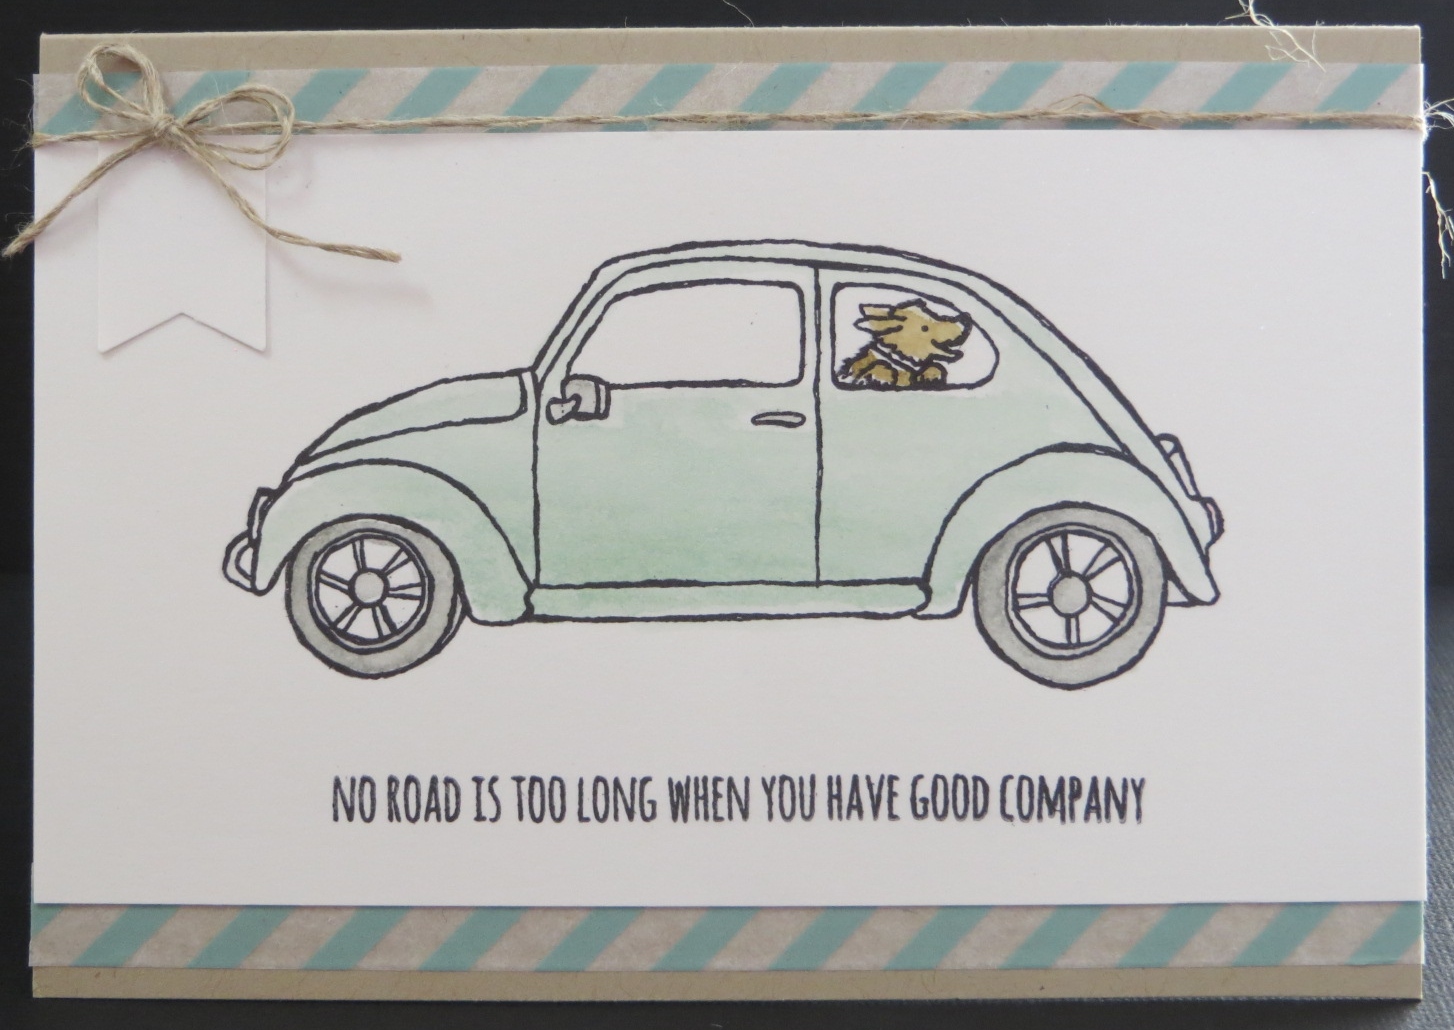
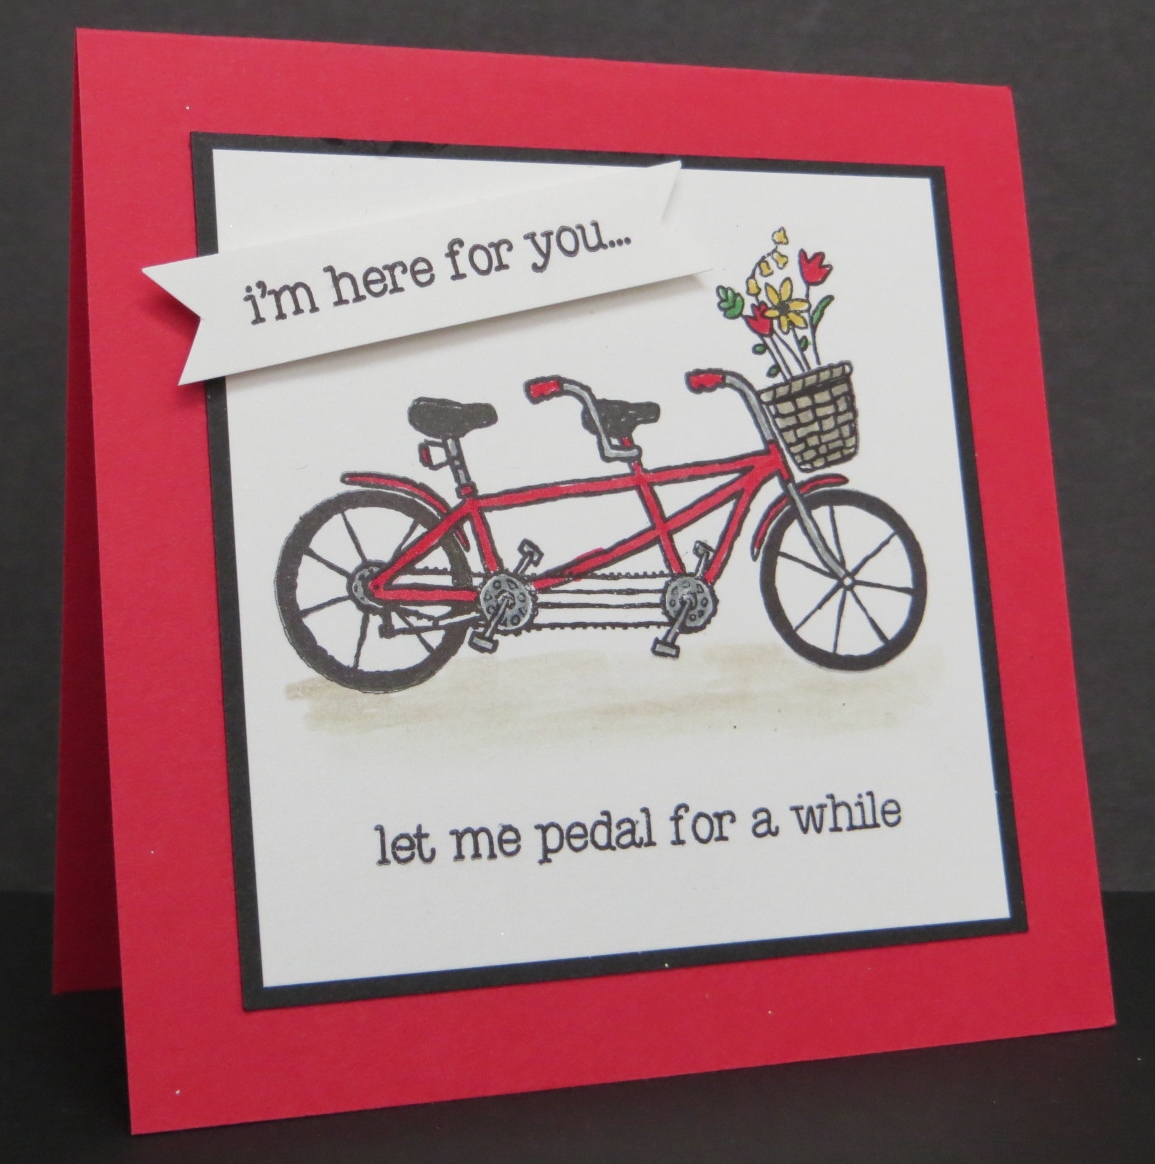 There’s just something about a tandem bike. It definitely makes cycling look like more fun than exercise. I don’t think I’ve ever been on a tandem bike but I have a friend from church who rides them all the time. Her and her husband actually go on trips all over the world with their bike. It fold up and fits in two suitcases! They’ve been to France, Vietnam and all over the U.S.. Soon they will be leaving for the Netherlands to see the tulips! How fun is that?