It’s Tool Time Saturday! Yep. I just started a new trend. My goal is to introduce you to or tell you more about some of the fabulous tools Stampin’ Up! offers in my Saturday posts or at least most of my Saturday posts. I hope that you’ll enjoy them.
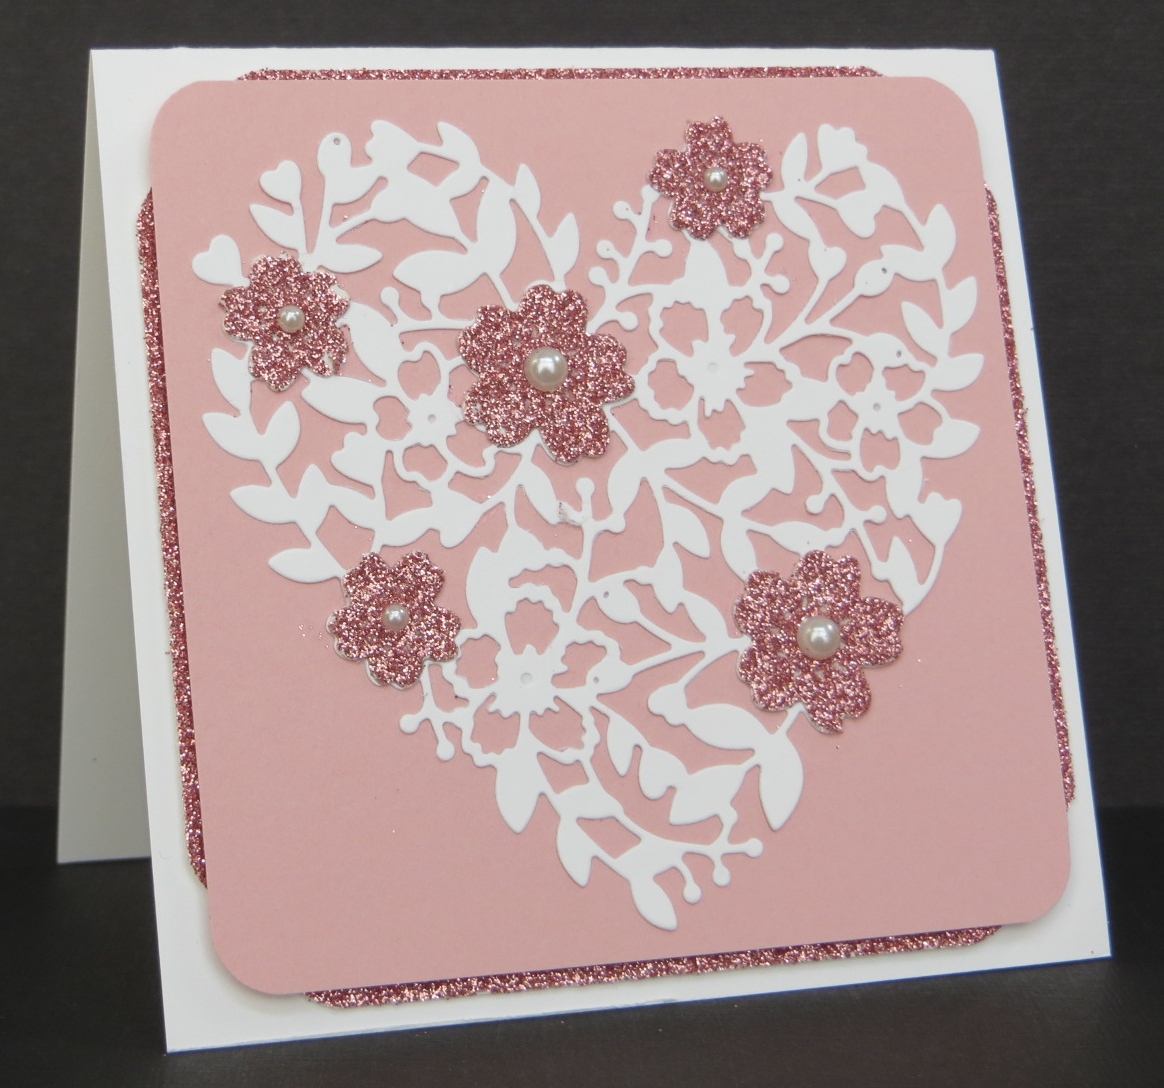
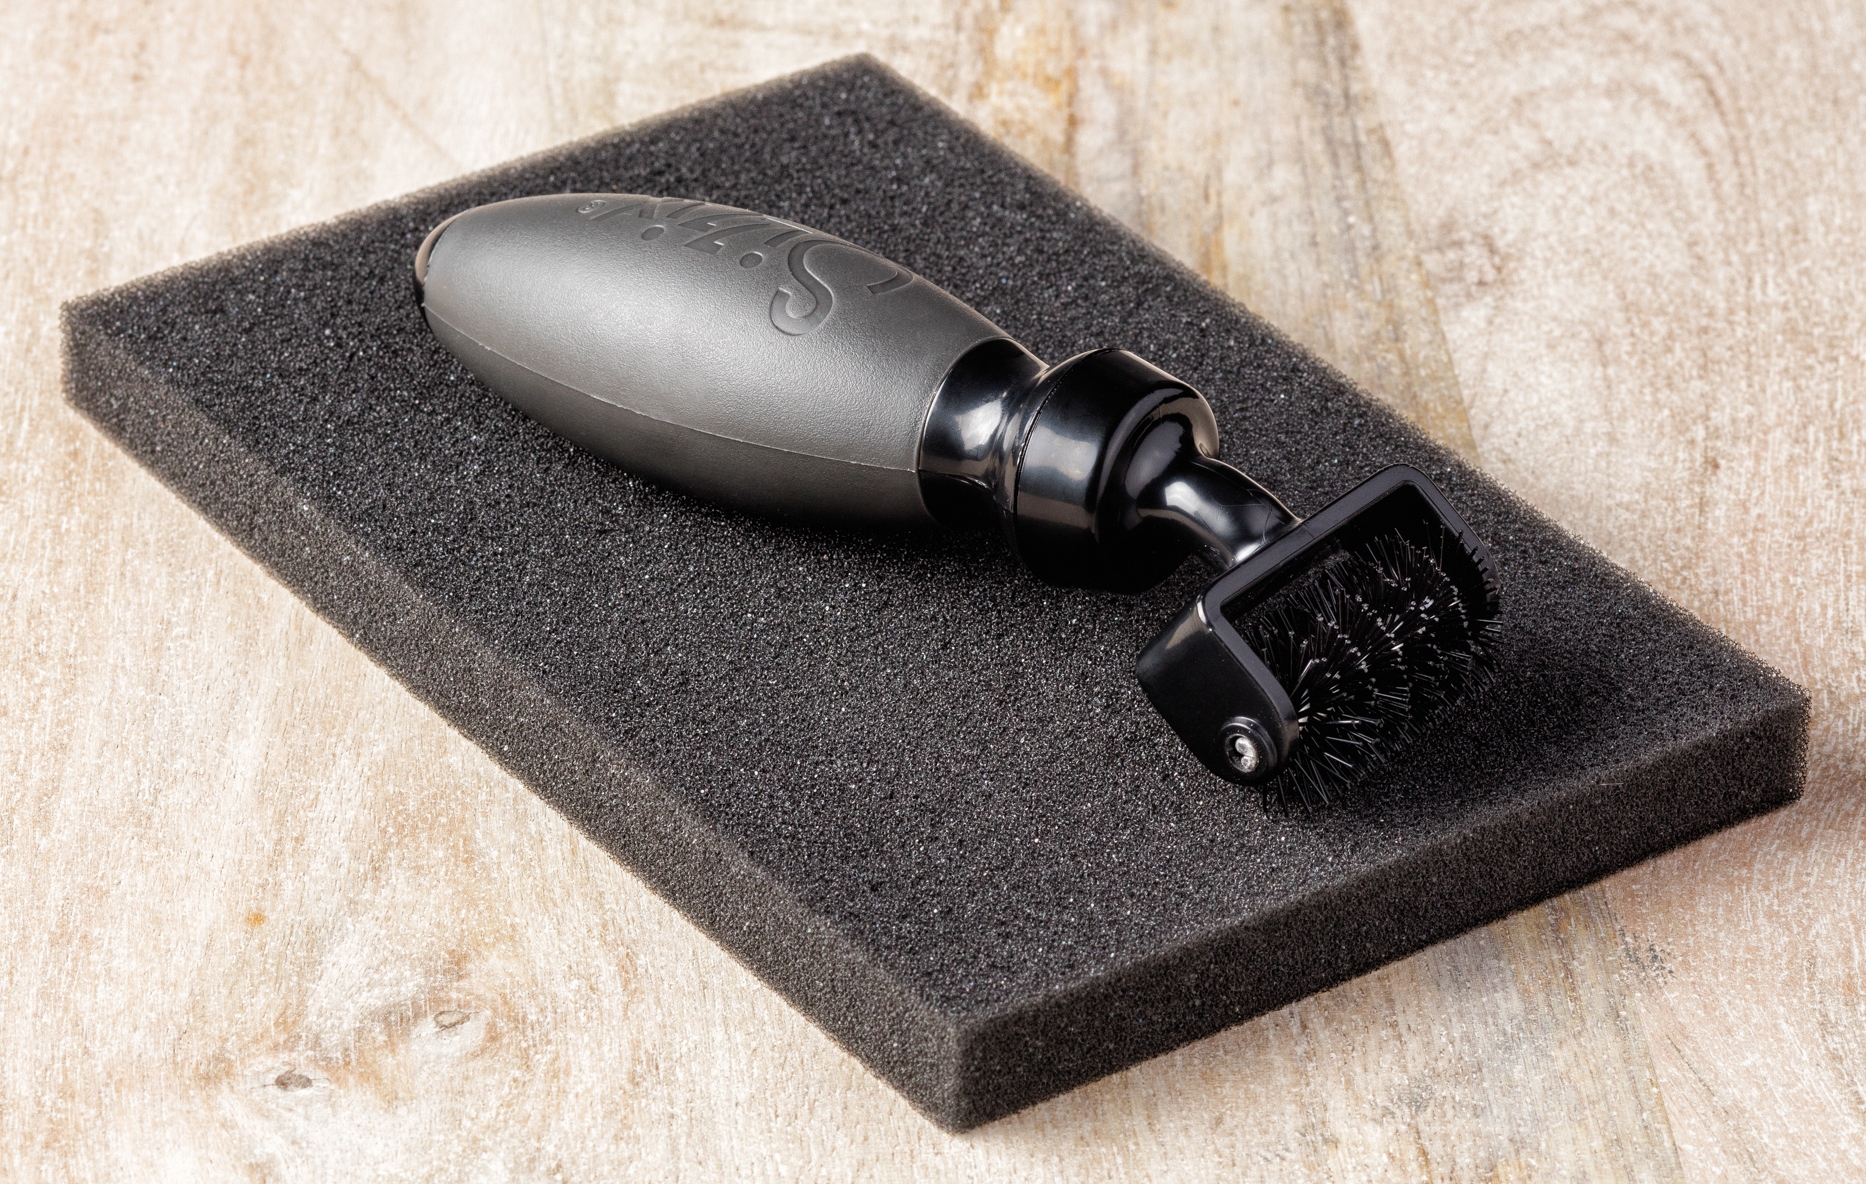
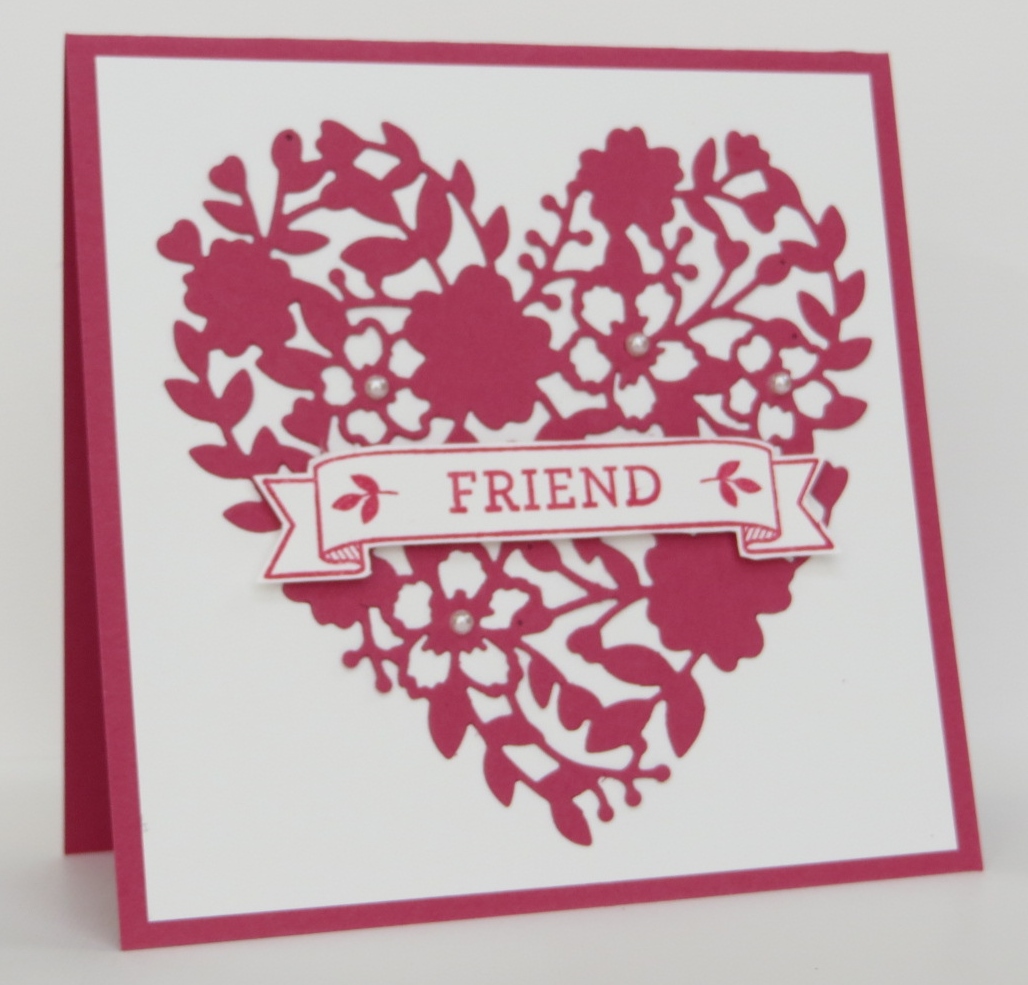
My first Tool Time post is about one of my favorite new tools: the Big Shot Die Brush. This tool is a must have for those intricate dies like the Bloomin’ Heart Thinlits Die in the new Occasions Catalog or the Delicate Ornaments Thinlits Die that was in the recent Holiday Catalog.
There are two items in the package with your Big Shot Die Brush. You’ll have the brush which is a roller of stiff bristles. Along with that comes a foam pad. You need the foam pad! It’s not just extra packing material! Hang on to it.
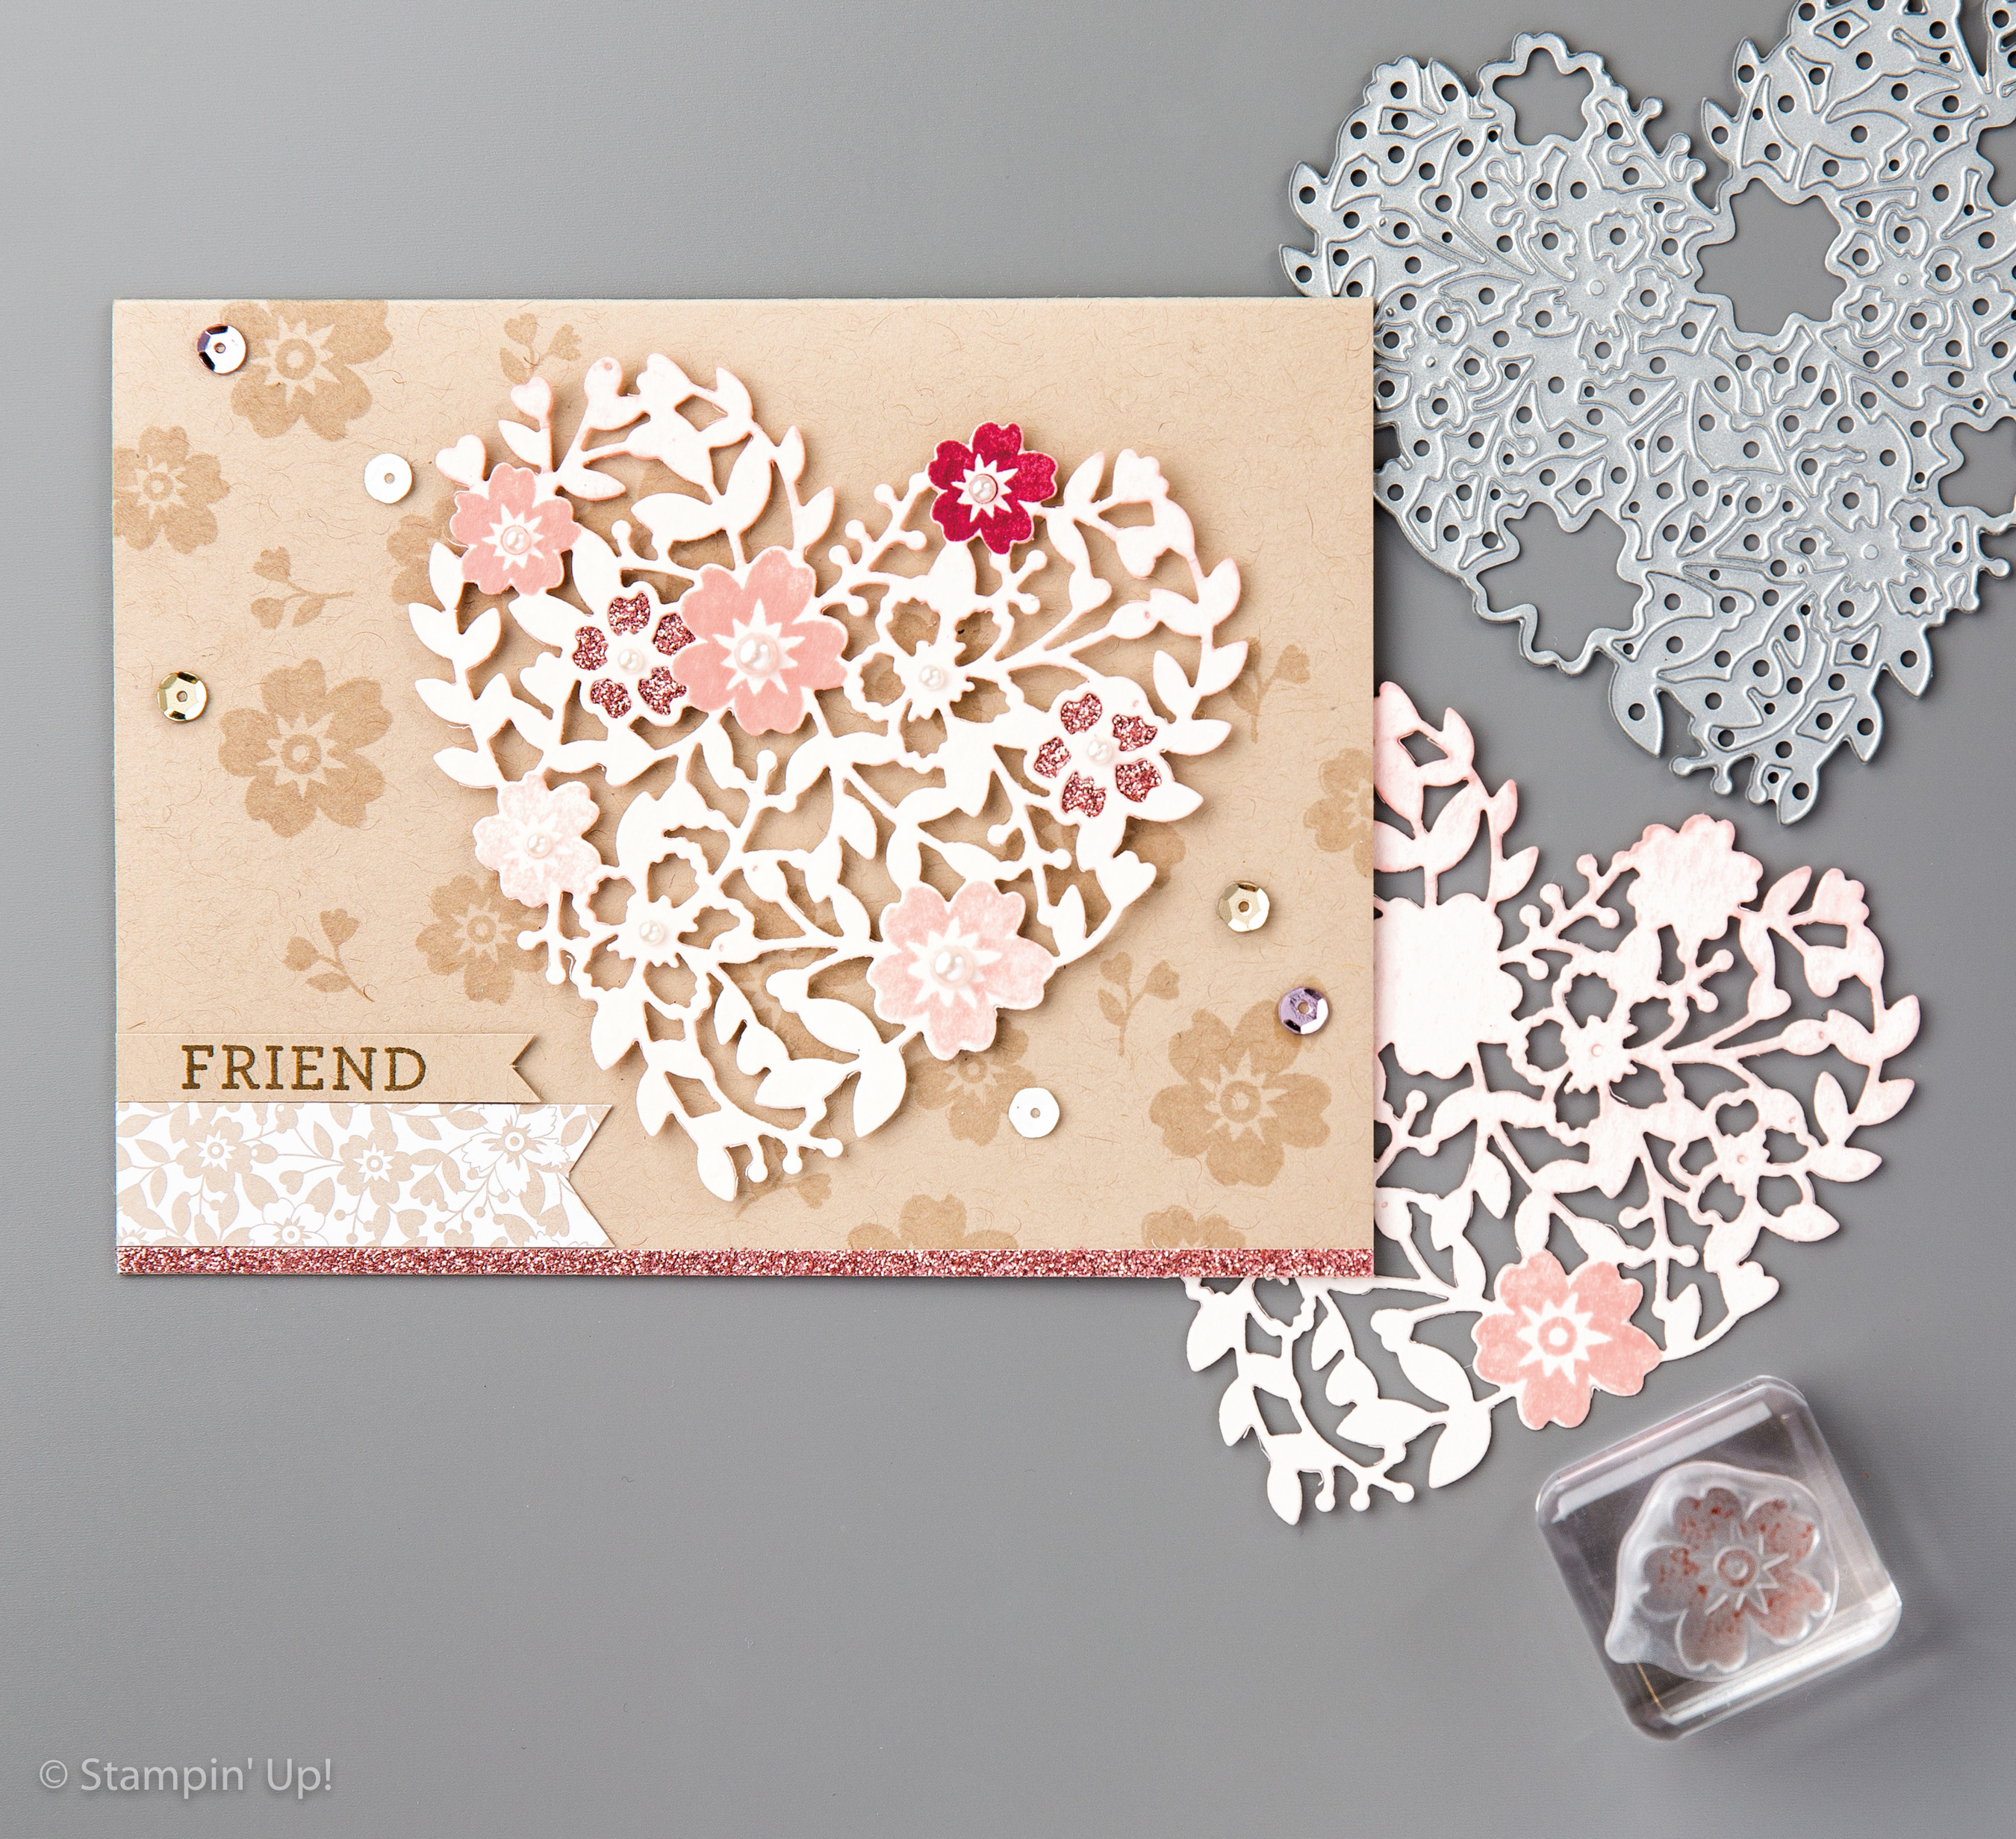
In my past yesterday’s post you can see just how intricate the Bloomin’ Heart Thinlits. Lots of teeny tiny pieces to cut out. You’ll want to use the Precision Base Plate with your intricate dies. The base plate will give you a nice clean cut but those pesky little pieces will still be “stuck” in your die cut image. This is where the Big Shot Die Brush comes in.
Once you’ve die cut your image using the Precision Base Plate you’ll take the die and your die-cut card stock and place them on your foam pad. Your card stock may or may not stick in the die. If it does, don’t worry. The brush will get it out. If your card stock does pop out of the die you’ll want to place it back in the die before placing the die on the foam pad.
So, after die cutting, place the die with the card stock on your foam pad. Now roll the brush back and forth over the die making sure that you roll it over all areas of the die. Now when you remove the die the majority of those little pieces should be on the foam pad. You make have to poke one or two of them out with a Paper Piercing Tool but the hard part is done!
I know you’re going to LOVE this tool as much as I do. Click on the image below to purchase yours! Have a great day! Take care and Happy Stamping.

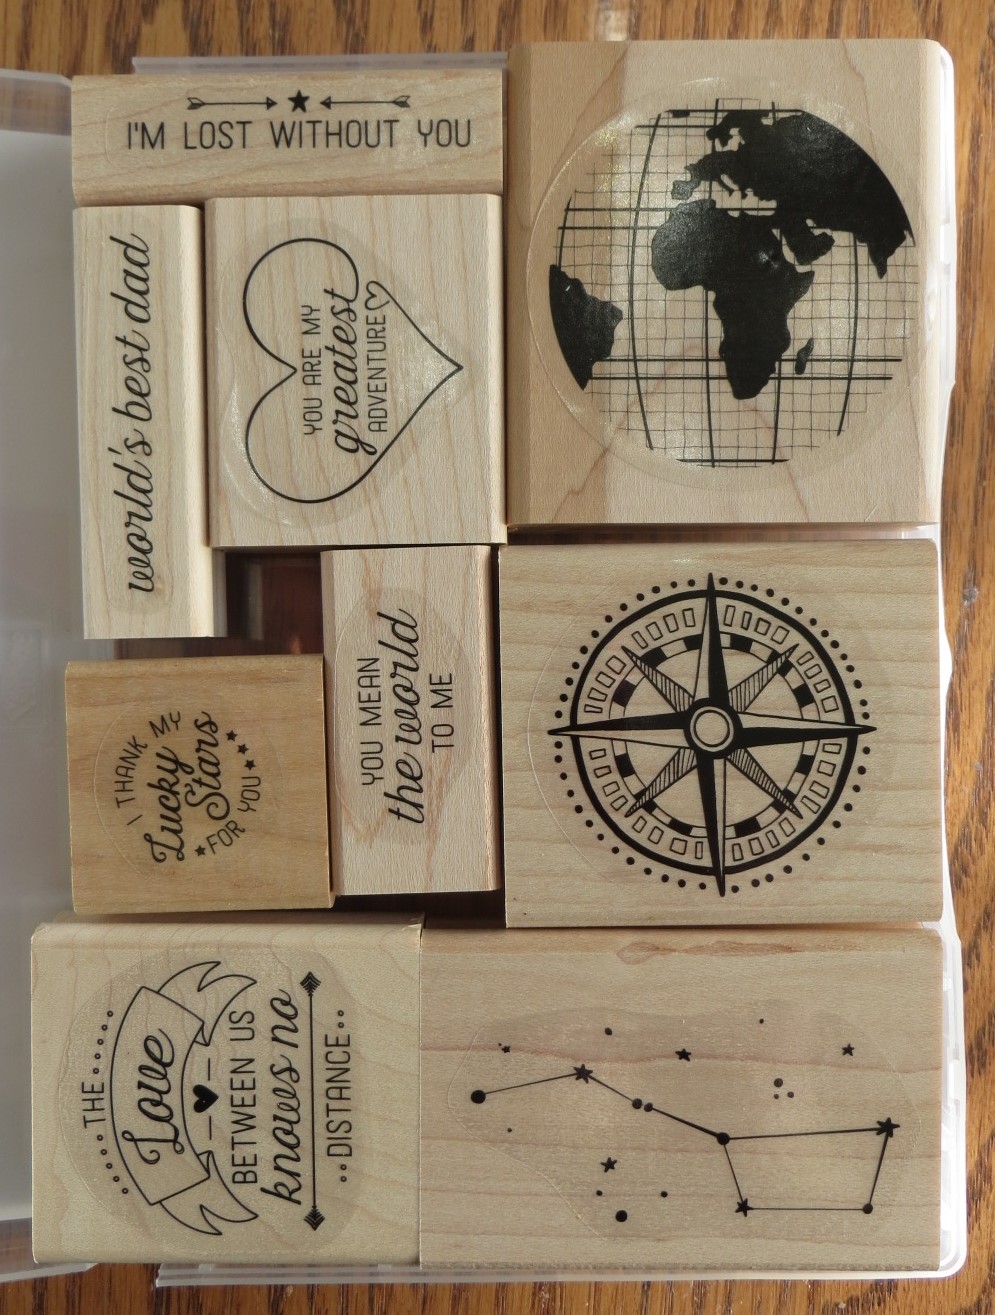
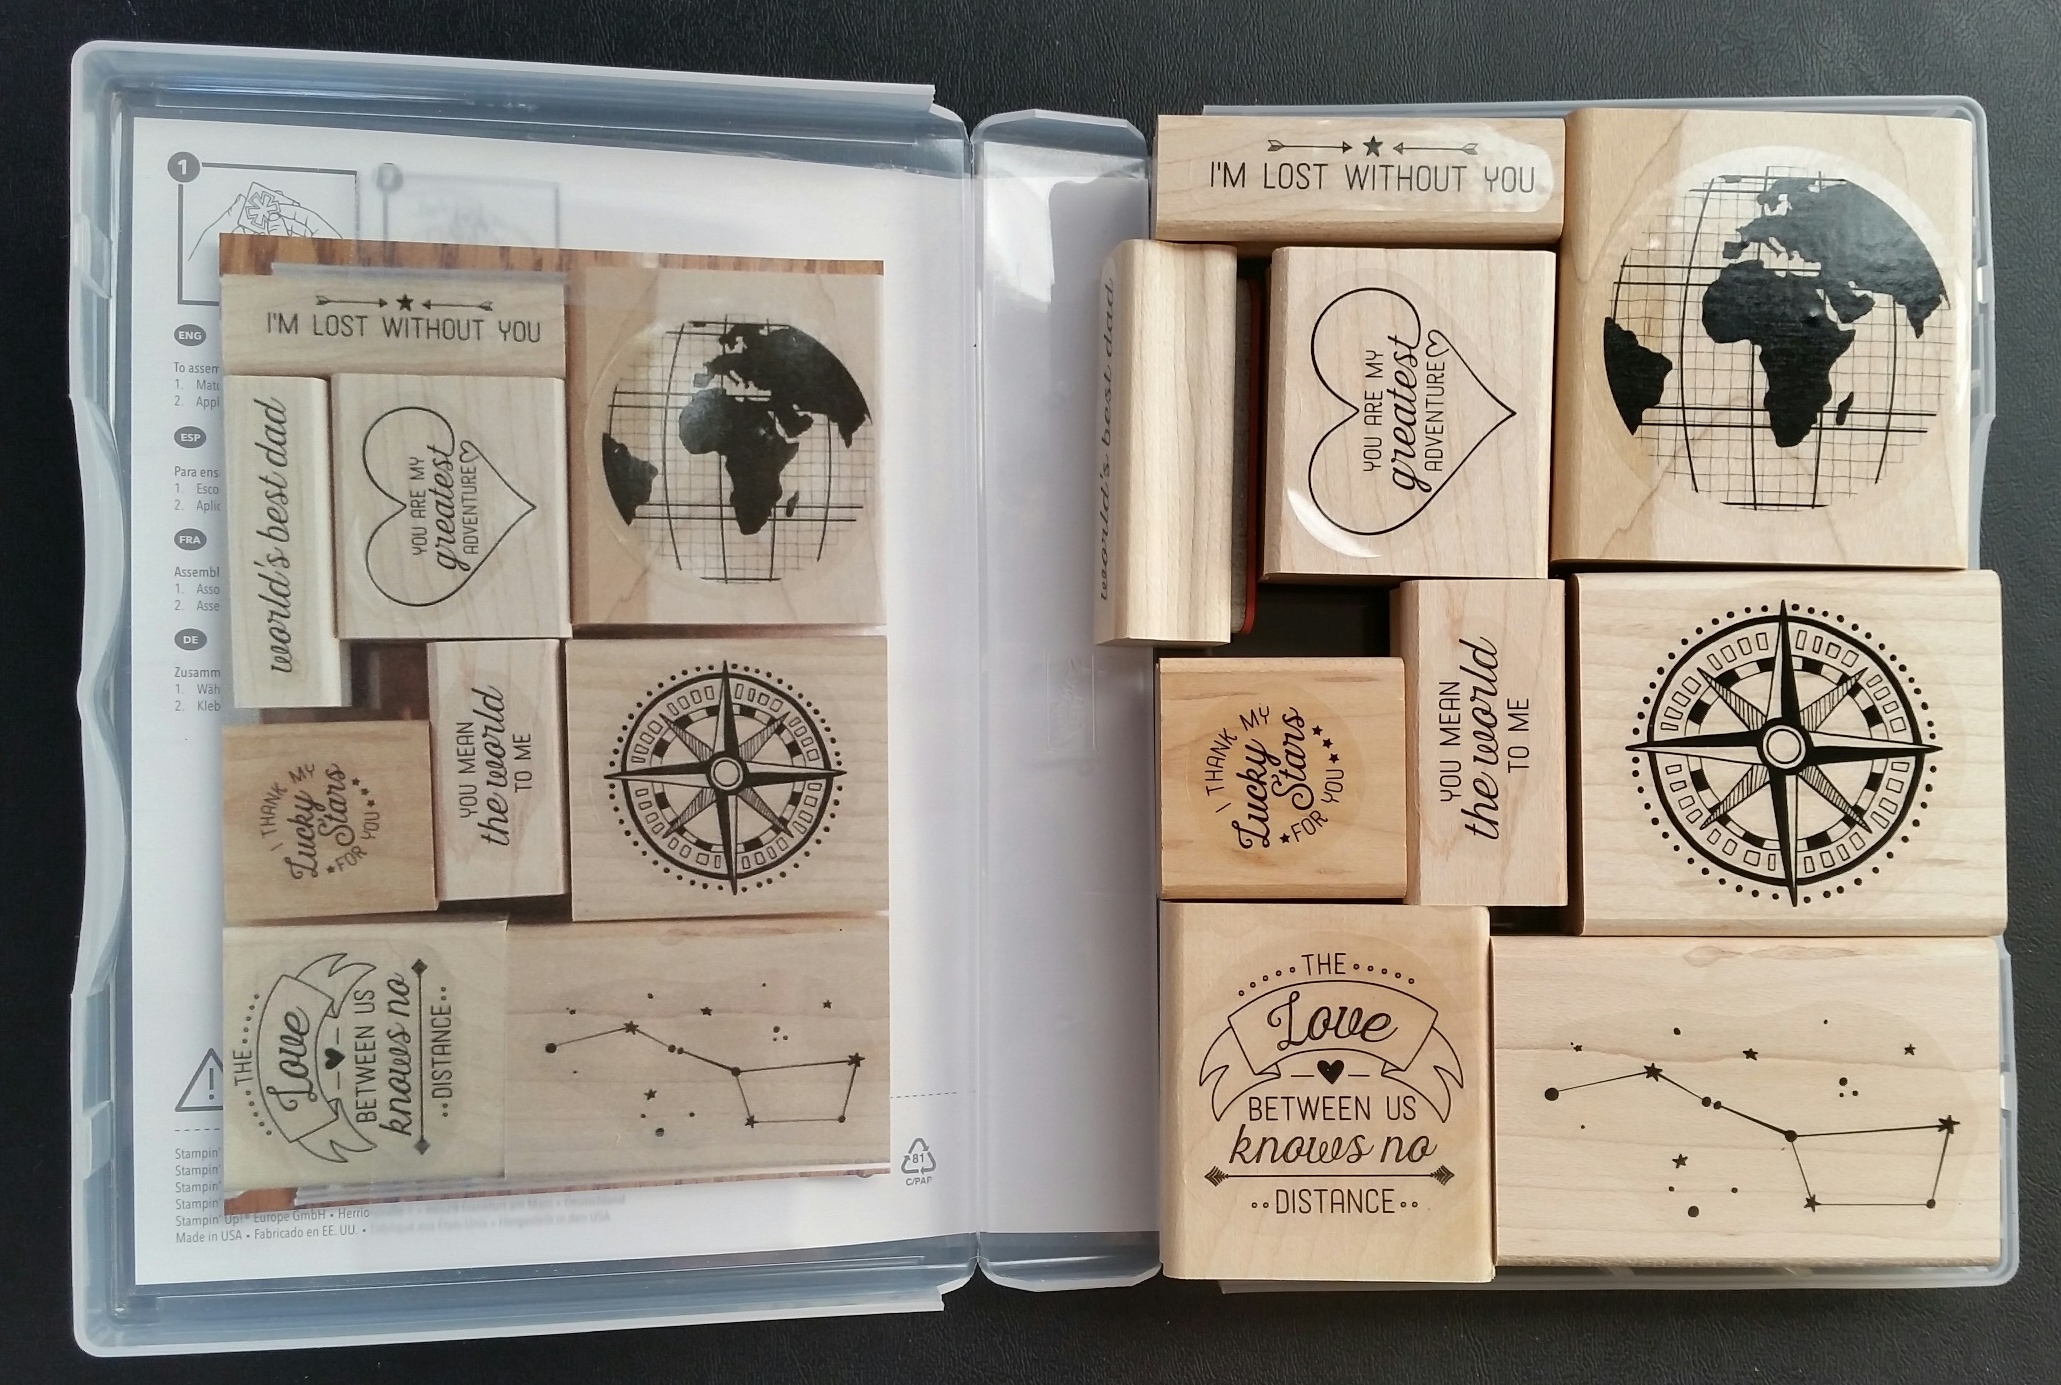
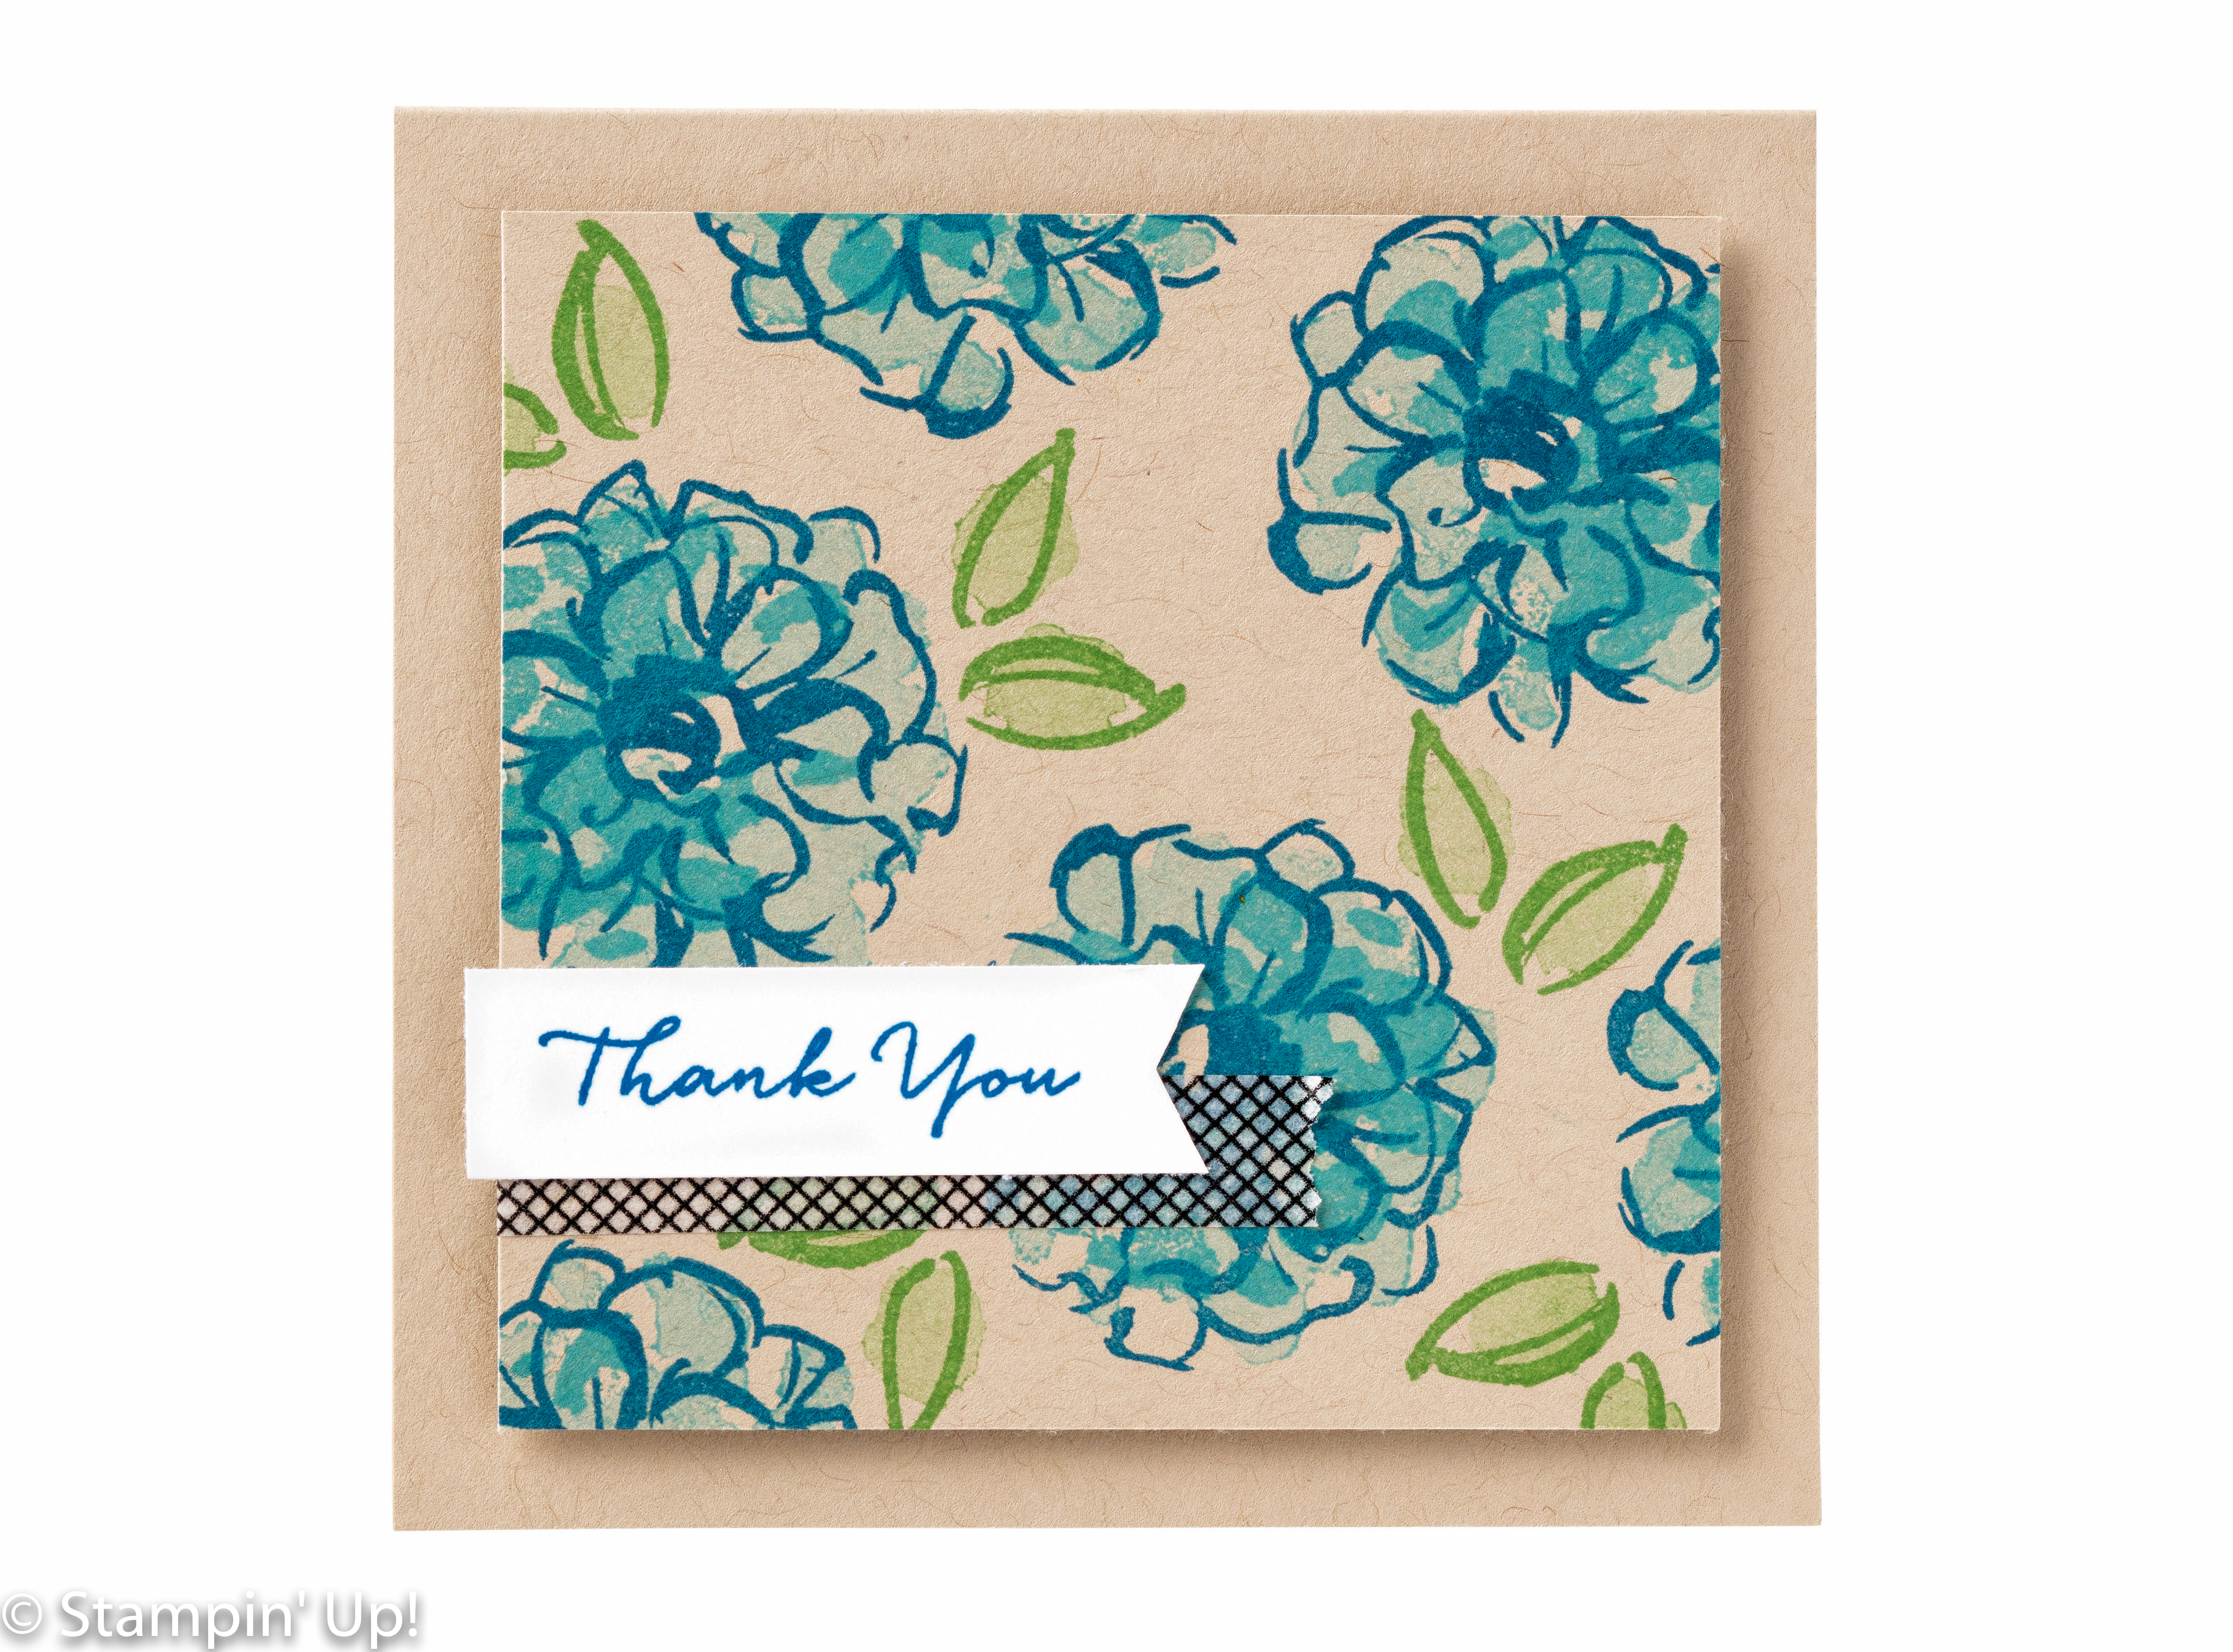
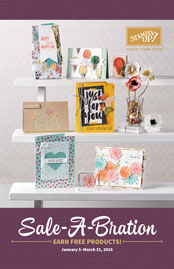
 It’s a stamp set perfect for guys! Woo Hoo! Stamp sets that you can use for guys are few and far between. I was so excited to see this stamp set in the Sale-a-bration Brochure! My father-in-law had an airplane for a number of years so this card will be perfect for him. Unfortunately, his birthday was in December so hopefully I’ll remember I have this card on hand when the time comes! Ha!


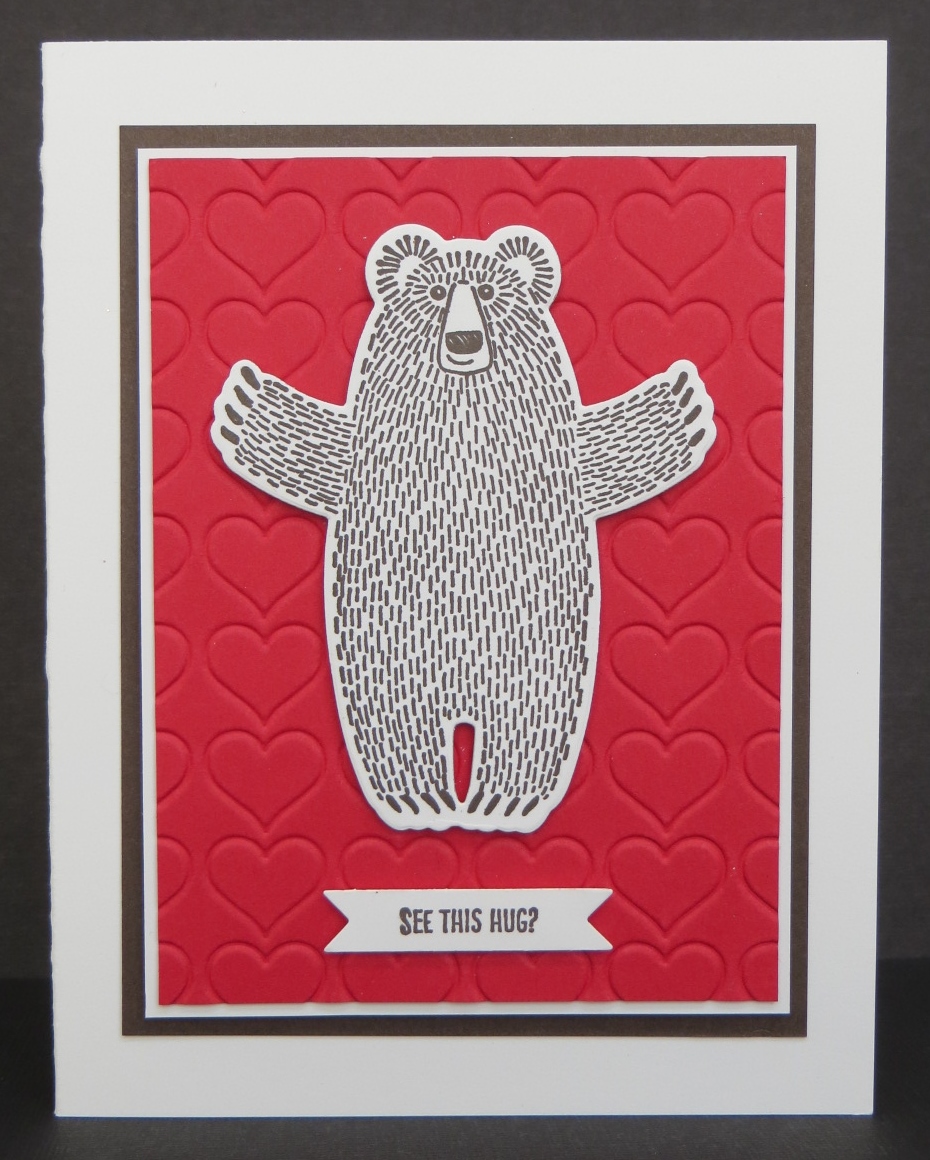
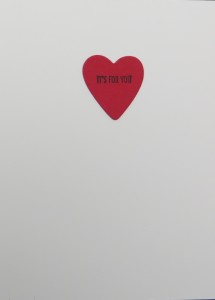 Do you know someone who need’s a hug? This is the perfect card for them. If the font is a little small on these pictures let me help you out. The little banner on the front of the card says “See This Hug?”. then the saying on the heart on the inside of the card says “It’s for You”. You could brighten anyone’s day with this.