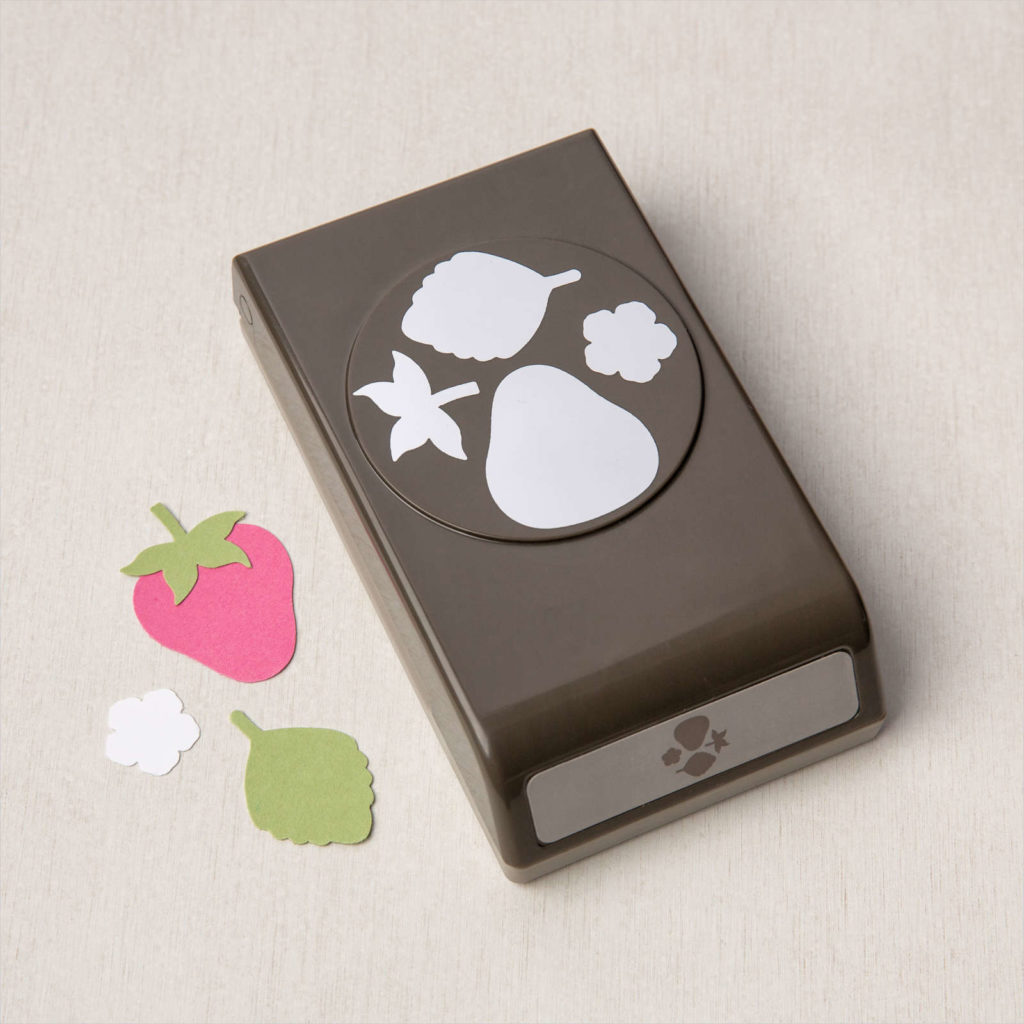
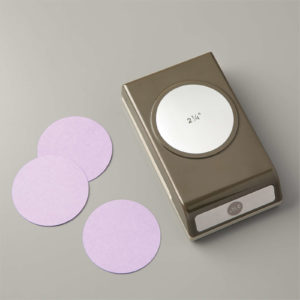
Last week in my Tools of the Trade post I talked about punches but I didn’t talk about Builder Punches. Builder Punches are a type of punch which can punch out multiple shapes that will “build” an image.
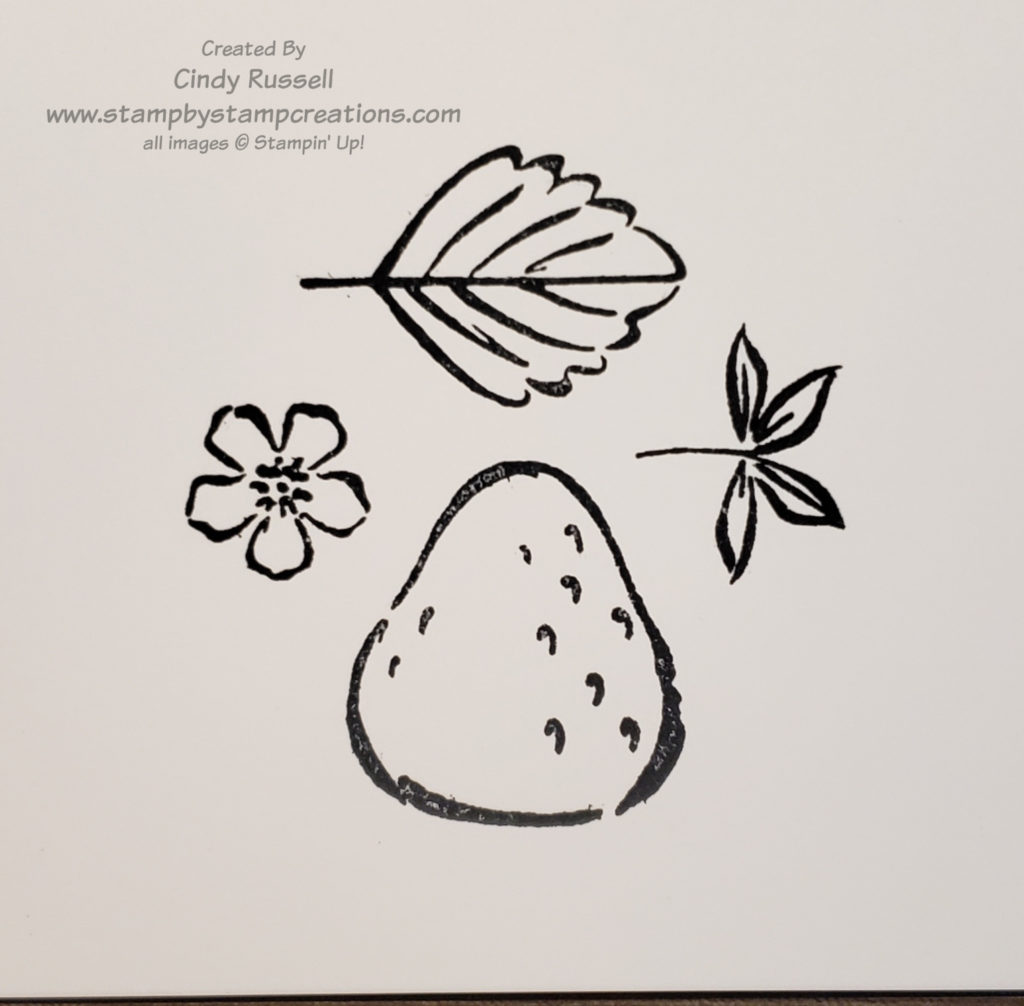
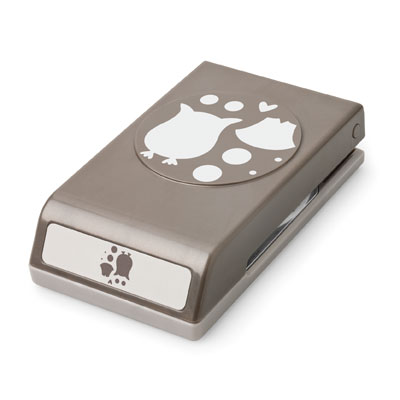
In the photo to the left is Stampin’ Up!’s Strawberry Builder Punch. As you can see, it will punch out the strawberry, the top, a leaf and a flower.
If you are simply punching the shapes out of cardstock you may not want to punch them all out at the same time but if you have stamped and colored the images you can easily punch them out at the same time. Of course, there’s a trick…
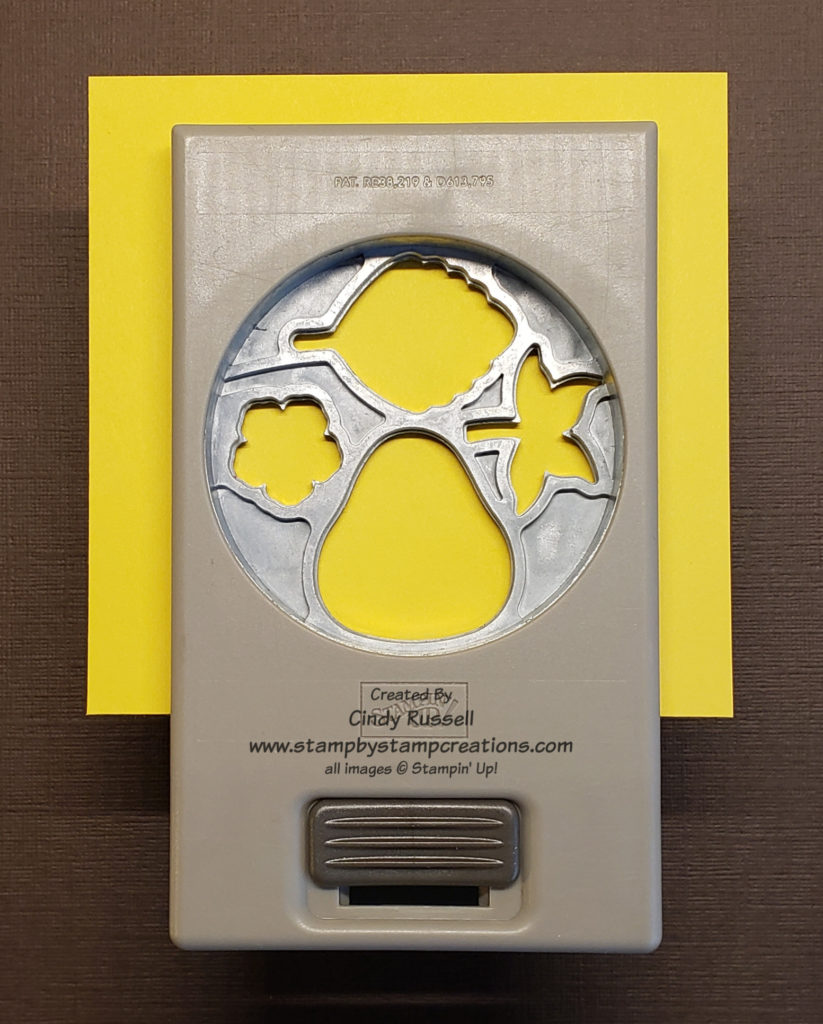
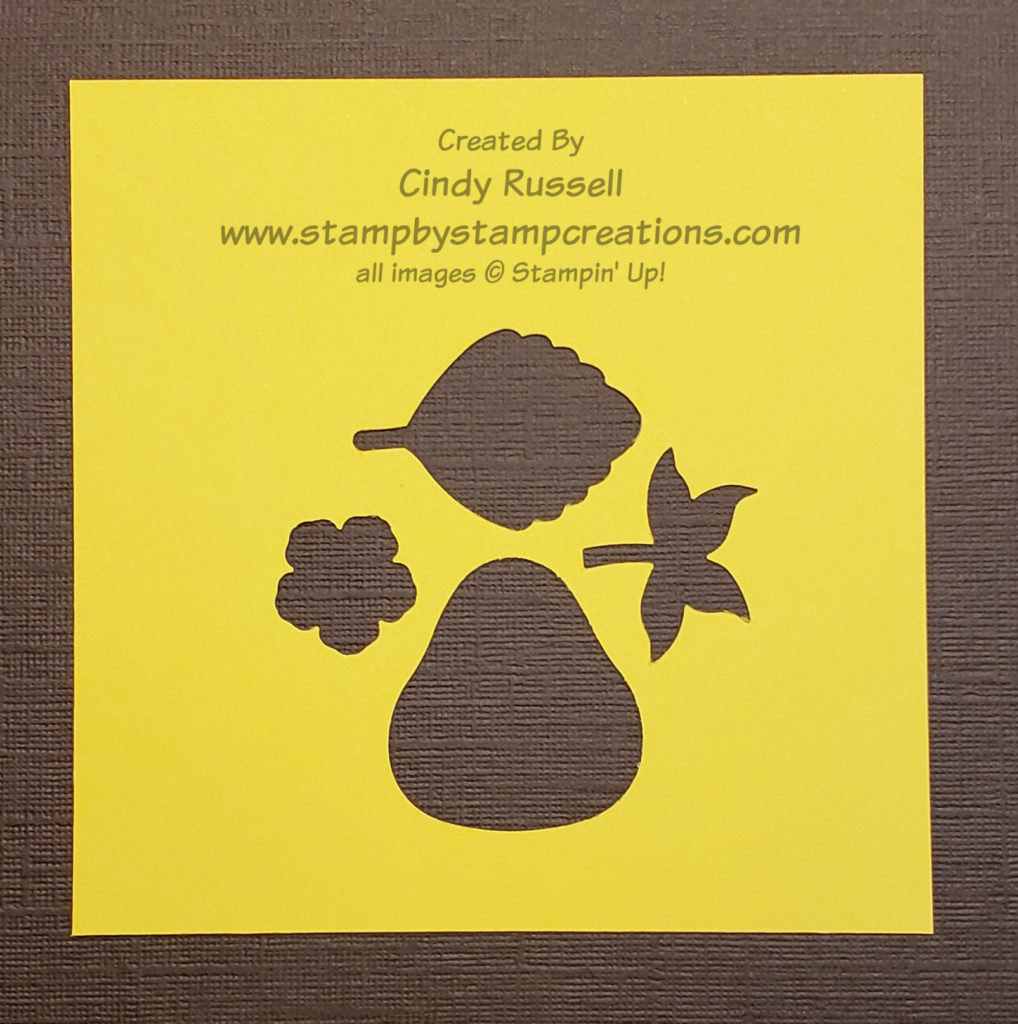
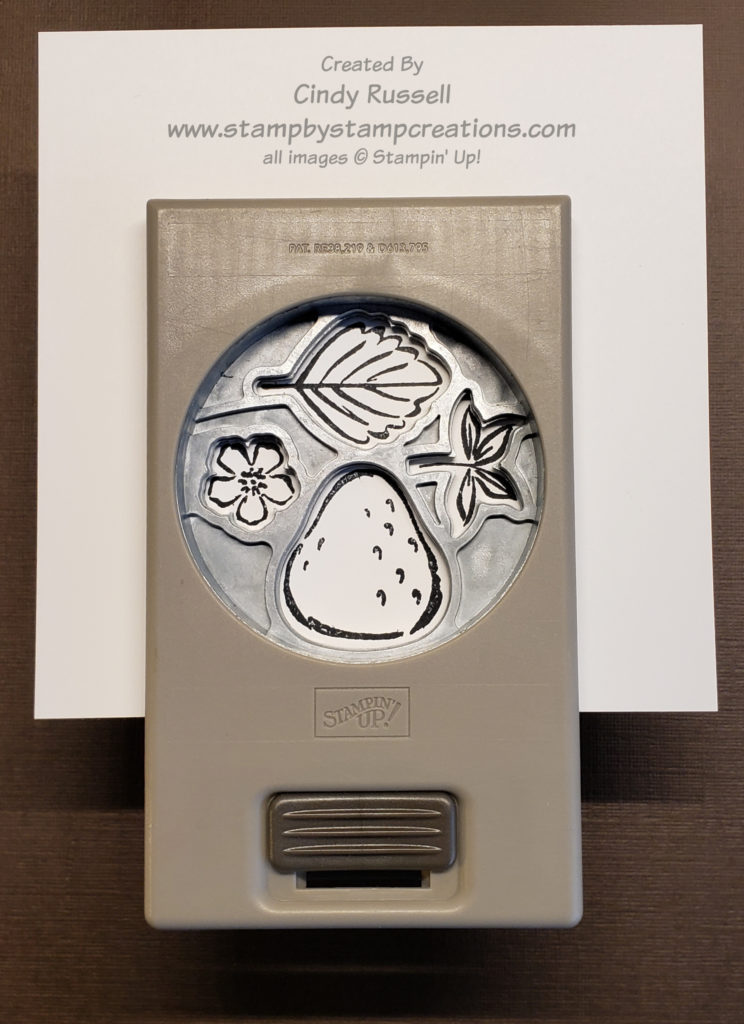
1. Turn your punch over and punch a template
Builder Punch Template
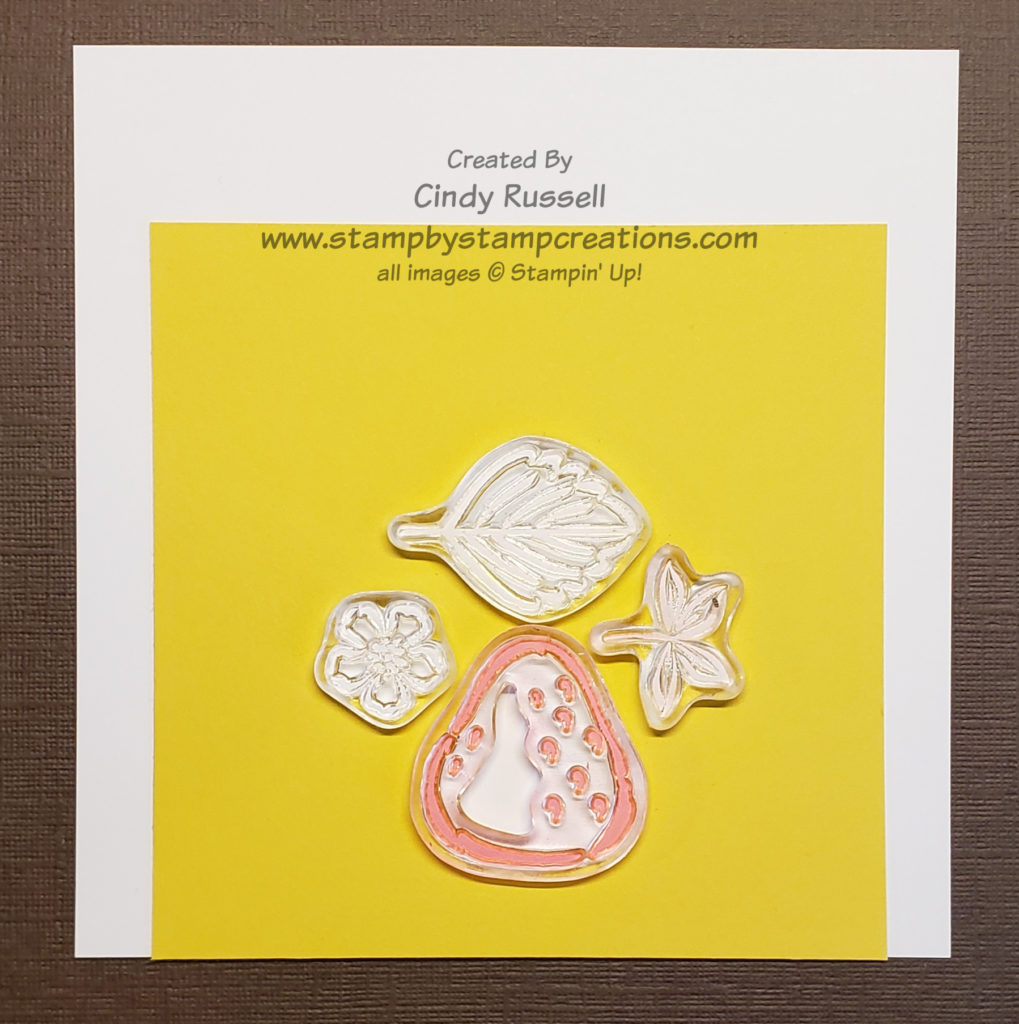
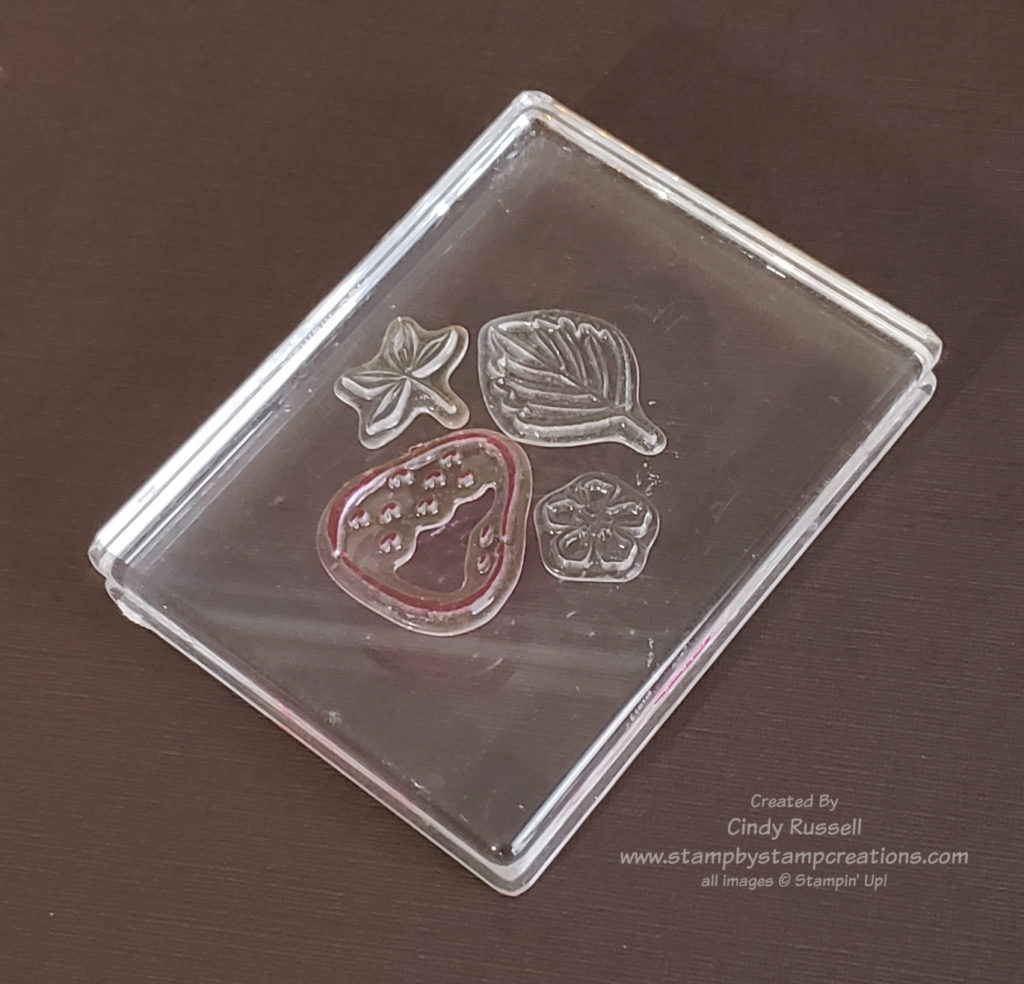
2. Place the individual stamps in the template with the side that you stamp with down.
3. Press a clear block on the stamps so that they will stick to the block.
4. Stamp (and color) your images.
5. Line up the images in the punch and punch out your shapes.
Using a template makes it very easy to punch out all of the stamped images at the same time when using a Builder Punch. Stampin’ Up! currently offers 9 Builder Punches including two in the January – June Mini Catalog.
Paper Punches are great tools for any craft room. I like punches because you can just grab them and punch out your image. You don’t have to find the dies, get out your die-cutting machine and die cut the image. Punches are nice and easy to use in a class setting too.
Stampin’ Up! carries a variety of different types of punches. You can view all of their punches here in my online store or on pages 165-169 in the Annual Catalog and page 86 of the January – June Mini Catalog.
There are the basic punches that have just one or two simple shapes on them like a circle punch or the Double Oval Punch. These are they type of punches we are most used to seeing and using.
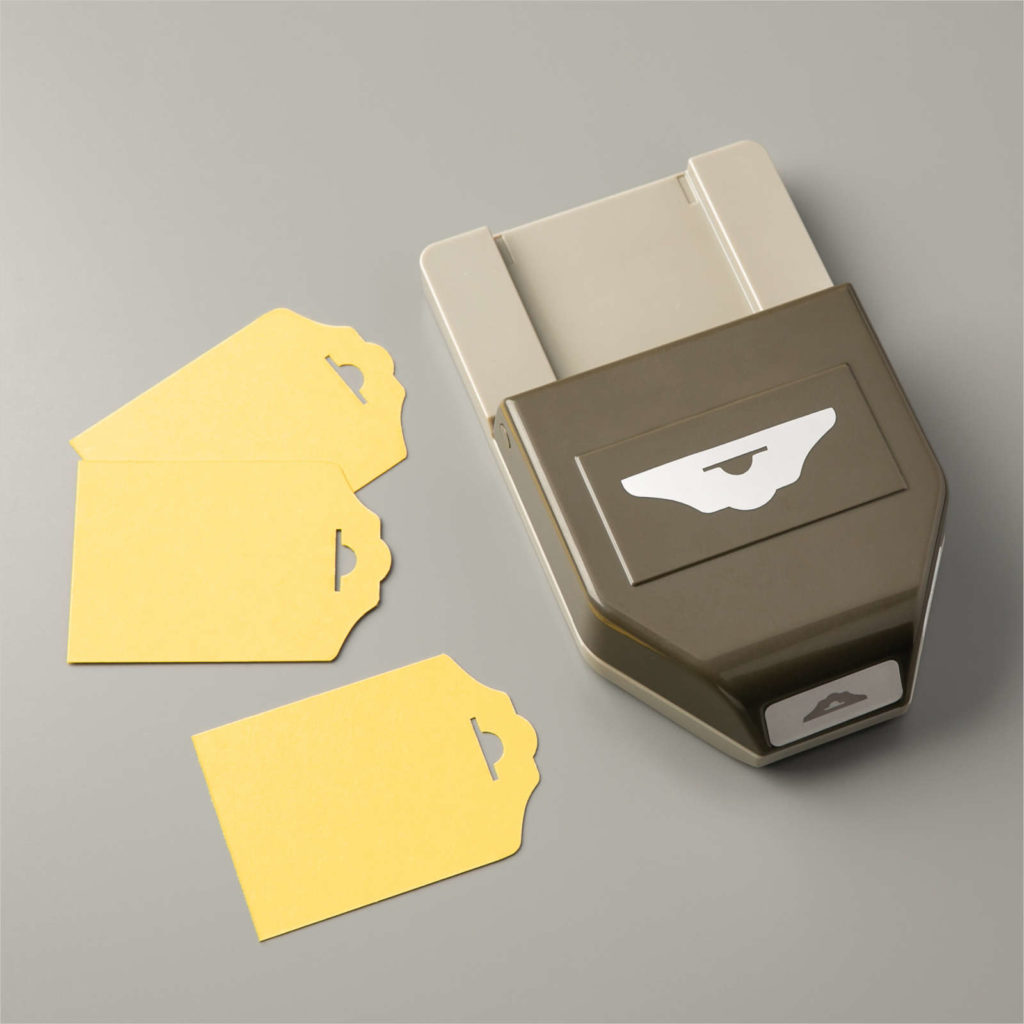
Stampin’ Up!’s Fancy Tag Topper Punch
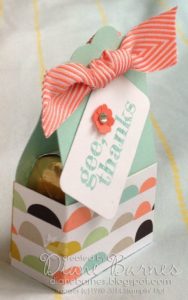
Tag Topper Punches are exactly what’s in the name. They are punches that only cut the top of the punch along with a small opening for ribbon or twine.
Tag Topper Punches aren’t just for tags though. You can make fun 3D items with them. Here’s an example that I found on pinterest:
Stampin’ Up!’s Lovely Labels Punch
Another type of punch is the Pick A Punch. These are probably the most versatile of the punches. They have slots that fit 3 different widths of cardstock and some of them have two different punches on them! These punches are perfect for sentiments or just to add a decorative edge to a strip of cardstock. With the three different width’s they can accommodate they can fit lots of different types of sentiments.
Stampin’ Up! currently has different punches similar to the one in the photo but they also have a Banner Triple Punch that also can accommodate the three different widths of cardstock.
Next week in my Tools of the Trade post I will share Builder Punches with you along with some tips on using them.
Well, vacation is over and it’s time to get back to work! I had a great time up in the mountains doing pretty much nothing. My cousin got me hooked on HGTV again and that’s probably not a good thing. I usually don’t watch much TV and now I seem to have it on constantly. The one good thing about that is that I haven’t bee reading too much. Hmm…it’s sounding like I have trouble staying on task…..
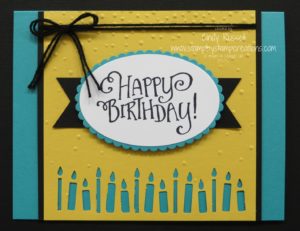
This is one of the 8 cards that I’ve designed for my All-Occasion Card Buffet Class next week. I think it’s pretty fun. A person can never have too many birthday cards on hand, right?
Don’t you love the row of candles punch on the bottom of the card? They’re made with the new Candle Border Punch found at the bottom of page 7 in the Occasions Catalog. It’s easy to miss because it’s so small.
I punched my row of candles first before running the Daffodil Delight card stock through the Big Shot with the Softly Falling Embossing Folder. That way I could figure out how to place the card stock on the embossing folder.
I used the Stylized Birthday stamp for my sentiment. This is one of those stamps that was collecting dust on my shelf. So glad I found a use for it finally! It’s a great size to be the focal point on a card. I’m not sure why I haven’t used it before now! Sheesh!
If you’re in the Denver area and would like to attend my Card Buffet next Tuesday (morning or evening session) just let me know! There’s plenty of room! 🙂
Who doesn’t love a snowman?! This guy get my Cindy Russell seal of approval….TSC! Too Stinkin’ Cute!
I saw this snowman online and knew I had to recreate him. Isn’t he adorable? And he’s SO easy! His head is a half circle die cut with the Circles Framelits for the Big Shot. His eyes are punched with the Owl Builder Punch (I think I used the medium circle) and the tails of the scarf are punched with the Banner Punch! Easy Peasy!
For me, the hardest part of the card was stamping the snowflakes randomly on the Crumb Cake card stock. I just can’t do random! Sheesh! The second most difficult part was free-hand cutting the nose….like I said….it’s not a difficult card! 🙂
The perfect little sentiment is from the Project Life Holiday Cheer Stamp Set. Can I say it again? TSC! It’s a shame that we won’t be making any snowmen here in Denver in the near future. The highs for this week are suppose to be in upper 50’s. Not good weather for snowmen! Ha!
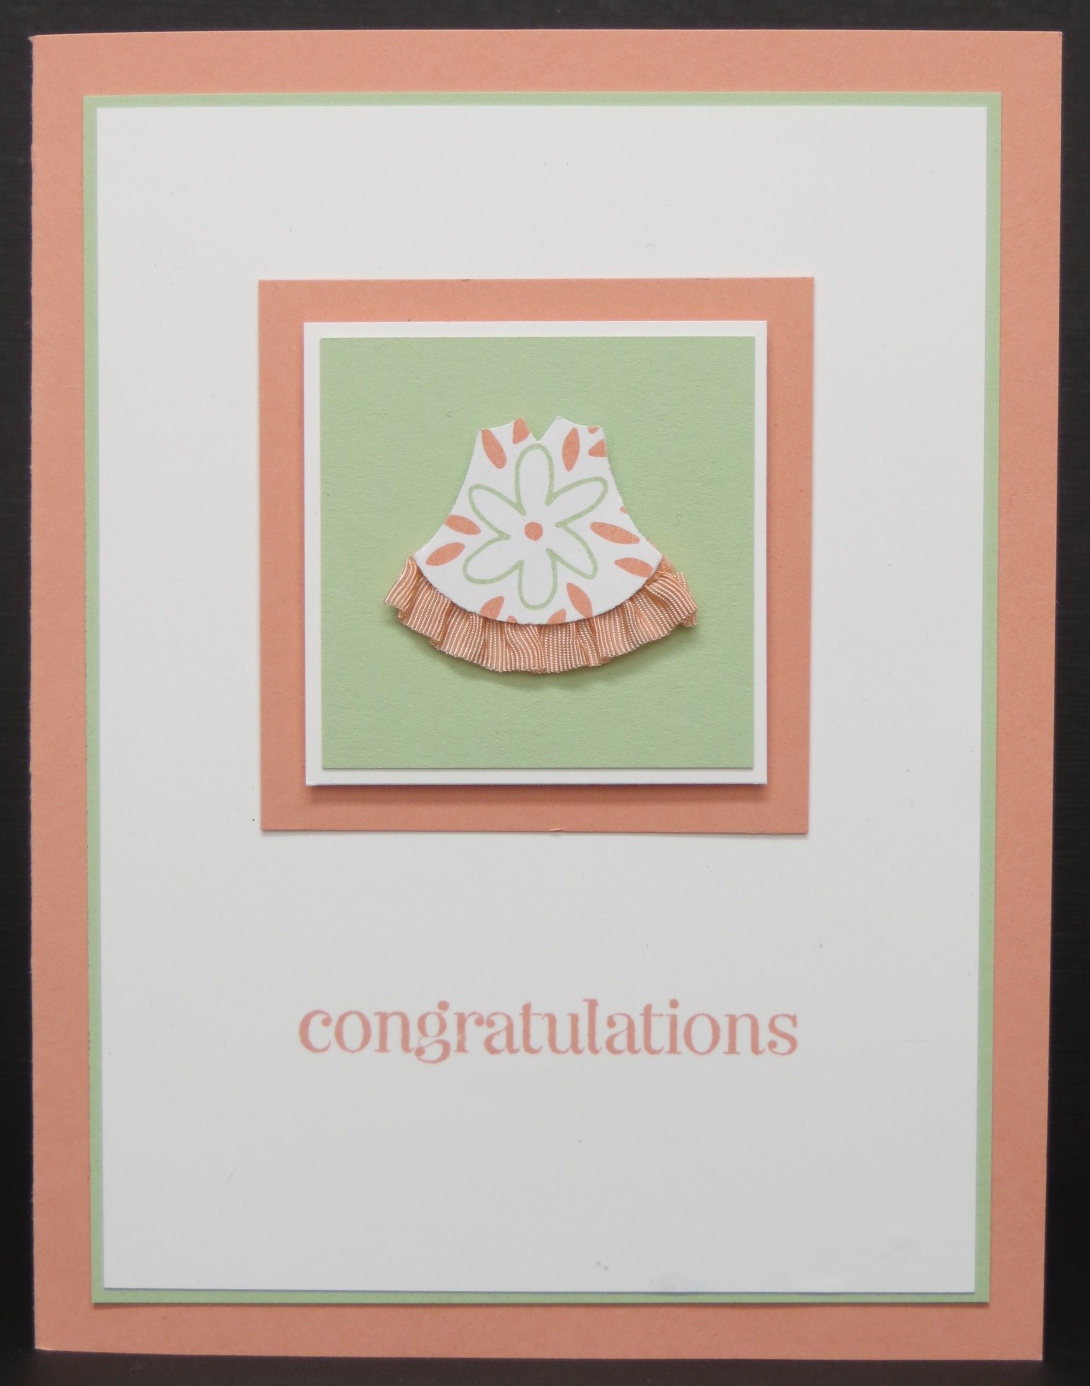
Do you own Stampin’ Up!’s Owl Builder Punch? You may want to rethink that. This has got to be one of the most versatile punches I’ve ever seen. Practically every time I get on the web I see a new use for this silly punch. It’s a must-have tool for every crafter! 🙂
Today’s card shows one of the cutest uses for this punch that I’ve seen in a long time. This adorable little dress is made from the “vest” on the owl punch. Once again, how do people come up with these great ideas? When I look at the owl punch I see an owl…that’s it! Good thing for the internet! 🙂
I love this ruffled ribbon although it was a little hard to work with . This is the perfect use for it though. Once again I hope you have some leftover because it’s on the retired list and it’s sold out in all colors but Baked Brown Sugar. 🙁
Doesn’t this make the cutest little baby girl card? I’ve seen some cards where they’ve turned the “vest” into a little pair of overalls just by clipping a little triangle in the center bottom edge (and of course leaving off the ruffled ribbon!). TSC! Too Stinkin’ Cute!
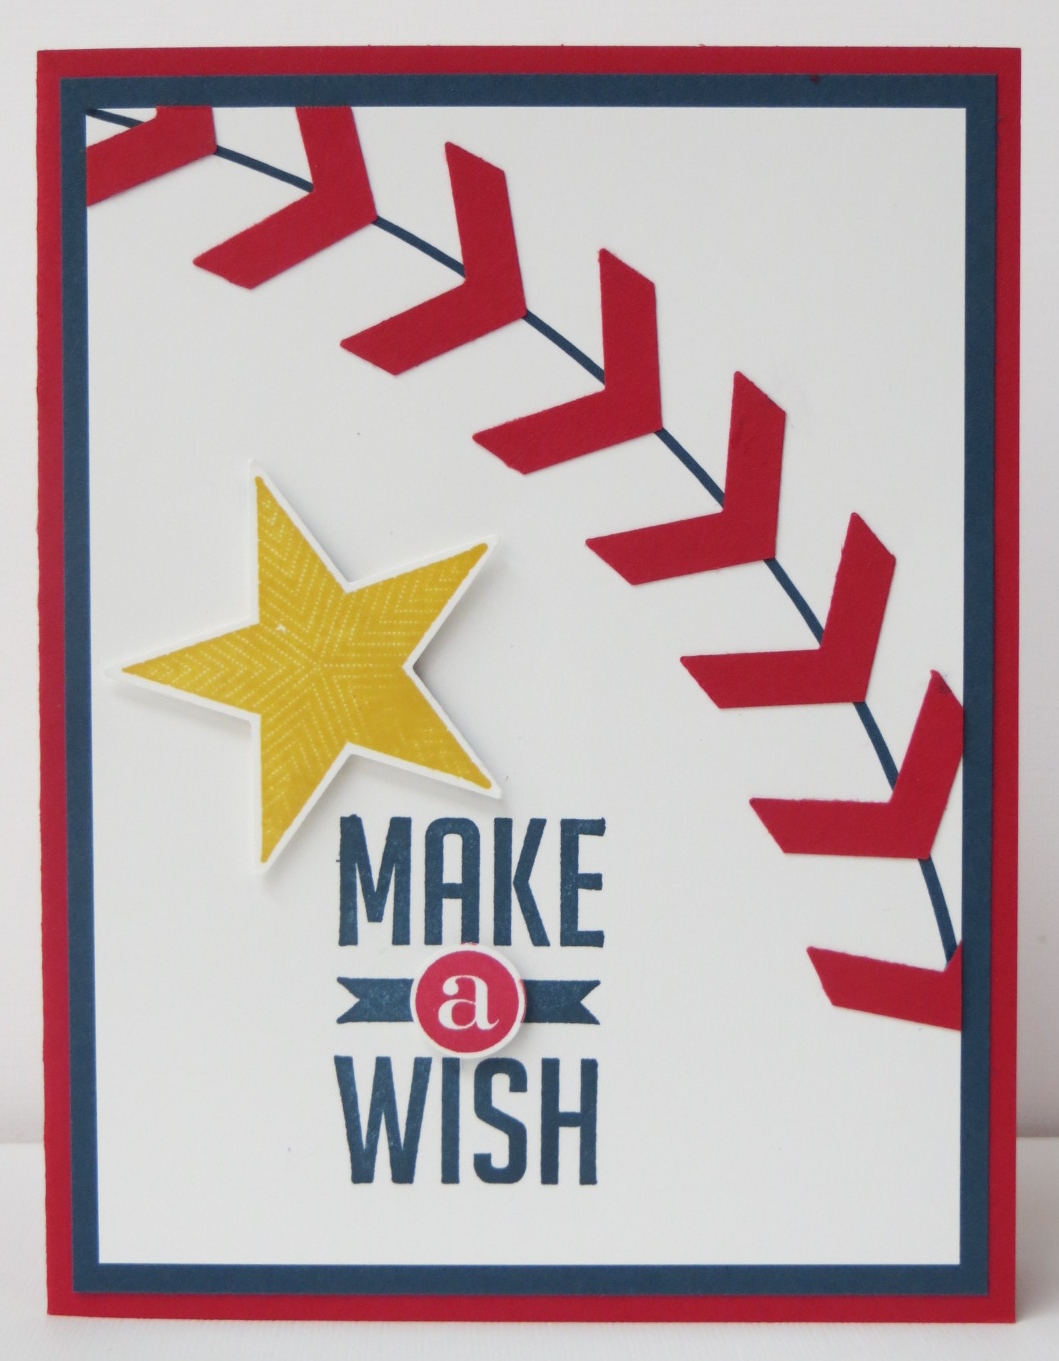
It’s baseball season so what makes a better masculine card than a baseball? Yes, I CASEd this card….but it’s so darn cute! I love how the Chevron Punch makes the stitching on the baseball….very clever. How do people think up all of these wonderful ideas?
I used a dinner sized paper plate to make the curve up the baseball. Then it was just a matter of punching enough chevrons with the Chevron Punch to make my stitching. TSC! Too Stinkin’ Cute!
The sentiment is from Perfect Pennants in the Occasions Catalog. For some reason I like to pop up that “a” in another color whenever I use this stamp. It just seems to add so much to the card. The star is from Simply Stars. This is one of the many stamp sets on the retired list that is already sold out. 🙁 Don’t fret if you like stars though….you may see some in the new catalog….just sayin’! 🙂
My mom is a huge baseball fan so I altered this card a bit into a Mother’s Day card for her. Unfortunately I forgot to take a picture of it before I packaged up her gift. Maybe I’ll have her take a picture of it when she gets it so I can share. I need to get the gift in the mail today so it gets to the Minnesota Homeland before Mother’s Day!
Today’s the day. After today, no more “Best of” cards. 🙁 I hope you’ve ordered all of the ones that you want because today is the last day to order them.
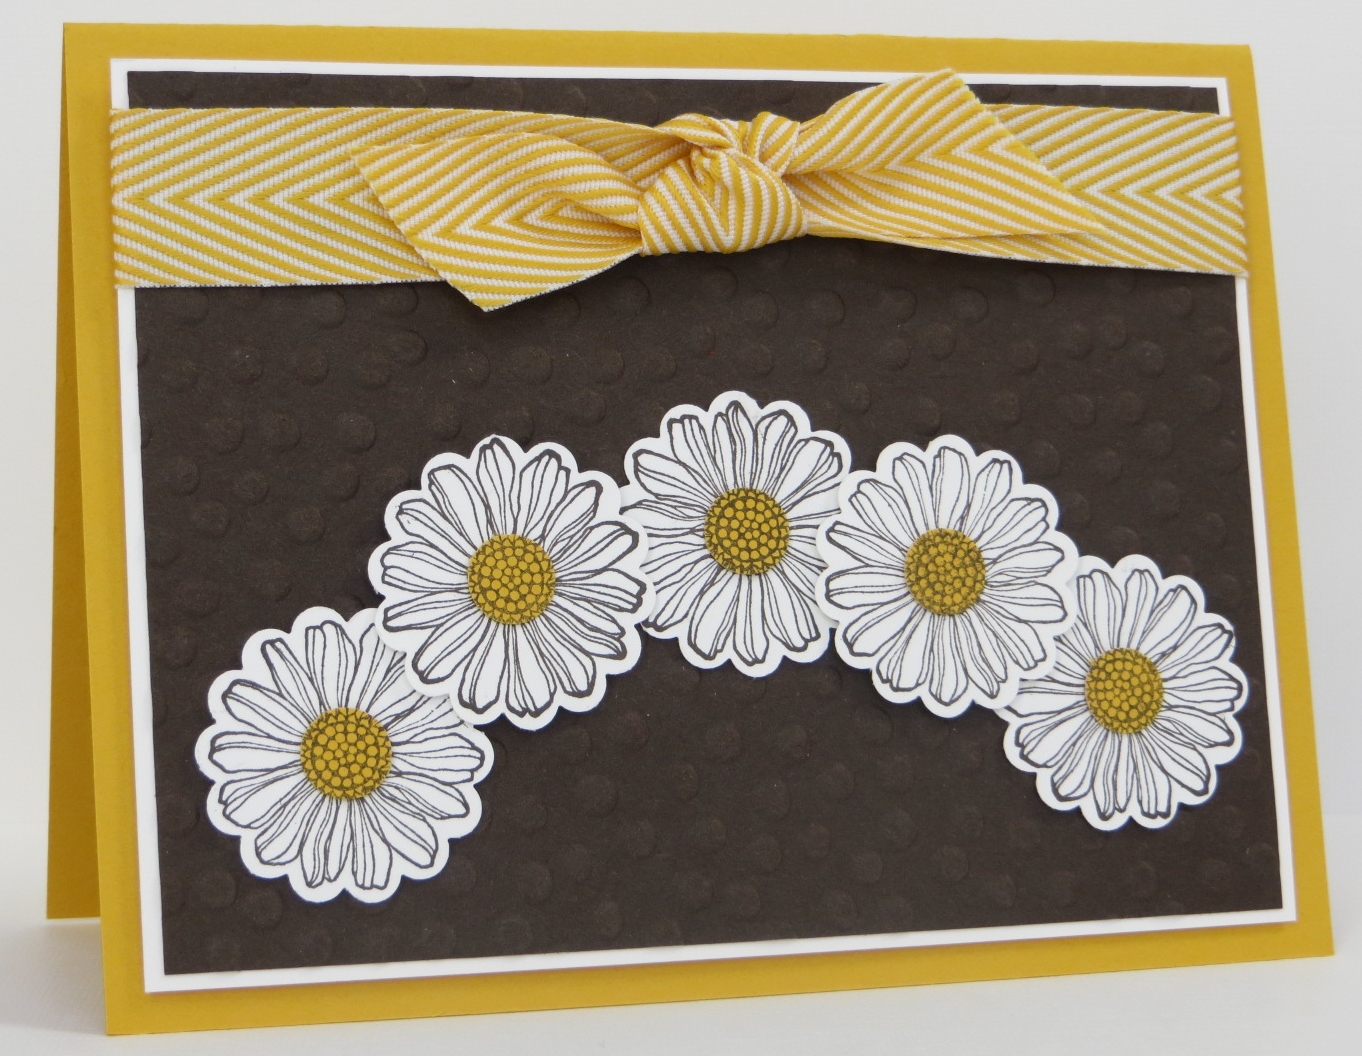
I used Best of Flowers to share my last “Best of” card with you. We made this in one of our recent classes and it was a hit. I loved the way it turned out. It makes me think of Summer for some reason. I know….here I am talking about Summer and some of you across the country have barely had a taste of Spring!
I love this color combination of Early Espresso and Crushed Curry. Doesn’t the Crushed Curry Chevron Ribbon make this card extra-fun? I did get to use my favorite new Decorative Dots Embossing Folder on the card. I love this folder and was so excited to read the fine print in the Sale-a-bration Brochure that it will be in the new catalog coming in June! Woo Hoo!
Speaking of Sale-a-bration….today is the last day for that too. If you haven’t placed your Sale-a-bration order yet you better do it ASAP! You don’t want to miss out on FREE stuff!
So, to finish explaining my card…the daisies are punched out with the 1 1/4″ Scallop Circle Punch and the centers are punched out with the circle from the Itty Bitty Punch Pack. Punches! They make our lives so much easier! 🙂
No, I haven’t fallen off the face of the earth…yet! Things are starting to pick up around here with my son’s wedding just one week away. Did I say one week? Yikes!
I have the dress, the shoes, the jewelry, the purse and the spanx! The nail appointment is made as is the hair appointment. I’m ready to go so now I just need to help the bride with all of the crafty things she wants to get done this next week. Wish us luck!
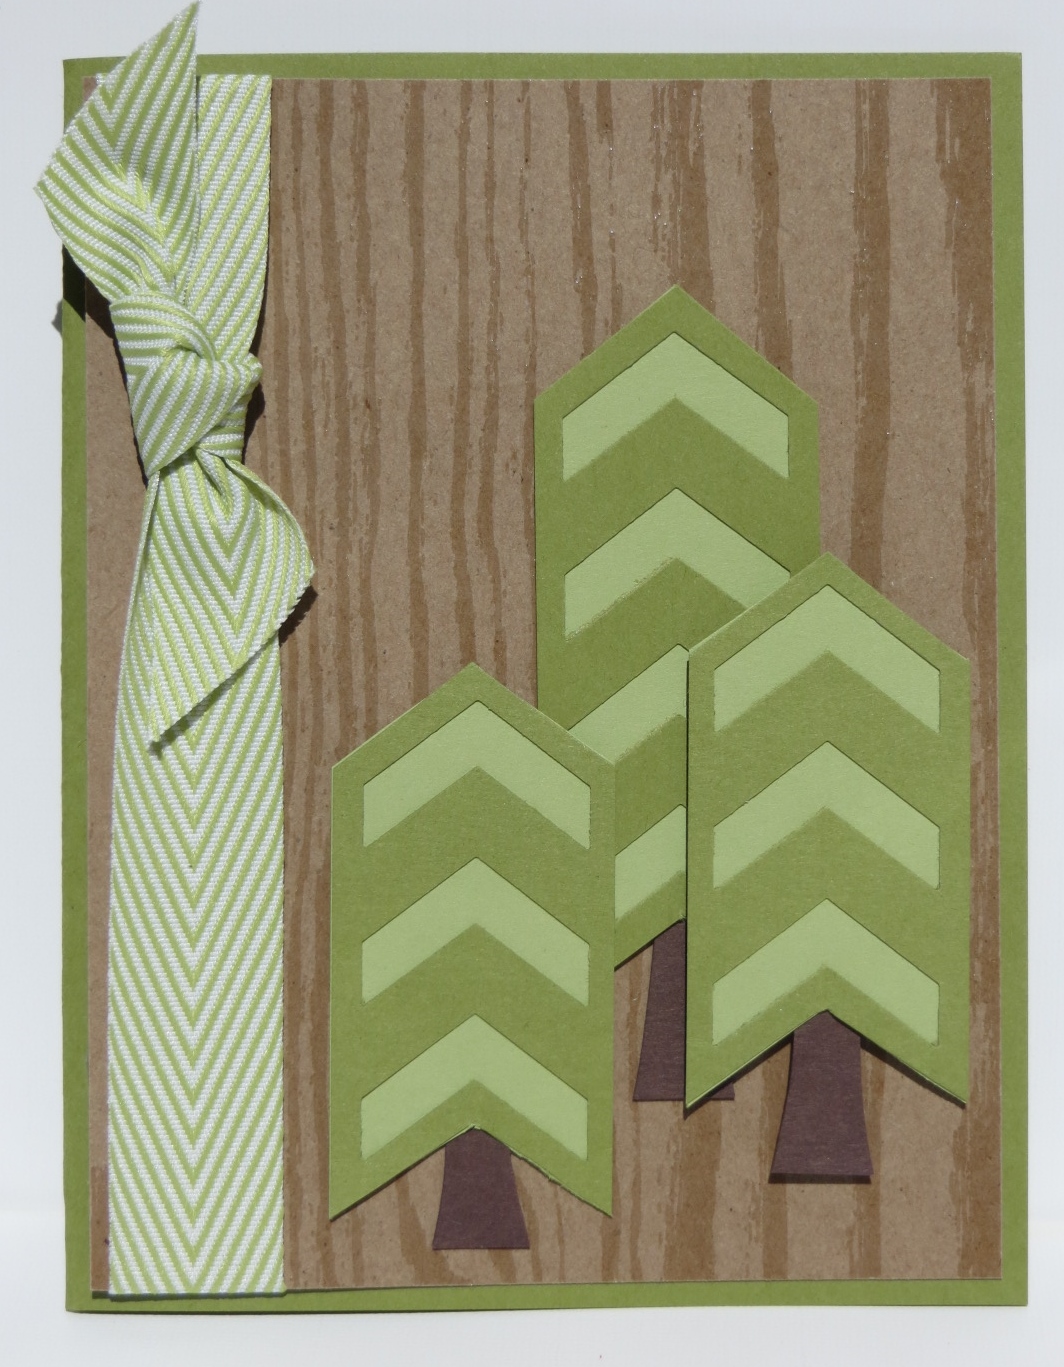
I made this card back in August for my Holiday Catalog Open House. I had seen a similar card and knew I had to get out my new Chevron Punch and give it a try. The new Chevron Punch is pretty darn fun!
I punched my Old Olive card stock with the Chevron Punch, trimmed it to look like a tree and layered it on Pear Pizzazz card stock. I added a trunk and had a tree. Too darn cute not to copy.
Have you played with the Chevron Punch yet?
I’m not sure you’ll hear from me again before the wedding. I’ll give it a try but don’t hold your breath! I’ll tell you all about it after the 26th!
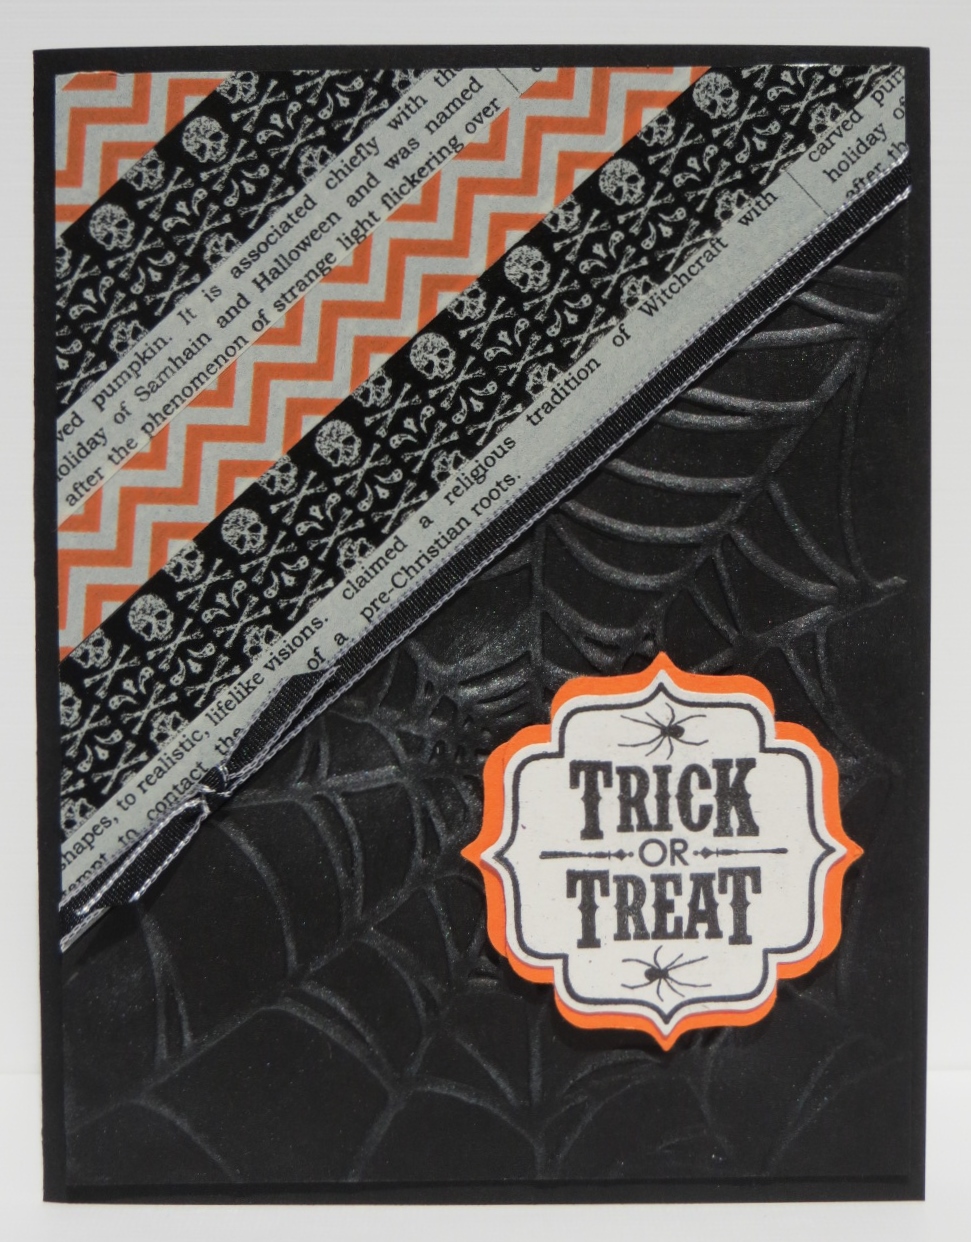
Have you checked out the adorable Witches’ Brew Washi Tape? I love it! But then, I love all washi tape! 😀
Isn’t this a fun layout? A little washi tape on the diagonal, a fun (but sadly, retired) embossed spider web, ribbon and a fun tag! I was all set to make this card for a swap and then realized that the darn spider web embossing folder was retired. 🙁 I probably could have used it anyway but I wanted to stick with current products. Can you see a little shimmer to the spider web? I lightly brushed some Illuminate Ink over the embossed web with a Sponge Dauber. It really added a lot to the card.
The tag is from the Tags 4 You stamp set in the Holiday Catalog and it’s punched out with the coordinating Label Bracket Punch. I love things that coordinate! 😀 I made the Pumpkin Pie layer to my tag by punching out two Label Bracket tags, cutting them in half and just layering them to the outside edges of the stamped tag. Check out this post for the details on how to do that.
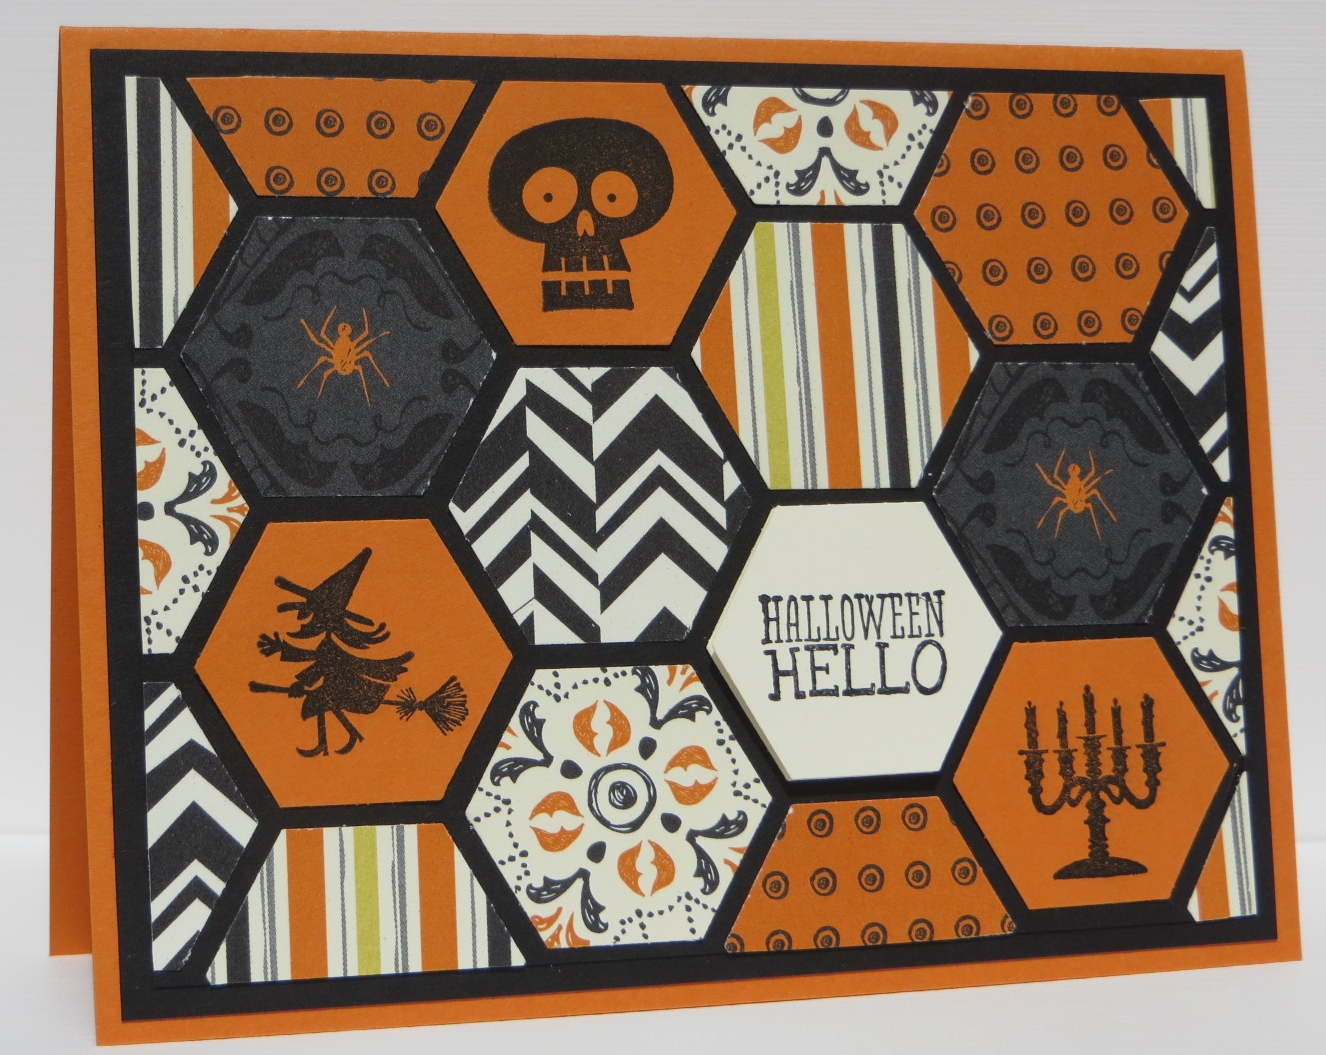
I’ve been having an awful lot of fun making Halloween cards lately! This one was especially fun although it was like working a puzzle trying to figure out where to place all of the different pieces.
I punched out a bunch of hexagons from the Witches Brew Designer Paper. Then I stamped a few images from the Halloween Hello stamp set and punched them out with the hexagon punch. I pieced my puzzle on Basic Black card stock and then layered it on Pumpkin Pie card stock. The end! Ha! It is rather busy isn’t it? But fun!
Another great set! So fun! Do you have any favorite stamp sets from the new catalog? Six-Sided Sampler is definitely on my favorites list.
Have you noticed that I’m using a lot of black lately? If you haven’t noticed yet, you will! It’s suddenly become my go-to color. Did you also notice that I used the Candy Dots again? They are fun!
Oh, did I mention I got the idea for this card on Pinterest? 😉 I told you it was Pinterest month!
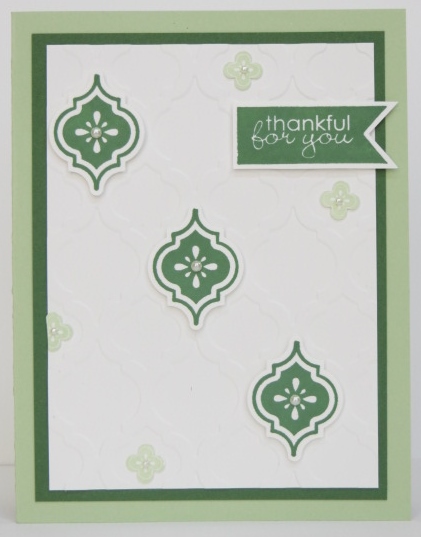
Do you like green? I sure hope so because today’s card is definitely green! 😀
I started by embossing the Whisper White card stock using the Modern Mosaic Embossing Folder. Unfortunately it’s hard to see in this photo. Then I stamped the two different sizes of mosaics from the Mosaic Madness stamp set on a piece of Whisper White card stock and punched them out. I used the Mosaic Punch on the larger design and one of the Itty Bitty Punches on the smaller design. After punching them out I adhered them to the embossed card stock and added a few pearls. The sentiment is from the cute hostess stamp set Banner Greetings. Unfortunately there’s not a punch for the banner but it’s pretty easy to cut out!
I’m getting better at simple cards….or should I say I’m getting better at CASEing simple cards?! Ha!
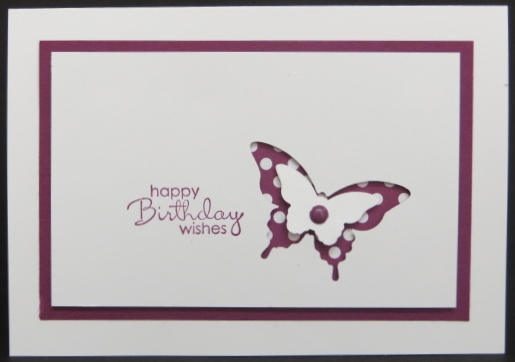
This card was pretty easy, especially since I started with one of the notecards. I’m really liking those little things!
I started by punching out the larger butterfly on the small piece of Whisper White card stock with the Elegant Butterfly Punch. I stamped my sentiment and then adhered the designer paper to the back of the punched butterfly with Stampin’ Dimensionals. Add the Rich Razzleberry layer, the Bitty Butterfly and a brad. That’s it! I told you it was simple!
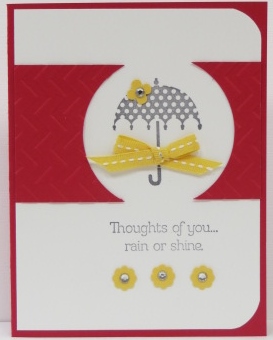
Rain or Shine? What’s your choice? I do love a sunny day but we do need moisture here in Colorado so I think I need to choose rain. I said rain….not snow! It’s April and I’m kind of over snow but of course the weatherman is predicting snow in the next few days. I guess that’s part of living in beautiful Colorado! Anyway, enough of the weather! Let’s take a look at this cute card!
The first thing you should notice is that I could have shown you this card last month during “What Can You Do With A Circle?” month. I just love the way this technique highlights the stamped image. Isn’t it fun? My piece of Real Red Card Stock is only 2 1/4″ wide. After I ran it through the Big Shot I used the 2 1/2″ Circle Punch to punch the circle. This way it “cuts” the card stock in two pieces. I also used another circle technique on this card. I used the 1 3/8″ Circle Punch to round the two corners. Gotta love those circle punches!
Have a great day and Happy Stamping!
P.S. Don’t forget about the FREE Shipping through tomorrow!!!
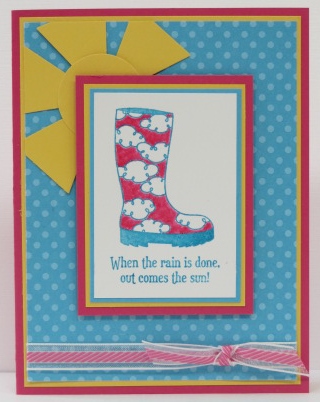
Spring has sprung and now we’re in desperate need of those April showers the month is so famous for. What better way to get ready for an April shower than with an adorable pair of rain boots! (OK…just one boot here but you get the idea!)
Once again I got carried away on layers but they just add so much to the card. Don’t you love the little sun made from the 1 1/4″ Circle Punch and the Pennant Builder Punch?! Too cute!
You can’t tell from the picture but I heat embossed the boot and sentiment. Did you know that you can heat emboss with the new classic foam pads? They’re much “goopier” (is that a word?) than the old pads so the stamp picks up more ink. If you work quickly enough (no dilly-dallying!) and sprinkle your clear embossing powder on the wet ink right away you can emboss! How fun is that?!
A cute card for spring with fun and bright colors! Have a great day! Take care and Happy Stamping!


 Well, vacation is over and it’s time to get back to work! I had a great time up in the mountains doing pretty much nothing. My cousin got me hooked on HGTV again and that’s probably not a good thing. I usually don’t watch much TV and now I seem to have it on constantly. The one good thing about that is that I haven’t bee reading too much. Hmm…it’s sounding like I have trouble staying on task…..
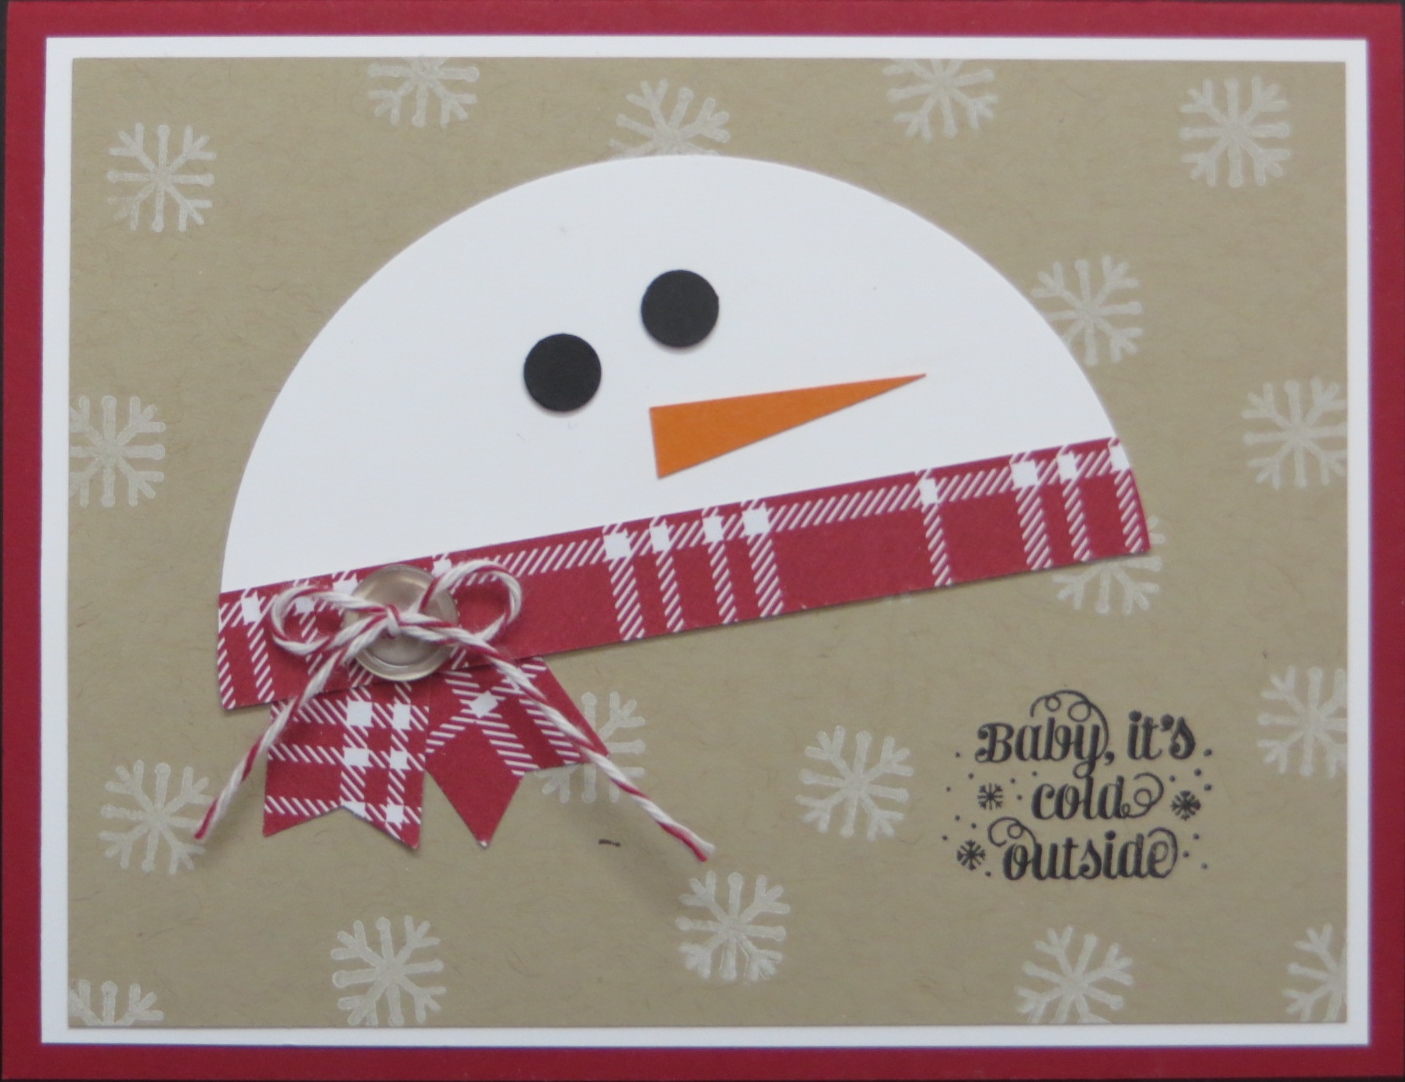