How to do a Watercolor Wash

Watercolor Wash card

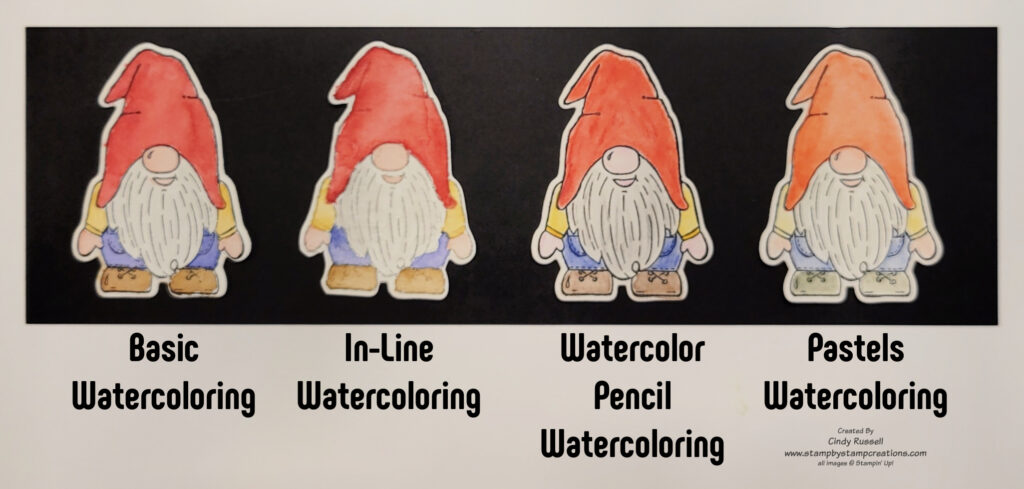
There are so many different ways to watercolor.  One of the easiest ways to get started with water coloring is a Watercolor Wash.  This technique is easy because there isn’t any detail work.  You are simply adding color to the paper to make a background.  This technique gets you started on how to apply the paint (ink) to the paper with the brush.

Tools

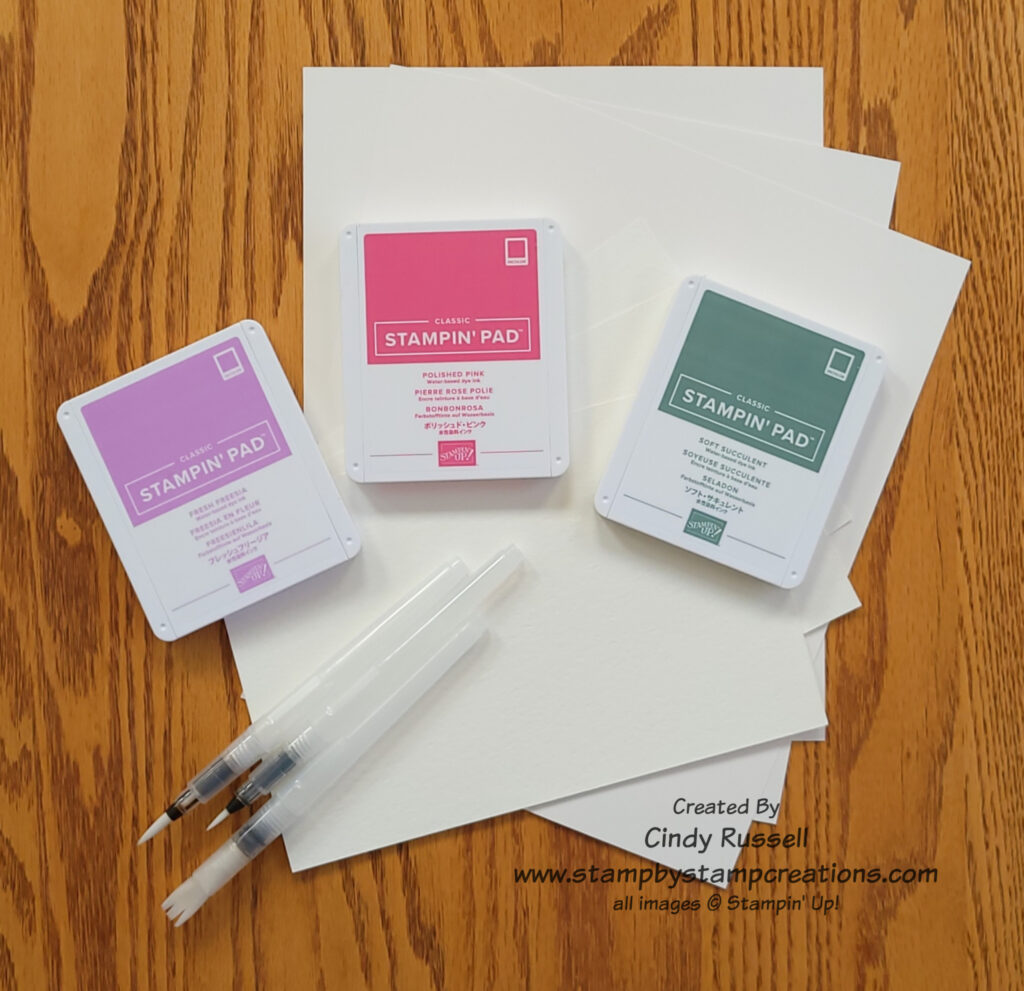
Besides the three basics tools of water coloring (paper, brush and ink), you will also need:

  • a Stampin’ Spritzer or small squirt bottle for water
  • a small dish for water
  • some type of waterproof work surface
  • painter’s tape or washi tape
  • the flat tip brush Water Painter
  • paper towels
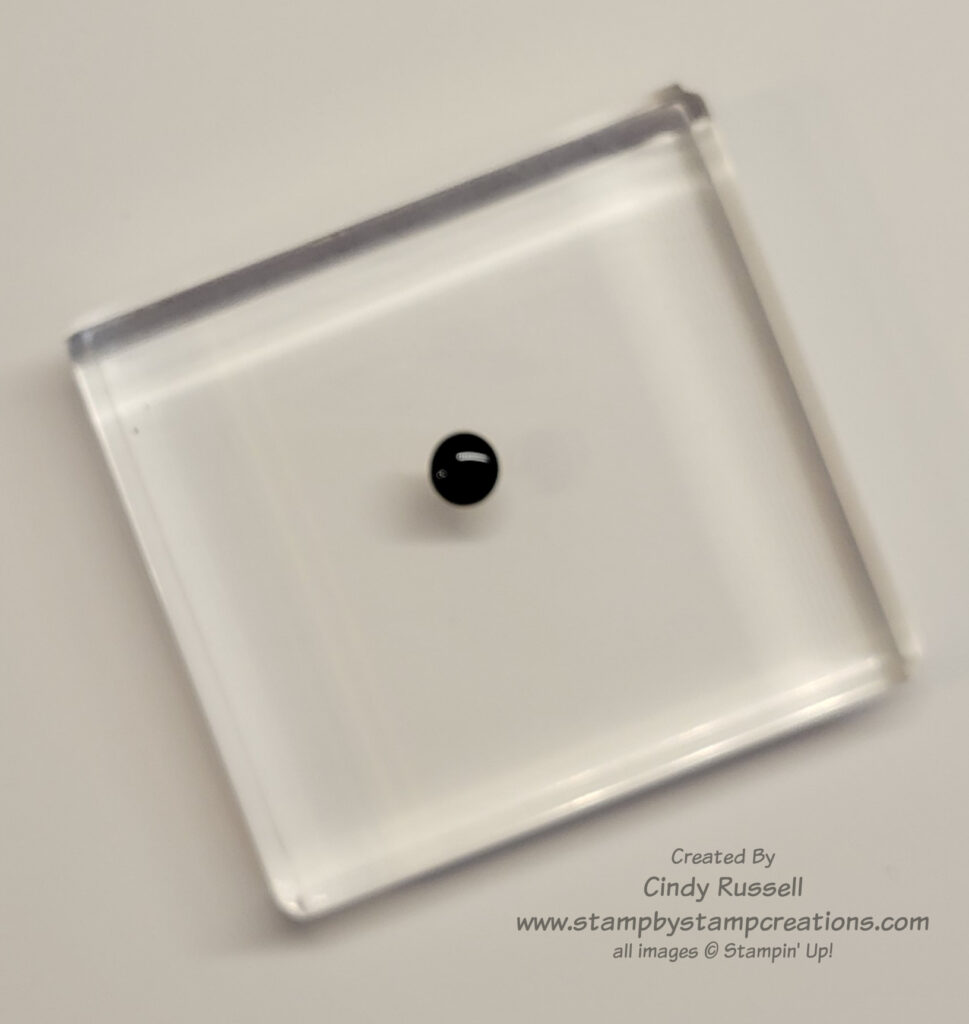
  • clear stamping block (optional)

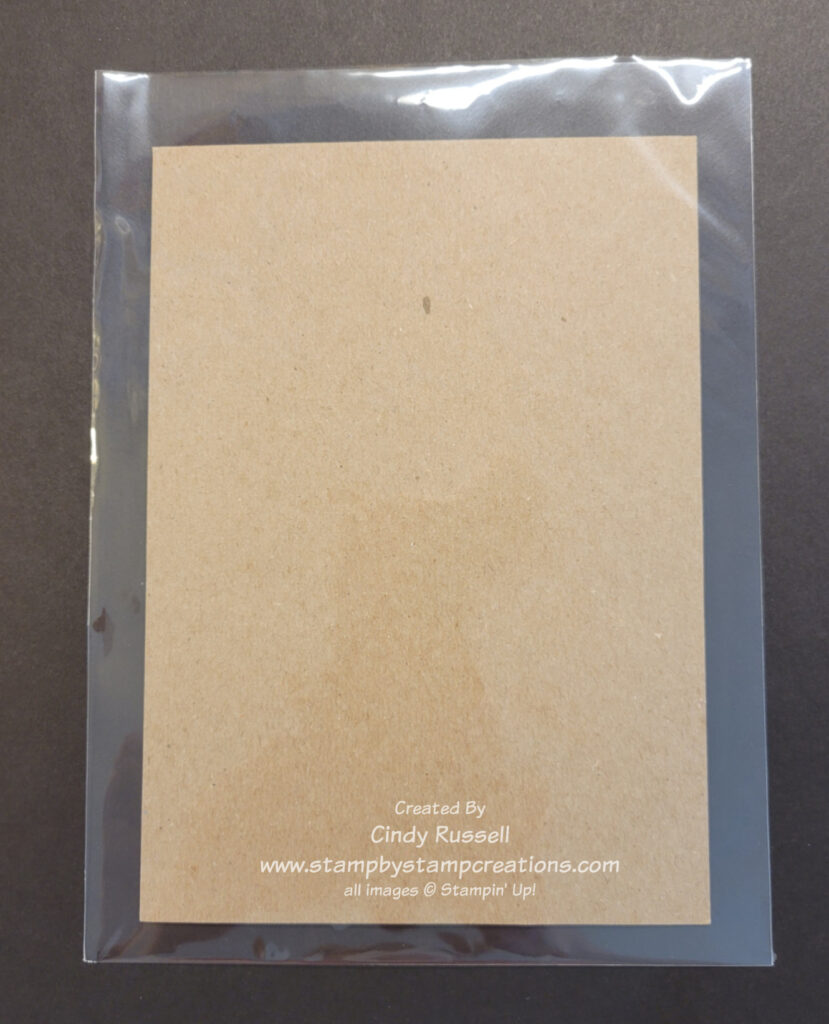
For my waterproof work surface I took one of Stampin’ Up!’s 6” x 8” Cello Bags and inserted a small piece of cardboard inside.  This gave me a sturdy work surface that could get wet.

Tips

  • Have all of your tools and supplies set out and ready before you begin.
  • Cut the cardstock larger than you need for your finished project. 
  • Use the painter’s tape/washi tape (or some type of adhesive that is easy to remove) to adhere the paper to your waterproof work surface.  This keeps the paper flat as it gets wet and holds it in place.
  • Before applying the ink to the paper be sure to thoroughly wet the paper with the Stampin’ Spritzer/spray bottle of water.
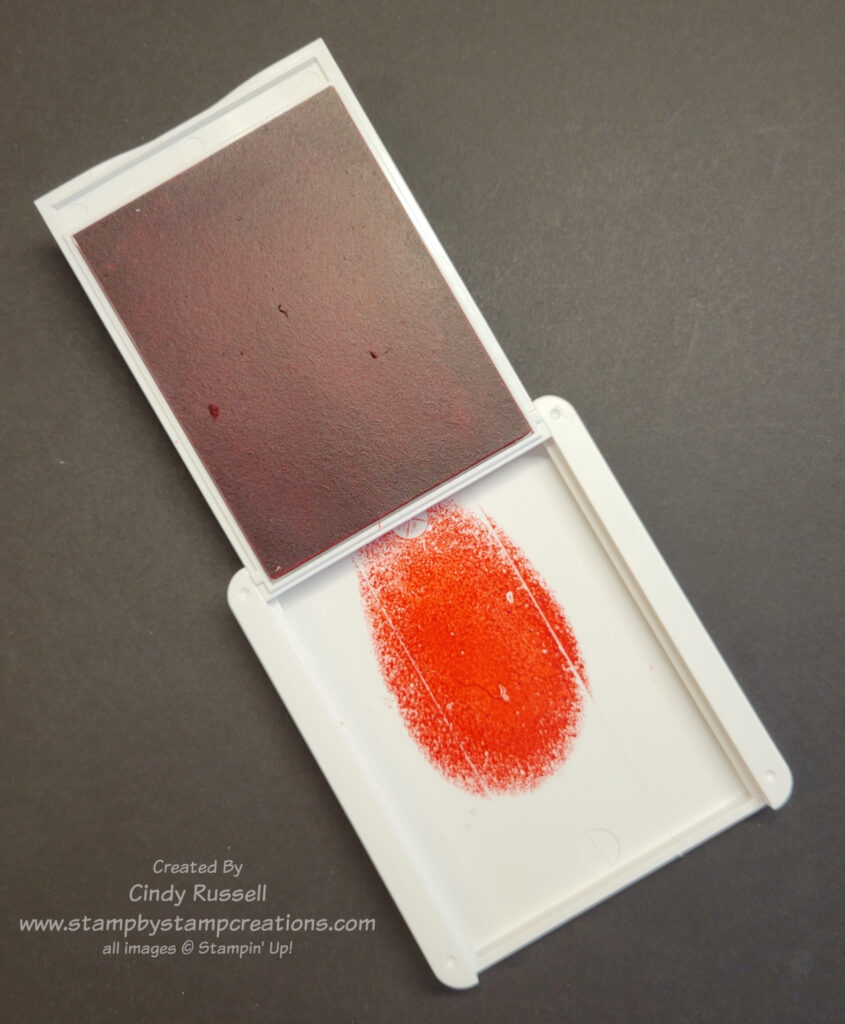
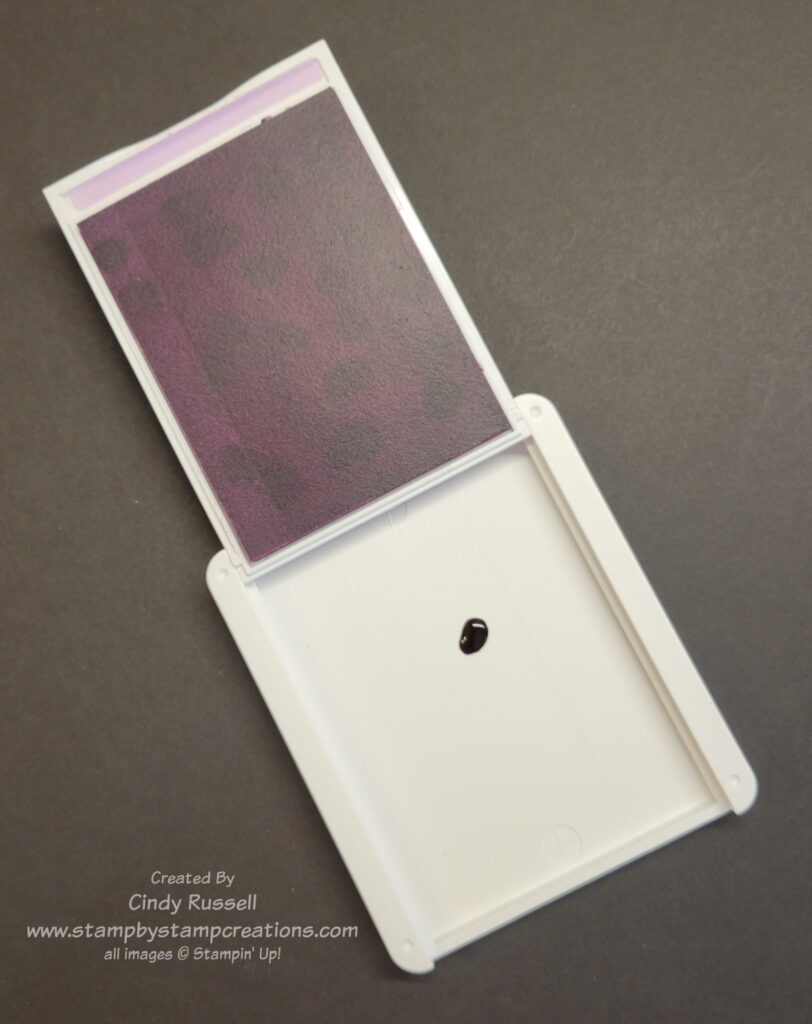
  • Open the ink pad(s) you will be using.  Don’t slide the lid back.  Put a drop of the ink refill in the lid.  This is your “paint” palette.  (you can also use any of the other ideas for the ink that I mentioned in my previous post)
  • Clean out the lid of the ink pad when you’re done.

Technique

  • Adhere the paper to the work surface with painter’s tape or washi tape
  • Spritz the paper with water
  • Gently squeeze the reservoir of the Water Painter to wet the tip or simply dip it in the container of water.
  • Pick up the ink in the ink pad lid with the brush.
  • Sweep the inked brush across the paper going back and forth.
  • Keep the brush wet and inked
  • Continue adding color until you get the look you want.
  • Clean brush thoroughly before switching colors by getting brush wet and dabbing color on paper towel until brush is clean.

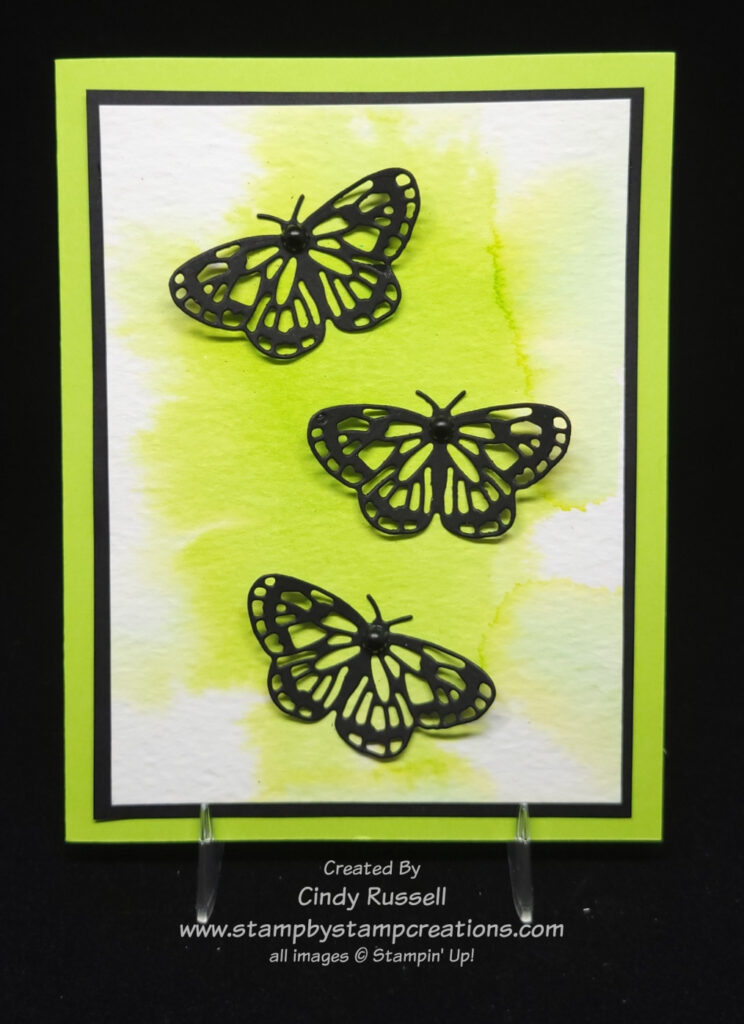
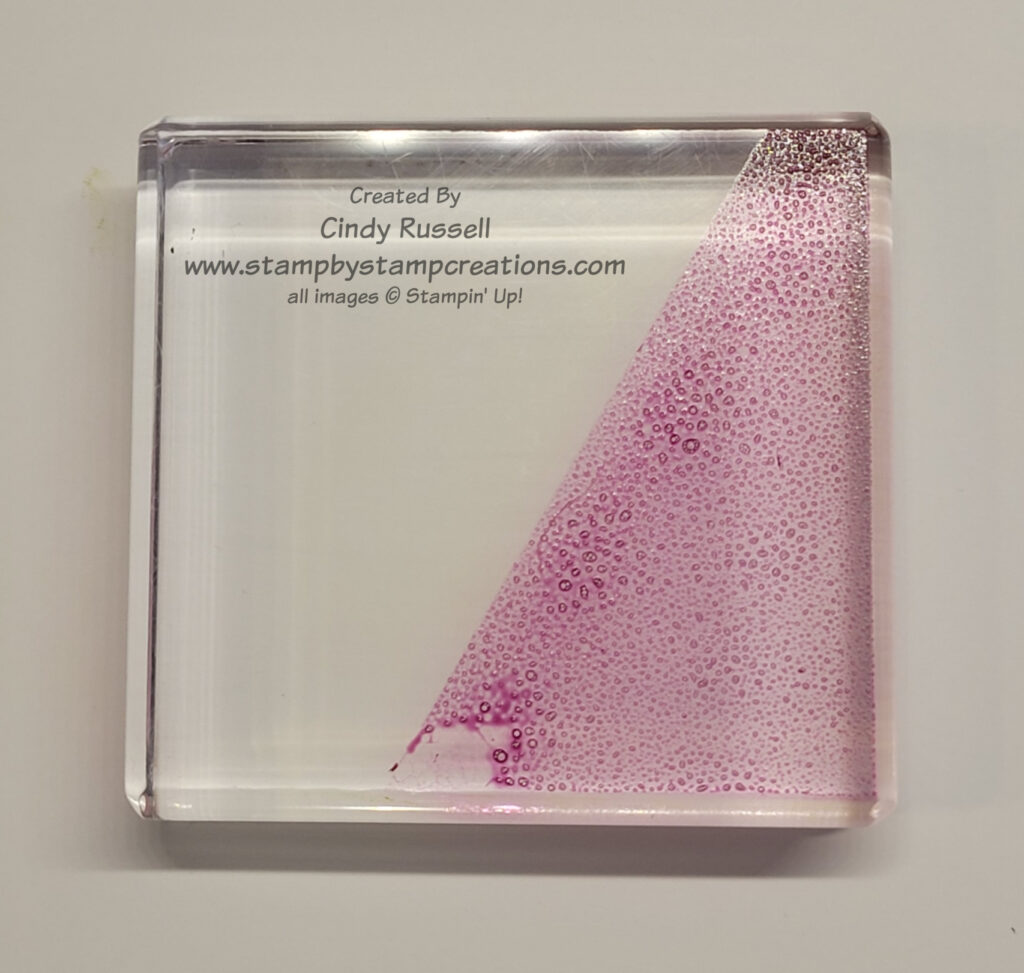
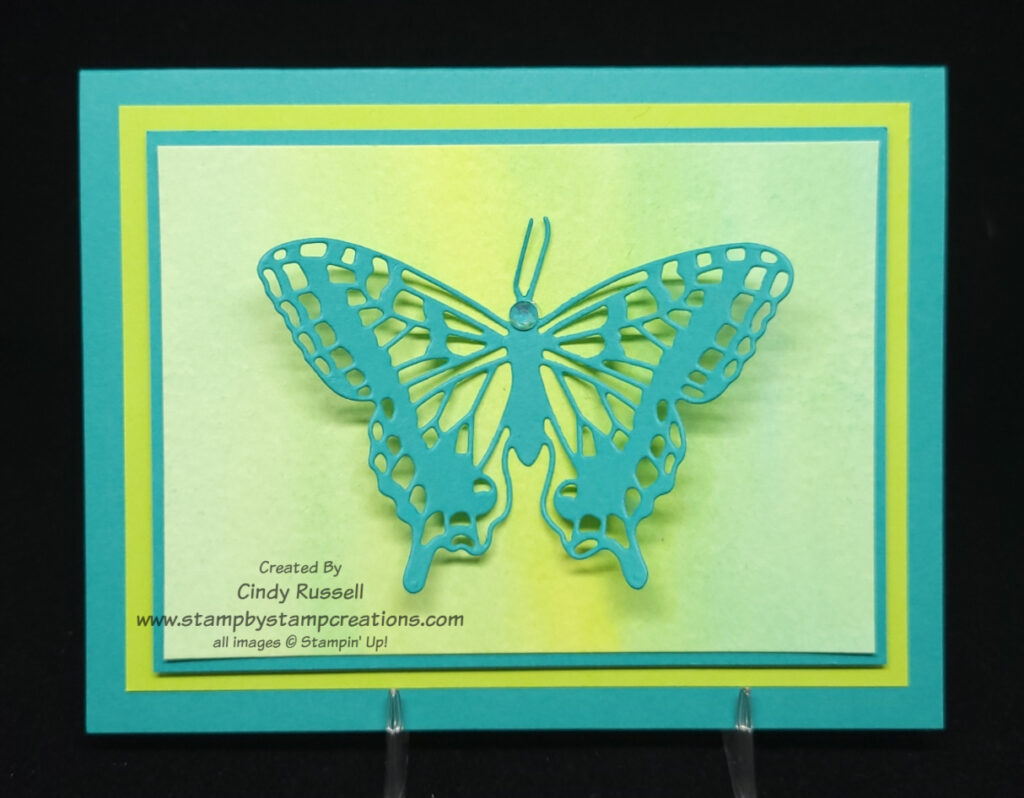
As you can see in the card above, I covered the entire area of my paper with the watercolor wash.  I used two colors, Parakeet Party and Tahitian Tide, to get the look on the card.  On this second card, I wet the watercolor paper and then got my brush really wet, picked up the color and kind of tapped my brush on different areas of the wet paper.  The water on the paper made the ink spread.  Then I played with it until I got the look I wanted.

After you have done a watercolor wash you need to let the paper dry thoroughly before adding it to a project.  Watercolor Paper is thick so use Stampin’ Seal +, Liquid Glue or some other strong adhesive when adhering it to your project.

I hope you like this watercolor technique and give it a try soon.  Have a great day!  Take care and Happy Stamping!

Ways To Watercolor

There are many ways to watercolor and to get that watercolor look on your projects.  Stampin’ Up! has shared a video that highlights 7 different techniques that you can try at home.  You can view it here:

What did you think?  Did you come up with a favorite technique or method?

It’s fun to see all of these different methods.  They all have a different look but how do the finished products compare?

In this photo you can see four adorable gnomes from the Kindest Gnomes stamp set.  I have watercolored all four of them with different techniques/methods.  You can see how they all have a slightly different look.

The first gnome was done with what I’ll call Basic Watercoloring.  The gnome was first stamped with StazOn Jet Black Ink which is alcohol-based.  You need to use this type of ink so that it doesn’t smear when water is added.  When watercoloring this image I did one part/color at a time.  I first wet the section with my Water Painter and went then went over it with the brush.  Then I picked up the color I wanted and added it to the paper.  I then moved on to a different part of image, trying to do a section not next to the one I just did so the colors wouldn’t run together.

The second gnome was done with the No-Line Watercoloring Technique.  This was the first technique described in the video above.  This method is very similar to Basic Watercoloring except you use a light-colored ink when stamping the image.  With this technique you want a water-based ink like Stampin’ Up!’s inks because you want the lines of the image to blend in with the coloring.  Once again, you want to do one section/color at a time, moving to a section that is not next to the one you just did.

The third gnome was colored using Stampin’ Up!’s  Water Color PencilsThis techniqe was also described in the video. The gnome was stamped with StazOn Jet Black.  Then I colored the image with the Water Color Pencils.  Finally, I went over each section with a Water Painter to blend and smooth the colored image.

The final gnome in the photo was watercolored using Stampin’ Up!’s Soft Pastels which are chalk. This method gave the softest look to the finished gnome. Stamp the image with StazOn Jet Black ink. On a piece of watercolor paper or Shimmery White cardstock color a line of chalk pastel with each of the colors you want to use on your stamped image. With a wet brush, pick up the color from the line of chalk pastel and then color your image.

There are so many different ways to watercolor with your stamping supplies. I hope you try some of them soon. Have a great day! Take care and Happy Stamping!

Watercolor: Picking Up The Ink

When watercoloring, we know that we need to get the ink on the brush and on to the paper.  But how do we do that?  The ink is on the ink pad or in the ink refill bottle.

There are a few different options for this that I’ve seen.  The first option, which is the one I most often use, is putting the ink in the lid of the open ink pad and picking up the ink from the lid.  There are two different ways to do this:

  • You can squish the ink pad so that the ink transfers from the foam pad to the lid.  This is a little hard to do with Stampin’ Up!’s new ink pads but if you place the closed ink pad with the lid down on your work surface and apply firm pressure to the back of the ink pad you should be able to get some ink transferred to the lid. 
  • Or you can put a drop or two of the ink refill in the lid of the ink pad. 

The other two methods that I know of use a clear stamping block.

  • In the first block method you put a drop of the ink on a clear block and pick up the ink from there.
  • The second block method is to take your ink pad and apply it to the block (or apply the block to the ink pad).

In all of these methods you get the ink in/on a place where it is easy to pick up with the brush.  Now that you have the basics it’s we can move on to some techniques.   Stay tuned!  Have a great day!  Take care and Happy Stamping!

Watercolor: Tools of the Trade

Water Color Tools: Stampin’ Up! Style

July is National Watercolor Month!  I love the look of water coloring, don’t you?  I’m definitely not an expert with water coloring but I can give it my best shot.  If you don’t practice, you don’t improve.  Am I right?

Today I’d like to introduce you to the basic tools that you will need to watercolor.   To get started you will need paper, brush, paint and of course, water!  Stampin’ Up! has these basics covered for us. 

Paper:  Stampin’ Up! carries Watercolor Paper (#149612 $9) as well as Shimmery White cardstock (#101910 $10). Both of these papers work well to watercolor with.  Watercolor Paper is a thick, textured, absorbent paper which is made specifically for water coloring.  Shimmery White cardstock is slightly thicker than Stampin’ Up!’s Basic White cardstock with a little shimmer to it.    

Brushes:  Stampin’ Up! doesn’t carry basic paint brushes but they do carry Water Painters (#151298 $13).  Water Painters are a set of 3 brushes, each containing a small reservoir for water.  To fill the Water Painter, hold the tip end and gently unscrew the reservoir.  (It may twist in the opposite direction that you think it should twist).  Fill with water (not completely full) and screw the reservoir back on to the tip.  A light squeeze of the reservoir wets the brush tip.  The set comes with a large flat brush tip, a small brush tip and a medium brush tip.

Paint:  Stampin’ Up! doesn’t carry paint but they do carry 50 colors of ink which work perfectly to watercolor with.  You will need an ink pad and/or an ink refill of that color to watercolor with. With these basic tools you can start watercoloring!  I hope you have them in your craft room!  Have a great day.  Take care and Happy Stamping!