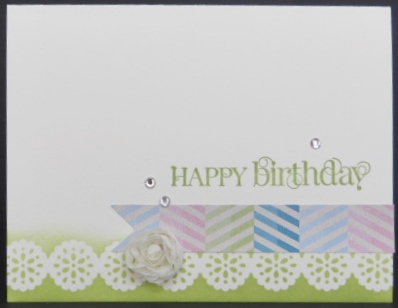
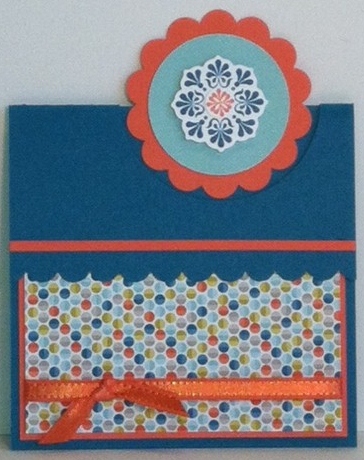
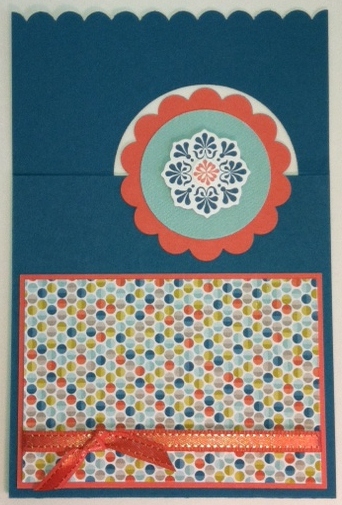
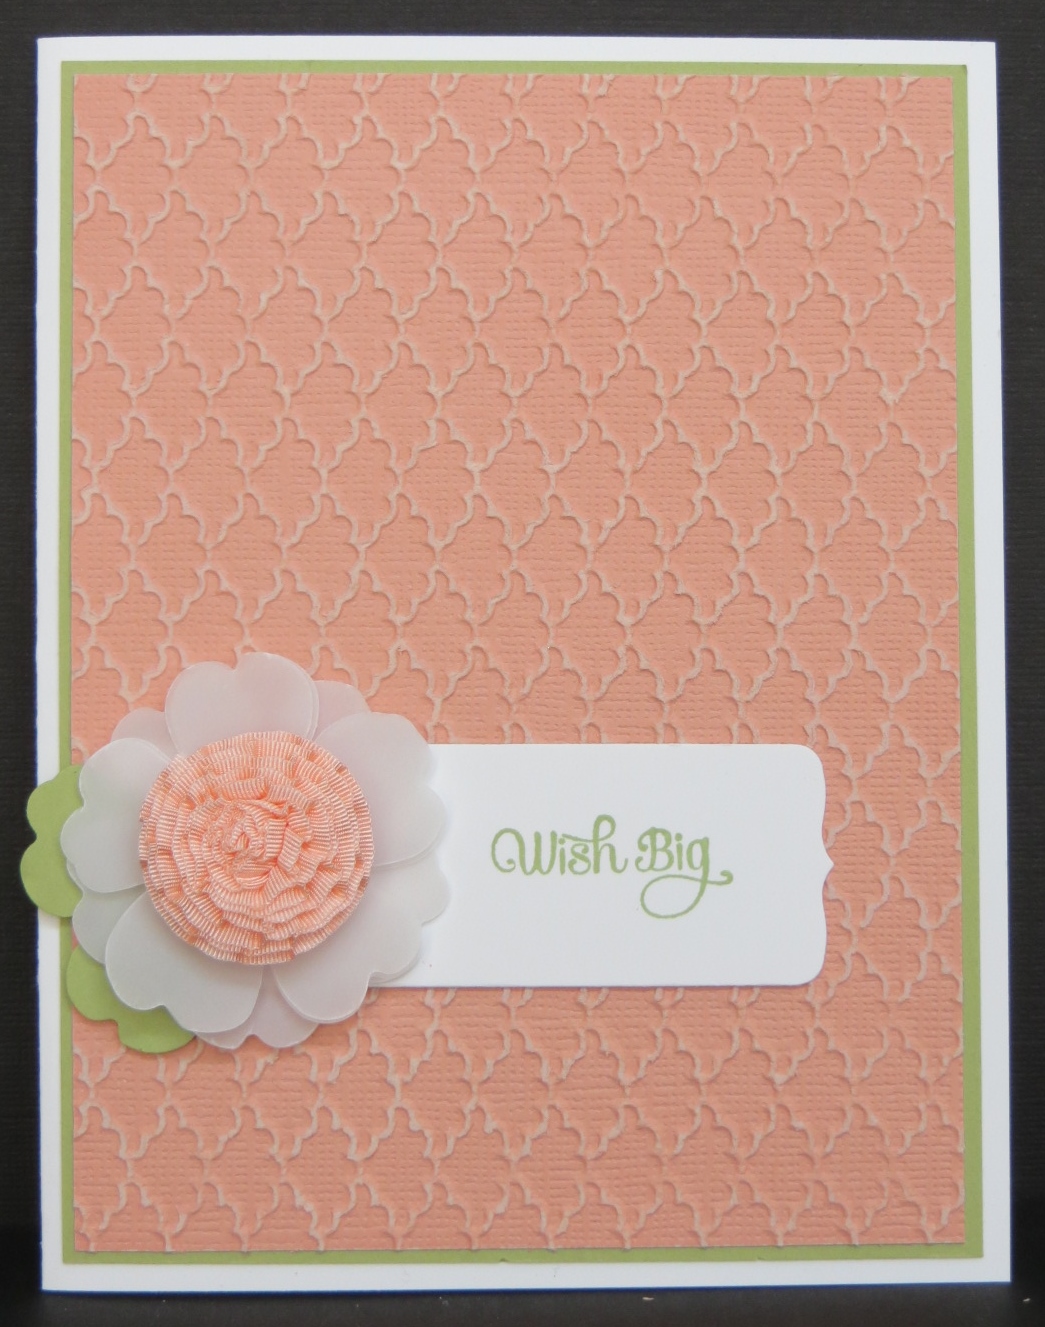
 It’s Technique Tuesday and I have a fun and easy technique for you. Check out the flower on the card. Beautiful, isn’t it?
I started by punching four flowers from vellum card stock with the Pansy Punch and adhering them together with Mini Glue Dots. Then I took a piece of Crisp Cantaloupe 3/8″ Ruffled Stretch Trim about 10″ long. I stuck a Mini Glue Dot on one end and just started rolling. When I came to the end of the 10″ I stuck on another Mini Glue Dot to hold it together. I stuck some more Mini Glue Dots on one of the flat sides and stuck it to my punched flower. Smoosh it a little and you have a gorgeous rolled ribbon flower!
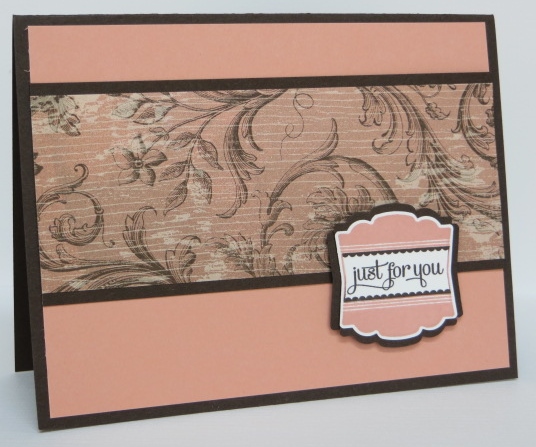
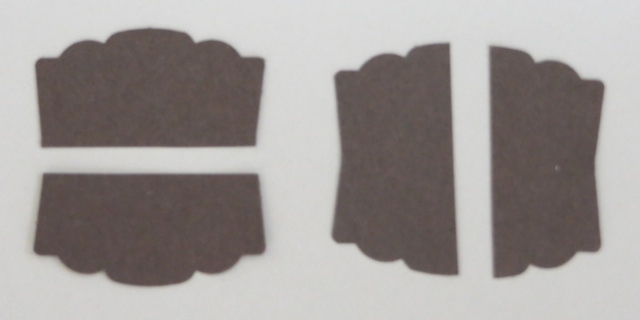
The sentiment is from the new A Dozen Thoughts stamp set and it’s die cut with one of the Chalk Talk Framelits. Fun, simple and beautiful all in one!
Have a great day! Take care and Happy Stamping!