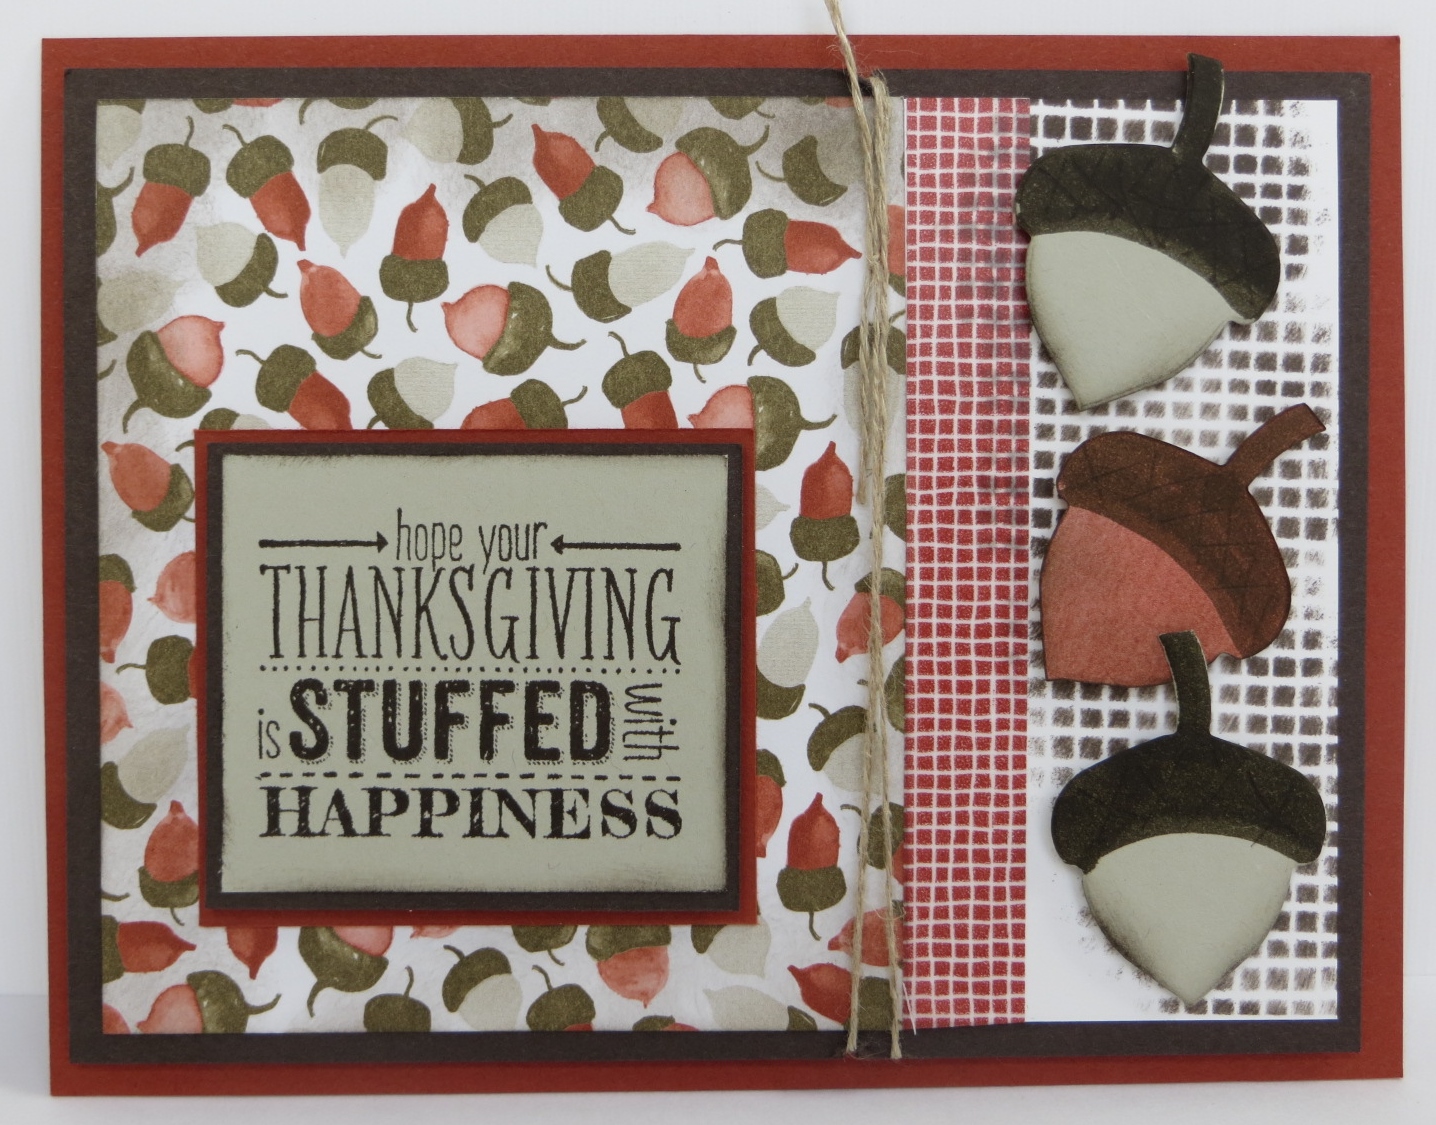
 More acorns! Acorns always remind me of Minnesota. We had lots of oak trees and lots of acorns back in the Homeland.
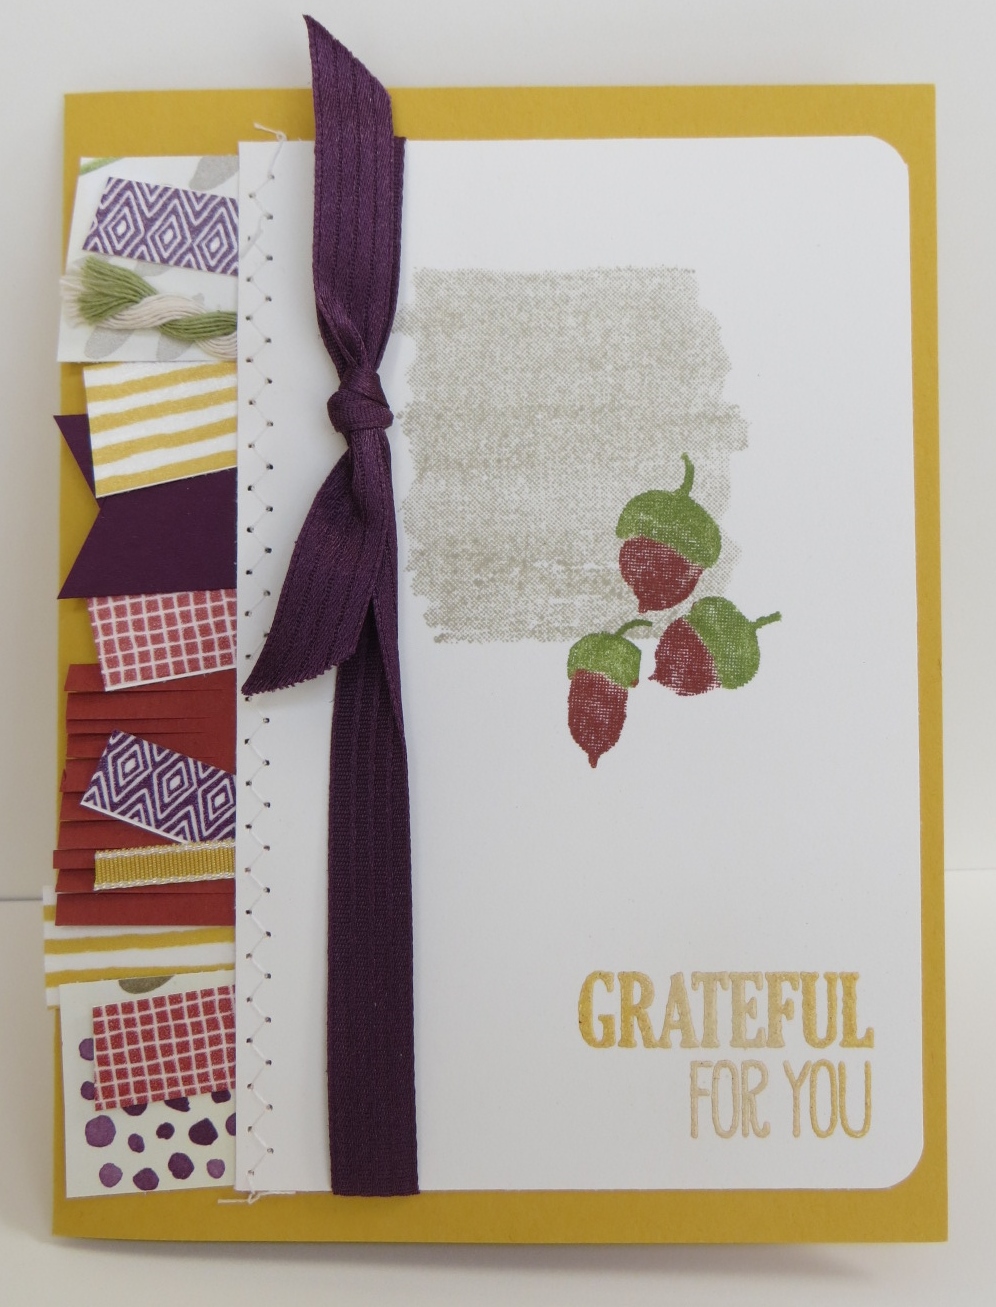
Another fun swap card with acorns. Thanks Julie! These little acorns are from the For All Things stamp set which of course COORDINATES with the Color Me Autumn designer paper. I love all the little banners on this card! Some of the banners are made from the Color Me Autumn designer paper pack, some are plain card stock, some are ribbon and some are pieces of the Color Me Autumn Washi Tape stuck on card stock. How fun is that?!
It’s a little hard to see in the picture but Julie sewed a row of zig-zags on the edge of the card stock making it look like that’s what is holding the banners on. Too cute! I’d love to try this little technique but my sewing machine isn’t working and I’m in the market for a new one. Unfortunately the one I kind of like the best costs a bit more than I had anticipated spending. Hmmm….what to do? Should I bite the bullet and get the really nice one or find something a little more in my price range? What would you do? Leave a comment and let me know! I could use all the help I can get…..I’m not good at making decisions! Ha!
Have a great day! Take care and Happy Stamping!
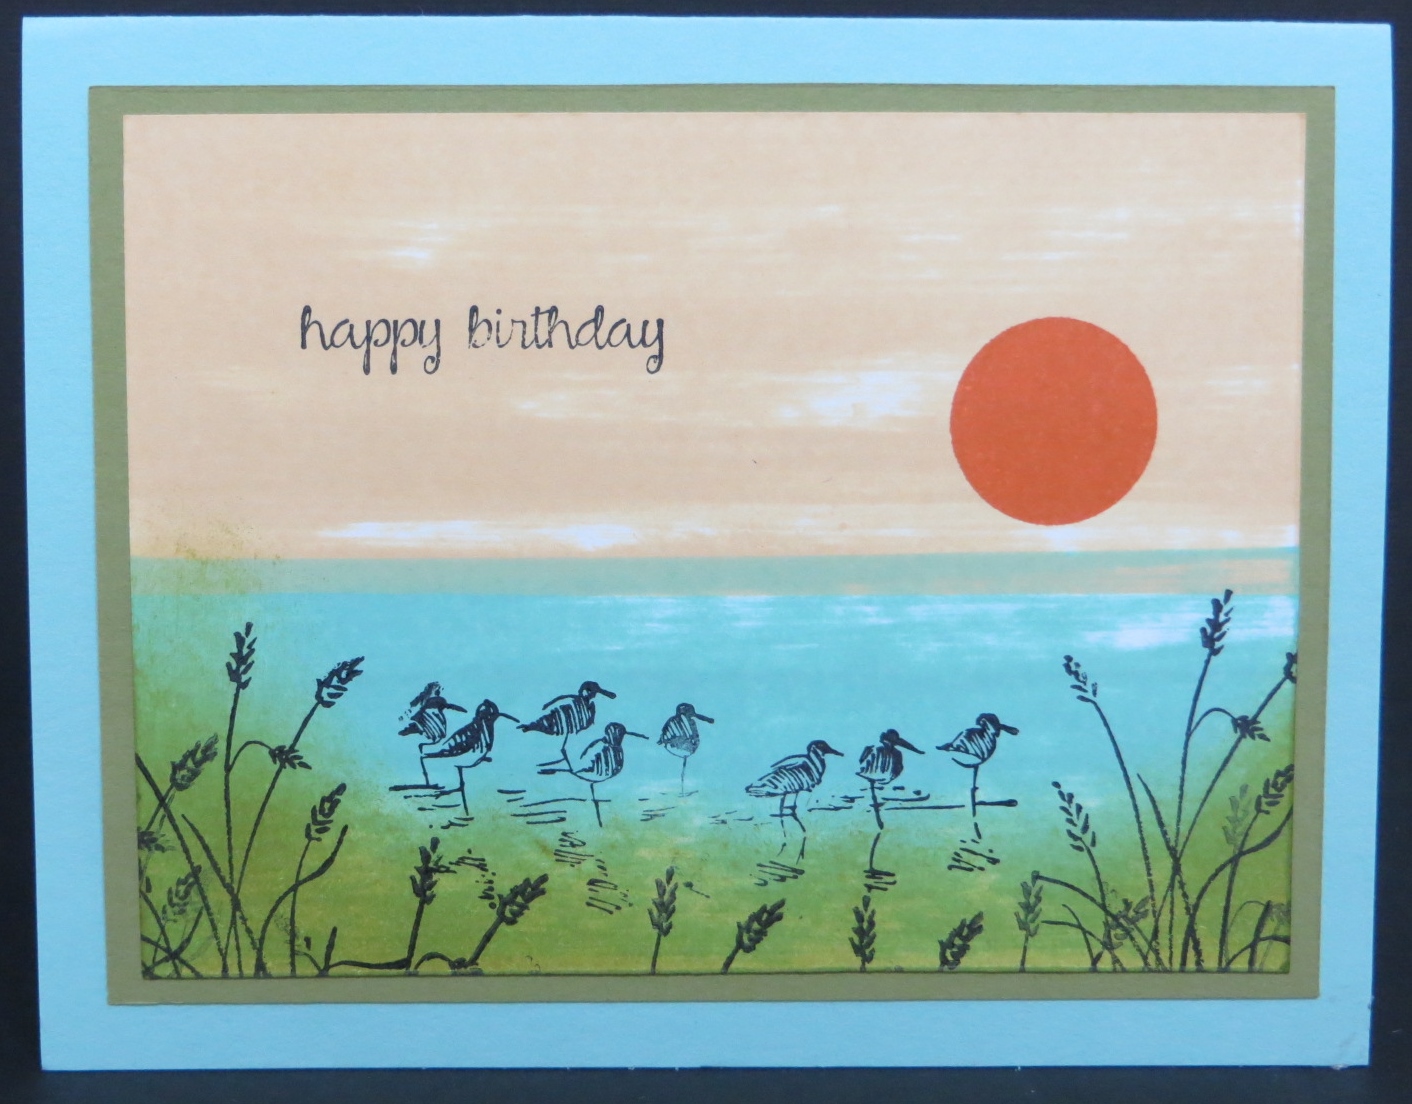
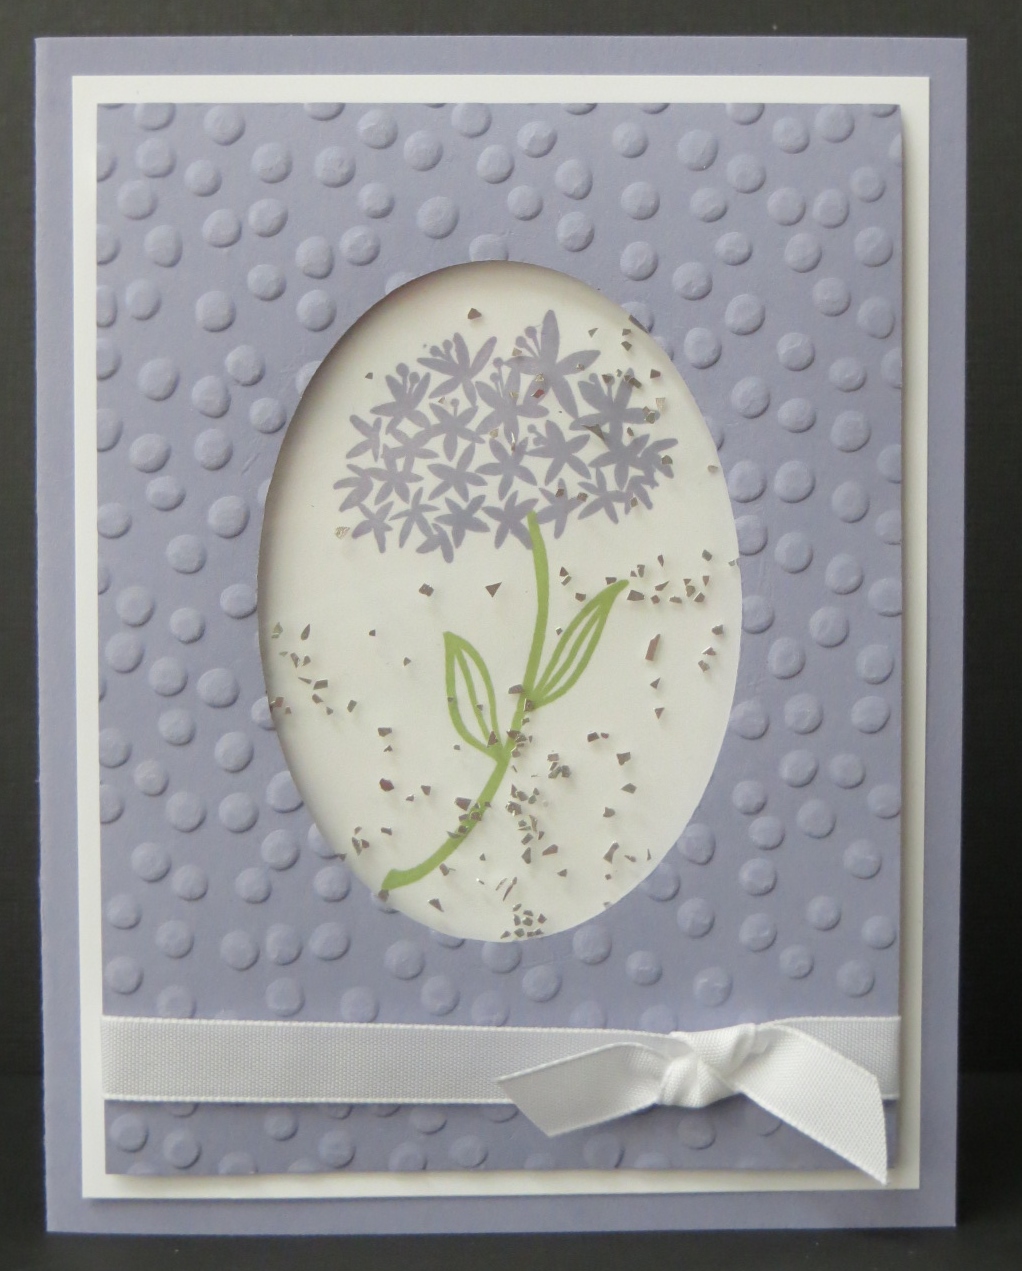
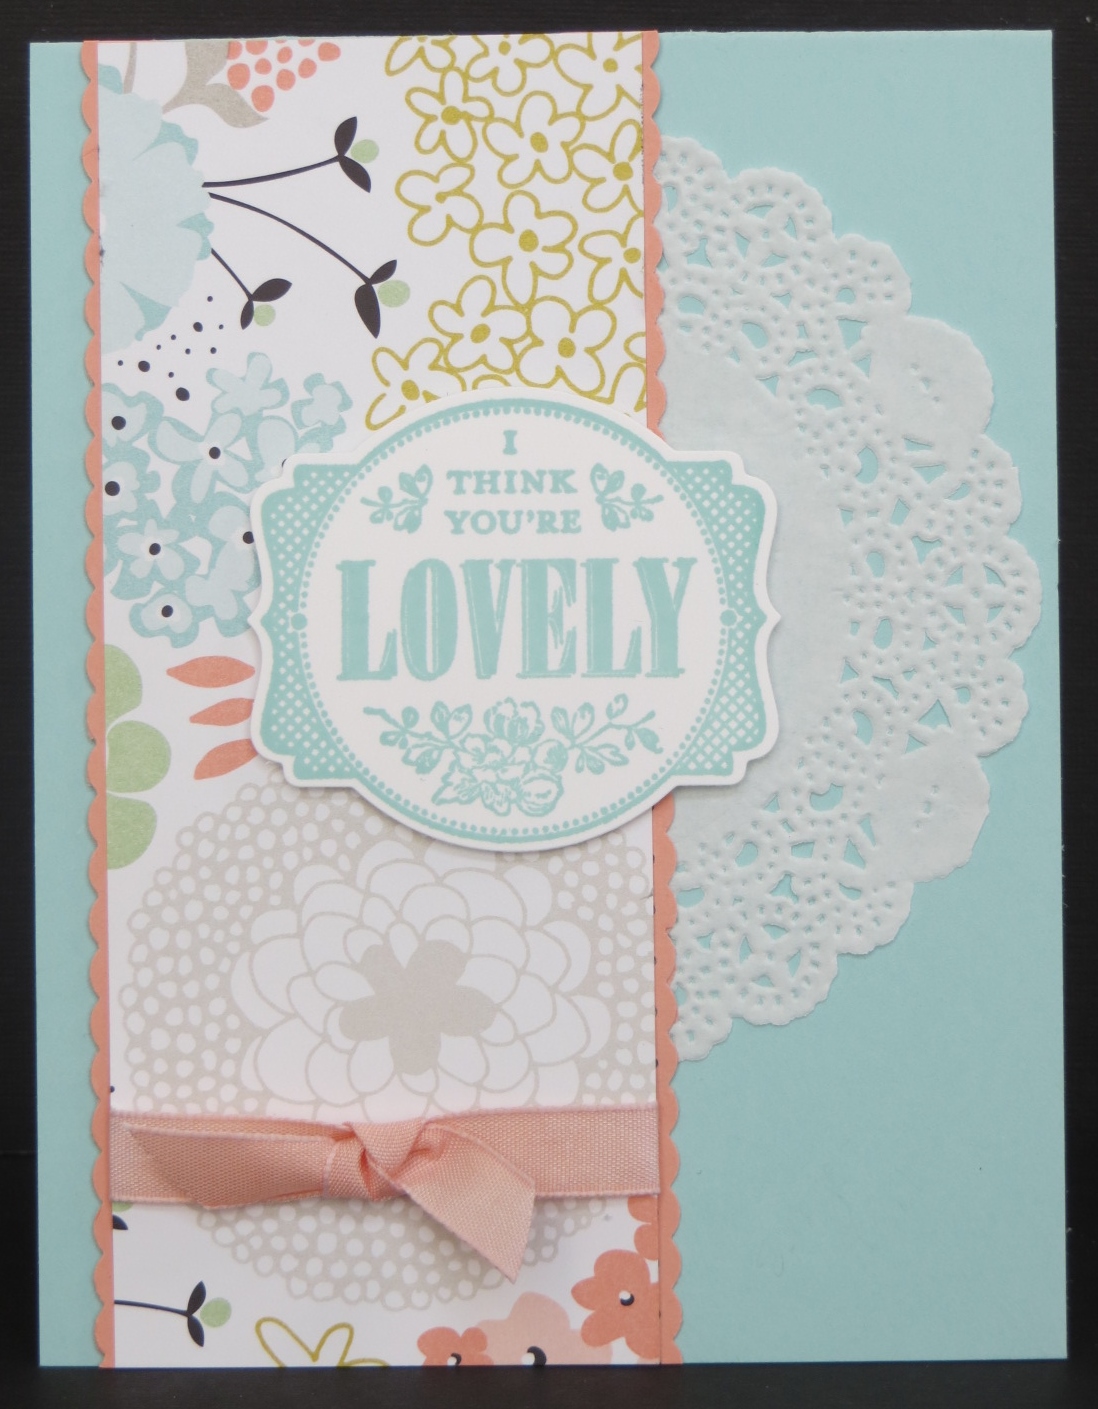
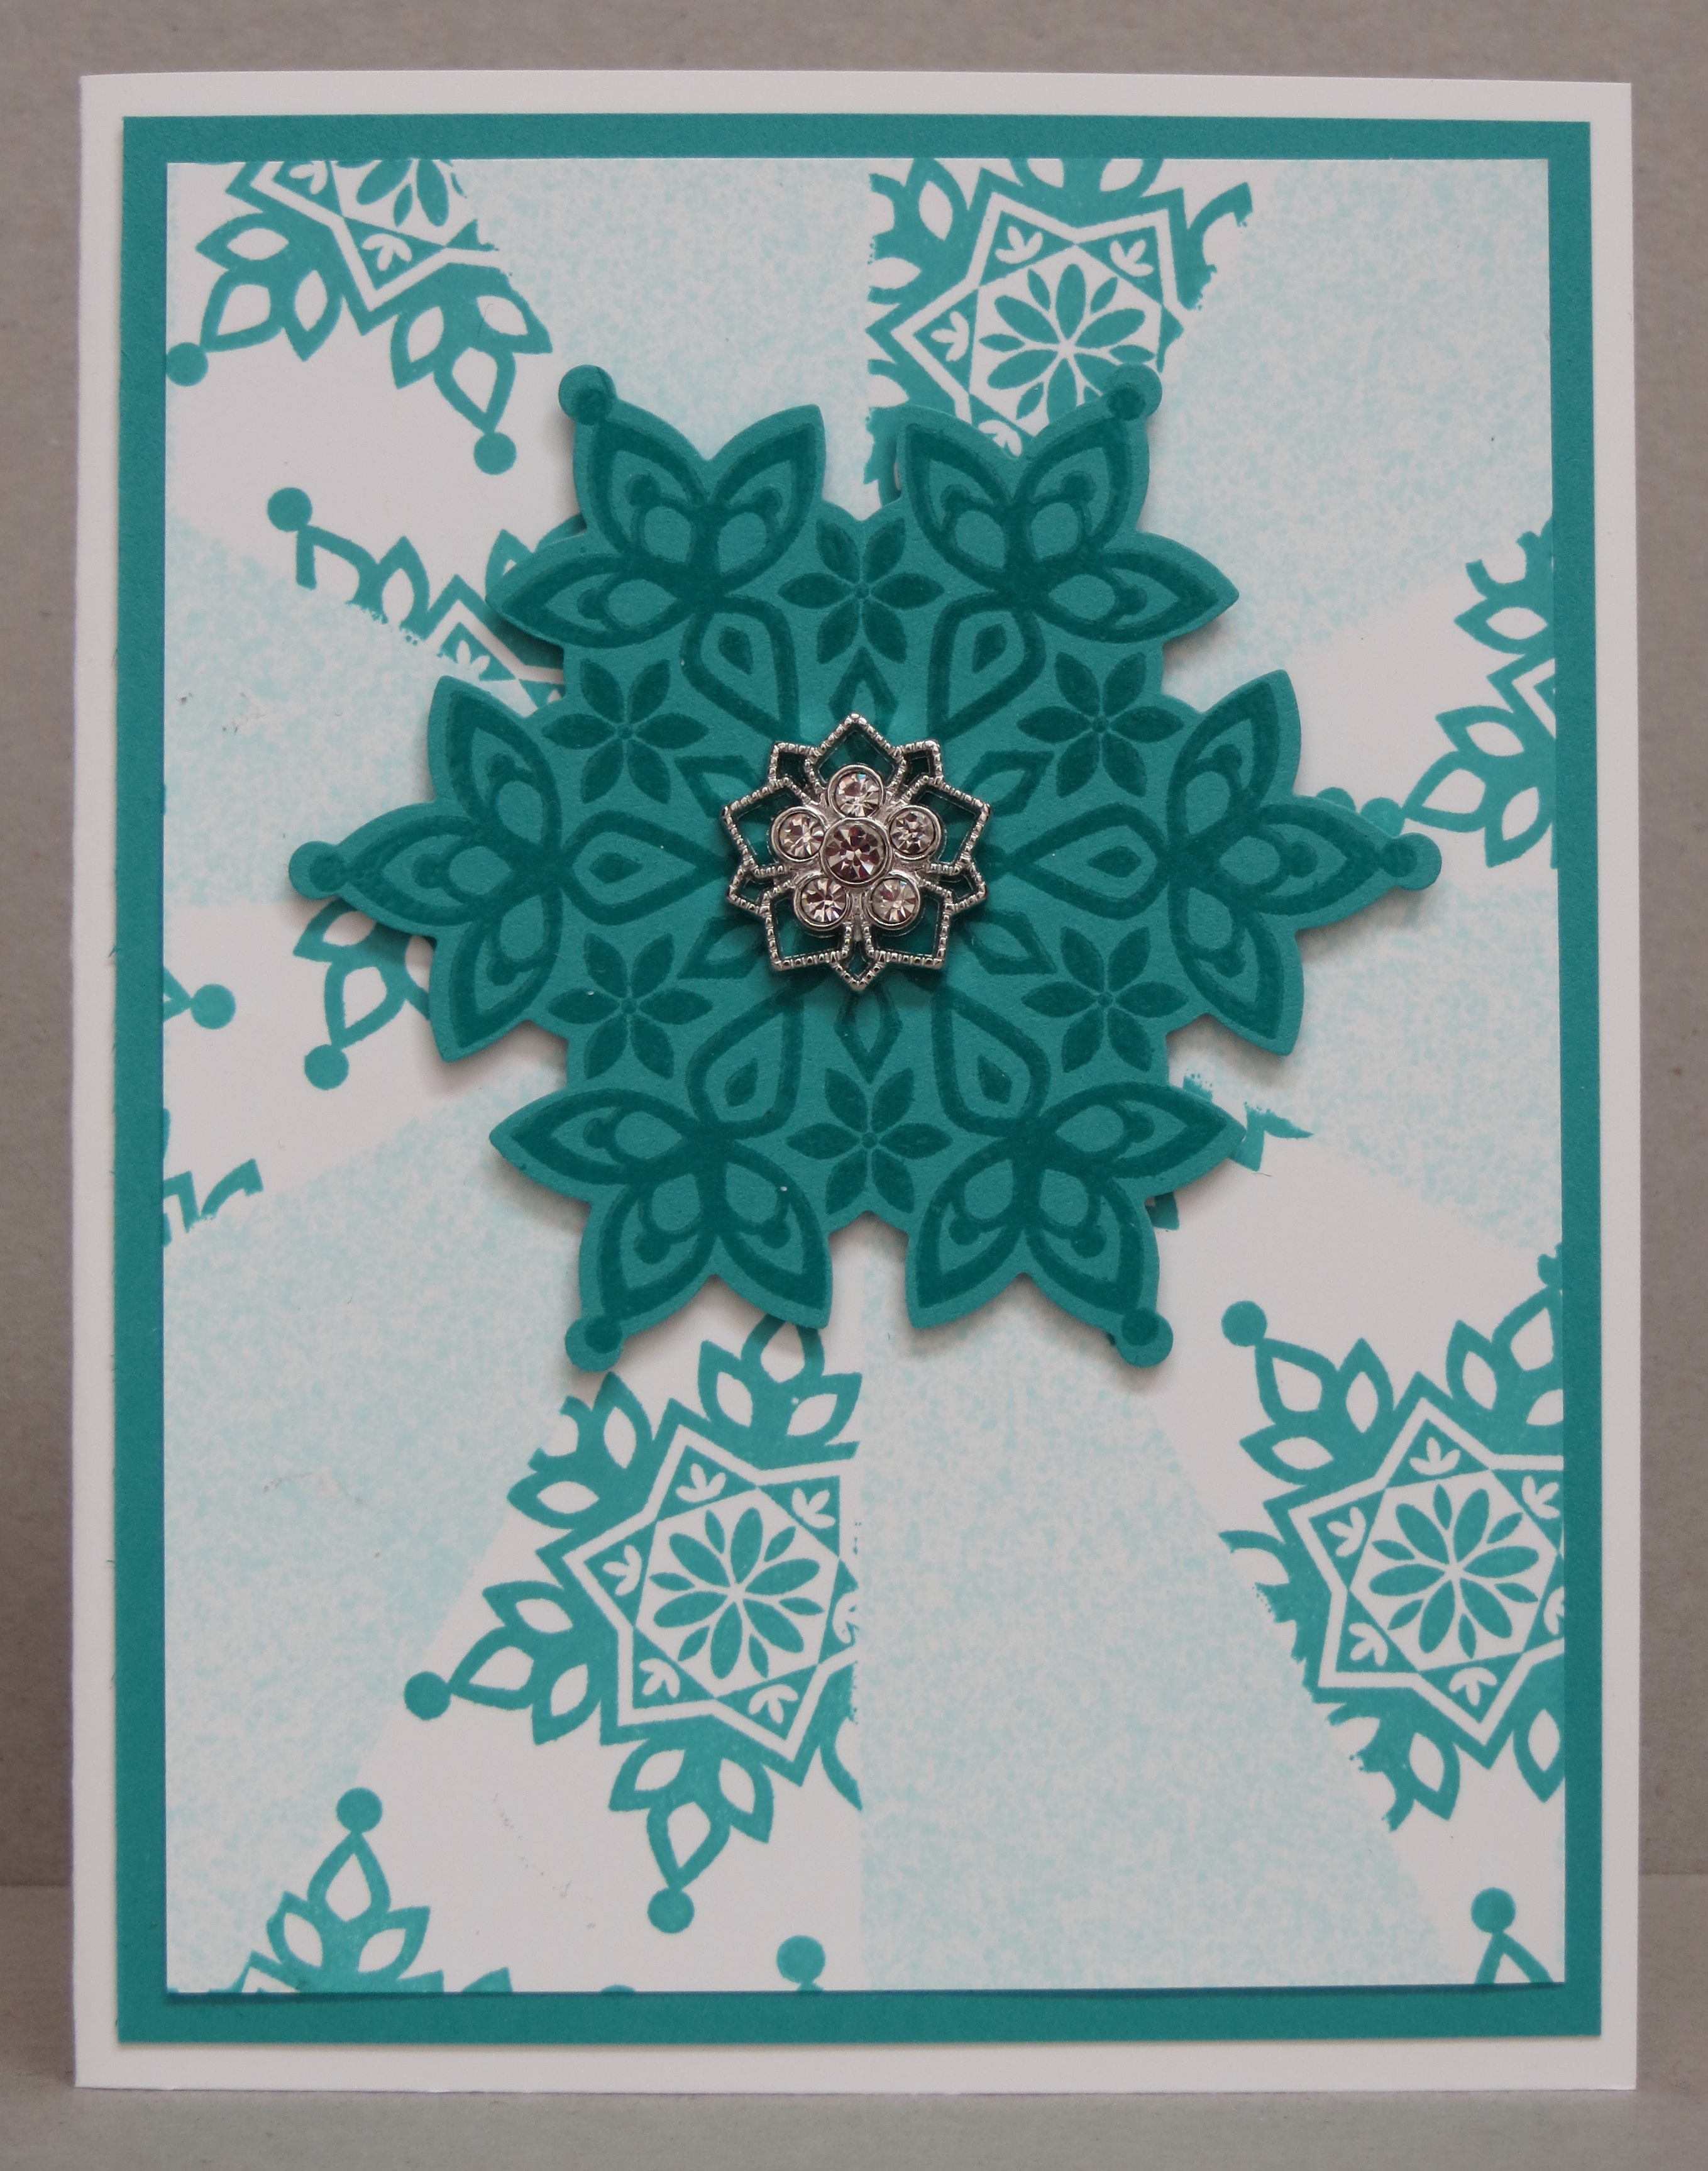
 Honest! I’m really trying to stay on top of my blog posts. Stick with me! I did make it back from the MN Homeland but then I was playing catch up on everything. I know….excuses, excuses! I am posting a really pretty card for you today to make up for being a slacker though…..