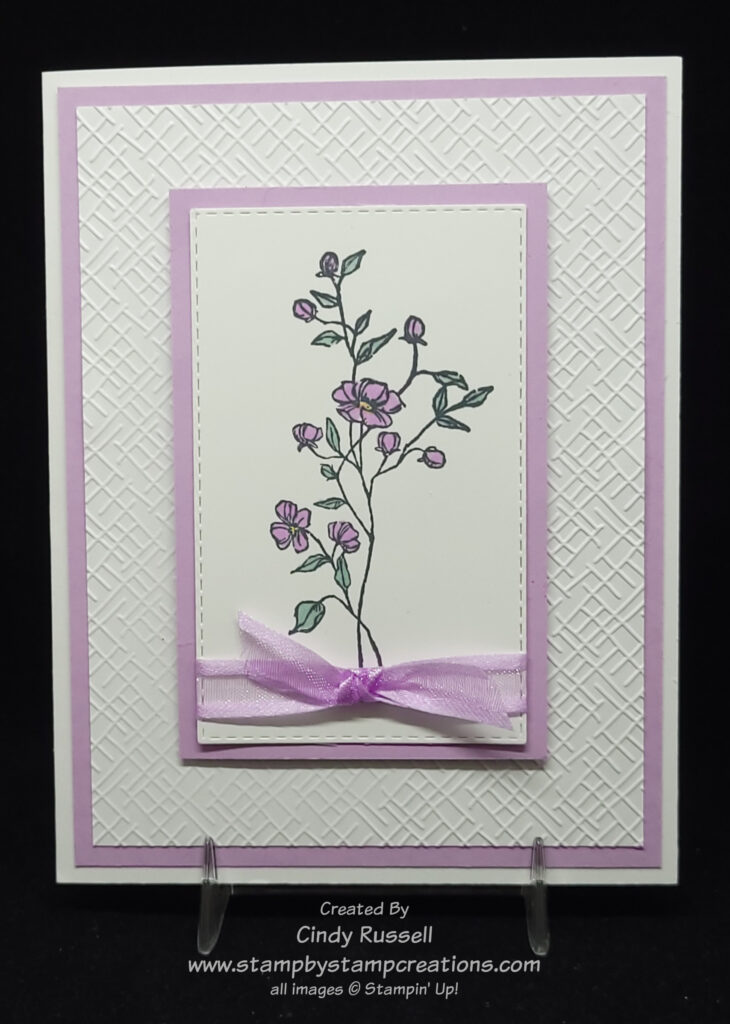
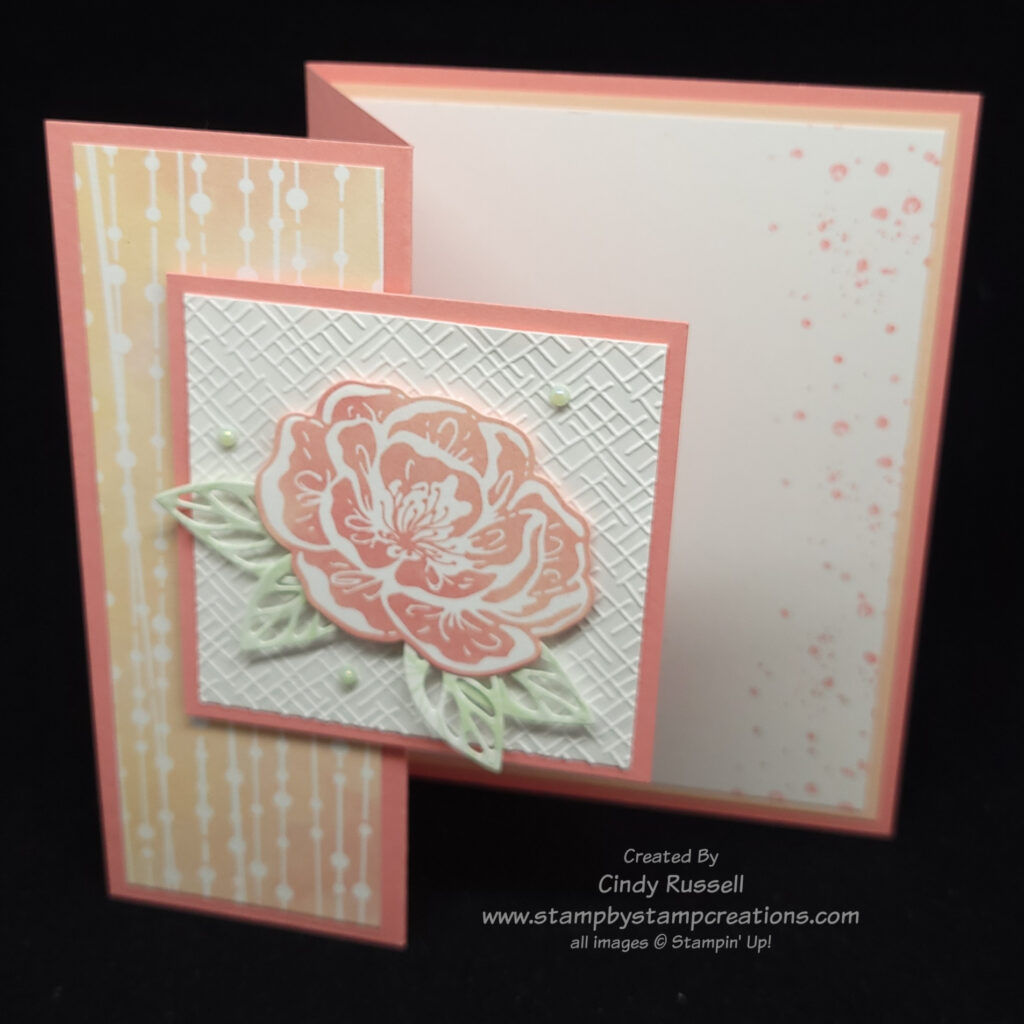
Irresistible Blooms is such a gorgeous suite of products! It’s perfect for Day 23 of my 40 Cards in 40 Days. This suite of products is part of Stampin’ Up!’s Online Exclusives. You won’t find these products in any publication. This suite has been so popular that it’s currently unavailable (but will return!).
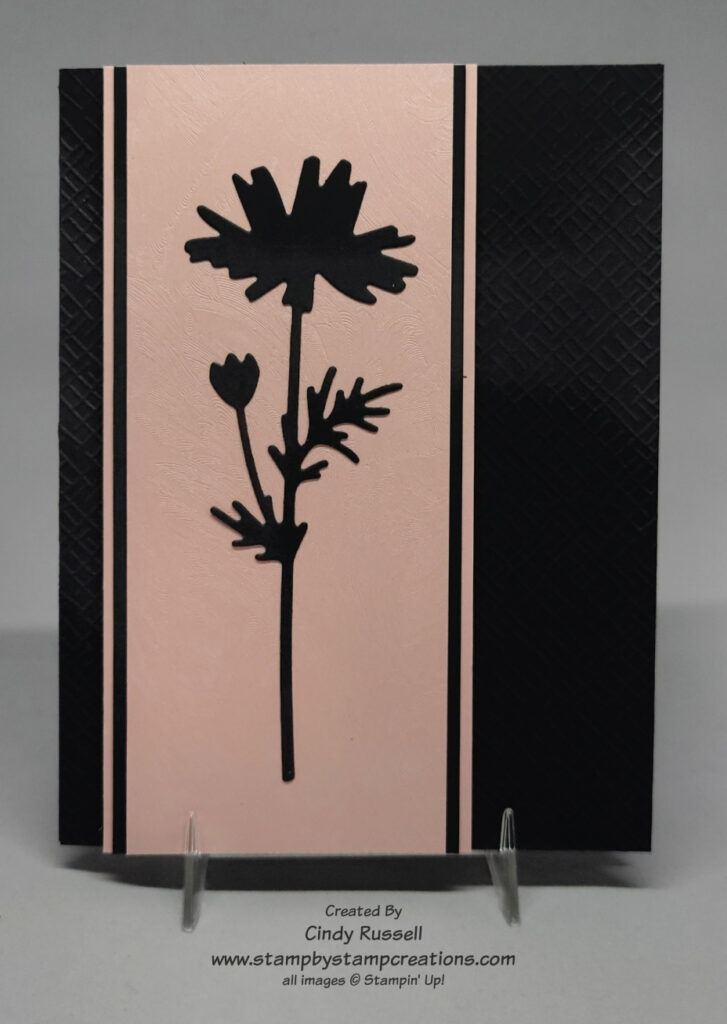
The flower on the focal point of my card was die cut from the designer paper. No stamping necessary! The leaves were also die cut from the designer paper. So easy to make a pretty flower. The colors in the card are Flirty Flamingo, Petal Pink and Soft Seafoam. The little gems are Irridescent Pearl Jewels that I colored with my Soft Seafoam Stampin’ Blend Markers.
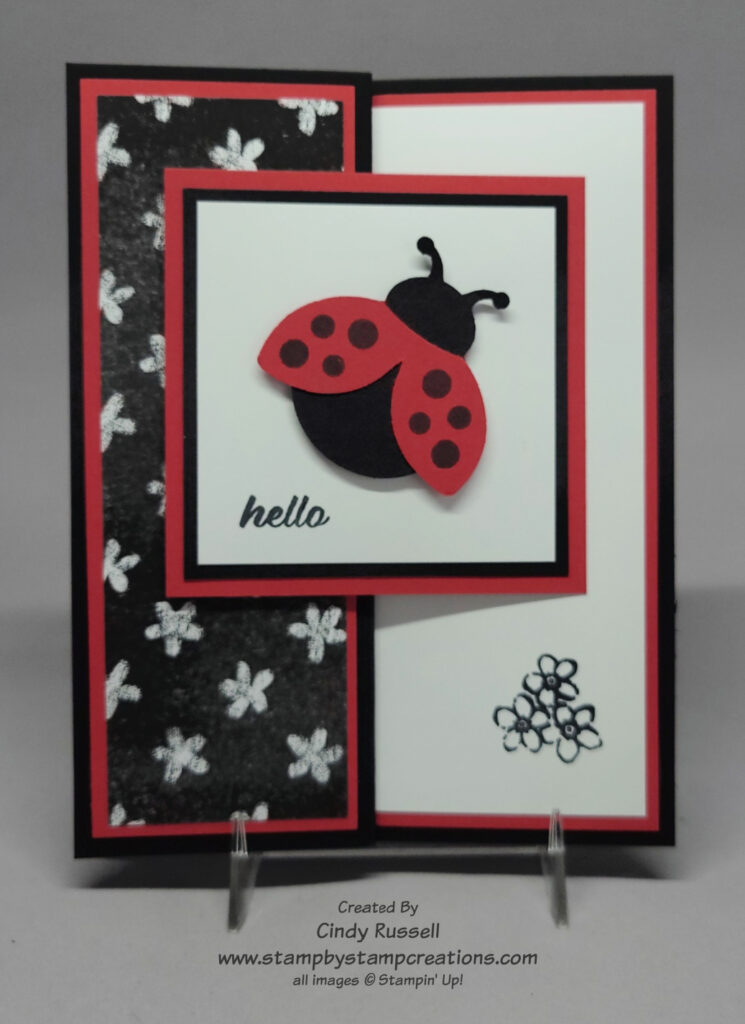
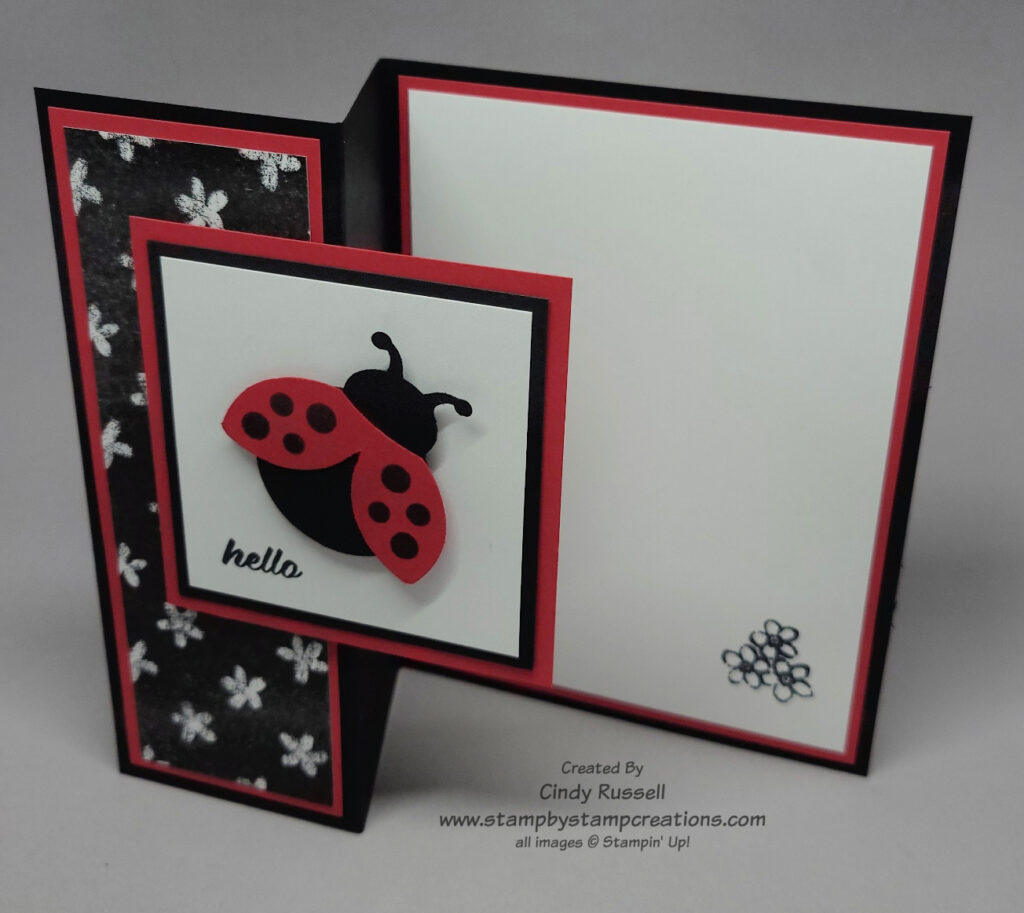
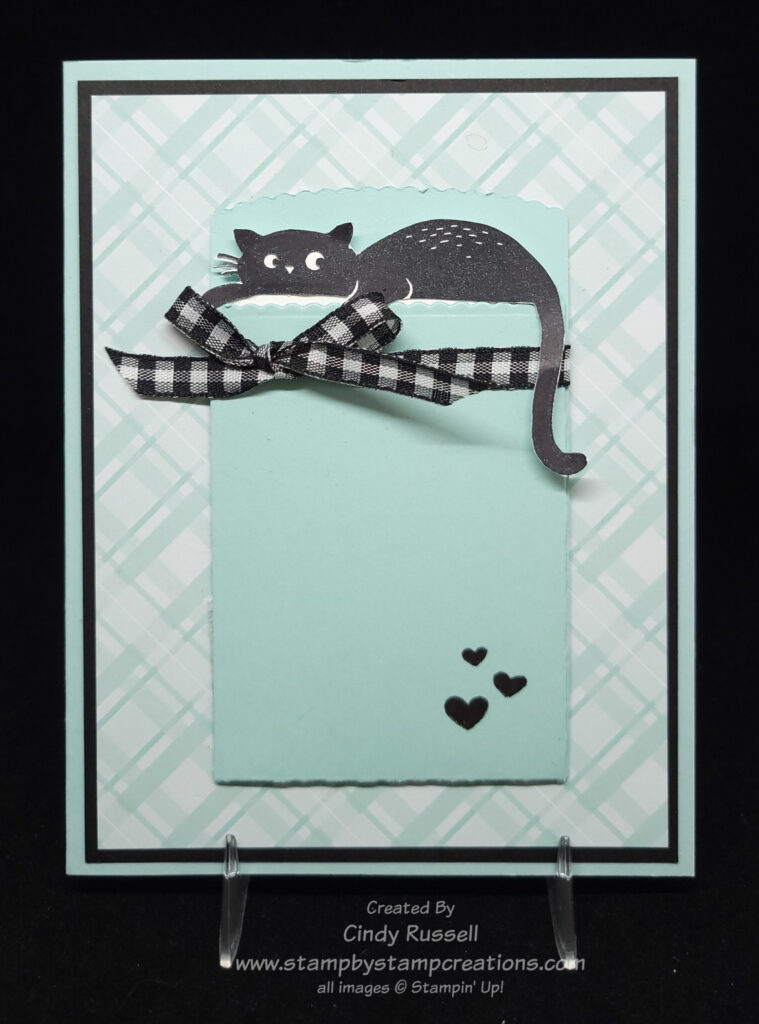
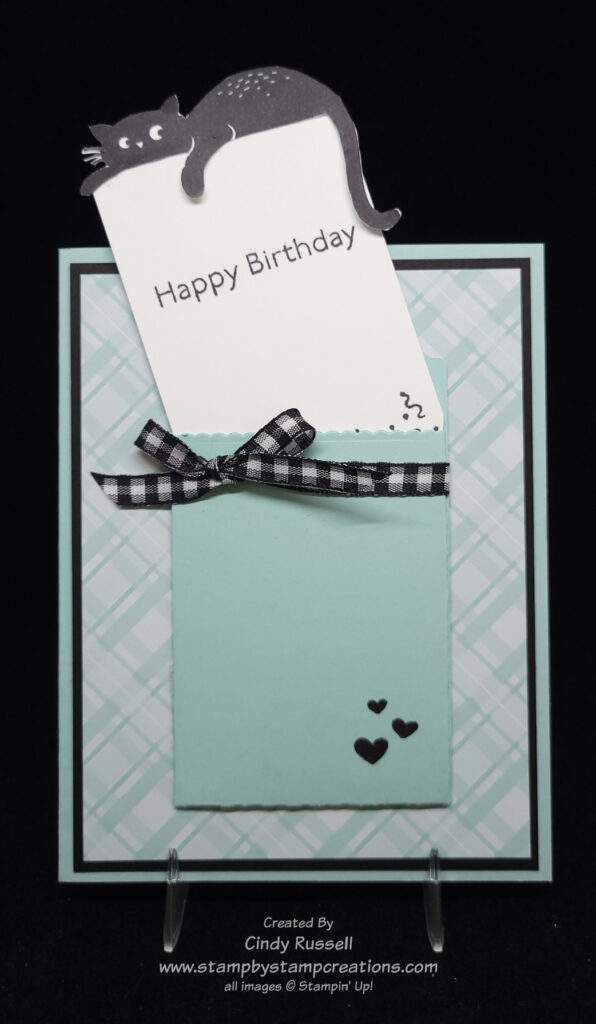
This card is like the Hello Ladybug card that I shared with you last week. They are both Z-Fold cards as you can see in the photo below. An easy fun fold card.
Have a great day! Take care and Happy Stamping!