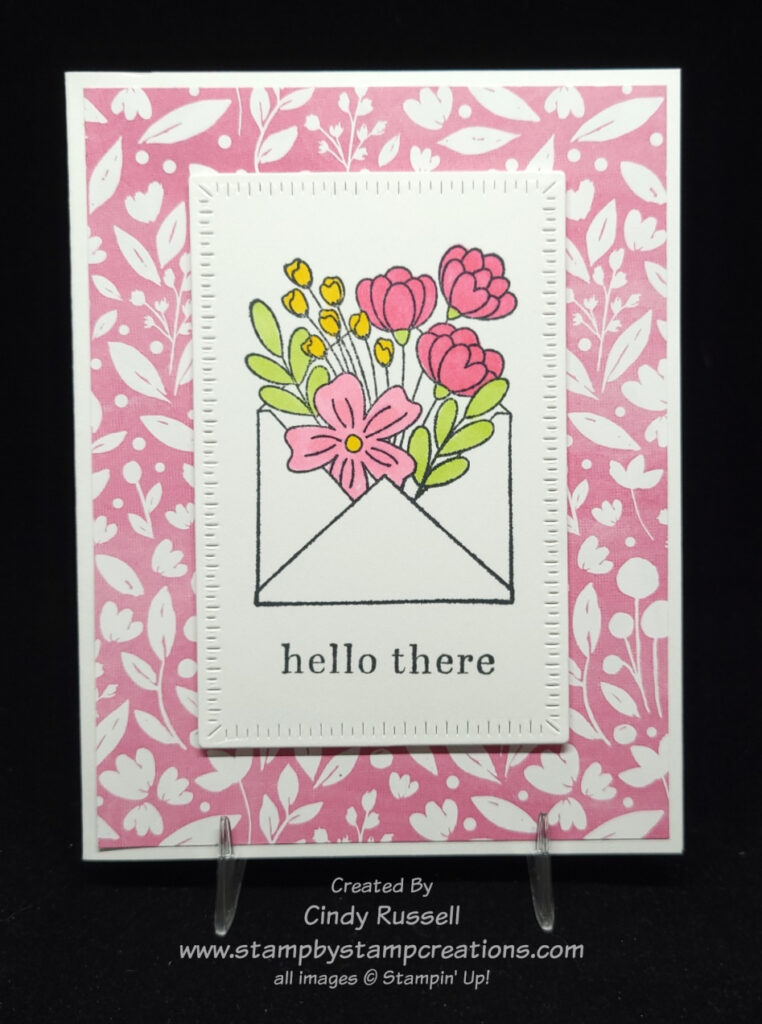
Only three days left of my 40 Cards in 40 Days! For Day 38 I used Stampin’ Up!’s Full of Love stamp set. This stamp set has some sweet images and sentiments. It was snowing when I created this card the other day so I made sure I chose some nice Spring colors and designer paper. The designer paper I used is from the Awash in Beauty Designer Series Paper pack. The colors of Stampin’ Blend Markers that I used were Polished Pink, Daffodil Delight and Granny Apple Green. The Radiating Stitches Dies from the Online Exclusives were the perfect choice to highlight my focal point. Have a great day! Take care and Happy Stamping! Think Spring!
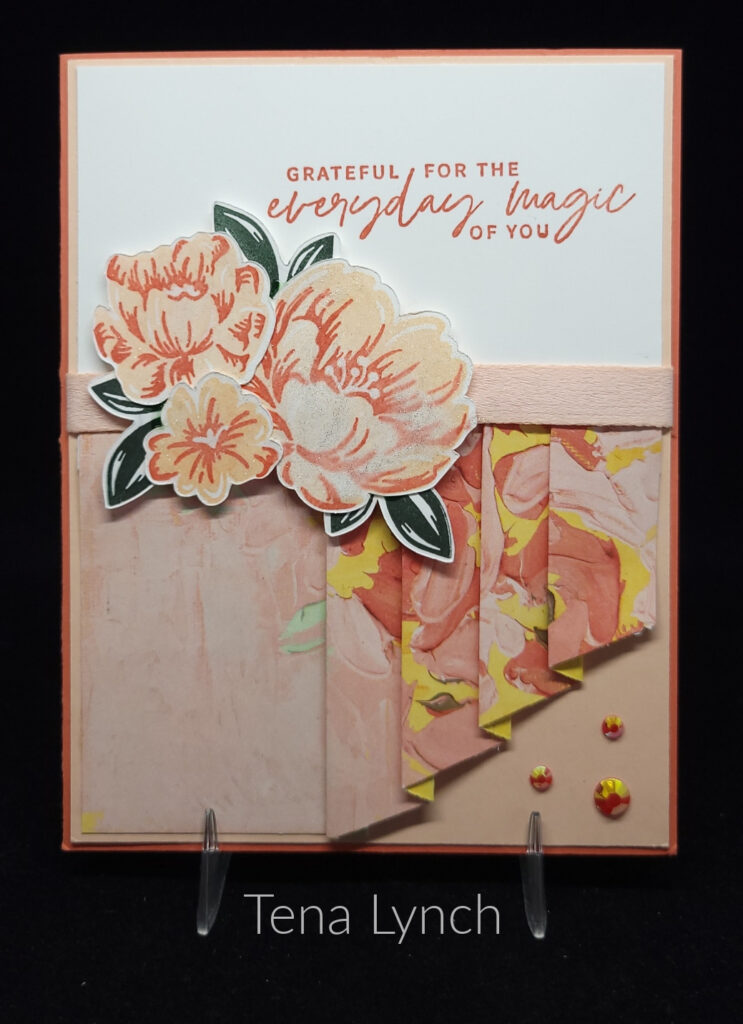
Fellow Demonstrator Tena Lynch loves her fun folds. She created this Drapery Fun Fold card for last week’s stamp camp using Stampin’ Up!’s Fancy Flora Suite Collection. It’s an easy fun fold and perfect for Day 37 in my 40 Cards in 40 Days. I’ll have to create a tutorial to share with you. The Fancy Flora Designer Paperis amazing. All of the patterns are beautiful and for Stamp Camp, Tena designed this card using most of them. Have a great day! Take care and Happy Stamping!
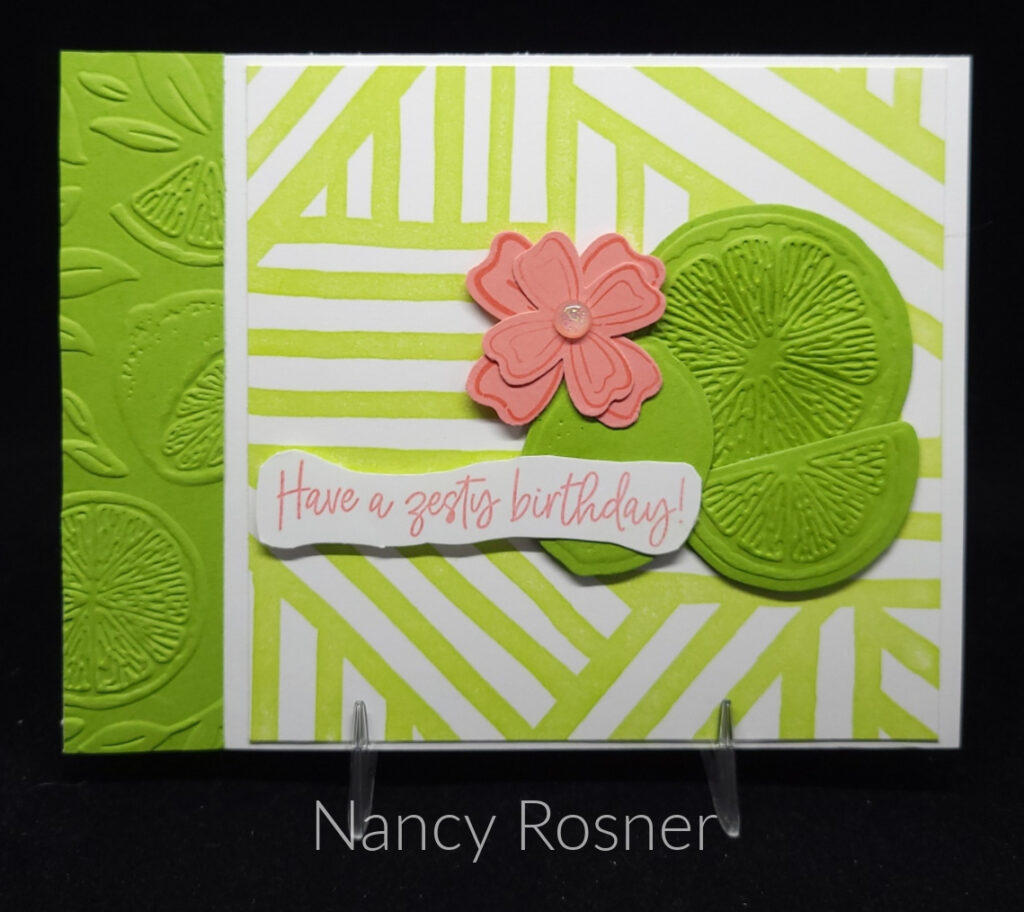
Card 36 in my 40 Cards in 40 Days is made with the Sweet Citrus stamp set and the Sweet Citrus Hybrid Embossing Folder. What is a Hybrid Embossing Folder? It’s a folder that embosses and die-cuts at the same time! So fun! I do have to admit that I have not used one yet, but I want to! It looks like they can make creating so easy! Two steps in one! This fun card was created by fellow demonstrator Nancy Rosner for last week’s stamp camp.
Nancy’s card is a Book Binding Fun Fold Card. As you can see in the second picture, it opens like a book! Have a great day! Take care and Happy Stamping!
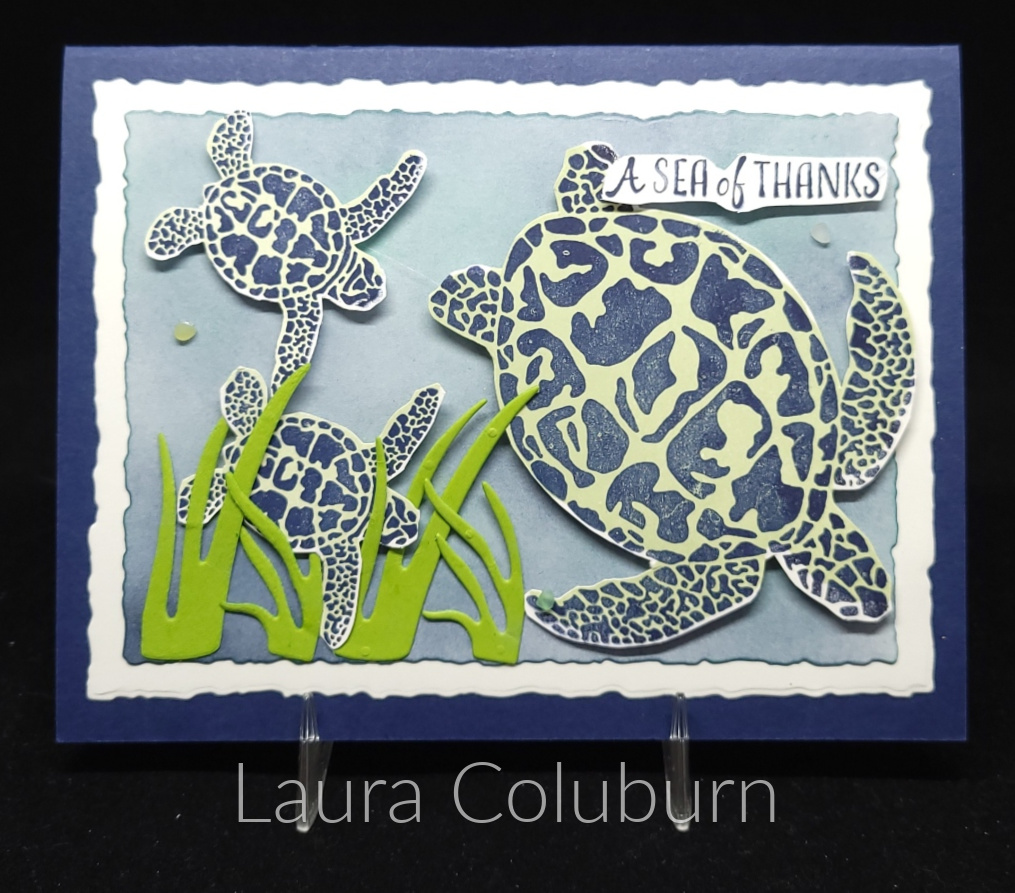
We’re heading to the ocean for Card 35 in my 40 Cards in 40 Days. This fun card, which was created with Stampin’ Up!’s Sea Turtle stamp set, was made by fellow demonstrator Laura Colburn for last week’s Stamp Camp. The turtles were created with two-step stamping. First the solid background was stamped and then the blue overlay on top of that. Unfortunately, the turtles had to be cut out by hand as there isn’t a coordinating punch or die set for them. I don’t think too many people at our stamp camp complained because the card was so cute and the turtles are easy to cut out. Have a great day! Take care and Happy Stamping!
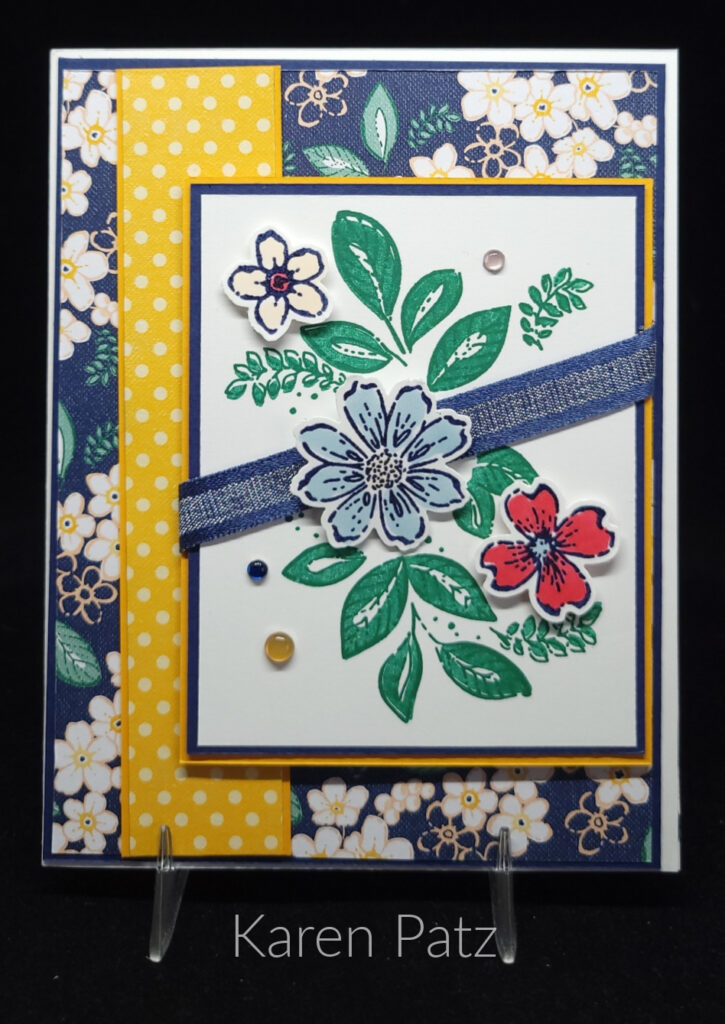
This lovely card was created by first-time Stamp Camp Demonstrator Karen Patz. Didn’t she do a nice job? Karen used the Petal Park stamp set, the Petal Park Builder Punch and the Regency Park Designer Series Paper. I love all the layers! I taught her well. 😊 The Regency Park papers are so fun and bright. They make you smile!
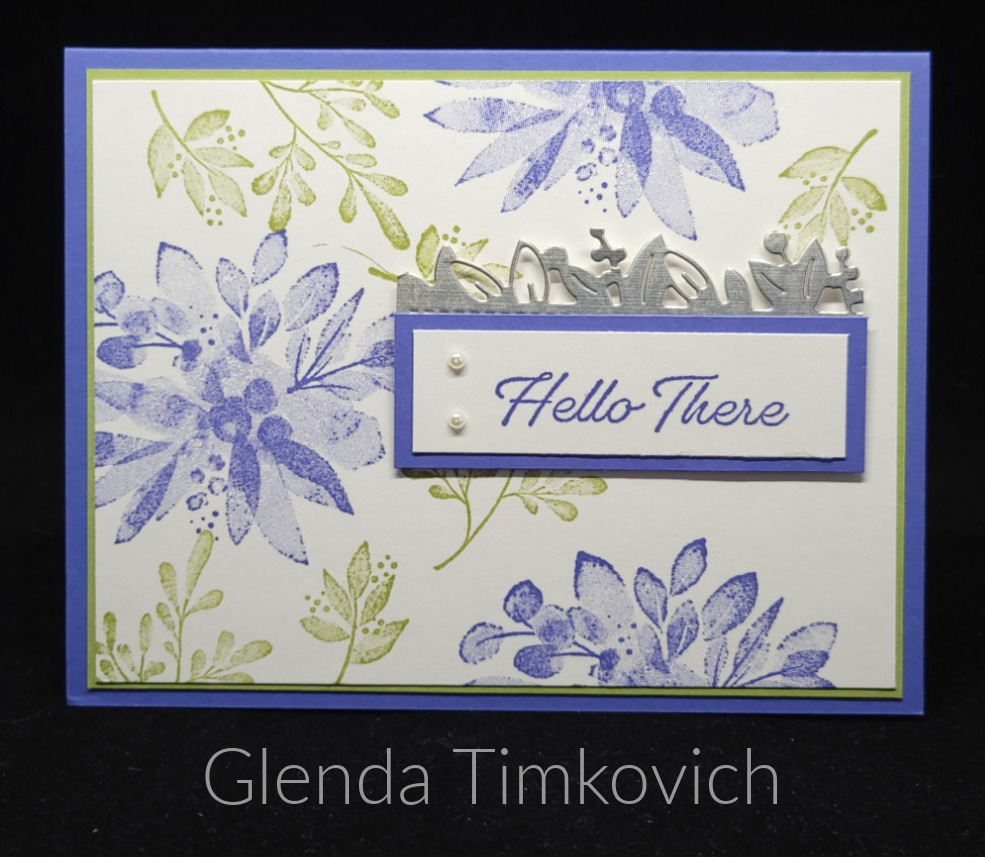
The Eden’s Garden stamp set and the Eden’s Dies are used on Day 33 of my 40 Cards in 40 Days. This pretty card was designed demonstrator Glenda Timkovich for our recent Stamp Camp. Just some simple stamping, a few layers, and a little bit of die-cut silver foil to make the card pop! If I was making this card the hardest part for me would have been the random stamping of the leaves and the flowers. I have a difficult time doing random. Ha
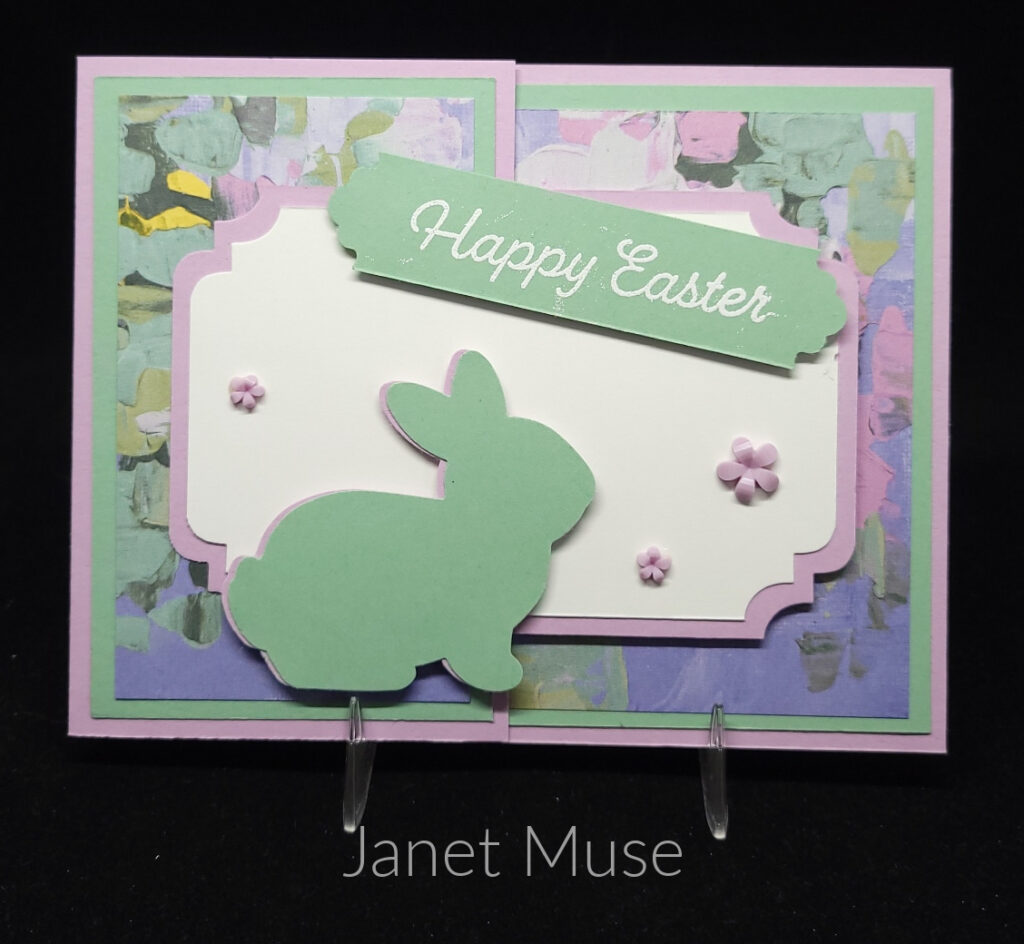
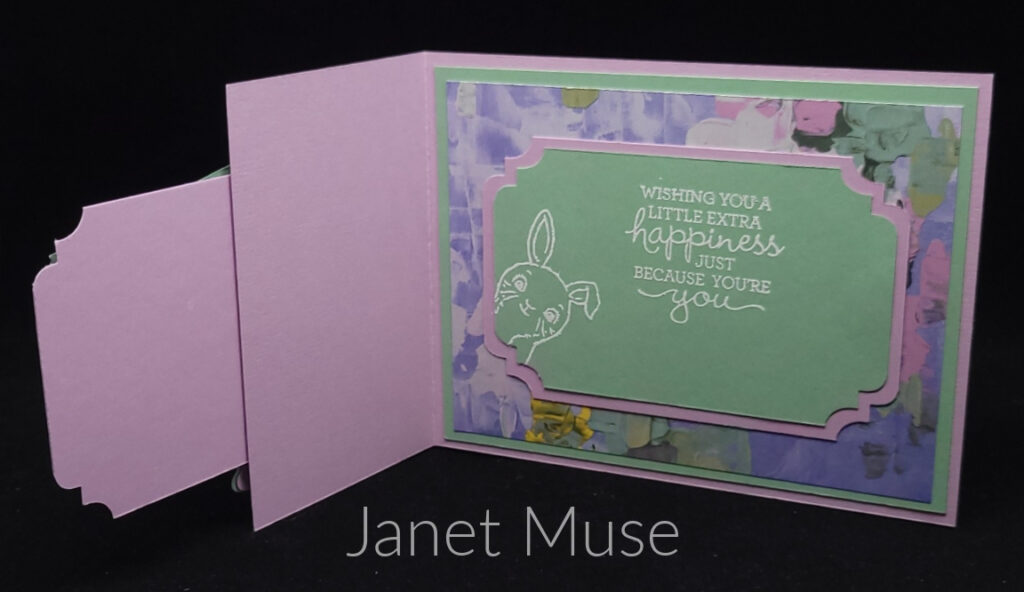
The Easter Bunny is making it’s appearance on Day 32 of my 40 Cards in 40 Days. This fun little card was designed by demonstrator Janet Muse for our recent Stamp Camp. Janet used Stampin’ Up!’s Easter Bunny Bundle on her card. She also used the beautiful Fancy Flora Designer Series Paper. I almost could have designed this card with all the layers it has. Ha! I love it!
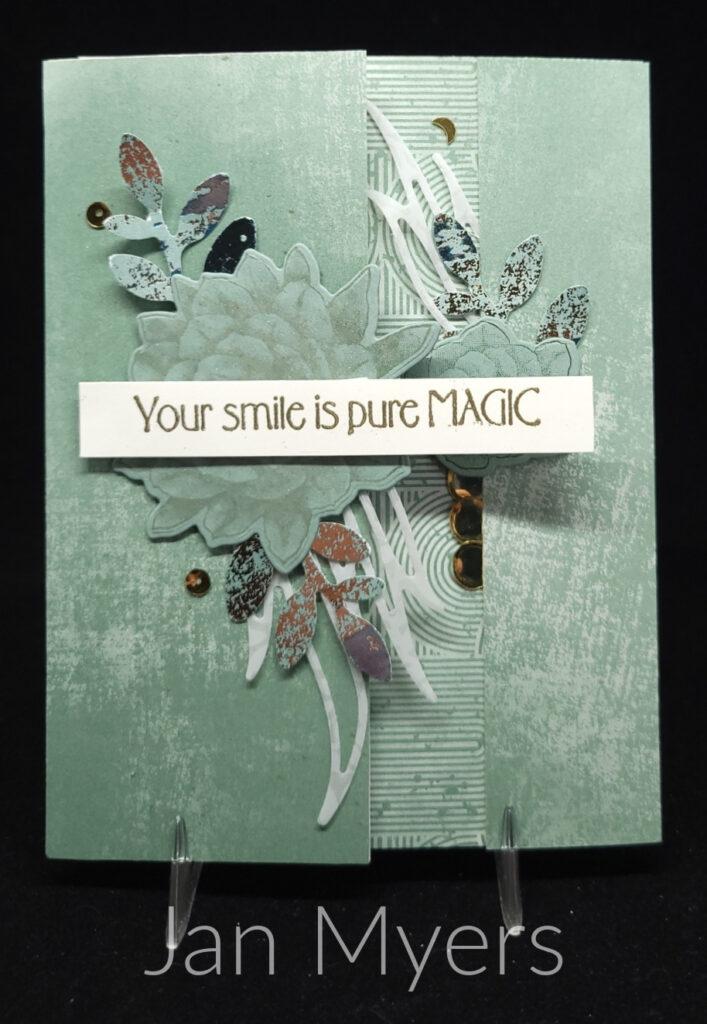
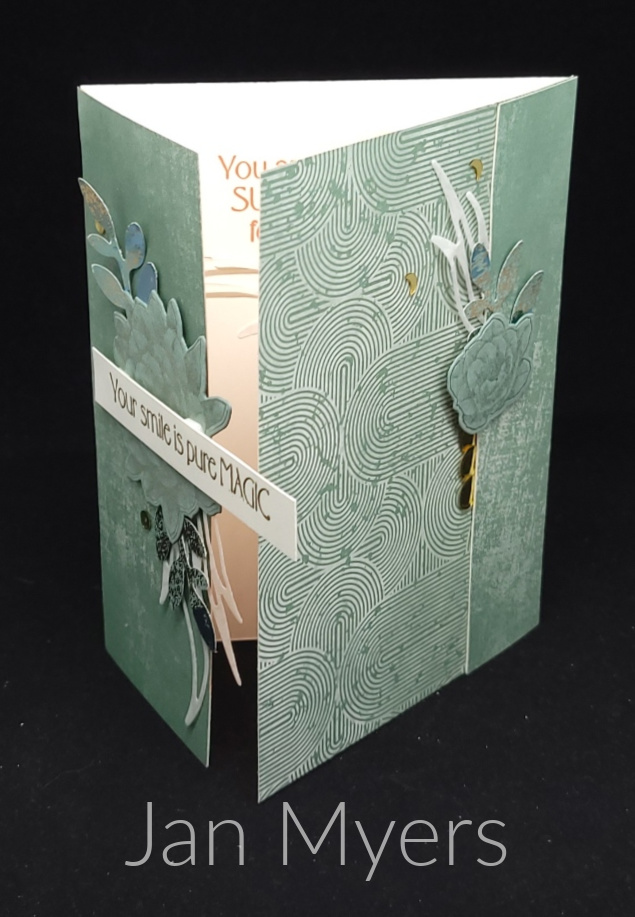
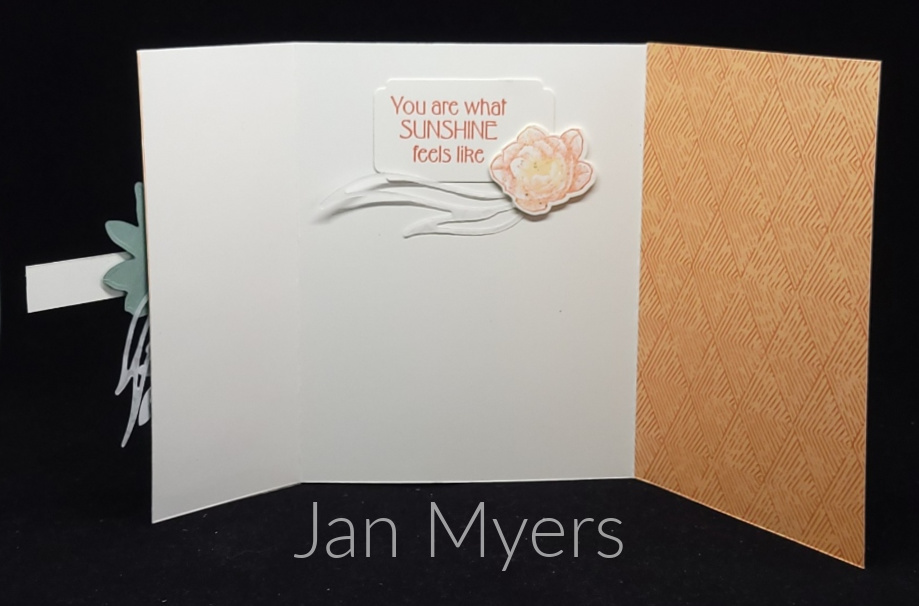
Day 31 in my 40 Cards in 40 Days brings a card from the Stamp Camp that my Sassy Stampers & Friends group put on this past Saturday. Today’s card was designer by demonstrator Jan Myers. Isn’t it lovely? It a fun Tri-fold Card. I’m going to have to make a card with this design and figure out all the details. Jan used the Desert Details bundle to make her card. I love how she used the Vellum Basics Designer Paper for the flame-like die. It really makes the rest of the die-cut images pop. So fun!
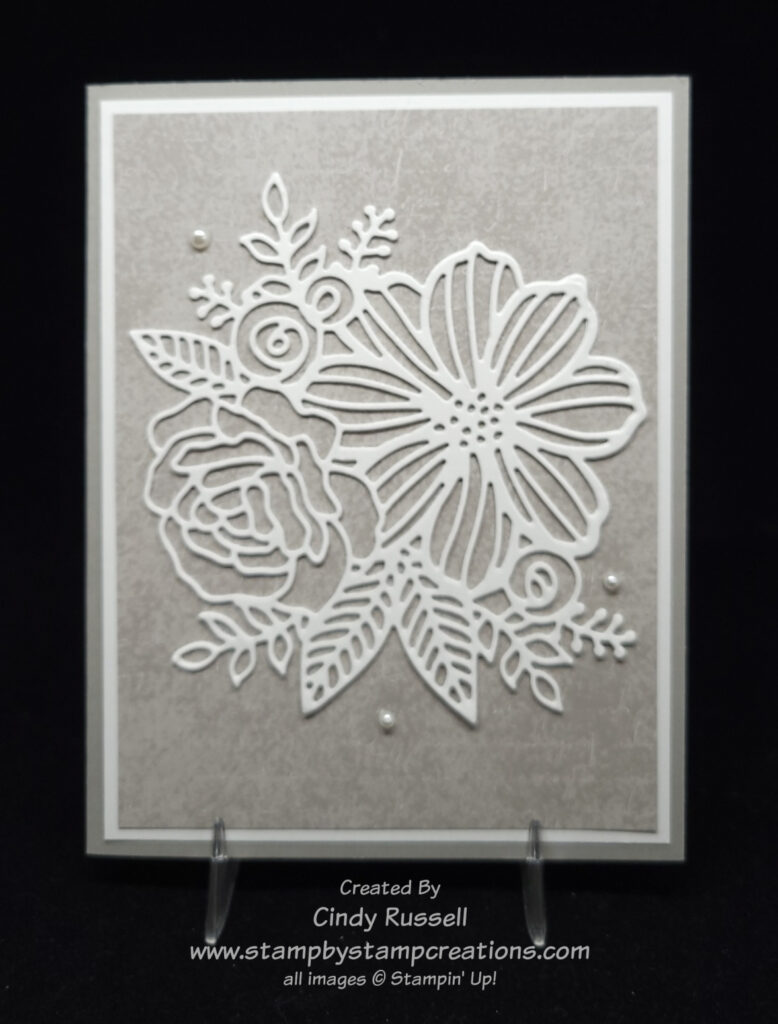
A lovely card for a Tuesday morning and Day 30 of my 40 Cards in 40 Days. Only 10 days left! On today’s card I used the beautiful Artistic Dies. Isn’t this die gorgeous? To really make it pop on the card I die cut two of them and glued them together. This adds that little bit of extra dimensions to the card. So pretty and so easy!
I hope you have a lovely day! Take care and Happy Stamping!
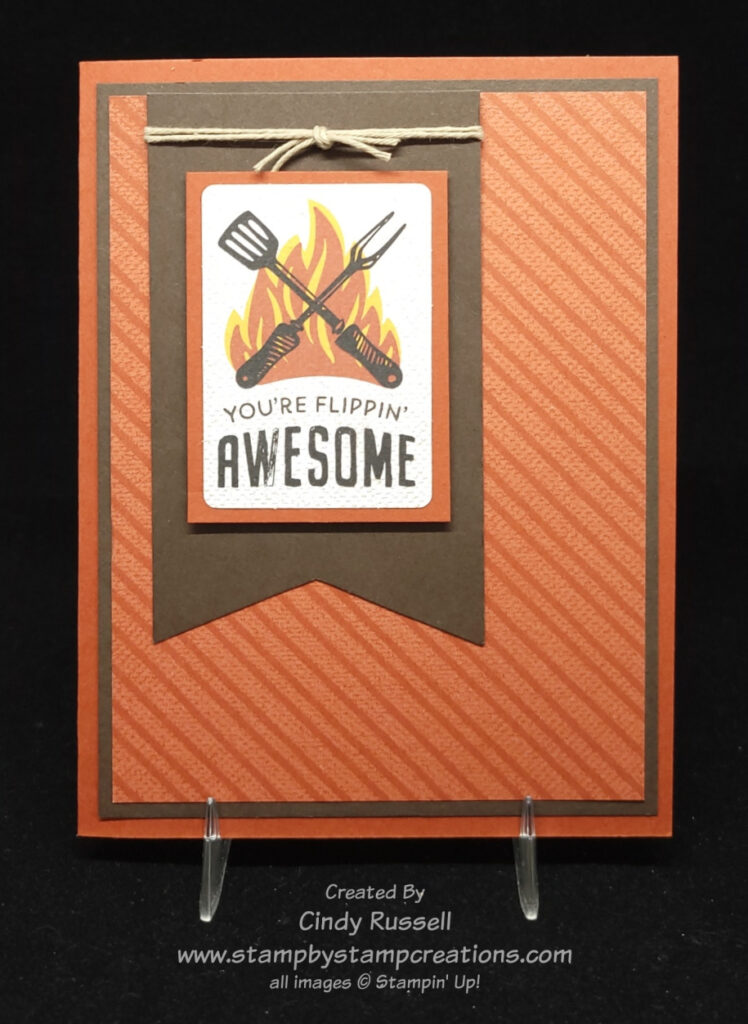
Day 29 of my 40 Cards in 40 Days has quite an easy card for you. I used the He’s The Man Designer Series Paper. Not only does the package of paper have great masculine designs, but it also has two sheets of die-cut images including the one I used on the card here! Although I only used the designer paper, the He’s All That Bundle and the He’s The Man designer paper make it easy to create those masculine cards which we always seem to need and never have on hand!
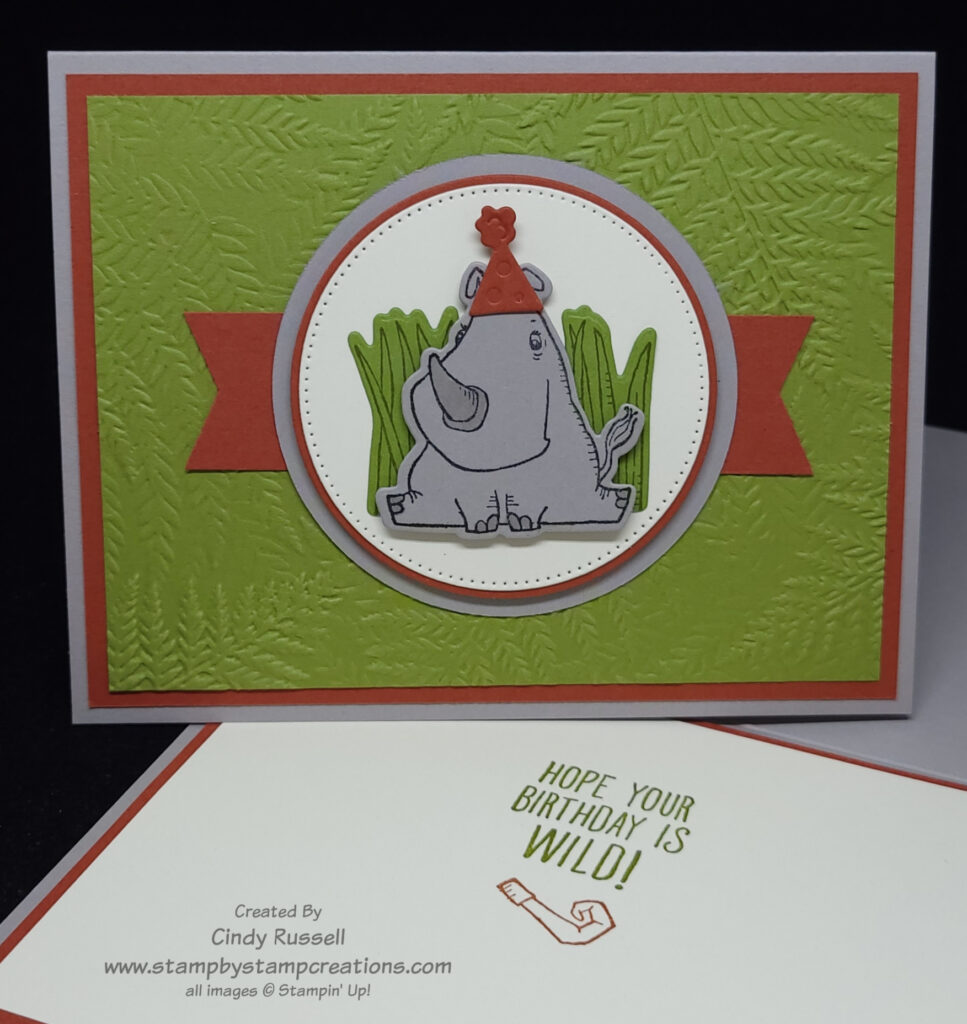
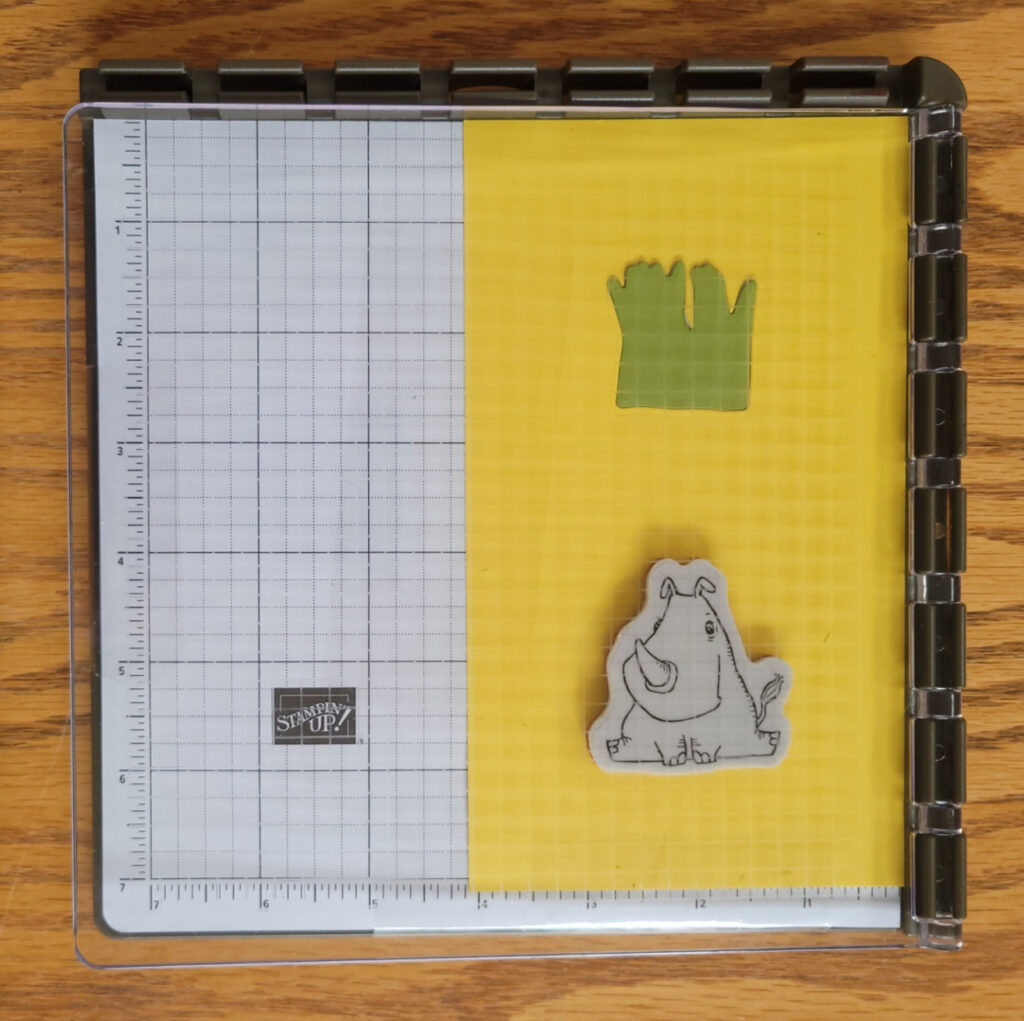
It’s Stamp Camp Day to day and I am going to share the project the campers will doing with me. On Day 28 of my 40 Cards in 40 Days I am once again sharing the cute Rhino Ready Bundle with you. The bundle includes the Rhino Ready stamp set and the Rhino Ready dies. For my card I first decided on a color for my Rhino and card base. Gray Granite. I hardly ever use this color but it was the perfect choice after I added the rest of my color palette of Cajun Craze and Old Olive. This is a color palette that will work for any gender.
You can tell it’s a “Cindy” card because of all the layers. Yes, I do get carried away sometimes. Luckily for the stampers, I did all of the die cutting for them! I set up my Stamparatus with a template with spots for the unstamped rhino and unstamped grass. The camper just needs to ink up the stamp and press it down on the template. The image should stamp perfectly! This is a great time saving method when making a lot of the same card. You don’t have to line up the die around your stamped image each time and hope for the best when die cutting.
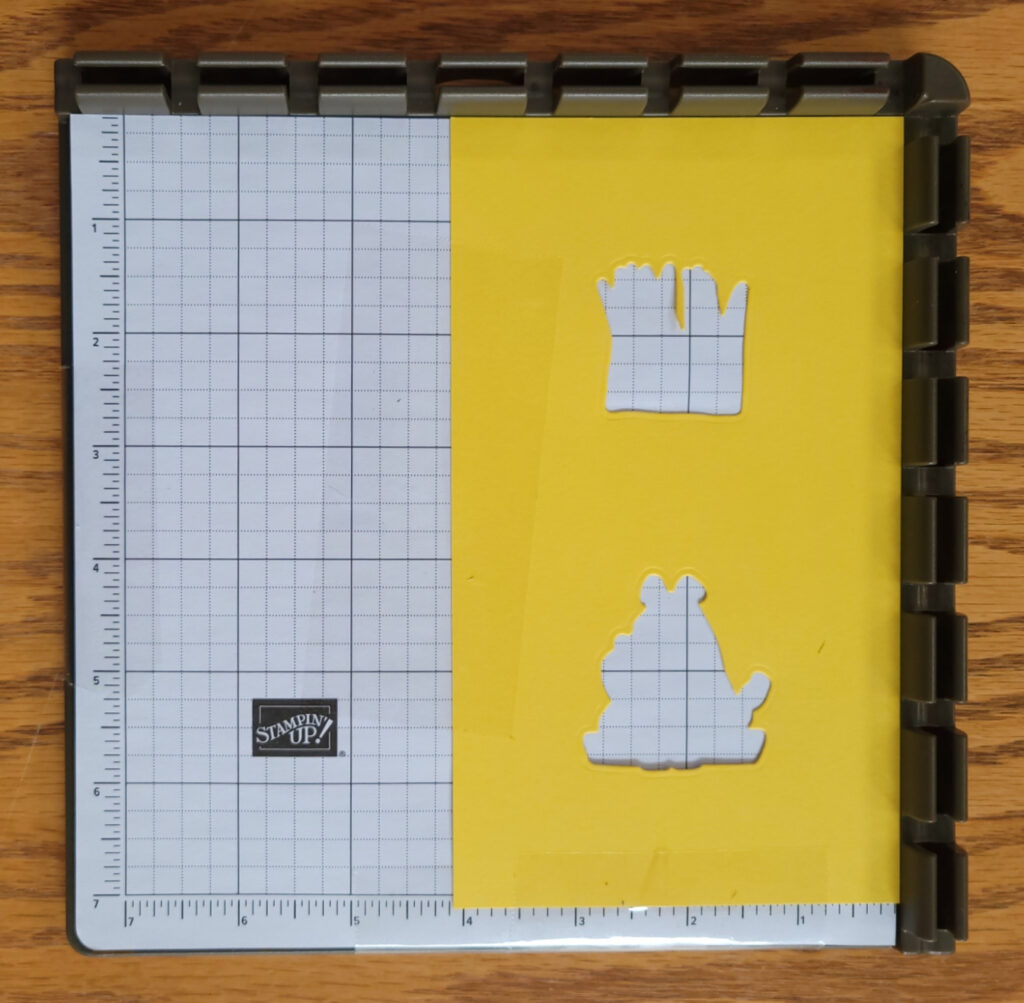
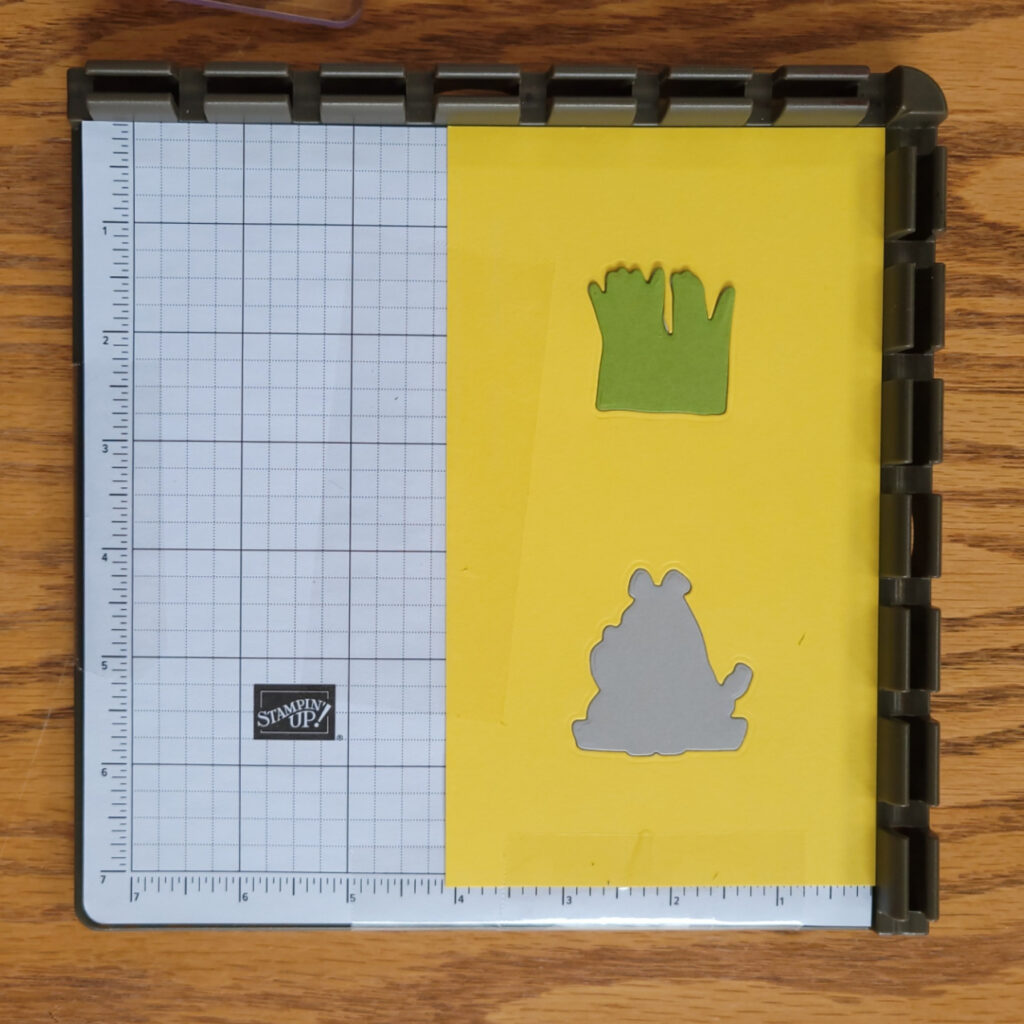
You can see how I did this step by step in the photos below. Die cut a template and place in your Stamparatus (photo 1). Place the uninked stamp in the template to position it. Close the clear plate of the stamparatus so the stamp will stick to it. (not pictured). Do a practice stamp with the pieces you cut out of the template and repeat until you are satisfied with the positioning of the stamp on the clear plate. Die cut the pieces you want stamped and place them in the template on the Stamparatus (photo 2). Ink up the stamp and close the clear plate to stamp your image (photo 3).
Use this trick when you need to stamp or die cut a lot of the same images. It really is a time saver. Have a great day! Take care and Happy Stamping!
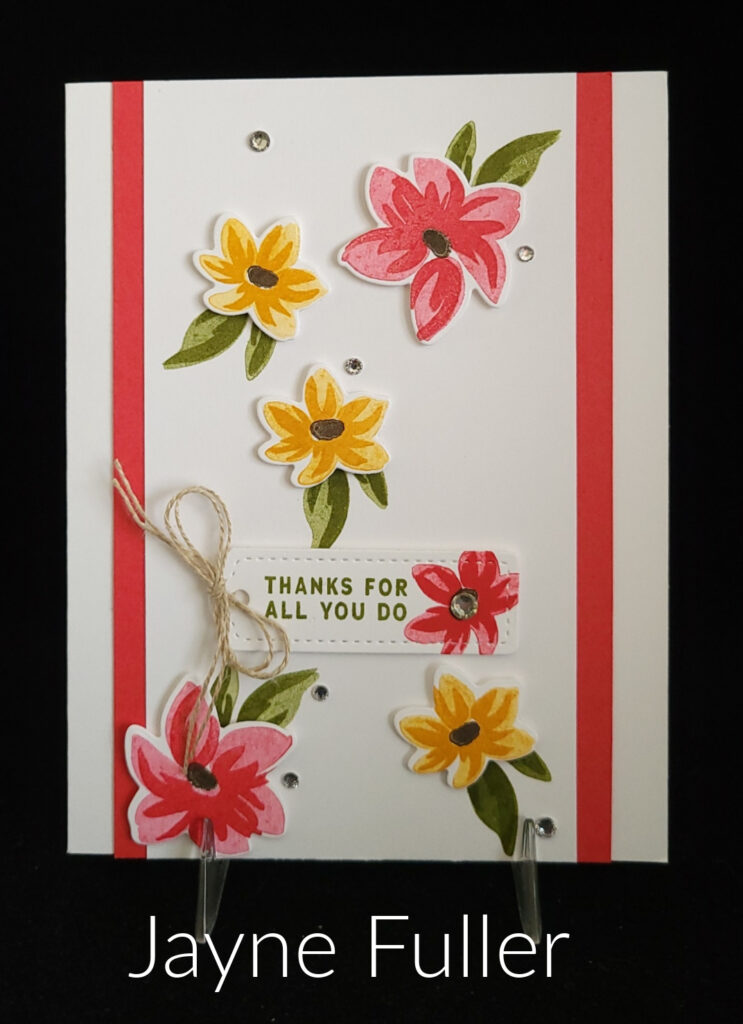
A pretty spring floral card for Day 27 of my 40 Cards in 40 Days. This card was made by fellow demonstrator Jayne Fuller. Jayne used Stampin’ Up!’s So Much Love Bundle from the January – April Mini Catalog on this card. I like how Jayne stamped the leaves directly on the piece of Basic White paper but die cut the stamped flowers and popped them up with dimensionals. It really makes the flowers pop. The tag is die-cut using the Tailor Made Tags Dies. A very nice card for Spring.
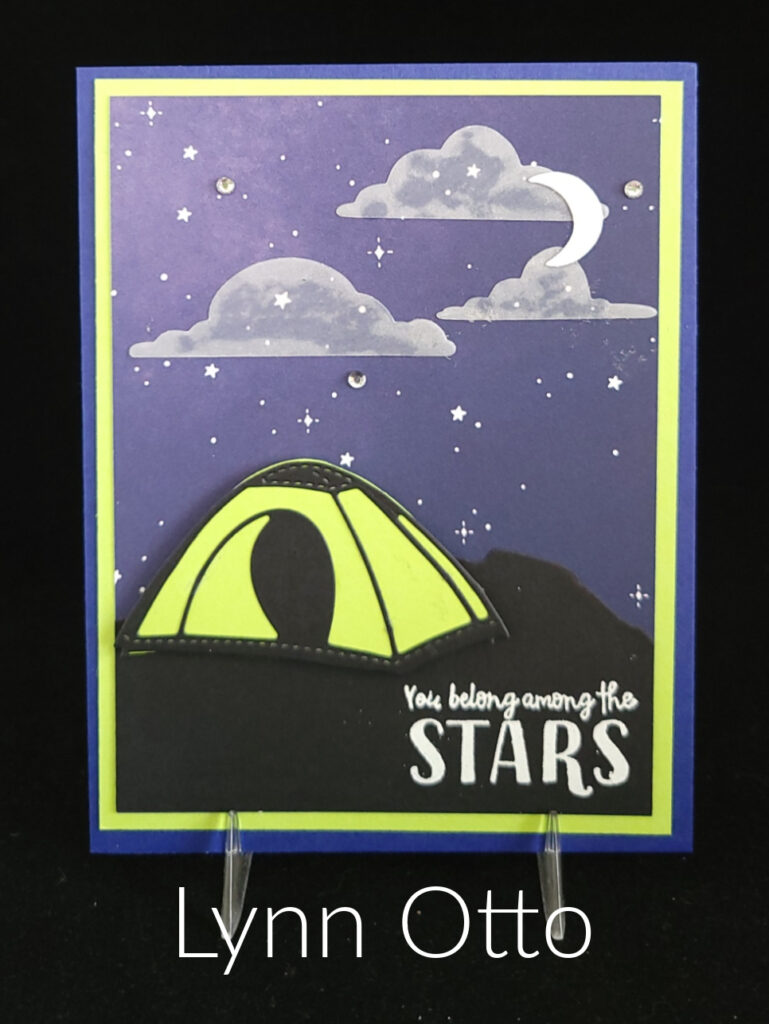
Day 26 of my 40 Cards in 40 Days brings a card that I like because it’s not something I would make. This card made by fellow demonstrator Lynn Otto was made with the Enjoy The Journey suite of products. These products highlight the great outdoors. If you like the outdoors, this suite is for you! From the bold papers to the amazing dies, this suite has it all. I love the little tent on the card. Too fun! Thank you Lynn for this great card!
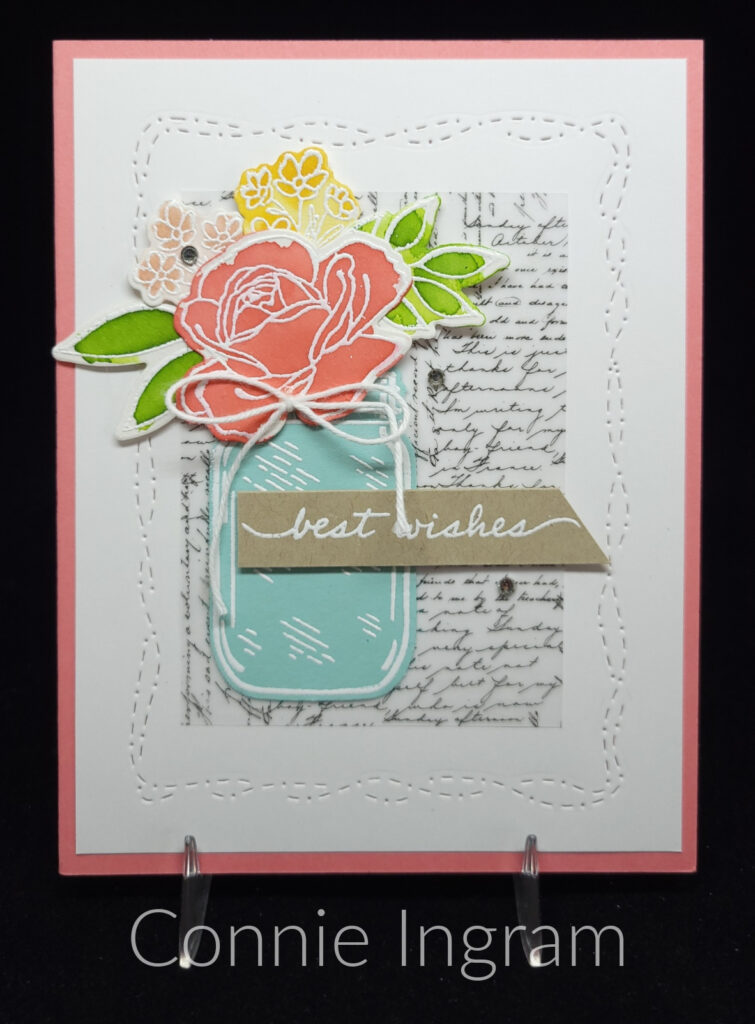
I have a stunning card for you on Day 25 of my 40 Cards in 40 Days. Fellow demonstrator Connie Ingram made this beautiful card using lots of different products. The floral images and the sentiment are all from the Happiness Abounds stamp set. The jar is from the Jar of Flowers stamp set. The printed background is a piece of the Vellum 12” x 12” Layering Designs Paper. It really sets off the jar of flowers without being too busy. The Stitched With Whimsy die completes the card. Beautiful! Thank you Connie!
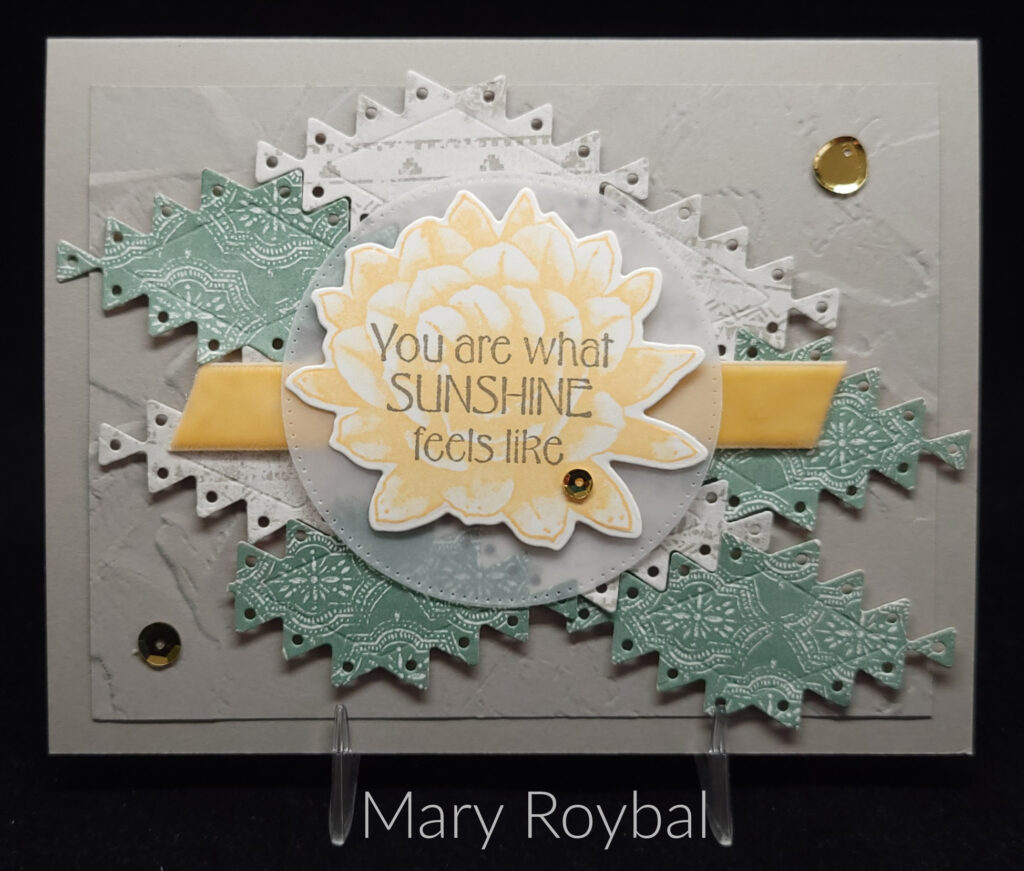
Starting today and for the next few days I will be sharing cards with you that other demonstrators have made. Last week I went to a Stampin’ Up! meeting and we did a card swap, so I came home with some great ideas and beautiful cards to share with you. For Day 24 of my 40 Cards in 40 Days I have a card made with the Desert Details Suite of products. I don’t own these products, so it was fun to receive a card that used them. The Delicate Desert Designer Paper gives the feel of the desert in it’s patterns and colors. Two of the patterns/colors are used on this card made by fellow demonstrator Mary Roybal. I like how Mary took the southwestern shape and put it together like a puzzle for a fun background. So fun!