Hang In There

HoneycombHappiness.2.0216
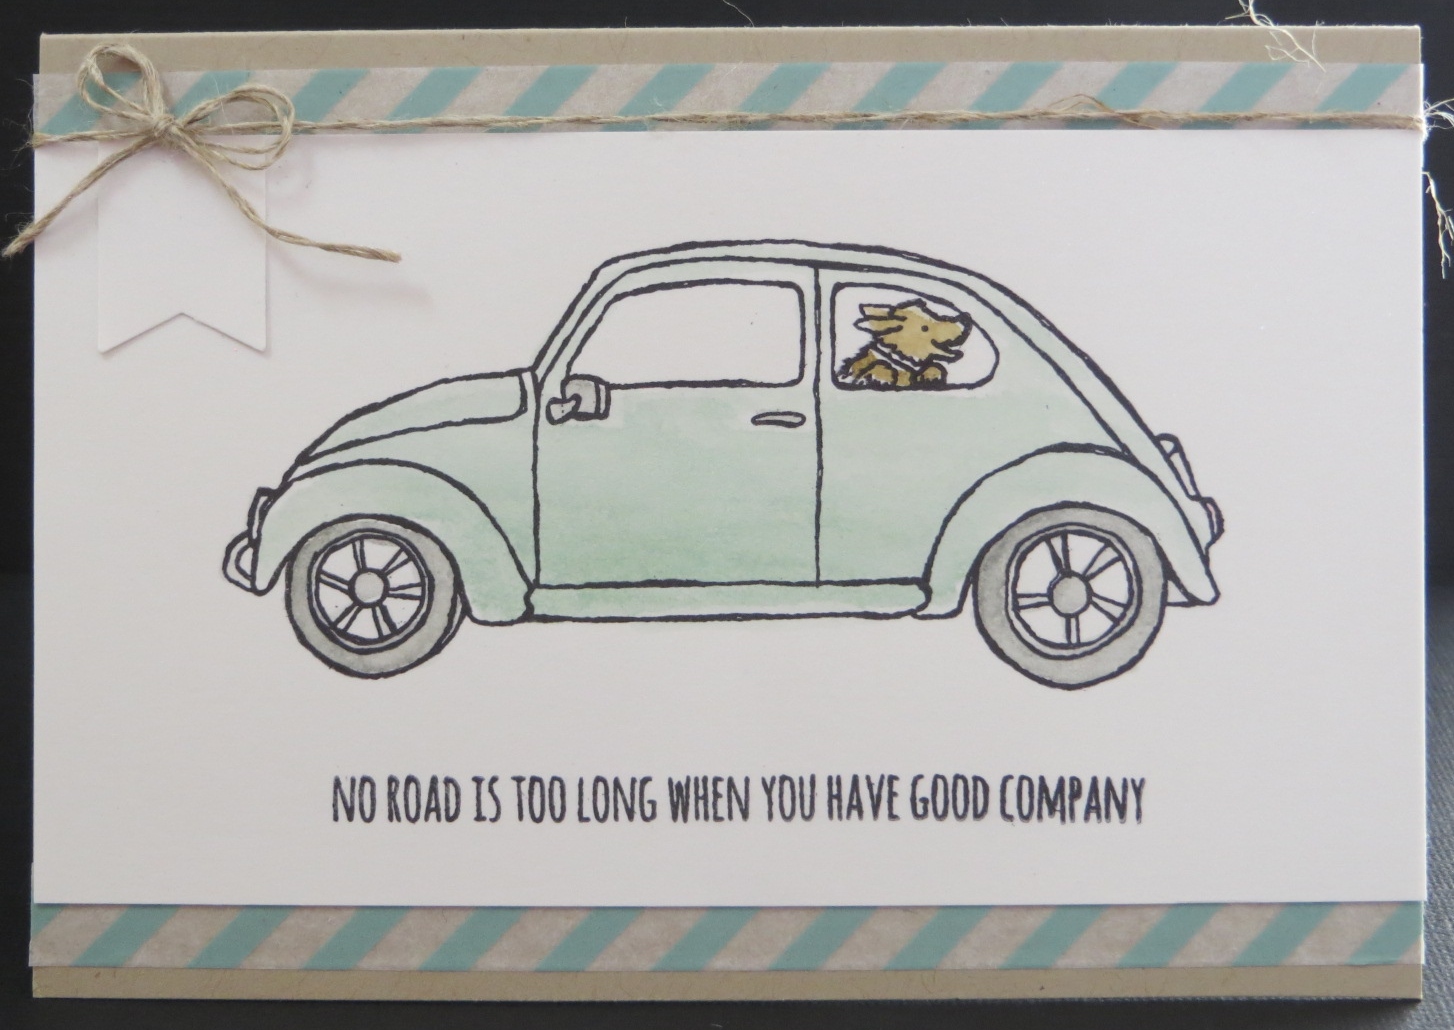
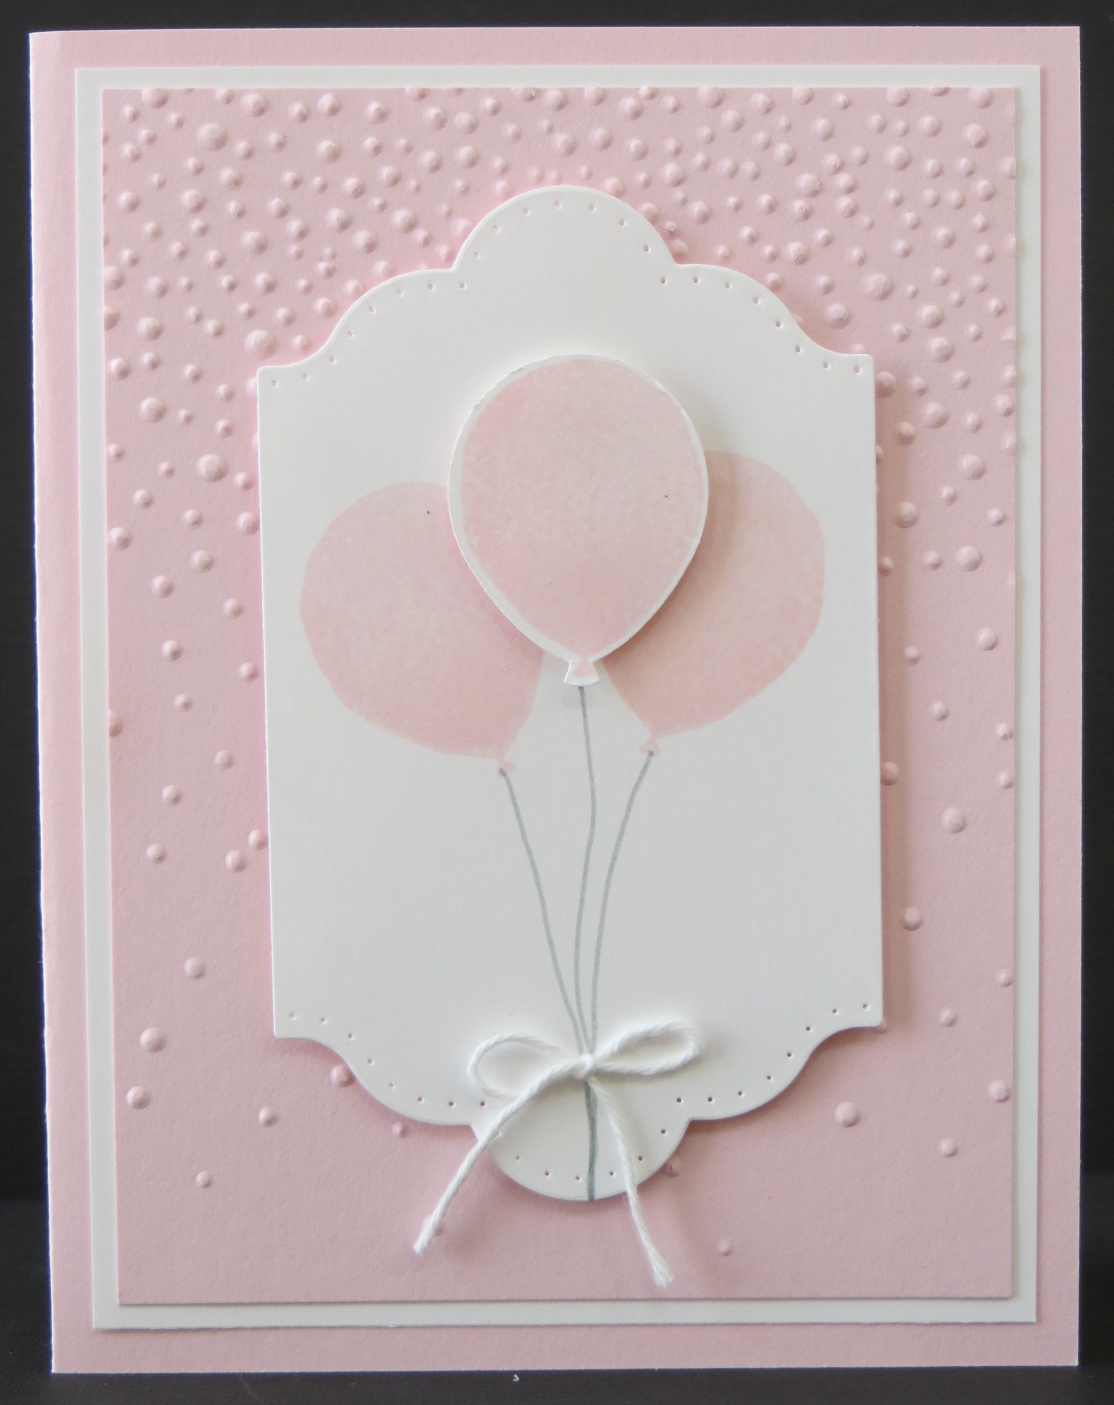
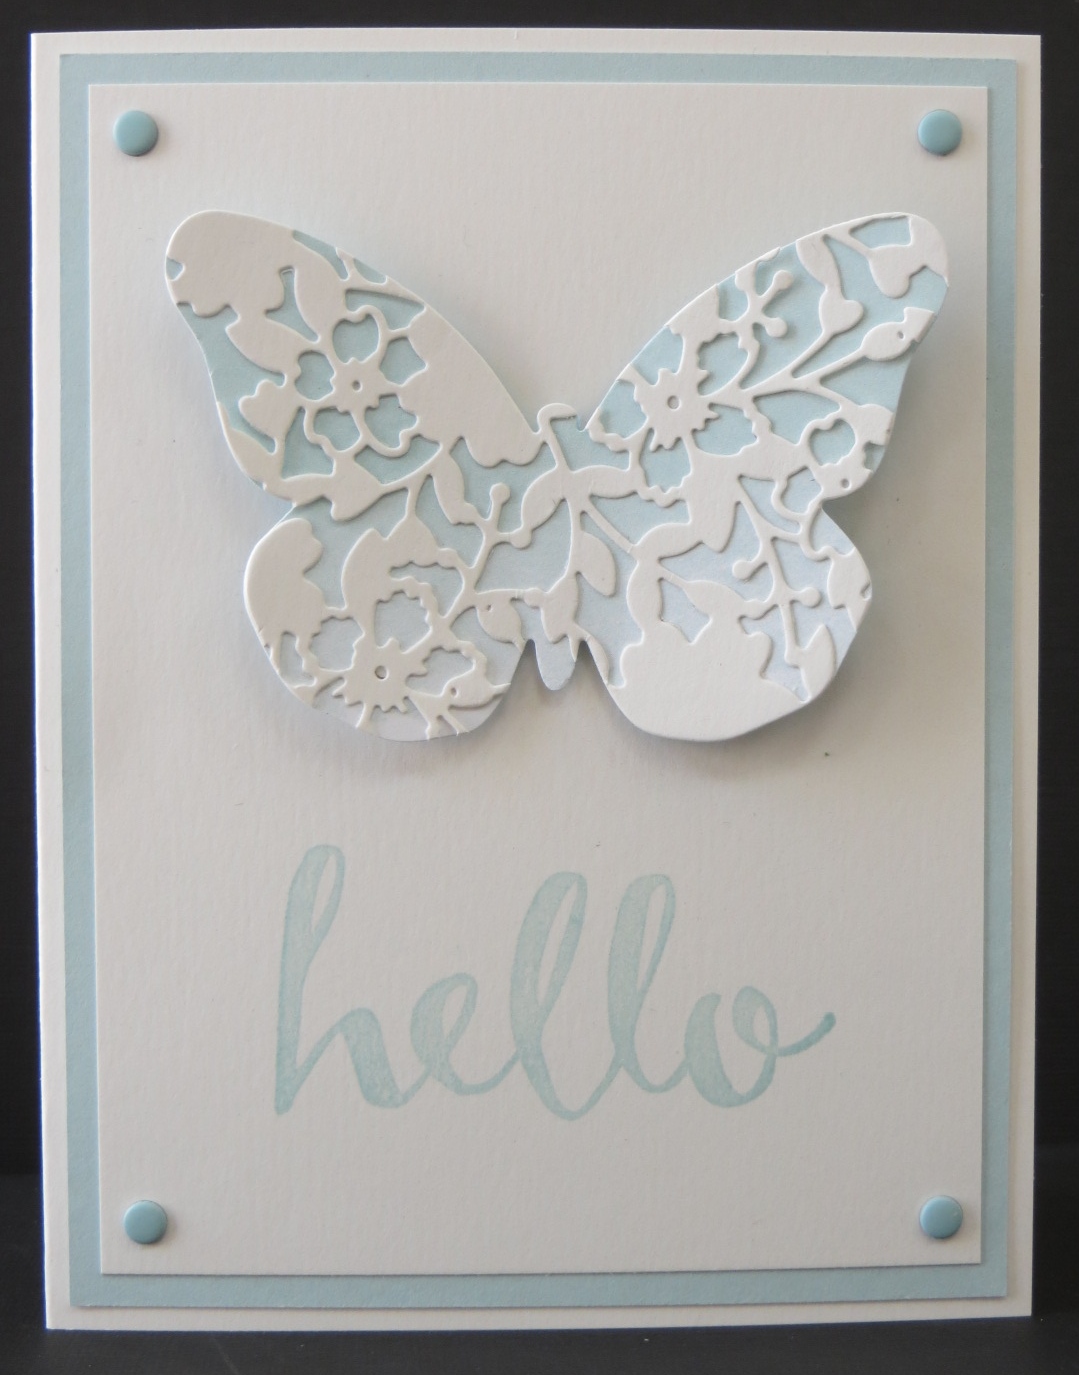
We all have days, weeks, even months where we could use a card like this.  A little something to let us know that things will eventually get better.

As I mentioned in my last post I was heading to Chicago for my cousin Don’s funeral.  I left on Tuesday and was suppose to return late on Wednesday.  Well….I got home late in the afternoon on Friday.  Yes.  Friday.  There was weather in Chicago on Wednesday and all of the flights on my airline were cancelled that day.  Luckily I had checked very early in the day as I had a suspicion that this could happen or I might still be in Chicago!  Ha!  Anyway, everything worked out for the best.  I didn’t have anything pressing going on back here in Denver.  I was staying with Don’s sister Sally who I am very close with.  She needed me there so that extra time I was able to spend with her was good.

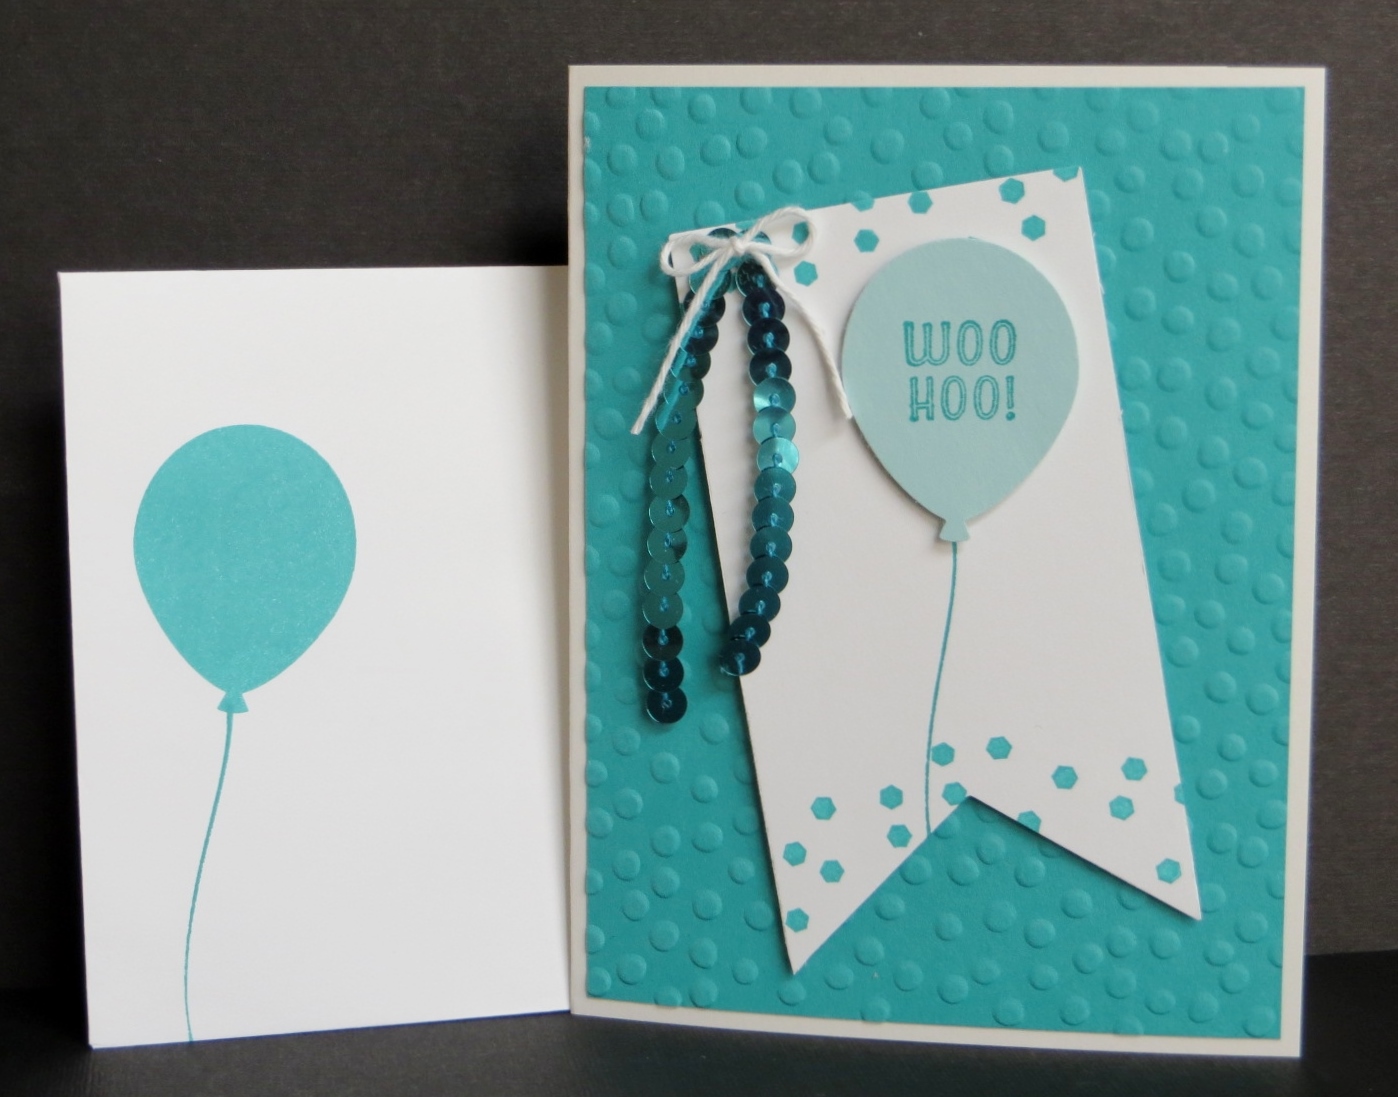
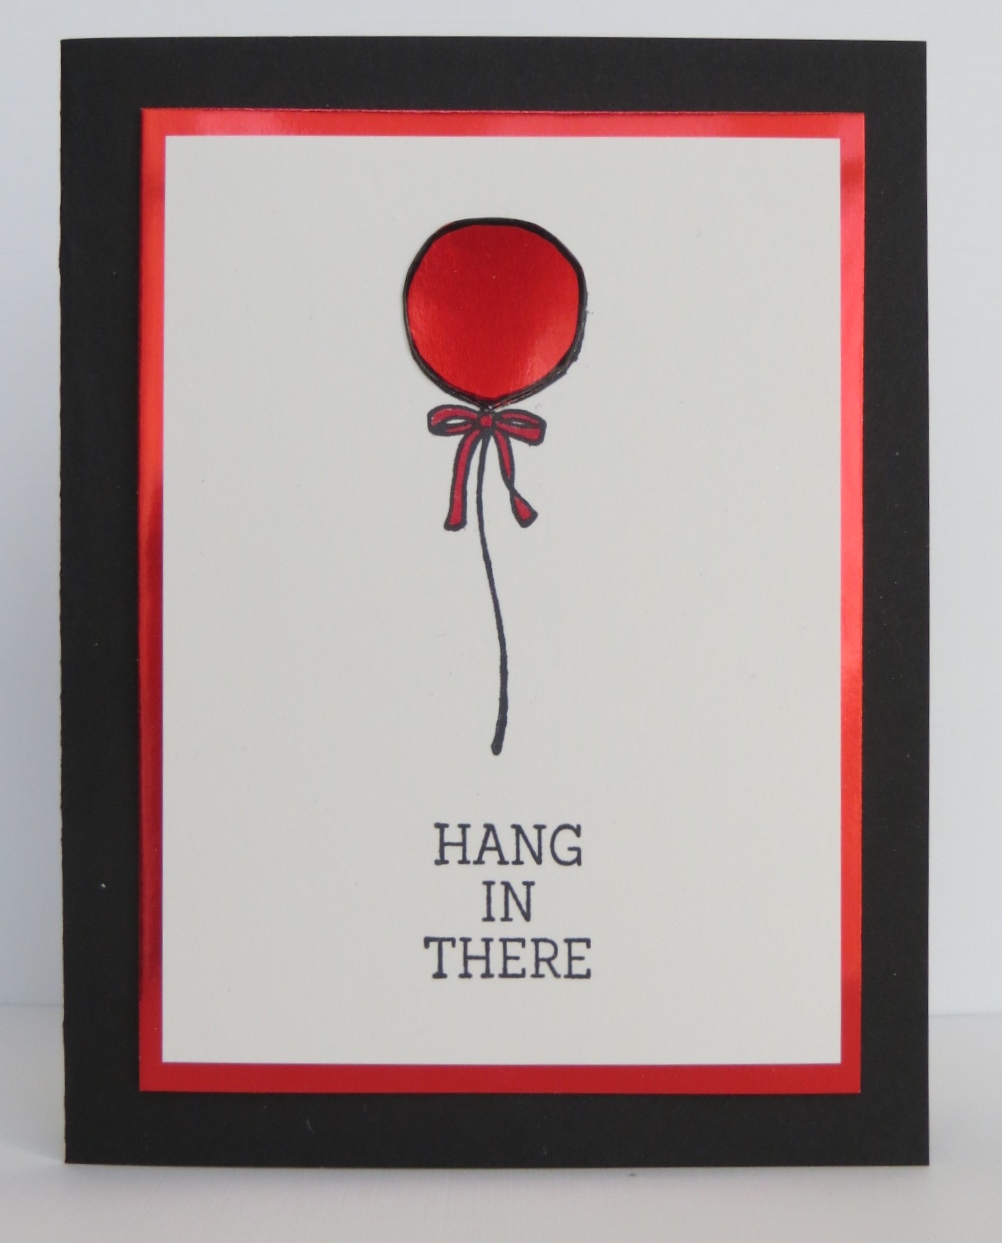
I think I’m going to send her this card this week.  I had seen a very simple card similar to this and knew I wanted to try it.  I wanted to do something a little different than just coloring the balloon in.  I’ve seen balloons stamped on designer paper that turned out real cute and was thinking of doing that when I came across a scrap of a Red Foil Sheet.  The little light bulb went off in my head.  Would it work?  I could only hope.

I used Basic Black Archival Ink but still had to be very careful when stamping so the stamp didn’t slip and smear.  Even though it’s archival ink I still used my heat tool a little to set the ink and help it dry.  Then I cut it out.  I had stamped the whole balloon image on my Whisper White card stock and then adhered the foil balloon right over it.  Perfect!

I may have to make a few more of these cards to have on hand.  Hopefully they’ll put a little smile on someone’s face even if they’re having a rough time.

Have a great day!  Take care and Happy Stamping!

A Beautiful Ride

Beautiful Ride.0216Doesn’t this card just make you smile?  Who doesn’t smile when they see a “bug”.  They’re such a fun and cute car.

Unfortunately I don’t have a lot to smile about today.  I’m heading to Chicago.  My cousin passed away this weekend so I’m heading to the Windy City to say good bye.  He had cancer so at least he’s pain free now and in a better place.  The only good thing about these next couple days is that I’ll get to see family.  My parents and sisters will be there from Minnesota and then I have a lot of extended family in the Chicago area who I’ll get to see.

A Beautiful Ride.  I hope I can say that I’ve had a beautiful ride when it’s my time to move on.

I CASEd this cute little card right from Stampin’ Up!’s quarterly magazine.  The concept artists at SU are great!  I wish I was that talented!  🙂

This card is actually made with one of the Crumb Cake Notecards and Envelopes that you can purchase in a package of 20 for only $6!  It’s so fun to actually use Washi Tape on a card.  I don’t use it very often.  It’s one of those things I tend to hoard.  I’m not sure I actually hoard it…I just don’t know how to use it well.  I’m getting better….  What product do you tend to purchase and not really use?

Have a great day!  Take care and Happy Stamping!

Who Wants Ice Cream?

Honeycomb Happiness.0216Honeycomb Happiness is such an adorable stamp set!  I’m guessing that it’s one of the more popular Sale-a-bration stamp sets that you can get FREE with a $50 order.  I know most of my customers choose it.

On this card I paired the Honeycomb Happiness stamp set with the Honeycomb Embellishments from the Occasions Catalog.  How cute is this?  In the package you get four each of white, Blushing Bride and Mint Macaron.  Too fun!

If you’re wondering how to mail a card like this you can do a few different things.  The embellishments come folded in half with adhesive on the back of each half.  You could just adhere one half to your card and leave a note to the recipient on how to open the embellishment.  Or, if you’re like Shannon West from the Stampin’ Up! home office, you could put it all together so it’s full and just smoosh it into the envelope!  Ha!  The honeycomb really adds to the card though.  🙂

I just love the Tiny Triangles Embossing Folder on this card.  Doesn’t it look like an ice cream cone?  This card turned out pretty cute and it could be used for a number of occasions.  Thank you, birthday or whatever!  It just makes me smile!

Have a great day!  Take care and Happy Stamping!


Grateful Bunch

Grateful Bunch.0216Lent is a time of reflection.  During this time I am reminded of how grateful I am for my friends, my family, my business and my customers.  The Grateful Bunch stamp set has the perfect sentiments for being grateful.

With the sentiment I used here on the front of my card I can tell someone that they’re totally awesome.  The sentiment that goes on the inside says “and I am totally grateful”.  It says it all.

Once again COORDINATION is the key word!  Woo Hoo!  The stamp set has a coordinating punch!  Stamp the three flowers (all on one stamp) and then punch them out with the Blossom Bunch Punch!  Woo Hoo!  Coordination!

IMG_1430I’ve mentioned before that I get a lot of my card ideas from Pinterest.  I’ll see a card and really like it but then I’ll change a few things.  It’s funny how different the cards can look.  On the right is the card that I first saw (thank you Mary Fish!).  I wasn’t sure about the Crumb Cake card itself so I switched it to the Crushed Curry.  Mary stamped her flowers on Whisper White and colored them in before punching them.  I just stamped my flowers on Crushed Curry card stock and punched them out.  The last change is with the rhinestones.  Mary used the rhinestones as is but I colored mine with a Black Sharpie Marker.  Both of these cards are basically the same yet different.  It’s fun to take a perfectly great card and run with it, making it my own.

You don’t have to start from scratch every time you make card.  Either copy someone else’s card completely or use their card simply as a starting point like I did.

Have a great day and be grateful.

Check Out the New Sale-a-bration Items!

In yesterday’s post I mentioned that there were three new Sale-a-bration products available.  In today’s post I’ve included videos of all three so you can see how exciting and fun these new products are.  You can choose any Sale-a-bration item for FREE with a $50 purchase.  Don’t miss out.  Sale-a-bration ends on March 31st!

Which of these three new products is going to be your favorite?  It’s a tough call for me but after watching the videos and learning how you can color the glitter tape I may have to go with that one.  They’re all fun products though.  Let me know what your favorite will be.

Have a great day!  Take care and Happy Stamping!


Party Pants! A New Sale-a-bration Item!

IMG_7542 (2)I LOVE new stuff!  Here is one of Stampin’ Up!’s newest offerings.  Party Pants is one of three new Sale-a-bration items that are available starting TODAY!  🙂

Yesterday was the last day for three Sale-a-bration items (Sky’s the Limit, Hello and the Perfectly Artistic Designer Series Paper) so today they brought out three new items.  The Party Pants stamp set, Pedal Pusher stamp set and Metallics Glitter Tape.   Woo Hoo!

I decided to get a head start on playing with these items and chose Party Pants first.  One of the fun stamps says “put our Party Pants on”.  Too fun!  I got carried away with designing this card.  I actually came up with three different renditions (that you will probably see in the next few days!).

This was my first card.  Easy and fun.  I had a ball playing with the Bermuda Bay Sequin Trim.  I don’t know why I haven’t used it much before.  The secret to using it on a card like this is to cut your trim as long as you’d like.  Turn it over to the back and put a little drop of your Fine Tip Glue on the back of the last sequin on each end.  You want to do this so the thread doesn’t fray and your sequins won’t fall off!

I used my trusty little hand held stapler (from Stampin’ Up!) to put the sequin trim on the banner.  The stapler is another one of those things that I don’t use much that I really should.  It’s fun and easy to use!  The stapler uses mini staples that really look cute on a card.  🙂

The reason I like this card so much is that I used a couple of items that I dug out of my stash that were getting a little dusty.  Sequin trim and the stapler.  I may have to use these items a bit more.

Do you have any items sitting in your craft room that don’t get much use?

Have a great day!  Take care and Happy Stamping!

Built for Free Using: My Stampin Blog

Balloon Celebration…How Can You Go Wrong?

IMG_7510Coordination!  Yep.  That’s what sold me on the Balloon Celebration stamp set.  There’s a punch that fits both sizes of balloons in the stamp set.  How can you go wrong?  🙂

Balloons for birthdays.  Again…..how can you go wrong?

This is definitely a must-have stamp set.  Who doesn’t know someone who is having a birthday?  You can make your card bright and fun for a child or you can use more sophisticated colors (don’t look to me for suggestions….I’m definitely not sophisticated!) for an adult.  I chose to go with some soft pink balloons on my card for a look between fun and sophisticated!  🙂

I got out my paper piercing tools again for this card.  I think it finished off the label on this card perfectly.  I chose to just pierce the top and the bottom.  I left the sides blank.  Perfect!

I’m so glad that the Softly Falling Embossing Folder carried over from the Holiday Catalog.  It’s such a soft, perfect accent to a card.

One thing you can’t see from the picture but is something that really made the balloons pop on the card was covering them using my Clear Wink of Stella Glitter Brush.  I love that tool.  It gives just the right amount of glimmer and glitz!

Have a great day!  Take care and Happy Stamping!

Built for Free Using: My Stampin Blog

#imbringingbirthdaysback

stack#imbringingbirthdaysback.  Have you seen this hashtag on social media?  It’s really big in the stamping world right now.  Shannon West from the Stampin’ Up! home office decided that everyone deserves a hand made birthday card so she created the #imbringingbirthdaysback movement.  You can read her story here.

Like many of my fellow demonstrators I’ve decided to join the movement and I’d like to send a hand made birthday card to anyone who’d like one.  So….if you’d like a hand made birthday card from ME just send me a quick email at cindy@stampbystampcreations.com and let me know your birth date and your mailing address.  If your birthday has already passed in 2016 you can still get a card!

Shannon designed and carved the stamp that you see on the back of the envelopes in the photo above.  Now Stampin’ Up! is producing this stamp and it will be for sale in the near future while supplies last.  They haven’t said yet when it will be available but I will keep you posted.

I can’t wait to start my own #imbringingbirthdays back movement so send me your birth date so I can get started!  Email me at cindy@stampbystampcreations.com so I can send you a card!

Have a great day!  Take care and Happy Stamping!

Honeycomb Happiness

IMG_7513Well, Lent has begun so that means that Easter is on it’s way.  What comes to mind when you think of Easter besides bunnies and Easter eggs?  Easter chicks of course!  Isn’t this the cutest little chick?  This isn’t an Easter card but you could definitely turn it into one.

I tried stepping out of my comfort zone on this card.   Not only did I use a couple of banners and do a little water coloring but I added some scrunched up thread between the banners.  Yes, I know it’s hard to see but honestly….it’s there!  As many of you know, I don’t do random very well so the whole idea of just scrunching up thread and throwing it on the card was pretty out there for me.  I did it though!  It even turned out ok!

I found out a little tip on water coloring before I made this card and it really helped.  The tip was to go over the image lightly with the water from your Aqua Painter.  Then add the ink.  The water helps the ink spread.  It really made a difference.  Give it a try!

What kind of things do you have a hard time with on your cards?  I’d love to know.  Leave me a comment.

Have a great day!  Take care and Happy Stamping!

Built for Free Using: My Stampin Blog

Party With Cake

Party With Cake.0116 Yesterday was my friend Joann’s birthday and this is the card I gave her.  It looks like a nice card on the outside but the fun begins when you open it up!  It’s a pop-up card!  Who doesn’t love a pop-up card?!

The Party Pop-up Thinlits were at the top of my list of things to purchase from the new Occasions Catalog.  They’re so FUN!!!

I CASEd (copied) this card directly from the catalog (pg. 6).  I just used different designer paper (Cherry On Top) and changed the colors to coordinate.  It’s amazing how different the card can look with just a few minor changes.

PartyWith Cake.1.0116The inside of the card is where all of the fun is happening.  Not only did I switch out the thinlit from the catalog’s sample but I also added the coordinating washi tape to finish it off.  I really need to use washi tape more.  It’s fun, easy to use and really makes a statement on your project.

Wouldn’t you love to receive a pop-up birthday card?  Have a great day!  Take care and Happy Stamping!

Two-fer Tuesday!

RoseGardenSwap.1.0116 RoseGardenSwap.0116Two-fer Tuesday.  What’s that?  Two different cards in one blog post.  It’s a two-fer!  🙂

Last month I was designing a card for a swap I was participating in.  I knew I wanted to use the Rose Garden Thinlits but after that I was drawing a blank.  I decided to stick with a black and white theme and these two cards are what I came up with.

They’re very similar.  I used my favorite size card (4 1/4″ x 4 1/4″) as well as my favorite new punch (Curvy Corner Trio Punch).  I also colored rhinestone jewels with a black Sharpie Marker on both of them.  The difference on the two cards lies in the number of layers I used.

The big question is this:  Which card do you like better?  The first card or the second card?  I’d love for you to leave a comment.  I know which one I used for the swap but which one would you have used?

Have a great day!  Take care and Happy Stamping!

Built for Free Using: My Stampin Blog

Celebrate Sale-a-bration!

IMG_7507It’s a day of celebrating here in the state of Colorado.  Our Denver Broncos won the big Super Bowl 50!!!  Woo Hoo!  We had a fun time yesterday at our Super Bowl party but it’s time to get back to stamping!

We may be celebrating the Denver Broncos but let’s also celebrate Sale-a-bration!  What better way to celebrate it than sharing a fun and simple card.

I used the Flowering Fields stamp set on this card along with my favorite color.  Three simple flowers colored with the ink pads and blender pens.  Just remember that Shimmery White card stock works best for any type of water coloring.  It’s a little thicker and holds up better when wet.

I wanted to try something a little different on this card.  Many of my cards look the same with the same basic designs so I wanted to step out of my comfort zone.  I saw a card on Pinterest with just one corner decorated so I thought I’d try that.  I really liked it.  It sets off the card just enough.  It’s fun to try new ideas and techniques.  I need to do more of it.

Have a great day!  Take care and Happy Stamping!  Way to go Broncos!!!!

Built for Free Using: My Stampin Blog

Are You Ready for Some Football?

20160206_082825_resizedWoo Hoo!  Today’s the BIG game!  It’s Superbowl 50 and my Denver Broncos are playing!

I’m so glad that the NFL decided not to use Roman Numerals this year for the number of the game for a couple of reasons.  First off, you have to think too hard when trying to figure out if it’s 30 something or whatever.  The second reason of course (and the reason they didn’t do it this year) is that 50 is “L” as in loser.  My Denver Broncos definitely aren’t losers!

002

I made this banner two years ago using the Build a Banner Kit.  I had so much fun making it.  I just hope it brings the Broncos a little better luck this year than it did two years ago.  I’ve got a good feeling about game this year.  It could be Peyton Manning’s last game so I’m hoping he goes out with the big win.  The team is also playing this game for the owner who has Alzheimer’s.

One last thing that you really must check out.  In 2014, Children’s Hospital Colorado had a contest and this was the winning entry.  It’s amazing!  Even if you’re not rooting for my Broncos I think you’ll enjoy the video.  Have a great day!  Take care and Happy Stamping!  GO BRONCOS!

A Rose is a Rose is a Rose….

RoseGarden.0116The Rose Garden Thinlits are GORGEOUS!!!!  The rose on this card is the smaller one.  The larger one has leaves also.  The COORDINATING stamp set is fabulous too.  Not only does it have the same 4 images as in the framelits but it also has 10, yes TEN sentiments in a beautiful font.  This is definitely one of those bundles that you will want in your collection.  It was one of the first things I purchased from the Occasions Catalog.

Just like yesterday’s card, I used the Perfectly Artistic Designer Paper from the Sale-a-bration Brochure as the background for my die cut image.  Unfortunately in this case after I adhered the die cut rose to the designer paper I had to fussy cut around the rose.  It wasn’t too bad though.  It’s funny….when I’m designing a card for one of my classes I have to make sure there isn’t too much fussy cutting involved.   My customers give me a hard time because they’d much rather use a punch or the Big Shot!

The Big Shot Die Brush works really well on this set of thinlits too.  With the thinlit still on the card stock just roll, roll, roll your brush.  The fine rose outline will just pop right out of the thinlit.  It’s magic!  🙂

Don’t forget that there’s only a little over a week to still get this gorgeous designer paper for free with a $50 purchase.  After February 15th it will be gone along with the Hello stamp set and the Sky is the Limit stamp set.  Get those orders in soon so you don’t miss out!

Have a great day!  Take care and Happy Stamping!

Built for Free Using: My Stampin Blog

‘Hello’ Card

IMG_7503Hello!  That’s your greeting this morning as well as the name of the stamp set I used on the card.  Speaking of the card….isn’t it gorgeous?

Yesterday I showed you a card using one of the Sale-a-bration items that won’t be around after February 15th.  Well, today’s card actually showcases the other two items that will not be around after February 15th.  The Hello stamp set and the beautiful Perfectly Artistic Designer Series Paper.

Yep.  This designer paper was one of those things I didn’t really think I needed when I first saw the Sale-a-bration brochure.  I was wrong.  It’s really pretty and there is so much you can do with it!  One side of each sheet is marbled and the other side is more of a water color look.  I used the water color side for this card.

Don’t you love the butterfly?  I bet you’re wondering how I did that….It’s pretty simple really.  What you need is your Bloomin’ Heart Thinlit.  I die cut it with the Shimmery White card stock.  Once you have it die cut you adhere it to your piece of Perfectly Artistic Designer Series Paper (with your fine-tip glue pen).  Once the glue is dry you run it through the Big Shot again with the Bold Butterfly Framelit and ta da! you have your lacy butterfly!  So pretty!

Have you noticed recently that I’ve been using a lot of candy dots?  They just seem to finish off a card perfectly!  I love starting to use some of the fabulous accessories that I’ve been hoarding!  Ha!

Have a great day!  Take care and Happy Stamping!

Built for Free Using: My Stampin Blog