It was a busy and fun weekend. Lots of visiting and site-seeing. My cousin flew in this weekend to visit her daughter who lives here in Denver. One of my sisters thought that sounded fun so she and her daughter flew in to visit me and we all hung out together.
I picked up my sister Lori and her daughter Allison from the airport late Friday afternoon. We had a nice dinner before heading to a place called Upstairs Circus. Have you ever been to those painting places where you paint the project and drink wine? This is a similar concept except they have all sorts of craft projects you can make instead of just the painting. It was really fun. My sister made a beaded bracelet and my niece and I did string art projects where you hammer nails into a board in a pattern and then thread string around the nails to fill in the pattern. (I’ll post a picture of my project tomorrow.) I’d definitely go back again. 🙂
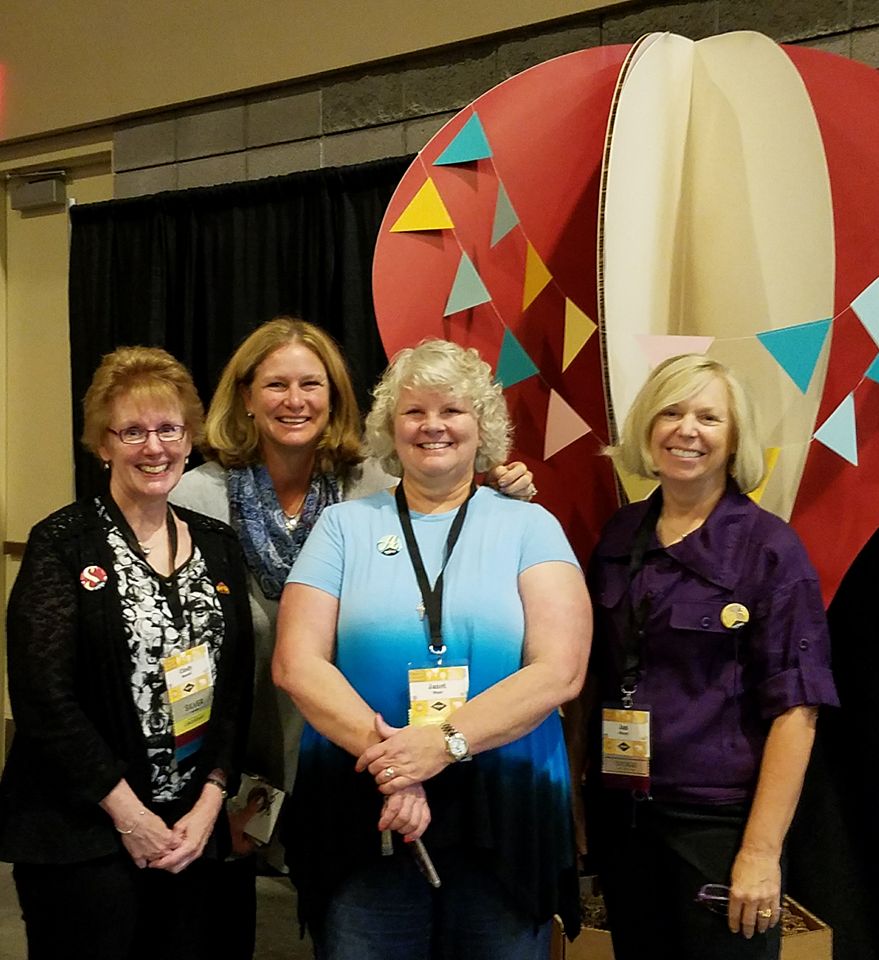
 Saturday was a busy day. We started at the Denver Botanic Gardens. I’m going to admit that the middle of November isn’t exactly the best time to visit a garden but it’s been so warm there were still some flowers blooming. It was a free day there and there was a craft fair going on so we did enjoy ourselves. In the picture, starting at the left you have my sister Lori, myself, my cousin’s daughter Julie, my cousin Sally and my niece Allison.
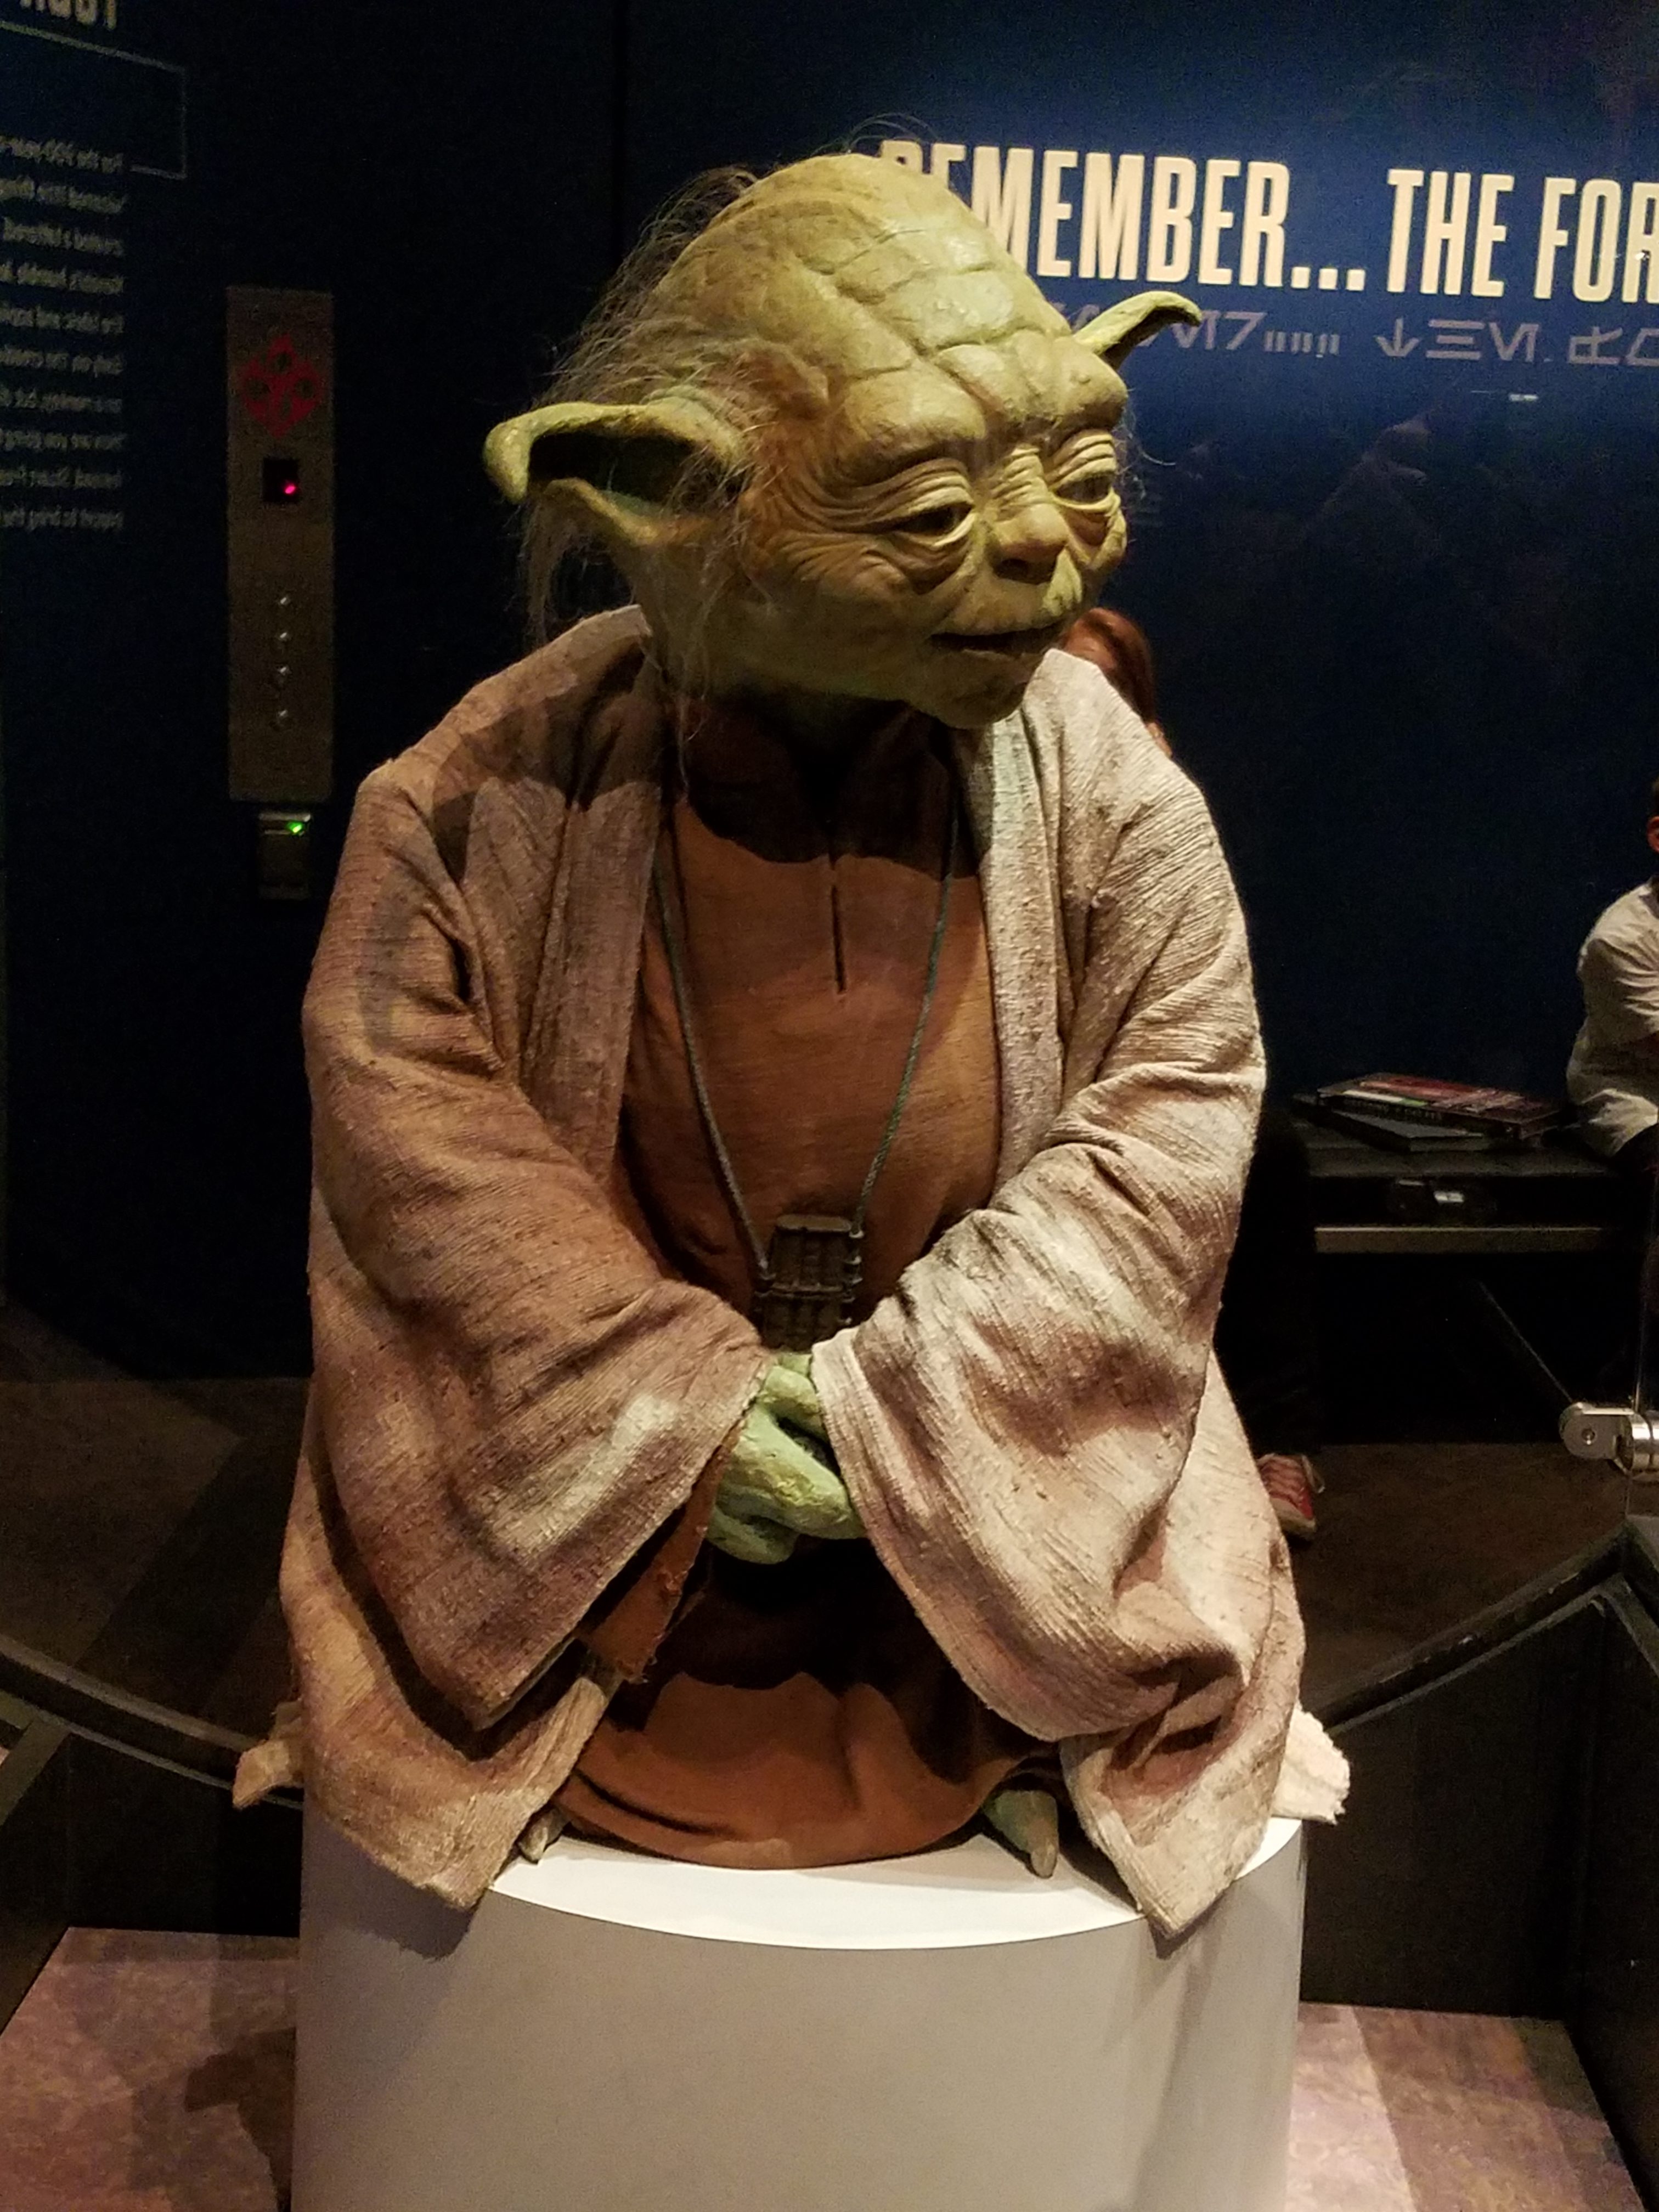
 After the gardens and craft fair we had a nice little lunch and then headed to the Denver Art Museum. We had tickets to see the exhibit “Star Wars and the Power of Costume”. The exhibit was fabulous….especially for those of us who love Star Wars and SciFi. You used headphones while taking the tour so not only did you see the costumes, you heard the stories behind them. It was quite interesting.
We spent a lovely afternoon on Sunday at a downtown winery doing a little wine tasting and just visiting. Wild Women Winery. We really enjoyed ourselves and the gals helping us were great. That’s another thing I’d definitely do again.
 It was a wonderful weekend getting a little culture and visiting together. It’s great to have visitors. Of course now I need to get ready for the two workshops I have this week and I hear that Thanksgiving is next week so I should definitely start thinking about that! 🙂
Have a great day! Take care and Happy Stamping!

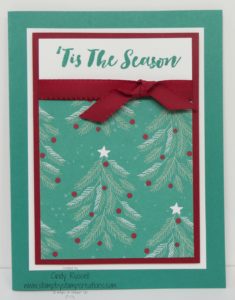 I designed this card for my first Card Buffet class a few weeks ago where you could come and make as many cards of any design as you like. It’s a simple card but it’s one of my favorites of all the Christmas cards I’ve designed this fall.

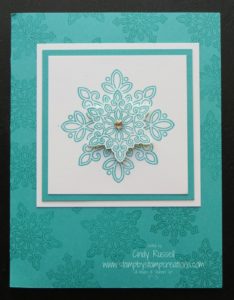 Here’s a gorgeous card that’s made using the Snow Flurry Bundle (stamp set and COORDINATING punch!) that’s on sale TODAY! Get on over to my
 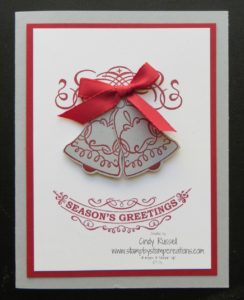 Silver Bells….Silver Bells….It’s Christmas time in the city…..
 Thanksgiving is over. Black Friday is over and I guess it’s time to really start thinking about Christmas.

 Happy Thanksgiving! It’s fairly early in the morning and I need to sit down and make my to-do list. But first I want to let you know that I am truly Thankful, Grateful and Blessed for you, my friends and customers, as well as for everything I have in my life including my Stampin’ Up! business.
 It’s that time of year! It’s time for Stampin’ Up!’s Online Extravaganza! It’s your chance to get some really great deals from Stampin’ Up! You’re NOT going to want to miss it! Check out all of the great deals
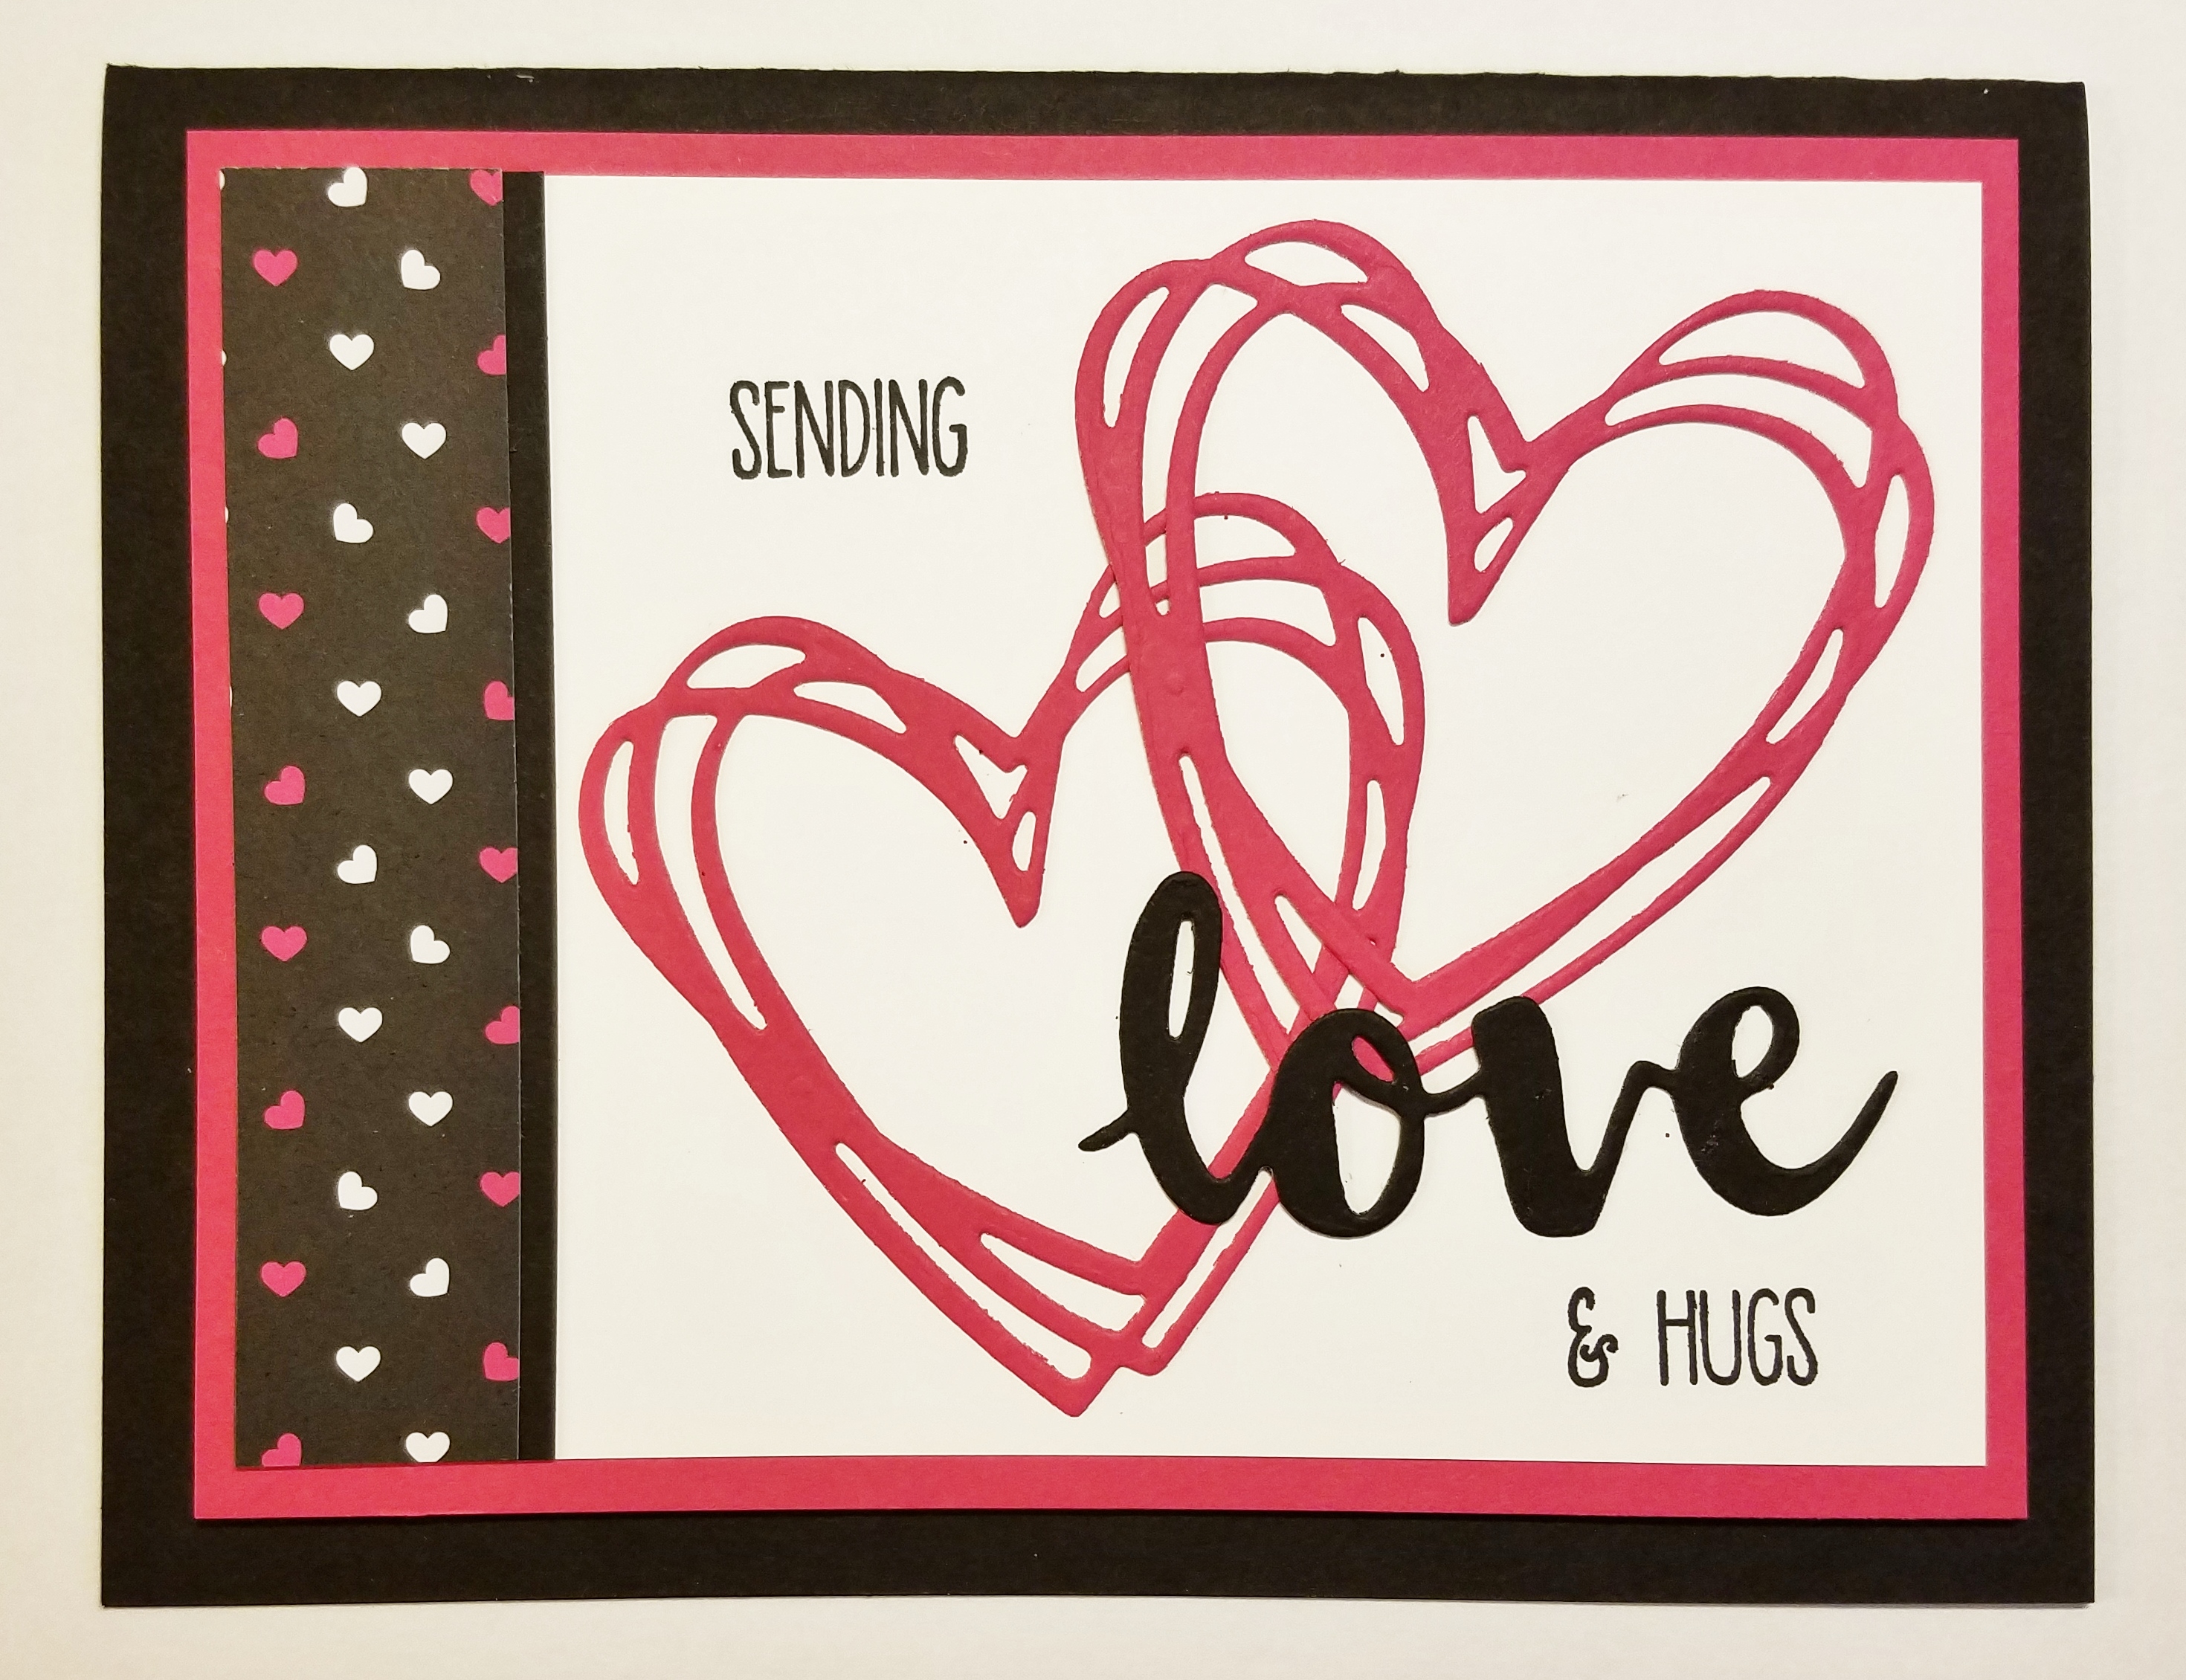
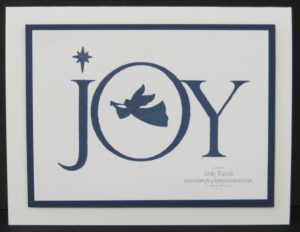 Are you still looking for ideas for this year’s Christmas card? Here’s a simple card perfect for the season.
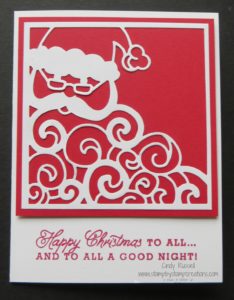 Yep. Even though it still doesn’t feel like it here in Colorado I do believe that Christmas is on it’s way. Since it’s coming despite what the thermometer says I guess I need to start sharing more Christmas projects! 🙂
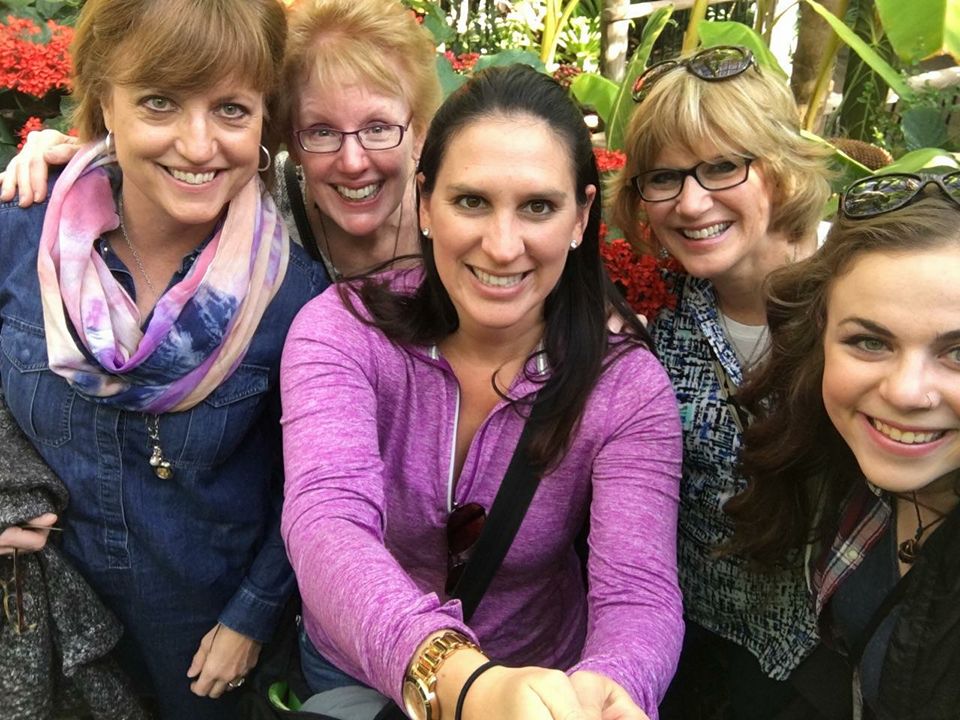

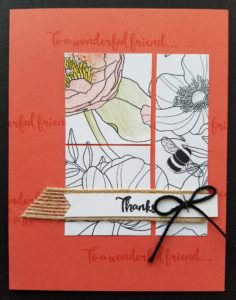 Yep! Stampin’ Up! has finally got on the coloring bandwagon! One of the new Sale-a-bration items that you’ll be able to earn for FREE with a $50 order during Sale-a-bration is the fun Inside the Lines Designer Series Paper!
 Are you tired of Christmas already?