There are so many different ways to watercolor. One of the easiest ways to get started with water coloring is a Watercolor Wash. This technique is easy because there isn’t any detail work. You are simply adding color to the paper to make a background. This technique gets you started on how to apply the paint (ink) to the paper with the brush.
Tools
Besides the three basics tools of water coloring (paper, brush and ink), you will also need:
- a Stampin’ Spritzer or small squirt bottle for water
- a small dish for water
- some type of waterproof work surface
- painter’s tape or washi tape
- the flat tip brush Water Painter
- paper towels
- clear stamping block (optional)

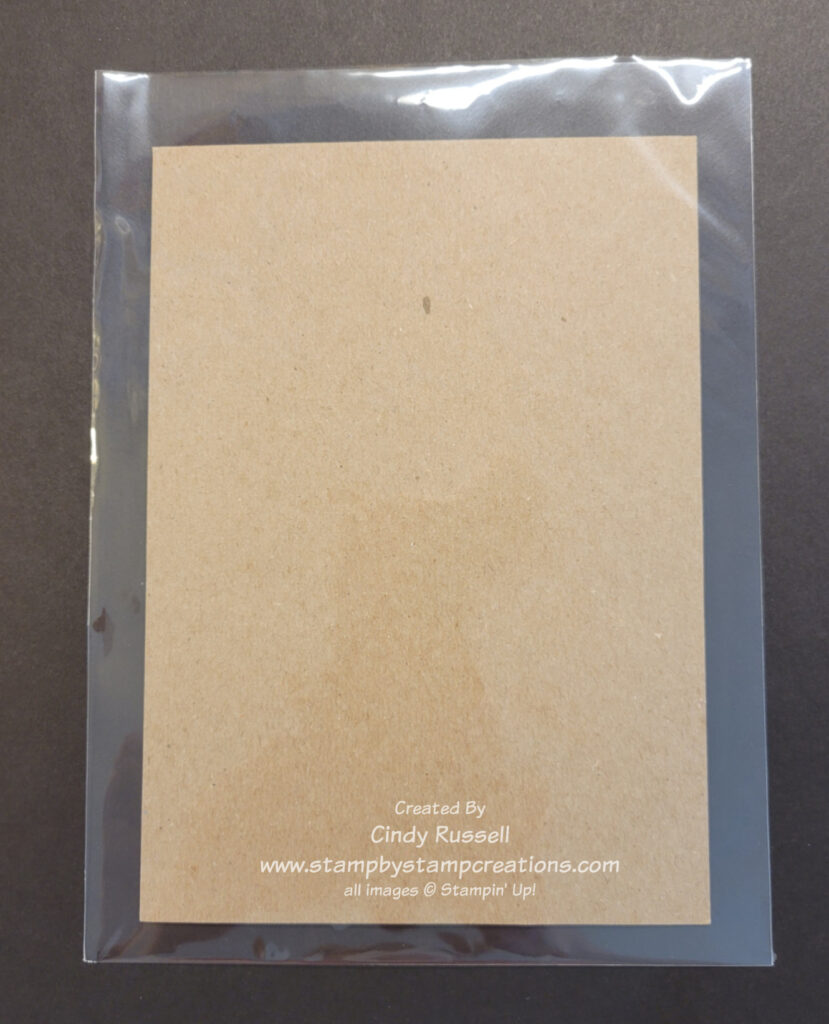
For my waterproof work surface I took one of Stampin’ Up!’s 6” x 8” Cello Bags and inserted a small piece of cardboard inside. This gave me a sturdy work surface that could get wet.
Tips
- Have all of your tools and supplies set out and ready before you begin.
- Cut the cardstock larger than you need for your finished project.
- Use the painter’s tape/washi tape (or some type of adhesive that is easy to remove) to adhere the paper to your waterproof work surface. This keeps the paper flat as it gets wet and holds it in place.
- Before applying the ink to the paper be sure to thoroughly wet the paper with the Stampin’ Spritzer/spray bottle of water.
- Open the ink pad(s) you will be using. Don’t slide the lid back. Put a drop of the ink refill in the lid. This is your “paint” palette. (you can also use any of the other ideas for the ink that I mentioned in my previous post)
- Clean out the lid of the ink pad when you’re done.
Technique
- Adhere the paper to the work surface with painter’s tape or washi tape
- Spritz the paper with water
- Gently squeeze the reservoir of the Water Painter to wet the tip or simply dip it in the container of water.
- Pick up the ink in the ink pad lid with the brush.
- Sweep the inked brush across the paper going back and forth.
- Keep the brush wet and inked
- Continue adding color until you get the look you want.
- Clean brush thoroughly before switching colors by getting brush wet and dabbing color on paper towel until brush is clean.

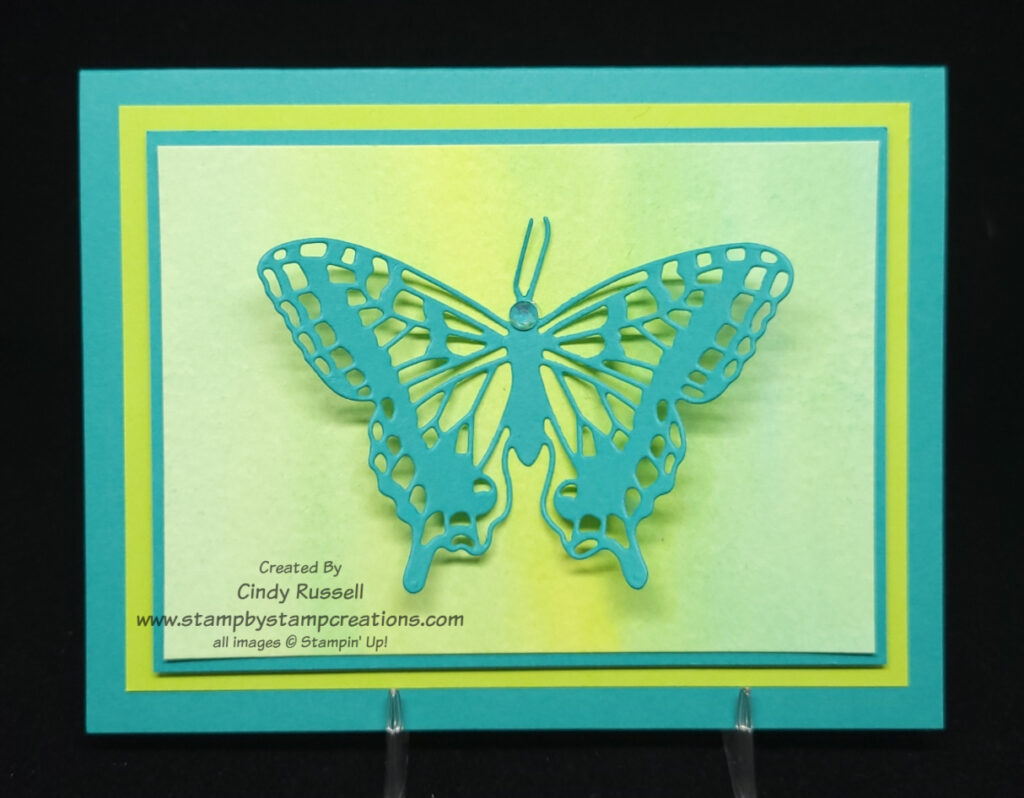
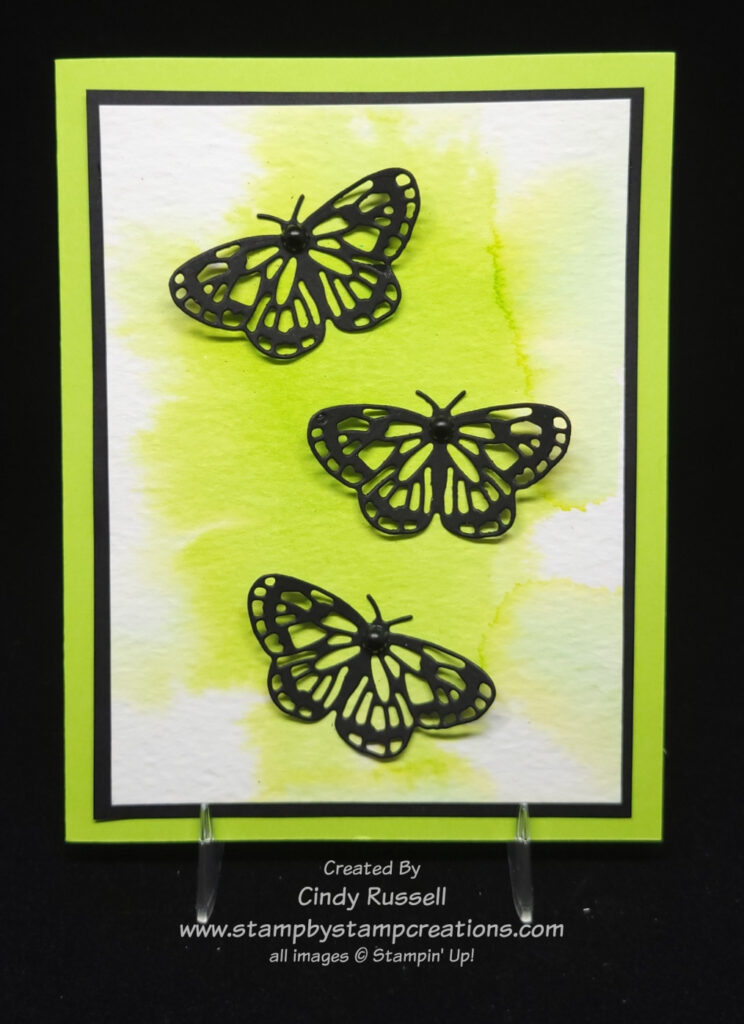
As you can see in the card above, I covered the entire area of my paper with the watercolor wash. I used two colors, Parakeet Party and Tahitian Tide, to get the look on the card. On this second card, I wet the watercolor paper and then got my brush really wet, picked up the color and kind of tapped my brush on different areas of the wet paper. The water on the paper made the ink spread. Then I played with it until I got the look I wanted.
After you have done a watercolor wash you need to let the paper dry thoroughly before adding it to a project. Watercolor Paper is thick so use Stampin’ Seal +, Liquid Glue or some other strong adhesive when adhering it to your project.
I hope you like this watercolor technique and give it a try soon. Have a great day! Take care and Happy Stamping!
