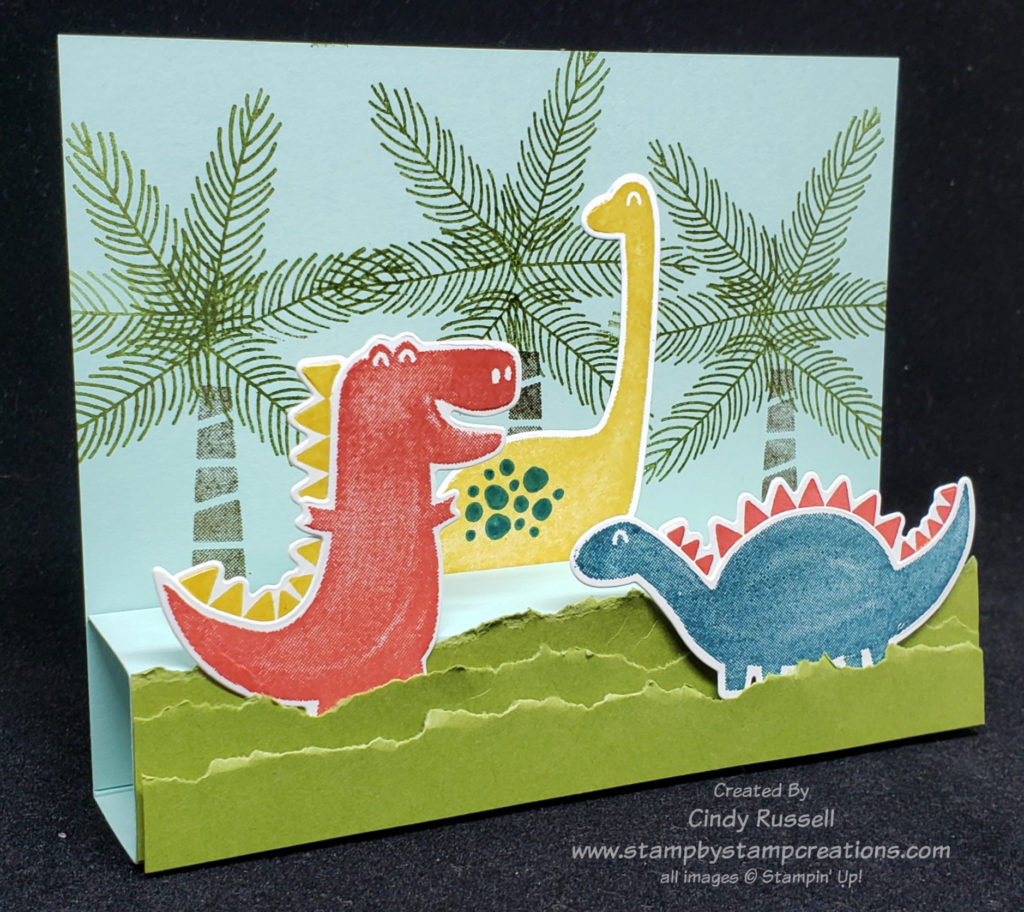
I have no idea what this type of card is actually called but I’m calling it a Box Base Card. The base is a box and the card is attached to it. Sometimes you just need to go with those descriptive words.
A week or so ago a friend of mine texted me wondering if I had any dinosaur cards for her grandson’s upcoming birthday. Naturally I didn’t but figured it was a good time to get out my Dino Days stamp set and the coordinating Dino Dies. I then did what every good crafter does when they can’t figure out where to start and I hopped on Pinterest.

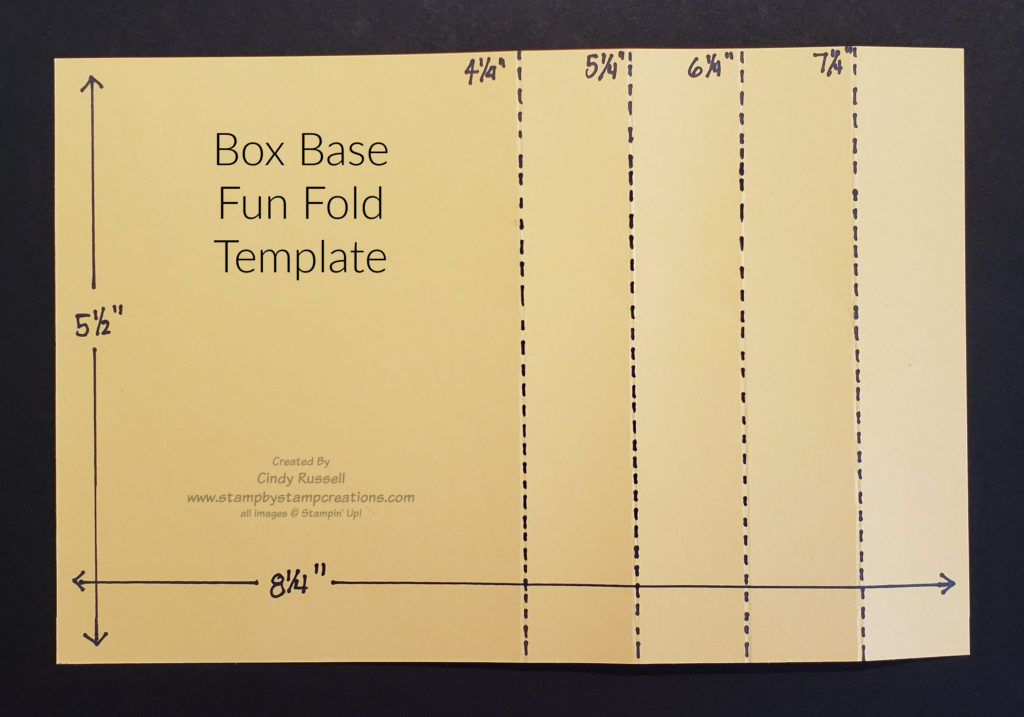
I’ll be honest, I pretty much copied the card I found on Pinterest. I fell in love with this fun fold because it’s so EASY! You start with a piece of cardstock that’s 8 ¼” x 5 ½”. This is a quarter inch shorter than a regular card base. You then score it along on the long edge at 4 ¼, 5 ¼”, 6 ¼” and 7 ¼”. Crease all score marks well. Once you’ve creased the score lines you can see how the card will be put together.
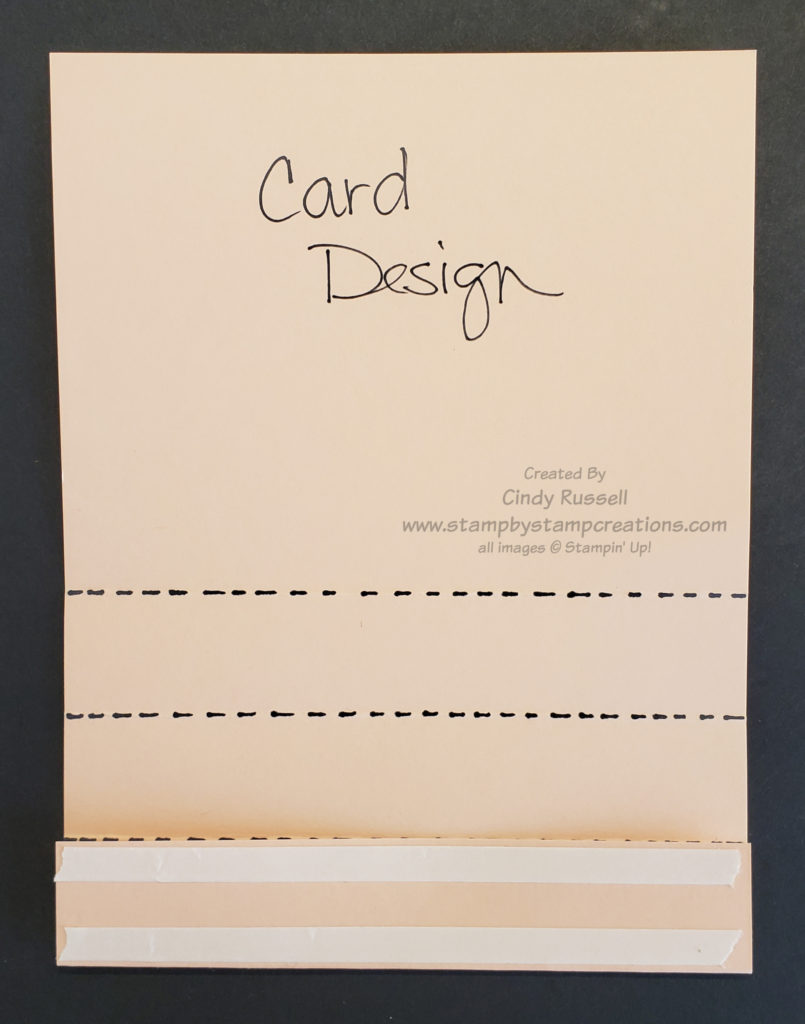
On my card I needed to make sure that I decorated legs of the yellow dinosaur and the bottoms of the trees are covered by the “box” portion of my card. Even if part of the design isn’t going to be covered by the “box” it will probably be easier to decorate the card front before adhering the “box”.

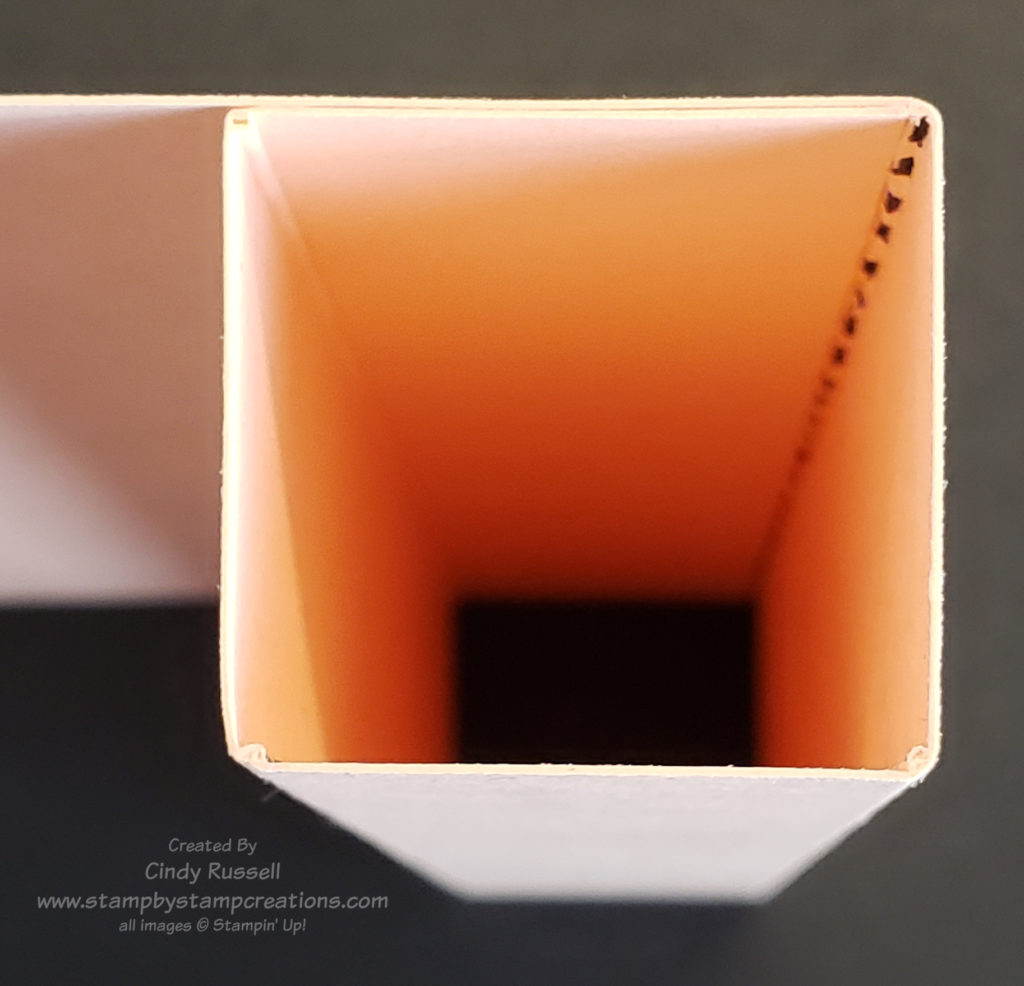
To form the “box” you want to lay the card base in front of you with the card design facing up. Fold over the bottom section of the “box”. This is where you will place your adhesive. Now fold up the other sections. The edge of the bottom section will meet up with top score line and adhere to the bottom portion of the card design area.

When you’ve got the card put together you just need to finish decorating it by possibly adding decoration to the “box” portion of the card. You can also add a piece of cardstock to the back of the card so you have a place to write your message.
This Box Base Fun Fold card was fun and easy to make. Give it a try! Have a great day! Take care and Happy Stamping!

