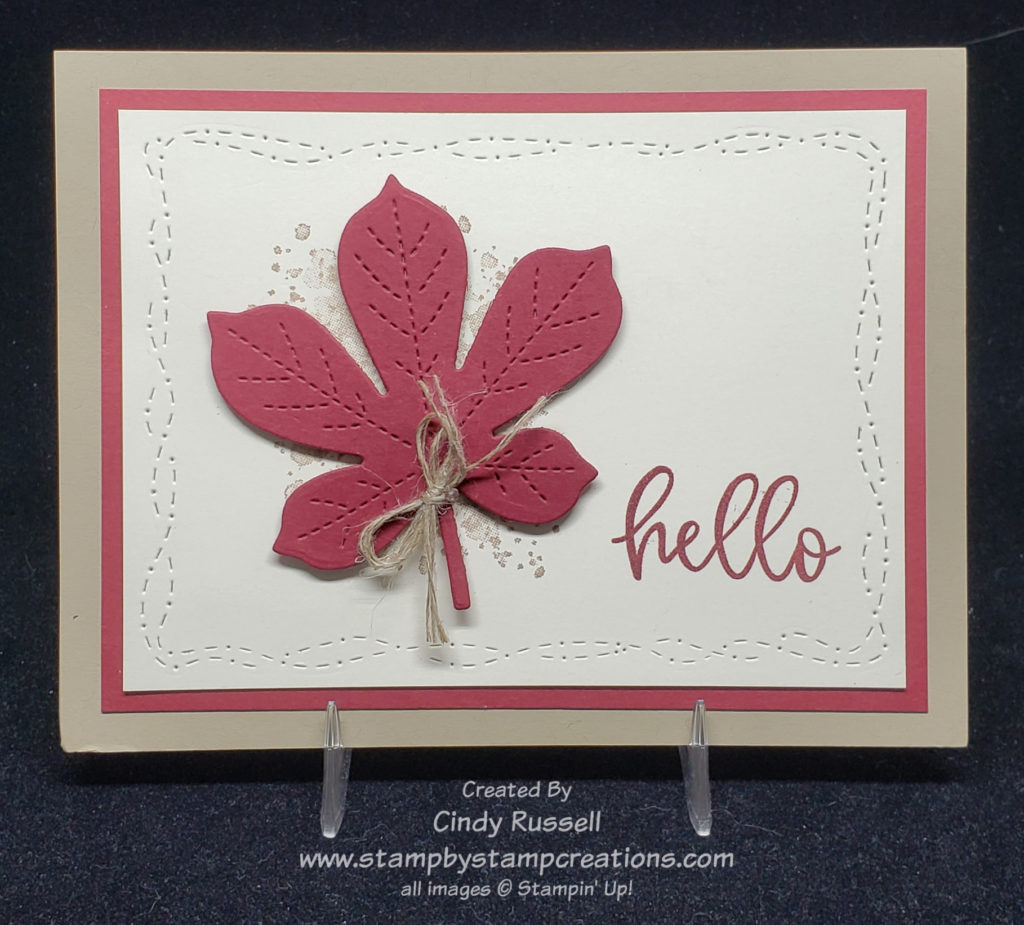
In my newsletter early this week I shared a card that was similar to this with a single leaf and the same color combination. I liked it so much that I wanted to use it again with a fun fold.
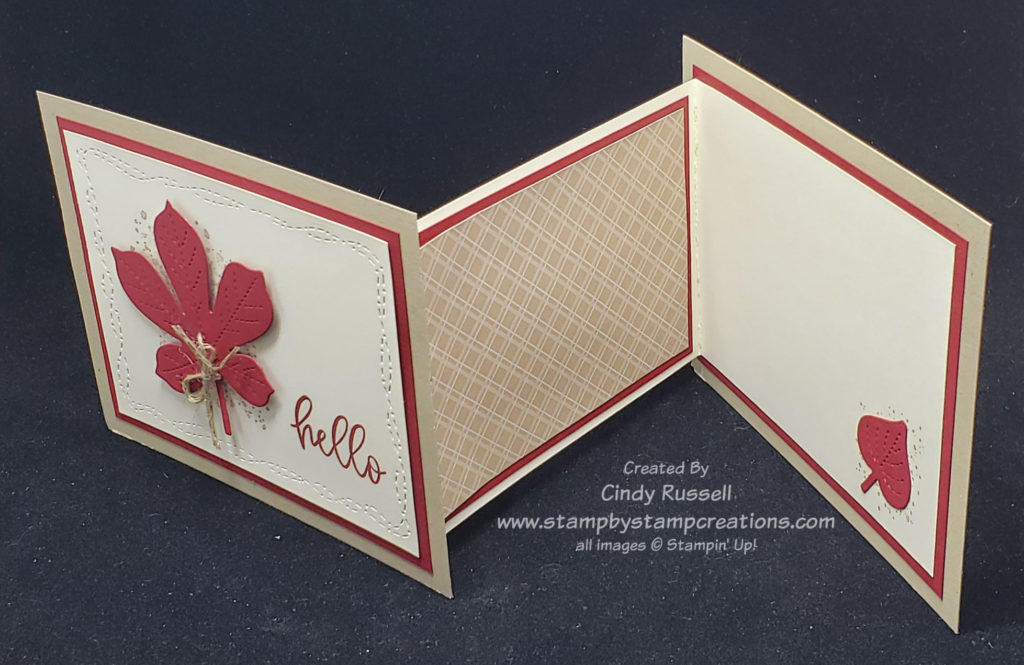
Today’s card is a modified Z-Fold. I’m actually calling it a Modified Z-Fold 2.0 because I’ve already shared one type of modified Z-Fold card with you. You really can do a lot with a Z-Fold.


As you can see in the photos above, the front and back of the card aren’t connected to each other at all. The inside Z-fold section connects the front and the back of the card. It’s a fun little modification to change things up a little.
Each of the outside panels are 5 1/2″ x 4 1/4″. The inside Z-fold is a piece of cardstock that is 11″ long and 3 1/2″ wide. It is scored on the long side at 1 1/2″ and 6 1/4″. Fold the 1/2″ score mark into a mountain fold and the 6 1/4″ score mark into a valley fold.
The large outside section of the Z-Fold is adhered to a 5″ x 3 3/4″ piece of Cherry Cobbler cardstock which is then adhered to the back section of the card. To adhere the front piece of the card to the small section of the Z-fold first close up the Z-fold and place adhesive on the small section. Now line up the front of the card with the back of the card and press down so the adhesive adheres. The card base should be complete and ready to decorate.
I love the way the Stitched With Whimsy die perfectly frames the leaf and sentiment on the card front. It also brings out the stitching on the Stitched Leaf die. The “hello” is from the Biggest Wish stamp set and the speckles behind the leaf are from the Gorgeous Leaves stamp set.
Below you will find a quick video on how I made the base of the card.
Have a great day! Take care and Happy Stamping!
