Tuesday’s Tool Tip: The New 3D Embossing Folder Plate

Whew…That title is a mouthful!

What? You’ve not heard of the new 3D Embossing Folder Plate? Well, it’s not in the new Annual Catalog. It became available a few weeks after the new catalog launched.

When Stampin’ Up! partnered with Sizzix the embossing folders that gave you really deep impressions were called 3D Dynamic Textured Impressions Embossing Folders. (Another mouthful!). These embossing folders were a little less than 1/4″ thick.

Now that Stampin’ Up! is on their own in the die-cutting/embossing market these deep impression embossing folders are simply called 3D Embossing Folders. Stampin’ Up!’s 3D folders aren’t quite as thick as the Sizzix ones. They are only a little over 1/8″ thick. This means that when you try to run them through your die-cutting machine the “sandwhich” of folder and plates that you used to use isn’t quite thick enough. This is where the new 3D Embossing Folder Plate comes into play.

3D Embossing Folder Plate
#149658 $10

This is just like the standard cutting pads that you used with the Big Shot…except it’s a little thicker…and it’s blue! It’s great that it’s a different color so that you grab the right plate when embossing!

Even though all of the embossing folders that carried over from last years Annual Catalog are listed in the new Annual Catalog not all of them are available as Stampin’ Up! is still converting them to the new thickness. The folders that aren’t available yet are the Corrugated 3D Embossing Folder, the Layered Leaves 3D Embossing Folder and the Tufted 3D Embossing Folder.

So if you’re purchasing any 3D Embossing Folders from the 2019-2020 Annual Catalog you’re going to want to invest in the new 3D Embossing Folder Plate. The item number is #149658 and it’s $10.

Definitely Dahlia for Fall

Definitely Dahlia.0717The mornings are definitely cooler and I think fall is really on it’s way.  Here is a fun and easy fall type card that I made for some parties I had at the end of July and August.  It was a big hit.  I also used it for my Card Buffet class.

Peekaboo Peach and Early Espresso are the colors used on this card.  Don’t you love the Crinkled Seam Binding?  The great thing about this card is that you can use it for almost any occasion.  You just need to change the sentiment.

It’s a little hard to see from the picture but the dahlia is mounted on a piece of Early Espresso card stock before it’s mounted on the card.  Also, I’ve embossed the Early Espresso background piece with my new favorite Layered Leaves Embossing Folder.

This Layered Leaves embossing folder is actually a 3D Dynamic Textured Impressions Embossing Folder which means that if you spritz the paper with water then run it through the Big Shot with the embossing folder you will get an almost 3-dimensional look to your paper.  It’s really pretty cool.  A lot of times I don’t bother with the 3D look and you still get a nice impression.

One thing to remember when using these 3D Dynamic Textured Impression Embossing Folders is that your Big Shot “sandwich” will be a little different.  These embossing folders are quite thick so you only need to use one standard cutting pad in your “sandwich” and you want it to be on top of your embossing folder.  Your “sandwich” won’t go through the Big Shot if you try to use two cutting pads.

Have a great day!  Take care and Happy Stamping!

Christmas is Coming

greeting-from-santa-0816
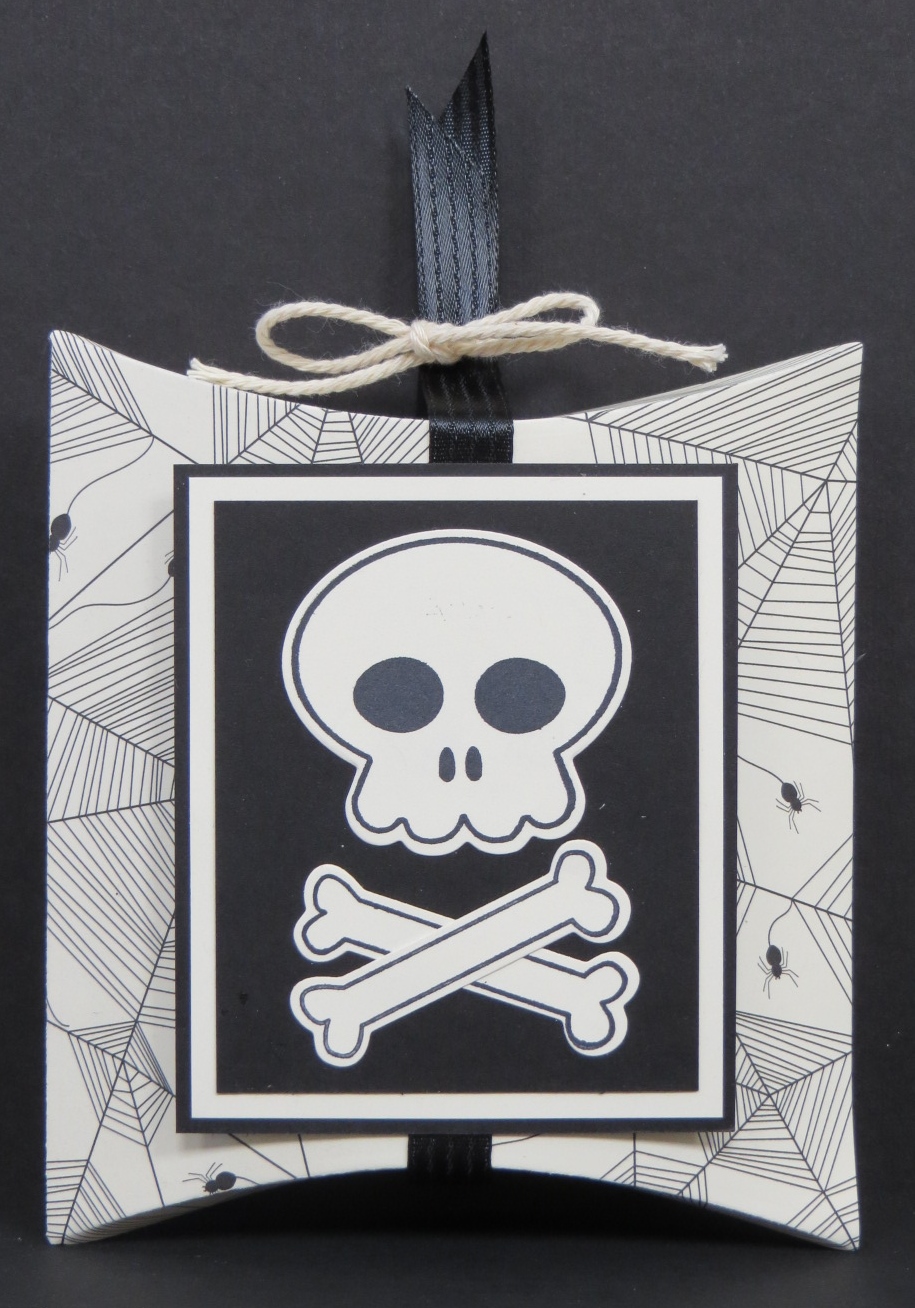
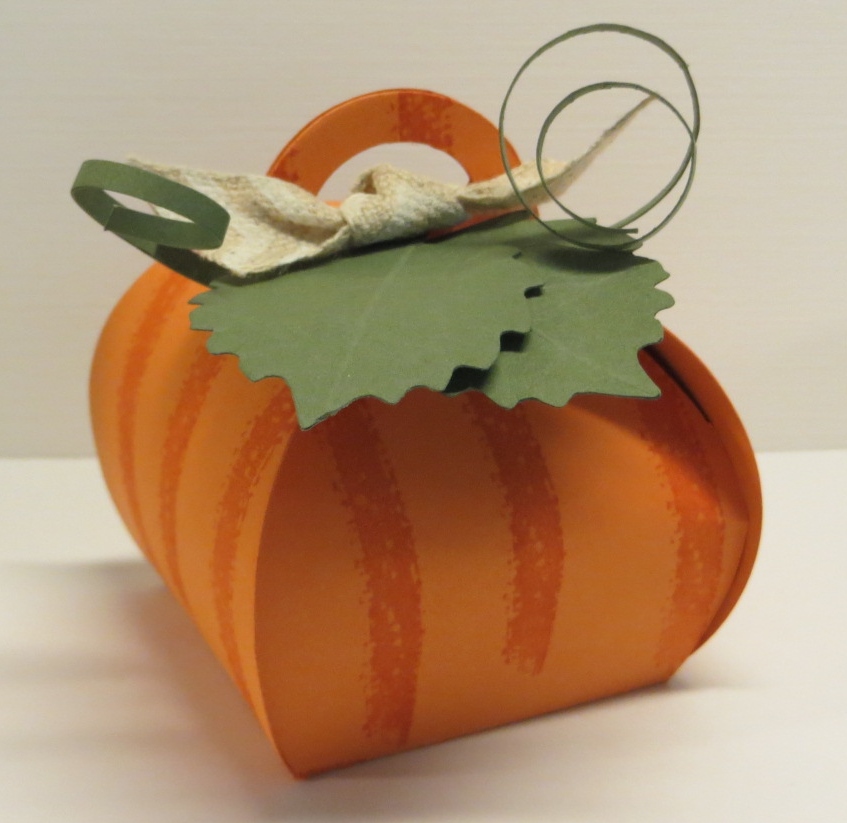
Yep.  Even though it still doesn’t feel like it here in Colorado I do believe that Christmas is on it’s way.  Since it’s coming despite what the thermometer says I guess I need to start sharing more Christmas projects!  🙂

This is a fun and easy card using Greetings from Santa stamp set and the Detailed Santa Thinlits.  Isn’t this intricate Santa gorgeous?  He’s really easy to cut out…especially if you’re using the correct “sandwich” on your Big Shot.

You definitely want to use the Precision Base Plate when using intricate dies like this one.  When you use the Precision Base Plate you exchange it for the bottom clear Standard Cutting Pad.  So your “sandwich” would be:  platform, Precision Base Plate, paper, intricate thinlit, clear Standard Cutting Pad.

I think that the hardest part of using the Big Shot is figuring out what your “sandwich” should be.  I had a class a few weeks ago and on every card we used the Big Shot at least once and I swear that each time someone came up to use the Big Shot it was a different “sandwich”.  I definitely had to supervise the Big Shot on that day.  It was a little crazy.  Of course the cards were all fabulous!  🙂

Have a great day!  Take care and Happy Stamping!

Howl-o-ween Treat Pillow Box

IMG_6842I only bought one Halloween stamp set and one Halloween stamp.   The stamp was the fun If the Broom Fits (see this post).  The stamp set was the adorable Howl-o-ween Treat.  One of the reasons I really like this stamp set besides the the adorable images is that there is a COORDINATING framelit set:  Boo to You!  Woo Hoo!  How can you go wrong with a cute stamp set and coordinating framelits?

I wanted to use some more of the cute Happy Haunting Halloween designer paper.  The ghosts pattern I used yesterday and these little spider webs pattern are probably my favorite from the pack.

Have you tried the Square Pillow Box Thinlits Die yet?  It’s SO easy to use!  You just die cut two of the pattern, adhere the sides together and fold in the tops!  Done!  Then you just decorate it in whatever way you’d like!  Easy peasy!

The hardest part of these little pillow boxes is figuring out what to put in them!  Ha!

Have a wonderful day!  Take care and Happy Stamping!

Don’t forget that ALL Stampin’ Up! stamps are 15% off this week and this week only!  Shop now!

Built for Free Using: My Stampin Blog

Brick Wall Birthday Card

IMG_6076Who needs masculine cards?  Wow!  That’s a lot of me! me! me! that I’m hearing!  🙂

We all love to make flower cards but sometimes you need cards for the guys in your life like your husband, your father, sons, nephews….well you’re getting my drift.  Masculine cards are the hardest to come up with unless you have that perfect guy stamp set but even then you can’t use the same stamp set for the same person occasion after occasion!

Brick Wall Embossing Folder to the rescue!  This embossing folder is going to be your new best friend for those guy cards.  No frilly flowers for the guys in your life!  OK…you can still use flowers it this folder but like on this card, you can use it by itself with a sentiment and have the perfect guy card.  This is actually the card I sent to my son a few weeks ago for his birthday.  Simple and masculine all in one.  It doesn’t get any better than that!

Hey….did you notice that this card was actually made without one single stamp set?  Wow!  I think this is the first time I’ve ever done that!  Amazing!

Have a great day!  Take care and Happy Stamping!

Built for Free Using: My Stampin Blog

Gift Card Envelope With Bling!

IMG_5711Isn’t this gorgeous?!!  My friend and fellow demonstrator, Jan, made this fun little gift for our little gang at Leadership last week.  I LOVE it!

Jan used the Gift Card Envelope & Trims Thinlits Die.  It’s a carryover item from the Holiday Catalog.  If you want to check it out it’s on page 49 of the new Occasions Catalog.  Don’t you love the black and gold and Crumb Cake together?   It just screams “classy”!  The flowers just pop with that touch of gold on them.  I love the squiggly ribbons behind the flowers too.  It’s definitely something that I’d have problems since I can’t do random.  Sheesh!

Gorgeous, gorgeous, gorgeous!  What else can I say?  I may have to recreate this for a class sometime.  What’s your favorite part of this fun project?   Leave me a message and let me know.

Have a great day!  Take care and Happy Stamping!

Curvy Keepsake Box Pumpkin

008Pumpkins!  What else would you think of on a beautiful, cool fall morning?

Isn’t this little pumpkin adorable?  And it’s SO easy to make!  All you need is the Curvy Keepsake Box Thinlits Die and the Autumn Accents Bigz Die.  Oh….you’ll probably need your Big Shot too!  🙂

The Curvy Keepsake Box is pretty easy to make once you’ve got a couple of tips.  There’s one die for the box that you cut out twice.  To save paper start with a piece that is 6″ x 9″.  Place the die as pictured to  the left.  Run through the Big Shot and then move the die as shown and run it through the Big Shot again. 003

The next picture shows you how to adhere the two pieces together.  You want to make sure 005that like pieces are across from each other.  Once the pieces are together I used my Bone Folder to lightly curve the four parts before putting my box together.

I used one of the stamps from Work of Art to put the lines on my pumpkin.  I did this before curving the pieces.   The leaves, tendrils and ribbon are all attached to one of the “flaps”.  You want to make sure to do this so you can open the box.

That’s it!  A fun and easy fall decoration.  I’ll be making plenty of these for my Thanksgiving table.  How about you?

Have a great day!  Take care and Happy Stamping!


Hamburger Box Die Hippo

055Once again I came across something in the new Stampin’ Up! catalog that I didn’t think I’d need.  Whatever would you use a die cut hamburger box for?  Sheesh!  I don’t need that!  Well, I did.  Last month I posted an adorable Stars & Stripes Hamburger Box and today’s project is even cuter!

The gal who created this adorable hippo didn’t stop there.  She created a whole zoo of hamburger box animals!  Thank you Betty Traciak!  She created the hippo, an alligator, a giraffe, a bear, a horse and more!  I’ve made of few of the others which I’ll share with you soon.

Wouldn’t these make great treat boxes for a kid’s birthday party?  What other use can you came up with?  Leave me a comment and let me know!

Have a great day!  Take care and Happy Stamping!

Stars & Stripes Hamburger Box

058Wait until you see the adorable new Hamburger Box Bigz XL Die in the new catalog!  You’re going to love it!  It’s so stinkin’ cute!

I saw a little box like this online and knew it would be perfect for Memorial Day!  The box I saw wasn’t embossed but how you can you have a patriotic project without stars AND stripes!  I used the retiring Stripe Embossing Folder by running it through two different times.  It worked perfectly!

The stars were punched with the star punch from the Itty Bitty Accents Punch Pack.  Such a cute little pack of punches which includes the star, a heart and a cute little four-petal flower.

On this holiday I’d like to thank all those who have served, who are serving and who will serve our country.

Have a great day!  Take care and Happy Stamping!

Tags for You Thanksgiving

012Are you looking for an easy little card to include with a gift for your Thanksgiving dinner hostess?  This one is perfect.

It’s made with the Tags 4 You stamp set and the fun new Label Bracket Punch.  The designer paper is the adorable Sweater Weather designer paper.  This pattern is probably my favorite from the package.

This is a simple little 3″ x 3″ card.  Did you notice that I lined the little envelope?  How fun!  The Envelope Liner Framelits are great!

Have a great day!  Take care and Happy Stamping!

Sweater Weather Thankful

020This card was pretty easy to make.  I stamped the Magnificent Maple on a piece of designer paper from the Sweater Weather designer paper pack, added a piece of ribbon, a couple of layers and finished it off with the Thinlit “thankful”.

These Thinlit Expressions dies add so much to a card.  Be sure to check out Tuesday’s post for a tip on using these thinlits.

What are you thankful for?

Have a great day!  Take care and Happy Stamping!


Tip of the Day Tuesday: Thinlits

001I know, I know….it’s not even Halloween yet and I’m showing you Thanksgiving cards.  You can never be to ahead of the game though!

I made this card using the Harvest of Thanks stamp set and the Expressions Thinlits Dies.  I just love these new Thinlits….especially since I now know the secret to them!  Do you want to know?  Of course you do!  😀

The secret to getting the die-cut image out of the Thinlit easily is using wax paper and a toothpick!  Just place a piece of wax paper between your card stock and the die.  It makes the card stock slip right out of the die.  If it doesn’t simply fall out just use a toothpick in the little holes found on the die to give the card stock a little poke.  If you use anything sharper like a paper piercing tool you make leave a little hole in the card stock.  That is your tip of the day:  wax paper and a toothpick!  Don’t you love it when you can use everyday things found in your home!

Have a great day!  Take care and Happy Stamping!

Simple Saturday!

014So, you can’t get much simpler than this!  Designer Paper, card stock and a little ribbon!  Sure is cute though!  Ha!

I made this little card for my open house last month.  I wanted to show how you can coordinate your envelope with the card when you use the new Envelope Liner Framelits.   This envelope is from the Notecards & Envelopes.

The liners are so fun and simple to use.  OK….I did have a little trouble adhering the liner in the envelope.  I had adhesive all over the back side of the liner and then tried sticking it in the envelope.  Not so easy.  Then about a week later I was talking to one of my customers about the liners and telling her of my woes and she’s like “why not just put adhesive on the top part?”  Duh!  Why do I have to make things so difficult all the time?!  That makes much more sense!  The bottom part of the liner isn’t going anywhere!

Back to the card for Simple Saturday…I just used some of the adorable Gingham Garden Designer Paper and added a few layers and some ribbon.  Simple!  😀

Have a great day!  Take care and Happy Stamping!

DYI: Can of Cards!

003Every year my church has an Octoberfest celebration and with it they have a basket auction.  I usually donate a bunch of cards from my stash but always have a problem trying to figure out how to display them.

As I was walking through the “M” store the other day, trying to see what they might have for me, this clear paint can caught my attention.  I stared at it awhile trying to figure out if it would work.  Then I remembered that I had one sitting on the shelf at home so I ran back home.  It worked!  The cards fit perfectly in it.  Then I got the idea to dress it up with a home made bow made from the Big Shot.  Perfect!  I may have to wrap some Christmas gifts like this.  Too fun!  You should try this too!

Have a great day!  Take care and Happy Stamping!

Secret Garden Gingham Garden

045I can’t seem to get enough of this Gingham Garden Designer Series Paper.  It just makes me happy.  Or if you’re a Duck Dynasty fan like I am….”Happy, Happy, Happy”.  Love that show!

I digress…

This designer paper works so well with the Flower Shop stamp set and the Pansy Punch but it works equally well with the Secret Garden stamp set and it’s coordinating Framelits!  I was excited to finally get to use my Really Good Greetings stamp set.  I love this little saying because you know (especially if you’ve ever been to convention with me) that it really is all about me.  Ha!

Have a great day!  Take care and Happy Stamping!