Well….I’m back once again (at least for a few days!) It seems like it’s been forever since I’ve chatted with all of you! Vacation was good. We had good visits with all of the relatives in MN and I got to see a few of my friends from high school. The weather wasn’t bad. Not too hot, not too cold and not too much rain. Unfortunately my son caught the crud the second week of vacation and was kind enough to share it with my husband and I. The three of us have been sick all this past week at home. My son and I were smart enough to head to the doctor on Friday and the two of us are now on antibiotics and feeling and sounding much better. I wanted to make sure I wasn’t sick for convention this coming week!
Since you’ve missed me so much you’d probably like to see an adorable project. Yesterday I opened my home to a baby shower. I only had to supply the air conditioned house. My friend’s daughter did all the work. The mother-to-be is expecting twins ( a boy and a girl) so there were TONS of adorable gifts on hand. On Friday I decided I had better make a card for the occasion. I know I have an old stamp set somewhere that would be perfect for twins but of course I couldn’t find it anywhere! (I really need to get organized!) I decided to then work with the adorable Zoo Babies stamp set.
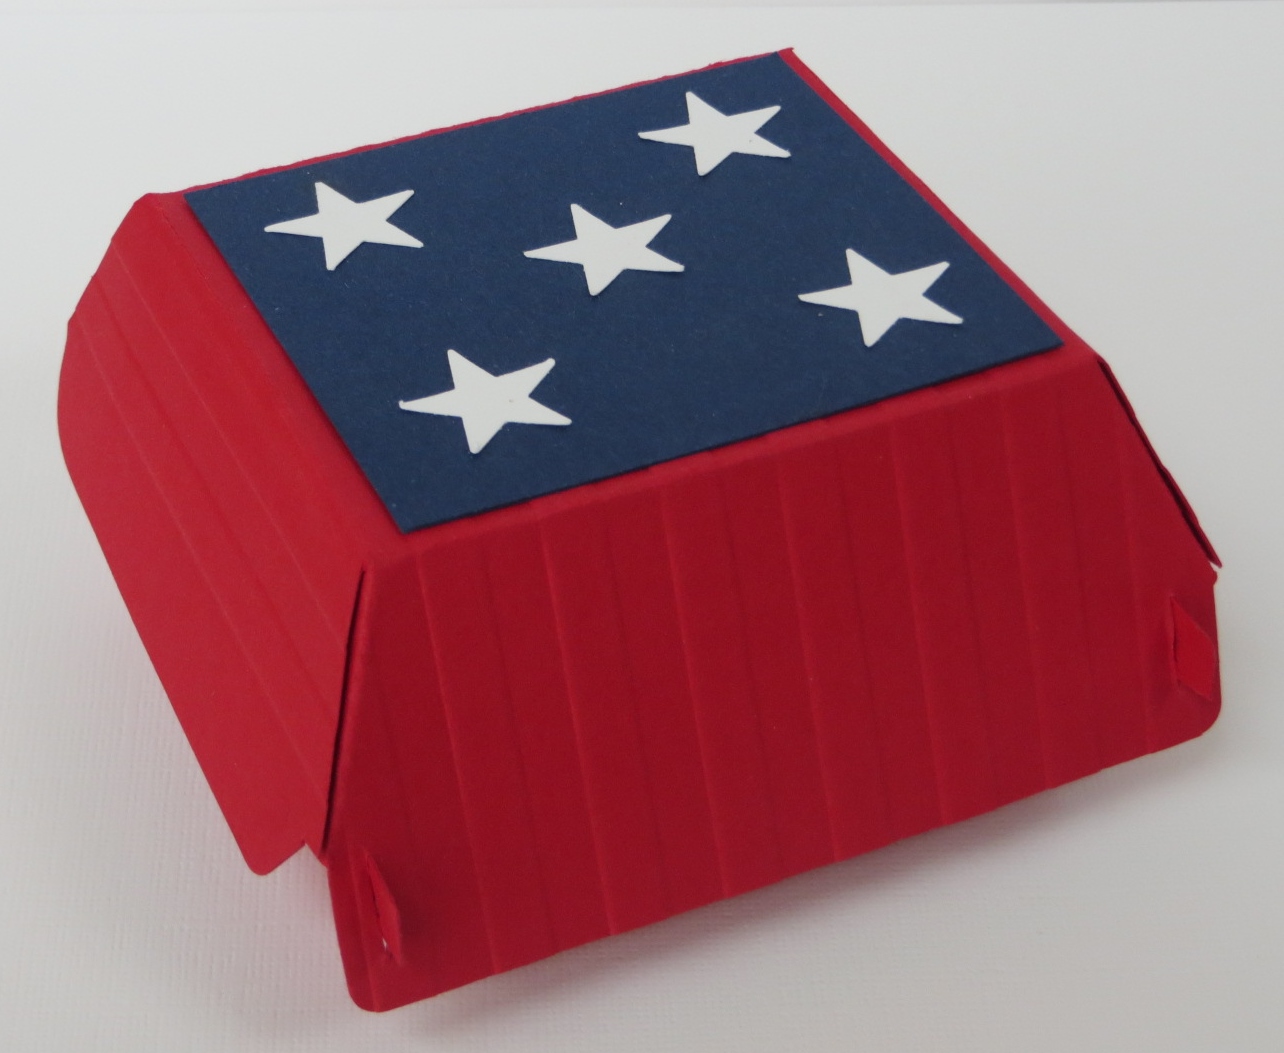
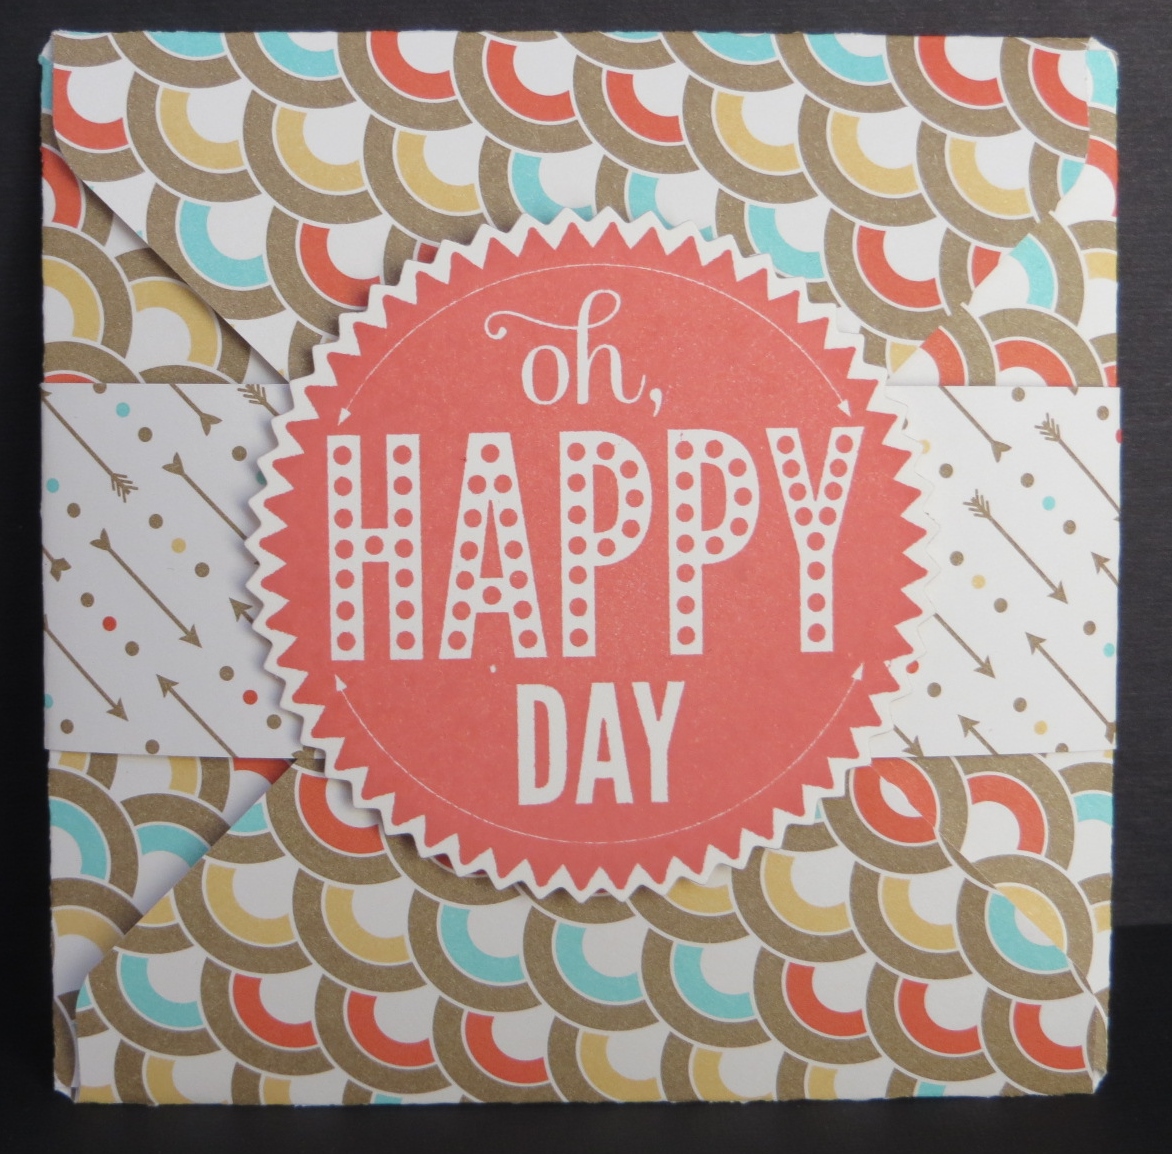
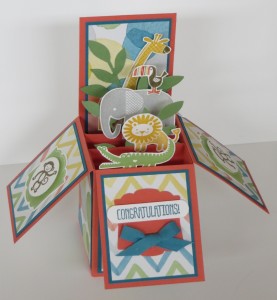 TSC! This card turned out Too Stinkin’ Cute! I’ve seen these adorable Card In A Box projects and thought I’d give it a try. I love the way this one turned out! They’re really not too hard to make. I will work on making a tutorial for you….and those of you who come to my classes….we’ll definitely be making them in the near future. I know you’ll love them!
So was missing me worth the wait? I hope so. Stick with me because I’ll be gone again in a few days. I’m heading to Salt Lake City for Stampin’ Up!’s annual convention. Woo Hoo!
Have a great day! Take care and Happy Stamping!
 of designer paper.