
Wow! This has sure been a crazy couple of weeks. A little over a week ago my SASSY Stampers & Friends were going to hold a Stamp Camp for almost 48 people at my church.
Needless to say, we had to cancel the event. I was a little stressed out for a few days and now I’m almost lethargic. Not really, I just can’t seem to get motivated. As I told my husband, “I have 8362 things I could be doing but I don’t feel like doing any of them”. It pretty much sums up my days.
But enough about me. I need to share the projects from the Stamp Camp that didn’t happen. The first project I want to share with you is “the bag”. For our stamp camps we like to give the participants a decorated bag to put all of their completed projects in. It also holds the little treats we’ve made for them. The fun thing about these bags is that you can usually take off part of the decoration and make it into a card!
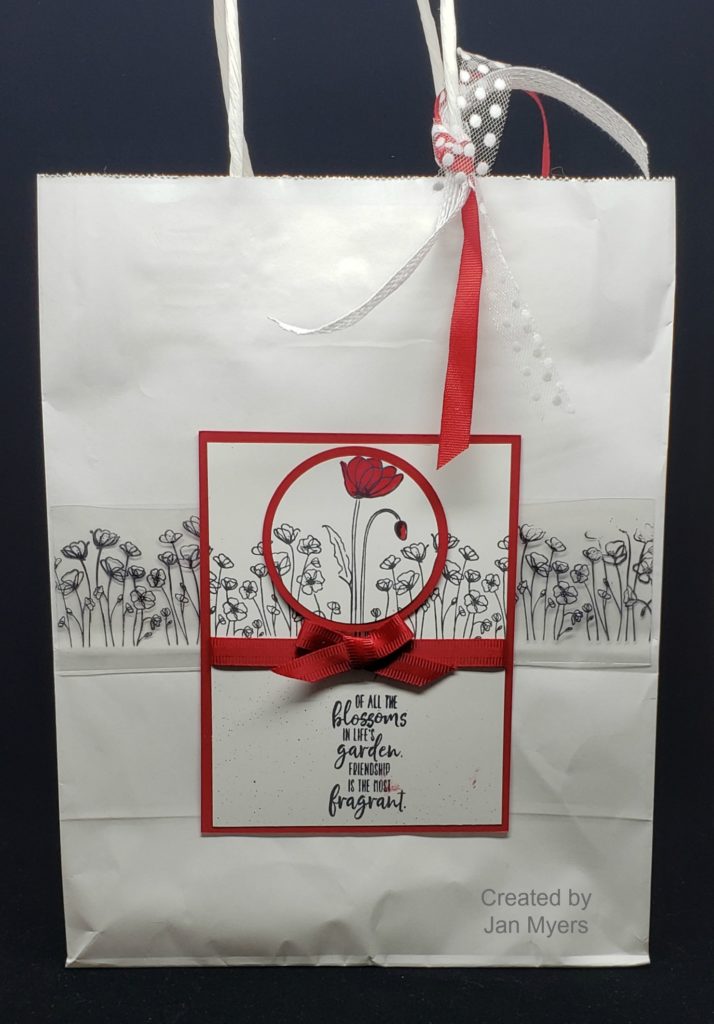
Isn’t it pretty? Simple, yet elegant. My friend Jan designed all of the little gifts and the bag. To make sure everything lined up she made a couple of templates. She had a template for the acetate so that the rows of poppies lined up. The poppies were stamped with StazOn on the acetate.
Jan then had a template for the stamped Whisper White cardstock. The cardstock was lined up on the template so that you knew where to stamp the large poppy, then the rows of poppies. The flowers were stamped with Memento ink so the large flower could be colored with the Real Red Stampin’ Blend Marker.
Once the poppies were stamped we punched out the large flower with the 2 1/4″ Circle Punch and then adhered that to a Real Red 2 1/2″ circle and popped up with Stampin’ Dimensionals.
The cardstock focal point is the exact size of a card front. Remove it from the bag and adhere it to a card!
Stay tuned this week to see some of the fun projects we put in the bag! 🙂 Have a great day! Take care and Happy Stamping! Stay Healthy!