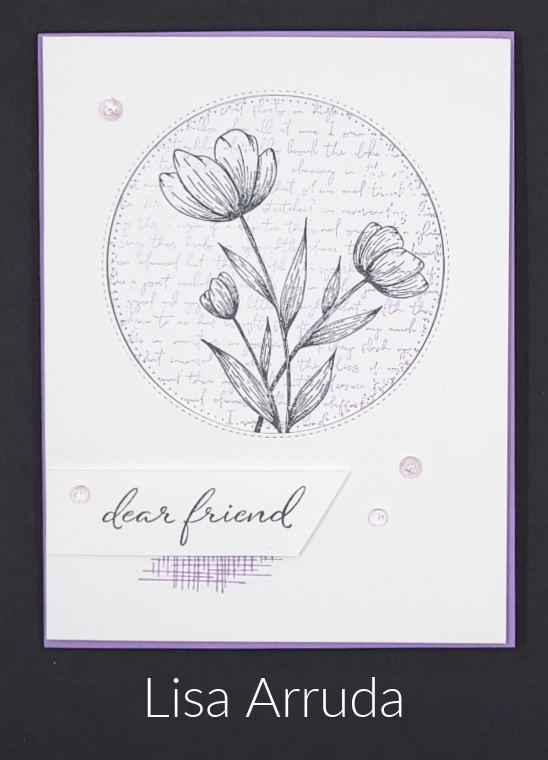
Finally. The last day of my 40 Cards in 40 Days Challenge has arrived. Day 40. Wow! It’s been another great journey. I hope you’ve enjoyed the cards I’ve shared with you these past weeks. I created today’s card with the Mixed Florals Bundle. Tulips for Spring. You can’t go wrong. This card would make a beautiful Easter card as well as a lovely Mother’s Day card. I will be sending it to my mother-in-law in a few weeks. 😊
This card was inspired by a card I saw on Pinterest. I think I stayed pretty close to the original design on this. Speaking of design, does the design of this card look familiar? Check out yesterday’s card. Compare the designs. They’re so similar. I didn’t notice that until I was writing up these blog posts. Too funny!
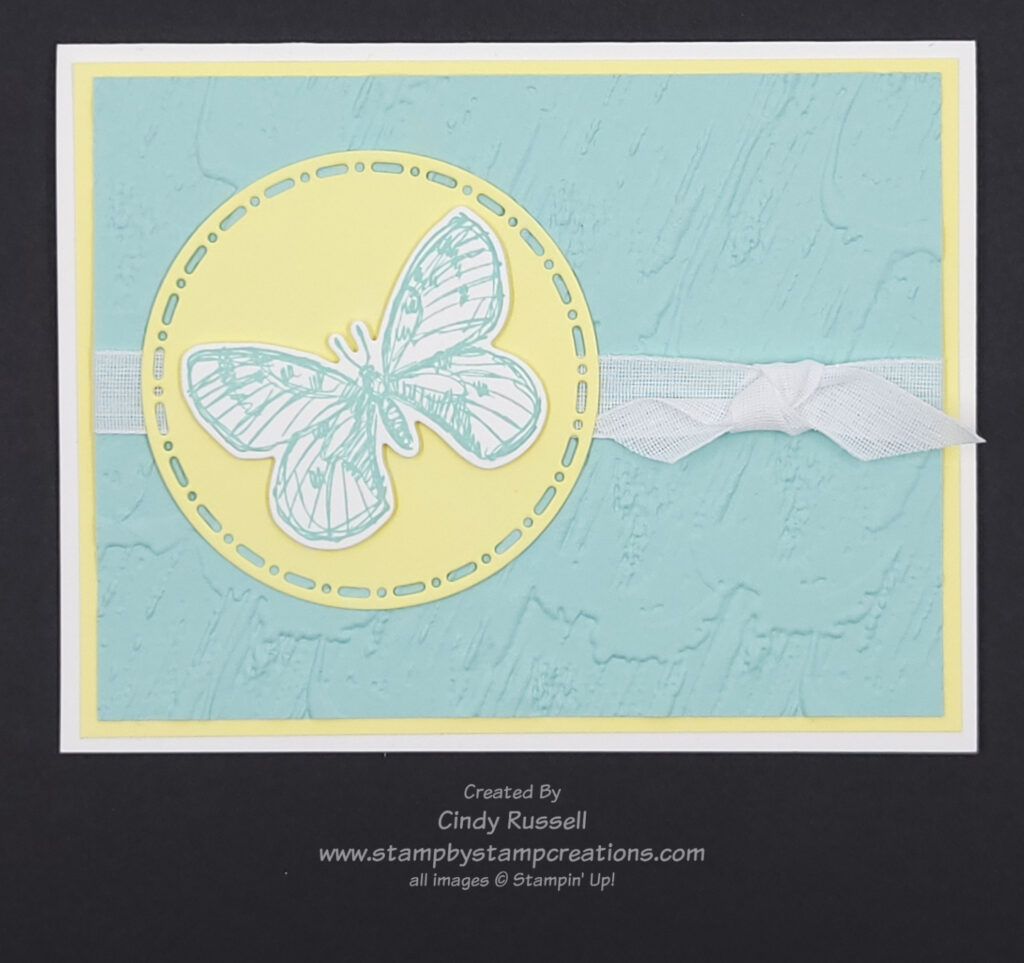
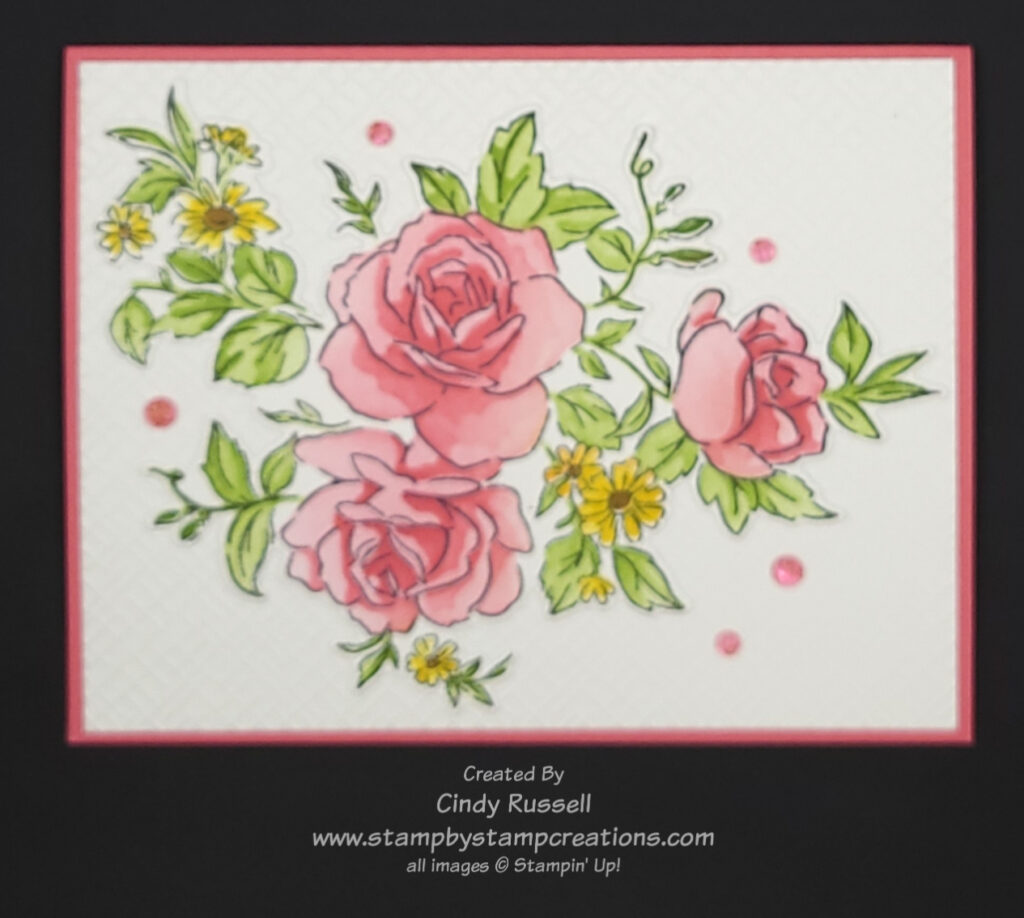
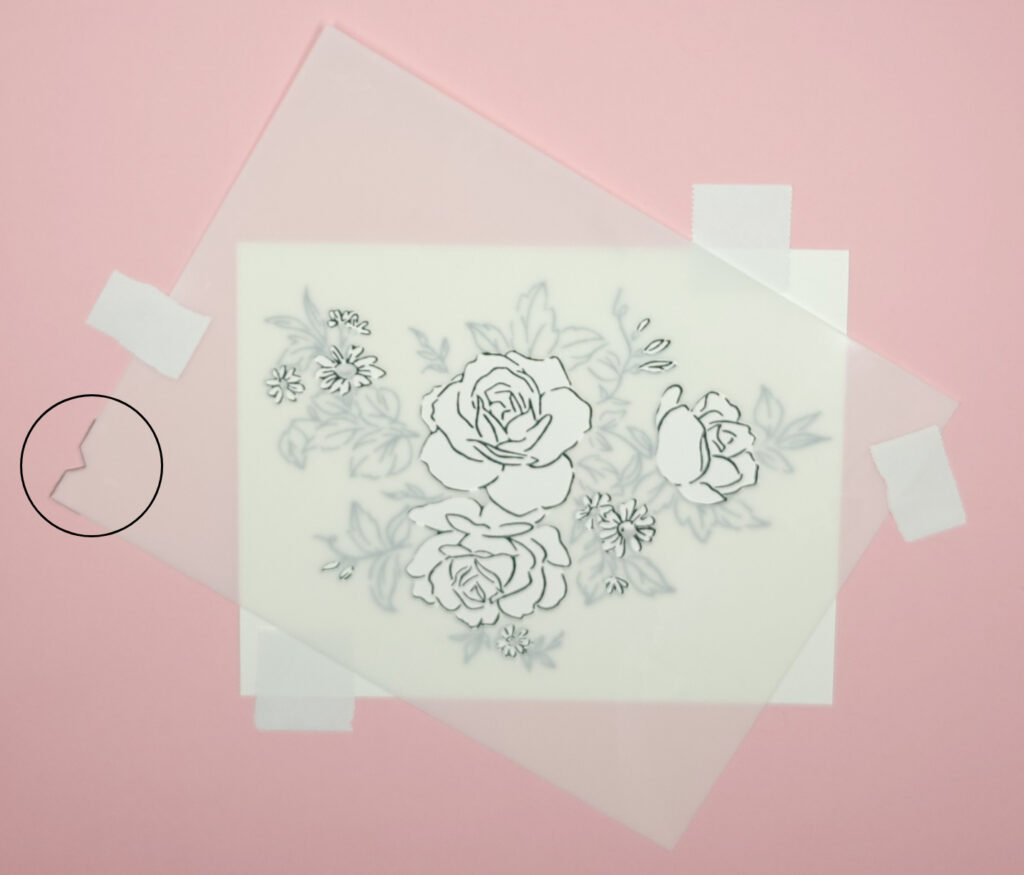
Instead of designer paper behind the window in my card, I chose to use an embossed piece of cardstock. I colored the flowers with Stampin’ Blends Markers. The colors I used were Bubble Bath, Lemon Lolly and Soft Seafoam. I have a confession to make. I don’t care for the color Soft Seafoam, but it works perfectly on this card! Never say never, right? Another sweet card for Spring.
Yesterday’s card had the flowers on top of the window. On my card, I tucked the lower portion of the die-cut flowers behind the window and then had the top of the die-cut flowers overlapping the top of the window. I’m really pleased with how this card turned out. It makes me smile.
Thank you for joining me for my 40 Cards in 40 Days Challenge! I hope you’ve enjoyed it and been inspired. Have a great day! Take care and Happy Stamping!