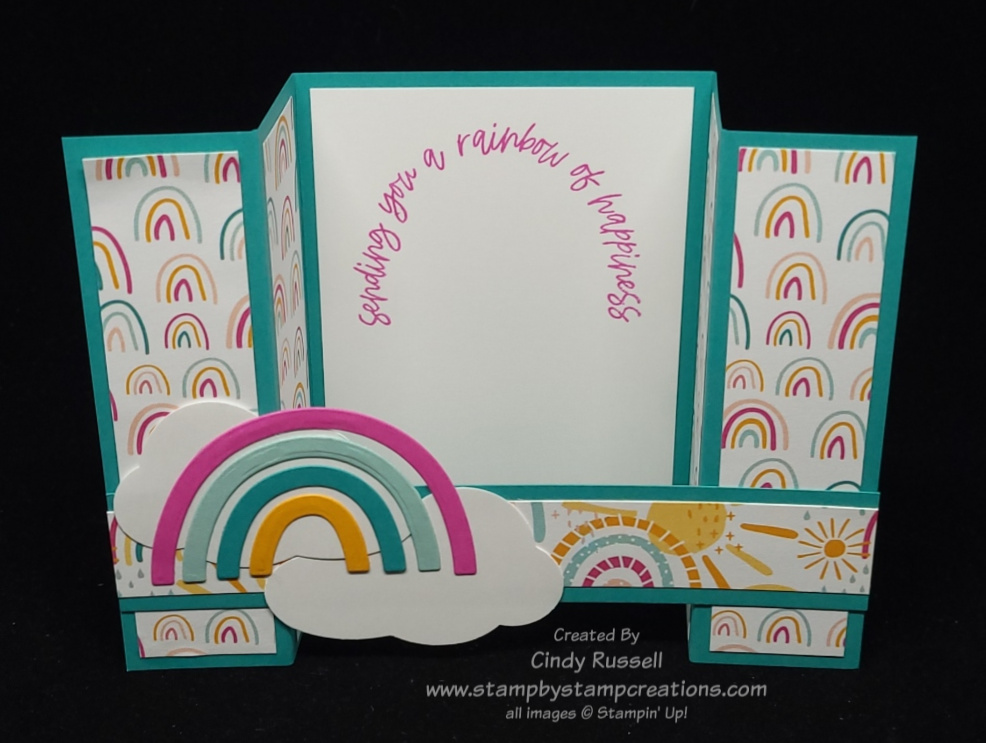
How can you not sing Somewhere Over the Rainbow while looking at this fun fold card? So many rainbows! I’m going to be sad when Sale-a-bration is over on February 28th and I won’t be able to get any more of the fun Sunshine & Rainbows Designer Series Paper. The paper coordinates perfectly with the Rainbow of Happiness Bundle of products from Stampin’ Up!’s January – June Mini Catalog. I’ve used the Rainbow of Happiness stamp set, the Brilliant Rainbow dies and the Cloud Punch on my card.

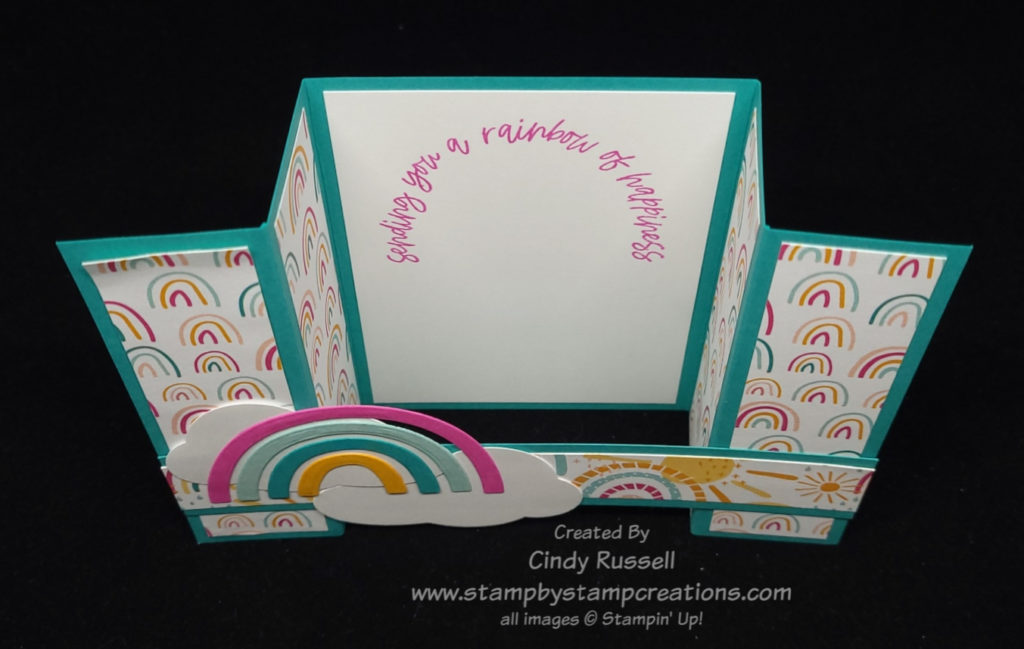
This second picture gives you a top view so you can see all of the panels a little better.
This fun fold is pretty easy. Start with a card base that is 4 1/4″ x 8″. Make sure the length is 8″, not 8-1/2″. I made that error the first time around and couldn’t figure out why my “bridge” piece wouldn’t fit! Sheesh!
With the long edge of the card base at the top of your Simply Scored scoring board score the cardstock at 1 1/4″, 2 1/2″, 5 1/2″ and 6 3/4″. Fold the two outside score lines into mountain folds and the two inside score lines into valley folds. The “bridge” piece of cardstock is 5 1/2″ x 1″. The width of the “bridge” piece of cardstock can be any dimension that works for your design. The key is to make sure the length is 5 1/2″.
The four designer paper panels measure 4″ x 1″. The designer paper piece on the “bridge” measures 5 1/4″ x 3/4″. The Basic White piece of cardstock in the center of the card measures 4″ x 2 3/4″.

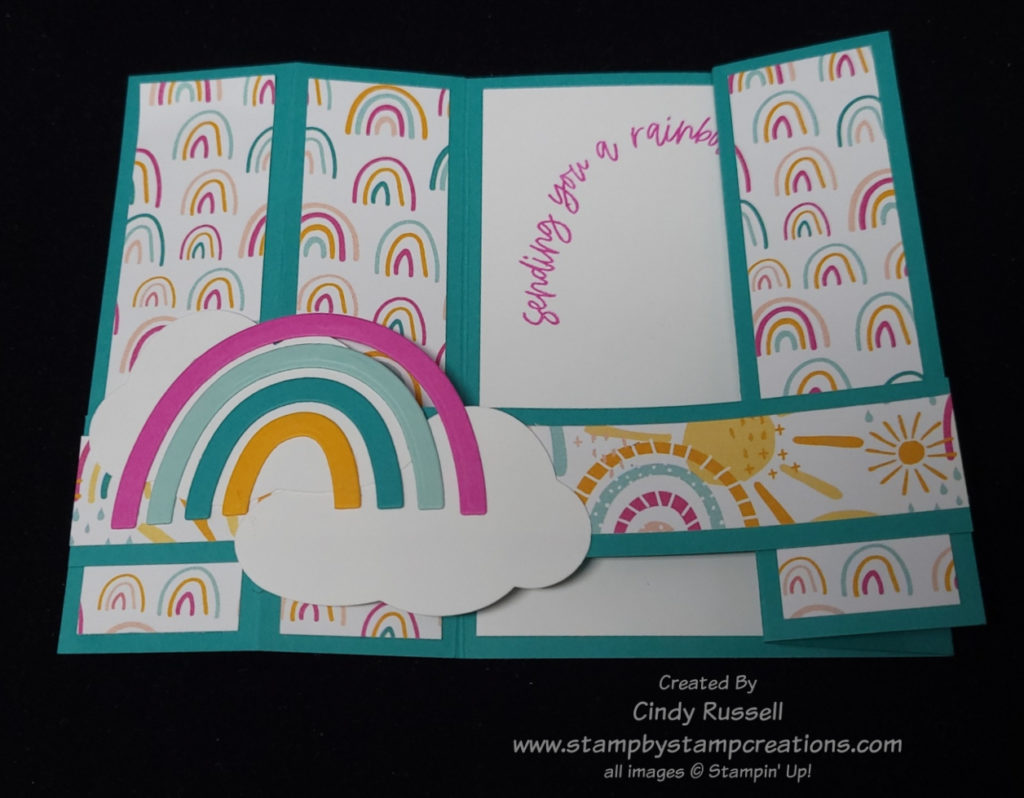
To adhere the “bridge” to the card you want to fold the card like in this picture. The sections on one side of the center piece of the card base should be “open” and the sections on the other side should be folded closed.
Make sure to put adhesive only on the areas of the “bridge” that will be adhered to the two outside panels.
The way the card is folded in this last photo is also the way you will fold it to slide it into an envelope.
Let me know if you have any questions on this fun fold. Have a great day! Take care and Happy Stamping!
