 It’s MDS Monday again but instead of a showing you a project I want to tell you about a sale! Everyone loves a sale, don’t they?
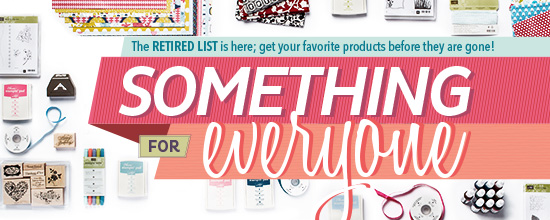
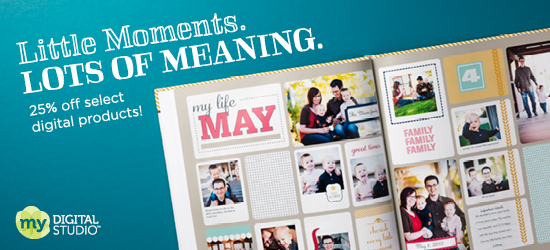
From May 1st – June 15th Stampin’ Up! is offering 25% off select digital content and print products! Woo Hoo! Check out the digital content that’s on sale here. There’s a link on that page that will show you what print products are on sale.
Most of you are thinking that you don’t really care because you don’t even have My Digital Studio or even worse…you have it and don’t know how to use it! Well, I can help you on both accounts! If you don’t have it yet why not check out the 30 day FREE trial? You can download it for FREE and play with it for 30 days! I’ll even show you how it works!
Do you have it but are afraid to try it on your own? Now is the time to schedule that one-on-one with me. Bring your laptop to me or I’ll come to you. We can sit down and I’ll show you how to use it. It’s easy and fun and there’s SO much you can do with it!
Everyone should try it! I know you’ll LOVE it! Check it out today!